What is a warm floor on a balcony and how to install it?
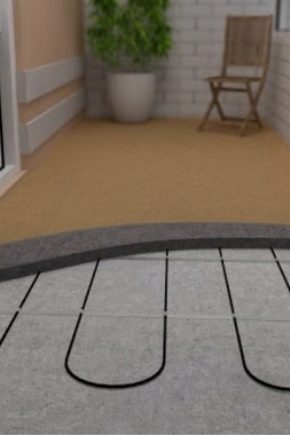
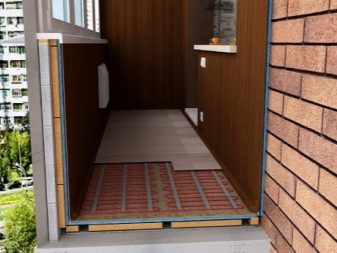
Insulation of the balcony allows you to use this space as an additional mini-room. This opportunity is especially valuable if there is very little living space. On a warm balcony, you can equip a relaxation area, an office, a small pantry, a dressing room and even a sleeping area. In order to have comfortable conditions on the balcony, it is worth making a warm floor - this solution will allow you to evenly distribute the heat, and at the same time it will not hide the free space
Advantages and disadvantages
Underfloor heating today is considered a good alternative to the traditional heating option for residential apartments and houses. This system allows you to evenly distribute heat throughout the entire heated space. For a balcony, this technology is the only reasonable choice due to the small size of the room. In this case, the flooring acts as the main heating element, and the air heats up from bottom to top. The most widespread are electrical and water heating systems. In recent years, infrared techniques have been gaining popularity.
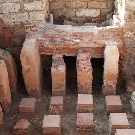
For the first time, the underfloor heating system was introduced by the ancient Romans - with this method they heated the baths. At that time, it was a network of canals placed under stone floor slabs. The hot air from the stoves moved through pipes over the entire area of the floor surface of the room. The modern system looks more technologically advanced, but its essence has not changed in any way.
The design of such a floor has many advantages over traditional heaters and radiators.
- On a warm floor even in winter you can walk barefoot, feet will not freeze, even if the outside temperature is kept at a minus mark.
- Such a system can be made with your own hands, even without special work skills.
- Due to the fact that the floor area is always larger than the surface area of the radiator, you can use the technique in large rooms. Underfloor heating is also optimal for small spaces, when there is no way to allocate extra centimeters for installing the battery.
- A modern heating system generates more heat and thus provides the maximum degree of comfort.
- Despite the large volumes of heat released, the heating element itself has a relatively low heating - this reduces to minimize the risk of fires and fires.
- Underfloor heating is an aesthetic heating system. The heater takes up too much space in the rooms and looks rather unsightly. In addition, the batteries have to be decorated, there is no need for this when using a warm floor. Installation of underfloor heating does not spoil the design of the room in any way.
- Modern devices allow regulate thermal conditions with built-in sensors, the underfloor heating system is fully automated.
- Underfloor heating system good heats not only the final floor covering itself, but also nearby walls. This is a great advantage for those who plan to equip a winter garden on balconies and loggias. Heating allows plants to survive severe frosts.
- Well, the main advantage of such designs is duration of use. User reviews indicate that structures based on water heating work the longest.
However, the warm floor also has some disadvantages.
- High price. The creation of a typical heating system in an apartment is always more expensive than installing underfloor heating. There is also some advantage here - when installed on the balcony of an electric heater, it will consume much more electricity than underfloor heating. If the heated flooring adds 100-200 rubles to the heating receipt, then the electric heater doubles the payment amount.
- Underfloor heating is not recommended for open balconies and loggias. If the surface is insufficiently sealed, there is a high risk of contact of electrical components with moisture, and this leads to their breakdown.
- Complexity of installation. Of course, you can lay such floors yourself - but this will require accuracy, care and safety. It will take more than one day to create such a flooring, although it is worth it. And not everyone wants to overpay for the work that can always be done by ourselves.
Species overview
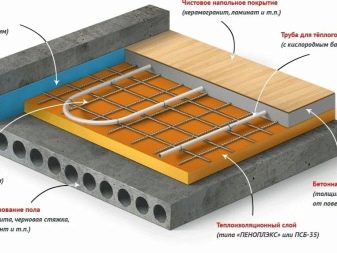
Underfloor heating construction includes a large number of heating elements, pipes and cables. The most widespread are three types of heating - water, electric and IR (film).
Water
Water heating has the most complex installation system. It can be connected to a central heating system, or work autonomously. Please note that this technique is unacceptable for balcony structures, since it has an impressive mass. In addition, the water floor is not recommended for installation in apartment buildings with central heating supply (panel buildings, "Khrushchevs"). The advantages of a water floor include increased heat transfer - it is able to warm up even the largest spaces in terms of area.
Film
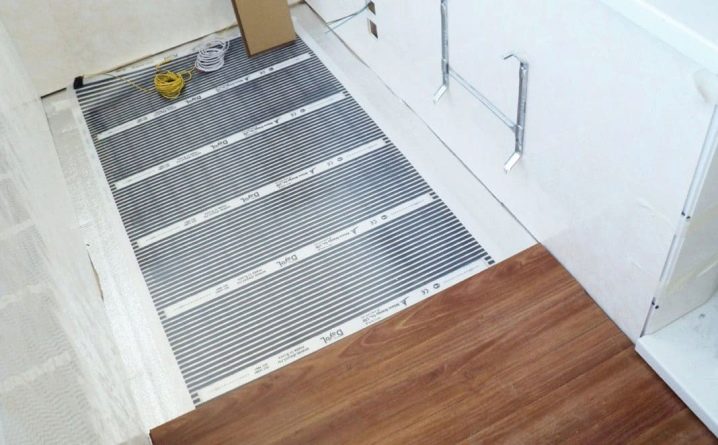
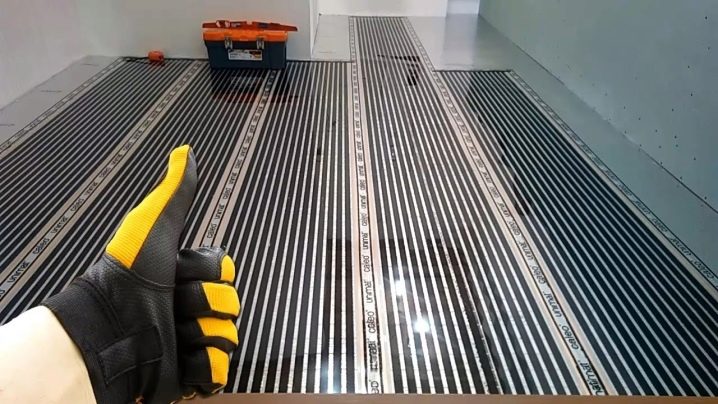
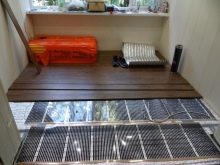
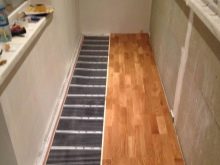
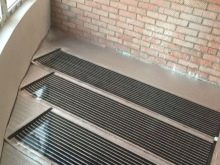
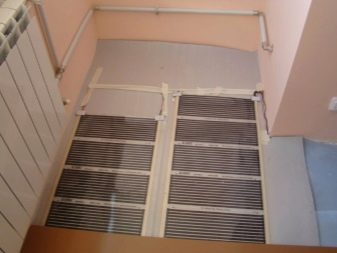
In recent years, infrared radiation has been widely demanded for heating loggias. The thinnest film with graphite strips and conductors is used here as a basic heating element, an electric current flows through the thermostat to them. The main advantage of such a floor is its energy efficiency and ease of installation. The disadvantages include the high cost of work and equipment. That is why experts recommend using this technique for balconies and loggias.
IR heaters have great advantages - they are an environmentally friendly technique. When the film is working, it is not the air that heats up, but the furniture and other interior items. Thus, oxygen oxidation does not occur, and the quality parameters of the air do not change.
Electric
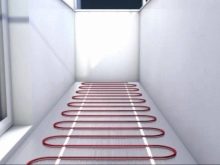
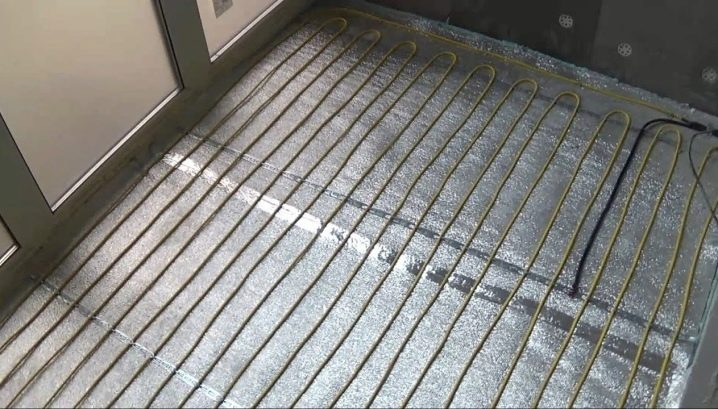
Cable heating elements work effectively on balconies, while the thickness of such a screed does not exceed 6 cm. The advantage of the design is that air does not accumulate inside, therefore overheating is excluded, and the service life of the system increases. For installation, a long electric cable is used, it is fixed in the form of a snake, ordinary tiles are laid on top.
The only drawback is that such a floor can be used no earlier than a month after installation. This is due to the fact that all heating elements must be placed in separate sections and a cement screed must be made. Tiles, laminates and other coatings are applied only after final drying and shrinkage of the base.
Nuances of choice
The choice of installation technique for bottom heating on balconies and loggias is based on their operational properties. A balcony, at its core, is a conventional reinforced concrete slab fixed to the outside of a building. During the construction process, the balcony is attached to the facade; in the standard version, its area does not exceed 3 square meters. m. The maximum weight load of the slab is 200 kg / sq. m, because water techniques on the balconies are strictly prohibited - the stove simply will not support the weight of the structure and will collapse.
It is much more profitable and more economical to choose an infrared or electric floor.
This rule does not apply to the loggia - this is part of the room, and not a stove placed in a separate block, so any type of heating system can be used here. Nevertheless, experts prefer infrared heating, as this is the most economical and easiest to assemble. In addition, infrared film does not have a weight load on the structure, it is convenient to use, regardless of the type of flooring. Another undoubted advantage of infrared solutions is the ability to use an additional room immediately after completion of work.
Comparison of warm floors in the next video.
Preparing for installation
There are several factors that must be taken into account before all consumables are purchased and installation work commences. You can prepare surfaces yourself, or by contacting the services of masters. If you carry out the work yourself, you can save money.
Let's consider the main stages of preparation.
- Determining the location of the thermostat - enough free space should be allocated to it. It should be foreseen in advance to connect the electrical network to it, while access to the heating element should not be blocked by decoration or furniture.
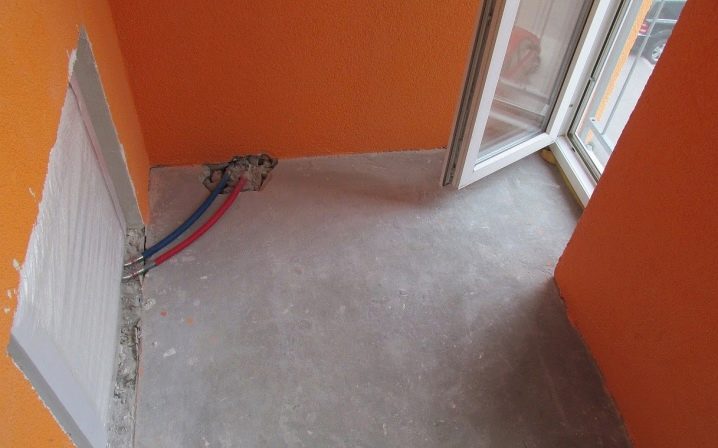
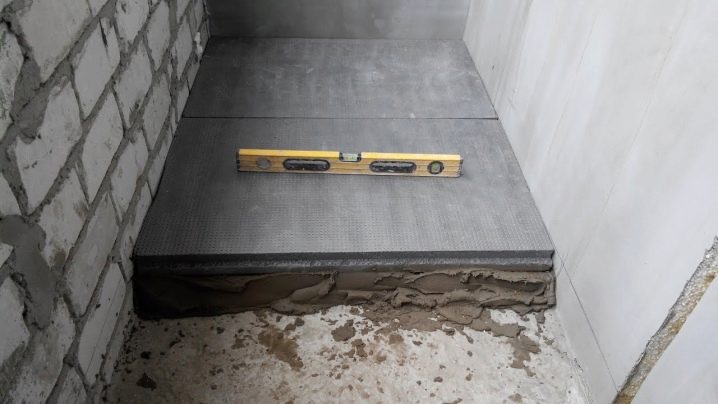
- Before starting work, thoroughly clean the surface from the remnants of the previous coating. The floor must be scrubbed down to the concrete base. All debris, dust and dirt should be removed, the stove should be degreased and dried.
- Irregularities must be eliminated with a rough screed or self-leveling floor.
- It is necessary to carry out thermal insulation in advance.
- All work on the arrangement of the floor should be carried out before finishing on the walls of the balcony room.
- It is recommended to install thermal insulation on the loggia around the entire perimeter, as well as on the walls, especially if you plan to use the additional space as a living room. It is best to use foam with a thickness of 6-7 cm and a density of 20 kg / m3 for this.
- It is advisable to cover the floor with a quality vapor barrier material. All joints of the floor with the walls should be coated with sealant or sealed with metallized tape. Likewise, the balcony and the adjacent wall will be completely isolated from adverse external factors. Only after that you can proceed directly to the arrangement of the heated floor.
The order of work on the loggia is similar.
How to install it yourself?
The process of installing a water floor is more laborious and complex, since in this case it will be necessary to check the pipes before laying them and closing them with a screed. The rest of the options in this regard are much simpler, but no less effective. Let us dwell in more detail on the step-by-step instructions for creating warm floors of various types.
Water system installation
Installation of a water-heated floor is carried out on a concrete screed. Concrete is a good conductor of heat and retains it for a long time. The floor on which the work is planned must have a flat surface - this is important, since during the construction of buildings, balcony slabs are often made at a slight slope so that water does not accumulate, but flows down unhindered.
For the installation of the water system, you will need a layer of waterproofing material. It should protrude slightly beyond the floor and be located above the topcoat.
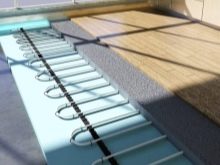
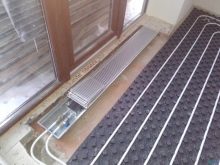
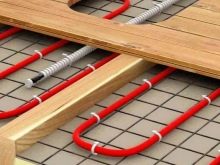
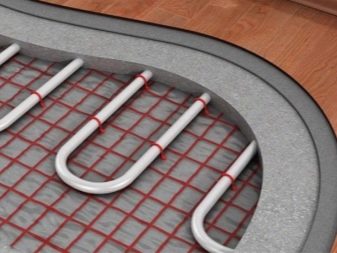
For the flooring, you will need metal-plastic pipes, they are attached to the heat-insulating material with clamps. In the area where the clamp clamps the pipe, a rubberized corrugation is attached. In this way, the folds are protected from refraction.
Before installing the final screed, the pipe is checked. To do this, hot water is allowed through it under a powerful pressure - and for a couple of days they watch the stream.
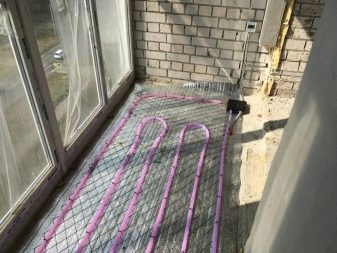
The pipes are laid with a snail so that the distance between them is 10-20 cm. At the same time, they should approach the wall no more than 5 cm. Keep in mind that the pipes should not intersect.
A polyethylene tape is laid around the perimeter of the room - it allows you to create a damping gap when the cement screed shrinks. The screed itself is made from a mixture of cement and sand or any self-leveling material. After that, they wait about a week for the final drying of the composition, then make the finishing lining.
Installation of the cable system
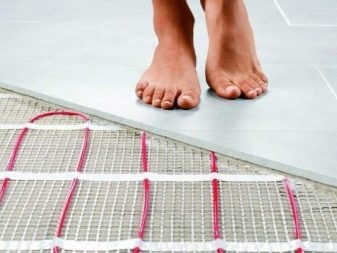
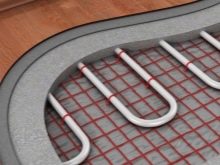
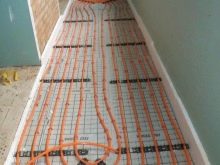
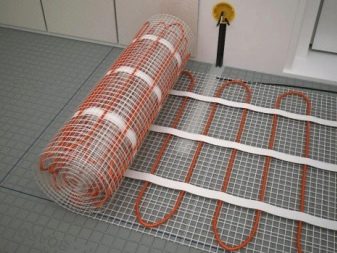
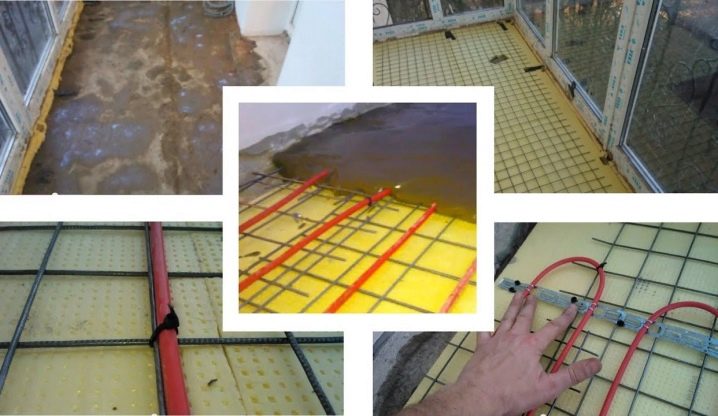
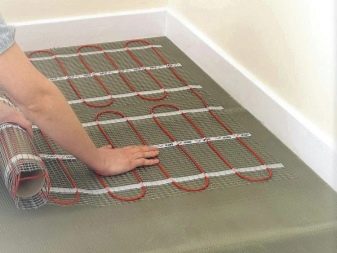
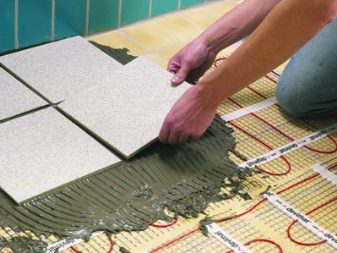
The cable installation technique is similar to the installation of water pipes. To facilitate the work, you can take specialized electrical mats - they are a thin cable fixed on a fiberglass film, it is easier to fix them on a heat-insulating material. A metal reinforcing mesh is laid under the mats. It is not necessary to additionally fix the mats, they are fixed to the plate using special glue.
The cable is fixed in the same way as the water pipes. In the bend zone, it is fixed with clamps. A concrete screed is poured on top, and the tiles are laid.
Installation of an infrared system
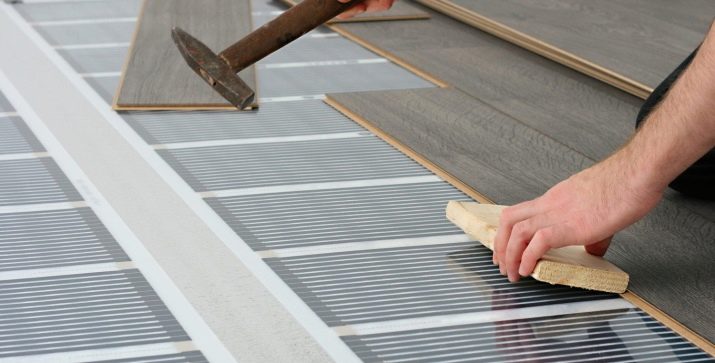
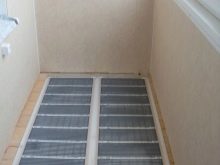
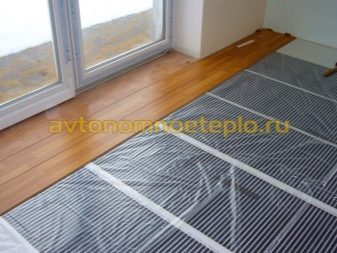
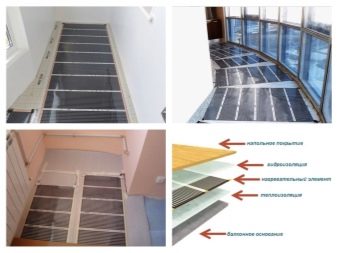
This is the simplest technique and only takes a few hours. Before laying the infrared film, a layer of heat-insulating material is covered with a polymeric foam sheet, laid on top of the foil, and the joints are glued with metallized tape. All contacts and sensors must be flush with the floor, so small pits are formed under them in the insulation.
The film is placed on top of the isolon, all contacts are crimped and insulated. An additional layer of polyethylene is placed on top. Then you can install any topcoat, no cement screed is required after laying the film
Installing a warm floor system on a loggia can be a laborious task, but it is quite possible to build floor heating on balconies with your own hands. After the installation of the finishing screed, the wall cladding of the additional room is completed. The finishing stage of the renovation is the laying of linoleum, tiles and other flooring.
In conclusion, we note that it is extremely important to choose the right type of heating for the characteristics of the room. Particular attention should be paid to the preparation and leveling of the surface, the laying of waterproofing and thermal protection. Pipes and cables must be securely fixed so that not a drop of air remains in the space between the layer of heat-insulating material and the screed.
The underfloor heating system is indispensable for those who often dry linen on the balcony or plan to build a cozy corner on it for their favorite hobby. Glasses do not freeze in a heated room, the heated air from the heated flooring will rise up and will not allow them to become covered with frost. At the same time, on the loggias, where heated floors are equipped, you can be absolutely safe - temperature jumps will not affect the safety of the heating system in any way.
We introduced you to the basic rules for choosing and installing a warm floor system for loggias and balconies. We hope our recommendations will allow you to turn this additional space into a cozy functional area.
