Floor insulation with foam on the balcony and loggia
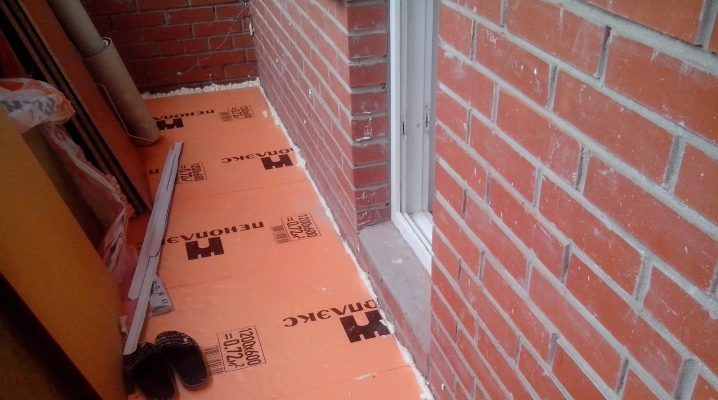
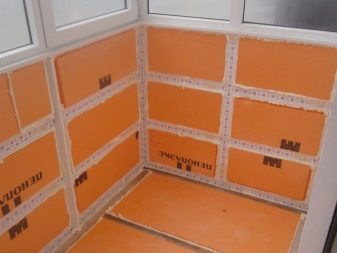
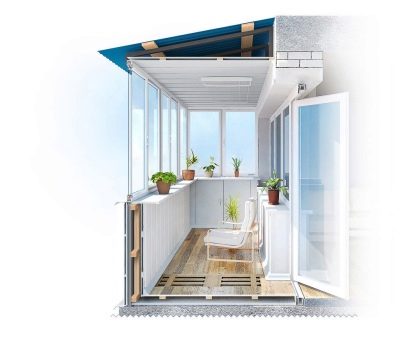
One of the best solutions to expand the living space of an apartment is to insulate a balcony or loggia. It involves taking into account many points, among which the arrangement of the floor takes a special place. Penoplex, a synthetic material with a number of remarkable characteristics, will help to cope with this task.
Advantages and disadvantages
Before proceeding with the insulation of the floor in the room with the help of penoplex, it is advisable to familiarize yourself in detail with the advantages and disadvantages of this material. It is worth noting that there are significantly more of the former, which explains its steadily growing popularity.
pros
The key benefits of foam, also referred to as extruded polystyrene foam (EPS), are listed below.
-
Virtually zero hygroscopicity. This property of the material allows it not to be afraid of moisture, minimizing the likelihood of fungal stains.
-
Low thermal conductivity. According to this indicator, EPPS occupies one of the leading positions among all materials used in construction. So, 20 mm of foam provides the same thermal insulation as 30 mm of foam, 200 mm of wood or 370 mm of brick.
-
High strength with low weight. Compared to foam, EPSP has a significantly higher mechanical stability, so it can be used without the use of support beams - lag.
-
Simplicity and ease of installation. Extruded polystyrene foam is not brittle and is perfectly cut, and it can be laid on any flat surface.
-
Long service life... Subject to the installation rules, penoplex can serve for at least half a century.
It should be noted that the advantages listed above relate to the EPS made in full compliance with the approved standards.
Minuses
Practice shows that the disadvantages of penoplex are mostly not critical.
-
Relatively high costb. It is partially compensated by the duration of operation of EPSP, which is many times superior to cheap heat-insulating materials.
-
Low resistance to acetone, gasoline and other aggressive compounds.
-
Gradual destruction under the influence of direct sunlight (pronounced ultraviolet radiation).
-
Mediocre soundproofing (average value - 32 dB).
The only really significant drawback of penoplex is its low fire resistance. Such material practically does not ignite, but in case of fire it emits smoke hazardous to health. Given this circumstance, for safety reasons, experts recommend laying the EPSP under the screed.
Material selection
The first point that should be taken into account by the owner of a balcony or loggia is the size of the foam-plastic slabs he buys. Everything is simple here - the suitable option is determined by the dimensions of the room. It is equally important to pay attention to the ends of the products - they can be flat or equipped with locks.
Of particular importance is the brand of penoplex, according to which one can draw a conclusion about its most significant parameters - first of all, strength.
-
Plates with a mark of 31C have the least resistance to mechanical stress. They are not suitable for floor insulation on a balcony or loggia - such products are intended for walls and ceilings.
-
Brand 45 boasts excellent durability, however, its indicators for solving the problem under consideration are clearly redundant.
-
Optimal solution - type 35, representing the golden mean.It is stable enough to install furniture without the risk of deformation.
Equally important is the choice of the thickness of the purchased boards, which is in the range from 20 to 100 mm. A higher value provides better insulation, but the price to be paid for this is reduced free space in the room.
As a rule, products with a thickness of 20-50 mm are sufficient to insulate a balcony or loggia - with the exception of regions with extremely cold winters.
And also it is worth considering the following nuances:
-
if the owner of the insulated room does not plan to use it as a full-fledged room, 20-30 mm thick slabs will be enough for him;
-
in a situation where the balcony is equipped for a comfortable stay, the products should be thicker - about 50 mm.
In addition, the reverse side of the insulated surface is important. The colder it is, the greater the thickness of the boards to be mounted must be.
Preparation
There are several points that precede the procedure for insulating the floor of a balcony or loggia with penoplex. They should not be neglected, since the result of the work depends on them directly. Here is a list of preparations.
-
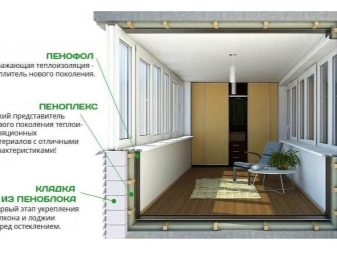
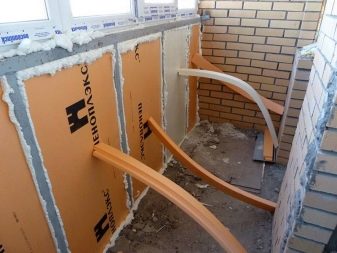
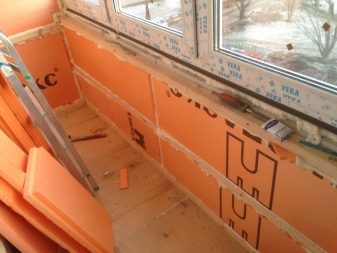
Insulation and glazing of the balcony. They are carried out on condition that they have not been implemented earlier. They are mandatory, since without them, the arrangement of the floor does not make sense. The walls and ceiling of the room are subject to insulation, and the installed double-glazed windows must have at least two chambers.
-
Thorough cleaning... Before starting work on floor insulation, it must be cleaned of dust and debris.
-
Concrete surface repair. Mandatory for chips and cracks. If they are too large, it is most rational to refuse to seal them with putty in favor of pouring a new screed. If old tiles are available, they are disposed of with a punch or other suitable tool.
-
Surface treatment with anti-mold agent... If there are no visible spots, specialized solutions are not needed - a conventional composition with an antifungal effect is sufficient.
-
Determination of the exact location of switches, sockets and other stationary elements... As a result of the installation of thermal insulation materials, the floor rises slightly, which must be foreseen in advance.
The last point is to ensure dryness in the equipped room. If it is insufficient, the main work on floor insulation cannot be carried out.
Step-by-step instructions for warming
The procedure for insulating the floor with penoplex is in many ways similar to similar work using foam. As for the methods for solving the problem under consideration, they can be conditionally divided into two groups - with laying along the logs and with arranging the screed. Each of the options has its own characteristics, determined by the topcoat and other factors.
By lags
The presented method is the most time consuming. First of all, it is relevant in situations requiring a significant rise in the floor level without excessive pressure on the balcony slab. The arrangement of the screed in such cases is strongly discouraged in order to avoid damage to the structure.
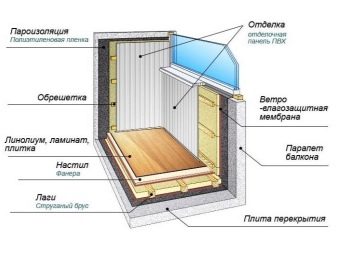
The described procedure assumes a certain course of action.
-
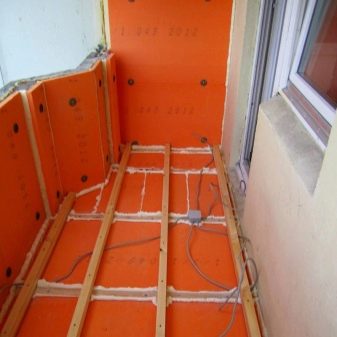
Installation of waterproofing concrete slab... You can use both specialized membranes and bituminous mastics, and more prosaic solutions - roofing material or film.
-
Markup... It is carried out using a spirit level. The installation level of the lag is determined by the threshold or the floor of the adjacent room (the topcoat should not protrude above the specified value).
-
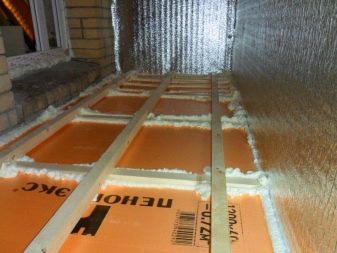
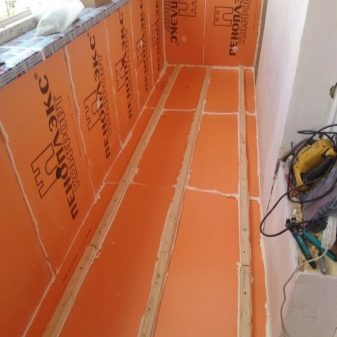
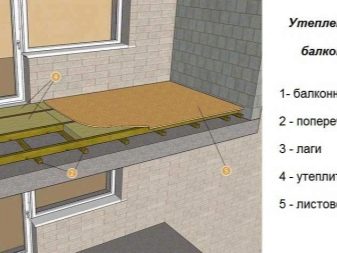
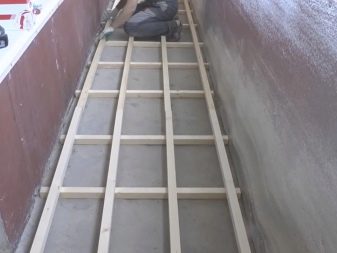
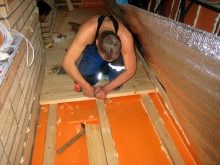
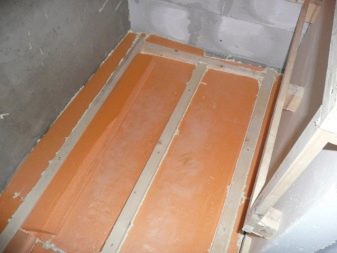
Laying support beams... It is carried out in 30-40 cm increments. The timber used must be even, and its section must be square (side length - 5 cm). The optimal indentation of the extreme lags from the walls is 10 cm, the ends of the timber - 3 cm. The beams are fastened to the balcony slab using anchor bolts.
-
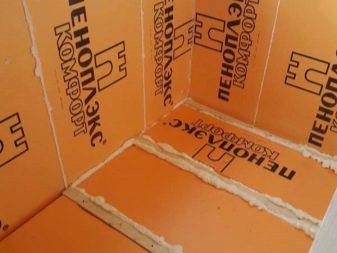
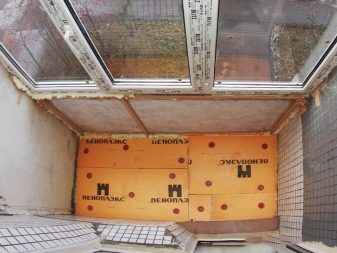
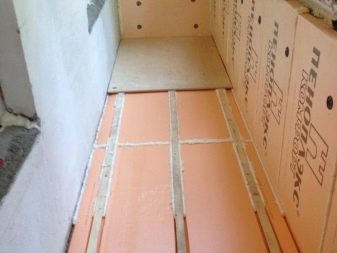
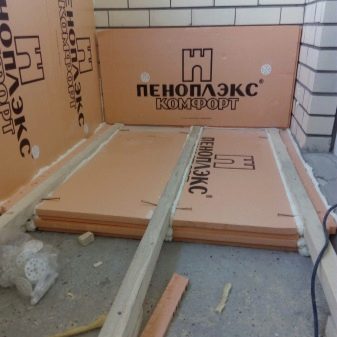
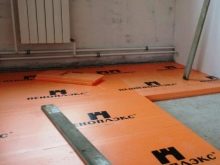
Fixation of foam boards in the cells between the support beams. The key condition is the tightness of the connection.The remaining gaps are filled with polyurethane foam sealant.
-
Laying a layer of heat and vapor barrier material - for example, penofol.
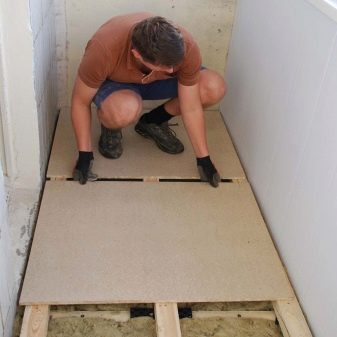
Further, the owner of the premises can proceed with the installation of the subfloor made of chipboard or boards and the installation of the topcoat.
No lag
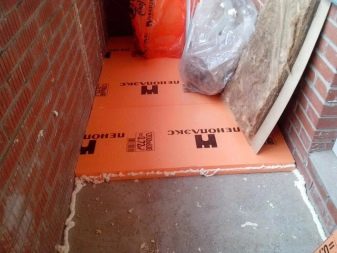
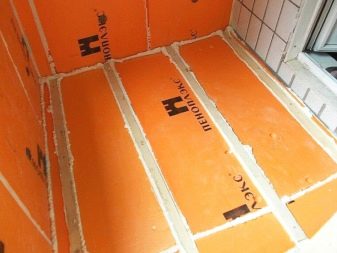
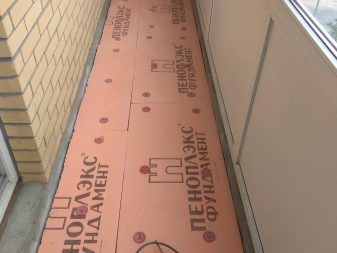
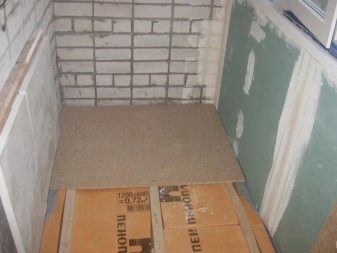
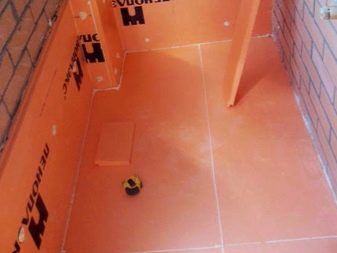
In this way, you can insulate the floor by laying the foam directly on the concrete slab. A reliable fixation is provided by an adhesive mixture for expanded polystyrene products. The installation of the coating is started after thorough priming of the surface, adhering to the following algorithm:
-
cutting slabs of a suitable size;
-
preparation of an adhesive mixture in a large container (to speed up the process, it is advisable to use a drill with a nozzle);
-
applying glue with a notched trowel - both on the base and on each of the plates;
-
connection of the surfaces to be glued (in order for the contact to be tight, it is necessary to press down the penoplex with something heavy);
-
filling joints with polyurethane foam sealant.
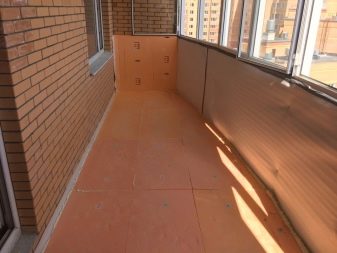
After the glue is completely dry, you can remove heavy objects from the work surface and start arranging the floor from chipboard or plywood. It should be laid directly on the thermal insulation layer. An alternative solution is to abandon wood-based panels in favor of a concrete screed.
Under the screed
As a rule, the considered technique is used in situations when the owner of a balcony or loggia is laying a "warm floor". At first, it assumes the same algorithm as in the case of installation without lag - before gluing the foam and filling the joints. Upon completion of these steps, you can proceed with the installation of the heating circuit, performed in several stages:
-
covering the entire floor surface with vapor barrier material;
-
laying a foil reflector (the mirror should be directed upwards);
-
placement of the thermal circuit on the working surface;
-
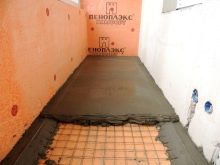
pouring the first layer of concrete screed (recommended layer thickness - 3-4 cm)
-
laying a reinforcing mesh (performed after the solution has completely set);
-
placement of beacons that facilitate the procedure for leveling the working surface;
-
filling the final layer with a thickness of about 4 cm;
-
final leveling of the surface along the beacons;
-
installation of the final coating.
If the owner of the premises does not plan to install a "warm floor" contour, he should reduce the total thickness of the concrete screed to 4-5 cm.
Under the laminate
A prerequisite for laying the laminate is the presence of a hard surface. This means that it is impossible to put such a coating directly on top of the penoplex. Ignoring this condition can lead to punctual punching of the laminate - the appearance of dents in places experiencing maximum stress.
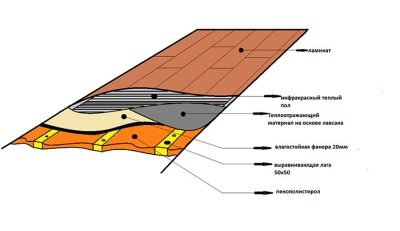
To properly insulate the floor under the laminate, you should use any of the methods discussed above. Place chipboard or plywood above the foam layer, the strength of which is quite enough for the subsequent laying of the laminate.
Helpful hints
Finally, it remains to list a few tips that can be useful when insulating a balcony or loggia with penoplex:
-
to simplify the installation of EPSP boards, it is reasonable to choose options with a lock connection;
-
every piece of wood used when installing the battens, must be pretreated with an antiseptic;
-
the final covering of the balcony or loggia should organically combine with the flooring of the adjoining room (be the same or very similar).
In general, the insulation of premises with extruded polystyrene foam is quite a feasible task for most interested parties. Anyone who wants to save financial resources and gain useful experience can solve it with their own hands.
For insulation of the floor on the balcony, see the video below.
