Insulation of the balcony and loggia with penoplex
Penoplex is one of the most popular materials for insulating various objects and structures. They even insulate oil pipelines. In this article, we will talk about the insulation of balconies and loggias with penoplex, and also consider how to do it yourself, without hiring a special team.
Advantages and disadvantages
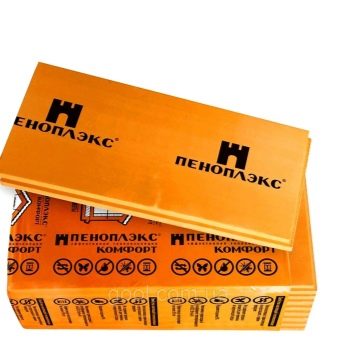
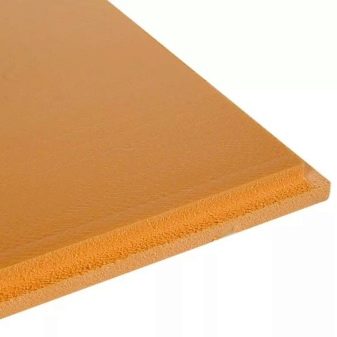
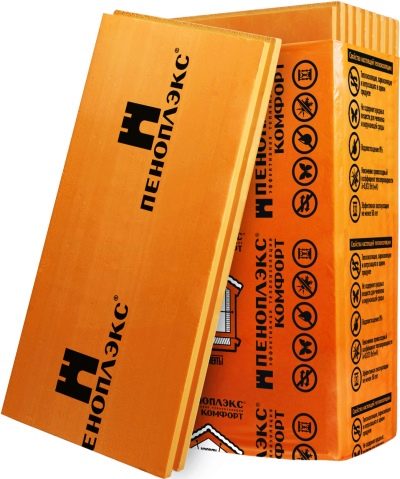
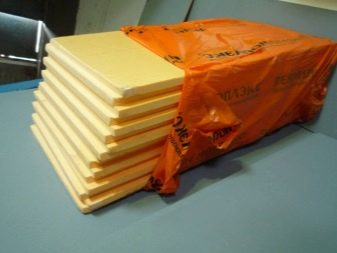
Before you start insulating a balcony (loggia) with penoplex, it is advisable to study the characteristics of this material. In another way, it is called extruded polystyrene foam. Produced in sheets with a thickness of 20 millimeters. Many experts consider this material to be even better than mineral wool.
You can work with such material at the lowest temperatures. However, these are not all of its advantages.
- Low thermal conductivity (this indicator is much better than that of mineral wool or foam). This effect is achieved due to the structure of the insulation: its structure consists of numerous cells filled with air.
- Optimal dimensions, allowing you to work in small rooms, saving space. At the same time, penoplex structures are obtained reliable and with a high level of efficiency.
- Environmental friendliness. In terms of composition, this material is much safer than similar options.
- High level of moisture resistance (because of this, it is recommended for use in places with excessive humidity). Due to the peculiarities of the structure of the material, this indicator reaches 100%, so the penoplex never decays and can last at least half a century.
- High strength. Despite its lightness, the material is able to withstand high compressive loads.
- Fire resistance. When buying, be sure to pay attention to the letter C, which indicates fire safety. This marking means that the material is impregnated with fire retardants - substances that can resist fire.
The main advantages for those who decided to insulate the balcony on their own will be the low weight of the tiles, ease of cutting and installation. However, masters need to know about the disadvantages of penoplex:
- this insulation is afraid of direct sunlight, therefore it is not recommended for sheathing on the outside of loggias;
- Contact with this material of oil products and solvents is fraught with corrosion of structures, therefore it is important to study the composition of the glue and the foam with which you will work before installation work.
Penoplex is more expensive than traditional insulation. This is another disadvantage, however, if you do everything yourself, you can save money through installation.
Material selection
Penoplex is a slightly improved version of polystyrene, which is produced in plates. There are several groups of such products, and they may differ in technical characteristics: the level of thermal conductivity, density and thickness indicators. Each group has its own labeling and purpose. Grade 31C is considered the softest foam. They finish surfaces that do not bear heavy loads. So, this material is suitable for insulating walls and ceilings, but not floors.
The floor base is insulated with material under the brand 35. This species is quite resistant to stress, because it comes with a higher density. Such a penoplex does not react to mechanical stress and does not deform. It can withstand the walking of people, there are no dents on it.
Such a material is applicable for the construction of a warm floor; it can be poured with concrete if a screed is made.When insulating a balcony, it is important to choose the right thickness of the foam.
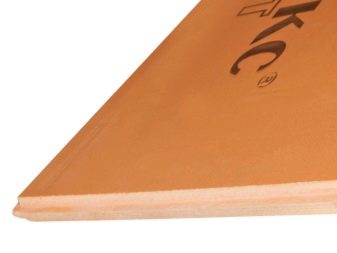
The minimum thickness of the material is 2 cm, the maximum is 10 cm. The thinnest slabs (2 cm thick) have smooth edges, while the others have edge protrusions. These are special places for the joints of the slabs with each other. Thanks to such protrusions, individual sheets are tightly connected, which saves the master from additional work on sealing the seams.
If you intend to insulate walls, you will need 5 centimeters thick penoplex. Thicker slabs will slightly increase the efficiency of thermal insulation, but will reduce the balcony area.
Step-by-step instruction
To properly insulate the loggia from the inside, you need to work around the entire perimeter. The technology includes wall, ceiling and floor insulation. It is ineffective, for example, to tackle only the walls: in this case, the inside will still not be warm enough. Therefore, when combining a loggia with an apartment, it is especially important to perform a full-fledged process. The scheme of preparatory measures is as follows:
- identification in the bases of all the cracks through which the cold breaks into the room;
- cleaning them from dirt and sealing them with special foam;
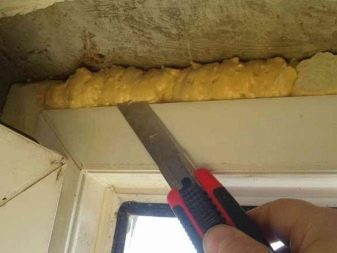
- removal of excess frozen foam.
You have to work with the following tools:
- perforator (for working under plaster);
- electric drill (to fix the penoplex to concrete);
- hammer;
- sharp knife (construction) or hacksaw.
You will also need a staircase and a building level. Consider the step-by-step work to be done with your own hands when insulating each part of the balcony.
Floor
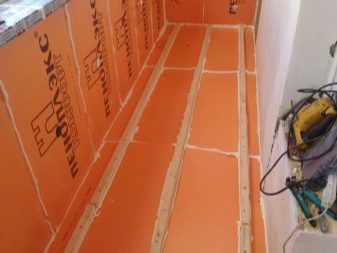
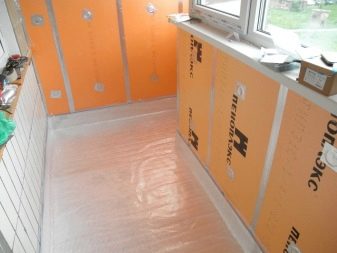
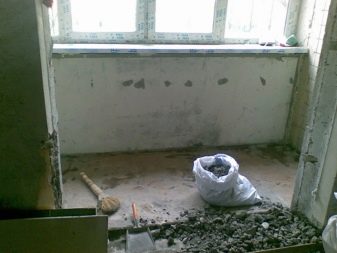
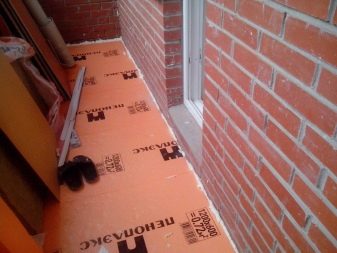
Before you start to insulate the floor, it must be well leveled. It is possible that you will have to deal with the screed. Next, you need to prime the floor base and start the main work on floor insulation:
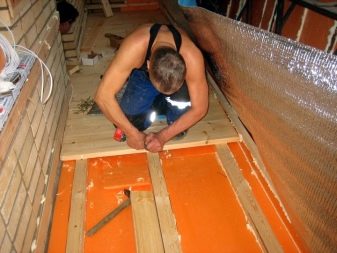
- lay the waterproofing material on a flat surface;
- use foam to attach the foam boards to the floor;
- lay a vapor barrier film on the insulation;
- level the surface with moisture-resistant plywood, chipboard;
- cover the floor with a topcoat: linoleum, carpet, lay tiles.
Walls
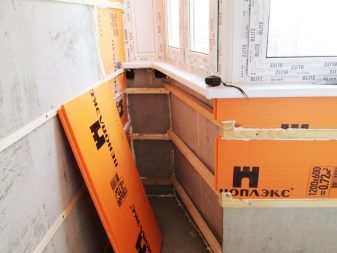
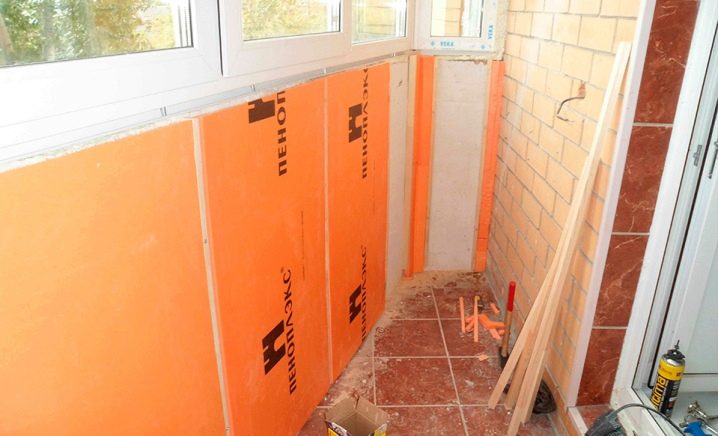
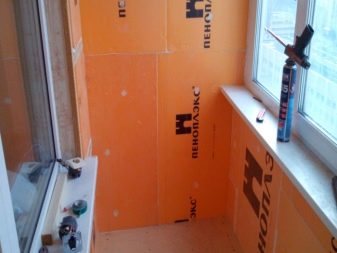
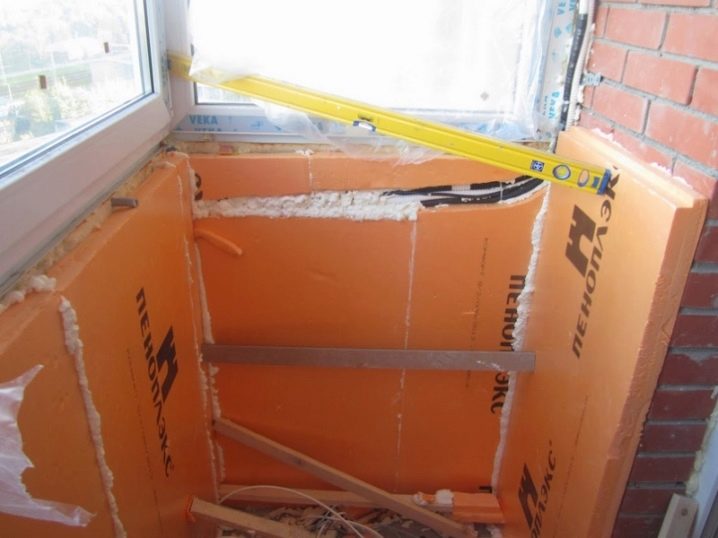
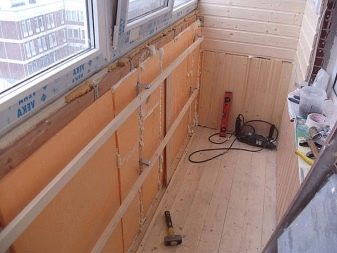
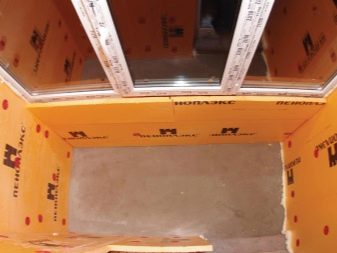
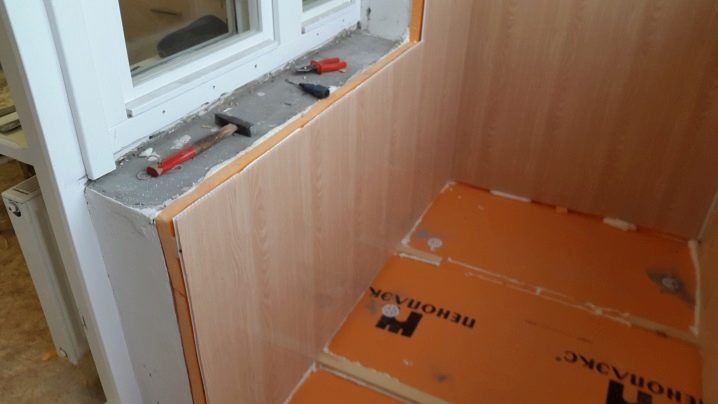
Start insulating the walls from the corner above the window. If there are blind side walls, then it is necessary to start the insulation of the balcony from them, and only after that move on to the front, front wall. Here is an algorithm for performing work on wall insulation:
- measure the desired parameters and cut off the sheets of foam with a hacksaw;
- rinse the smooth base of the foam with a knife (small notches are made) in order for the glue to better saturate the material;
- glue (you can choose nails as a substitute) apply to the central part of the tile and around the perimeter (it is better to do this immediately before gluing, and not in advance);
- press the penoplex firmly to the place of gluing, with the end in the corner;
- grease the second workpiece with glue and attach the butt-end to the first plate;
- at the end of the entire sheathing, take construction foam and seal all the seams;
- apply a vapor barrier coating on the thermal insulation layer;
- at the end, finish the wall with plastic, drywall, clapboard, decorative tiles.
Ceiling
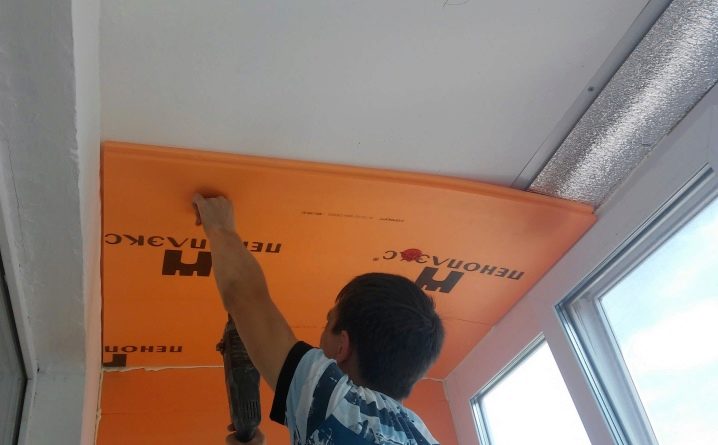
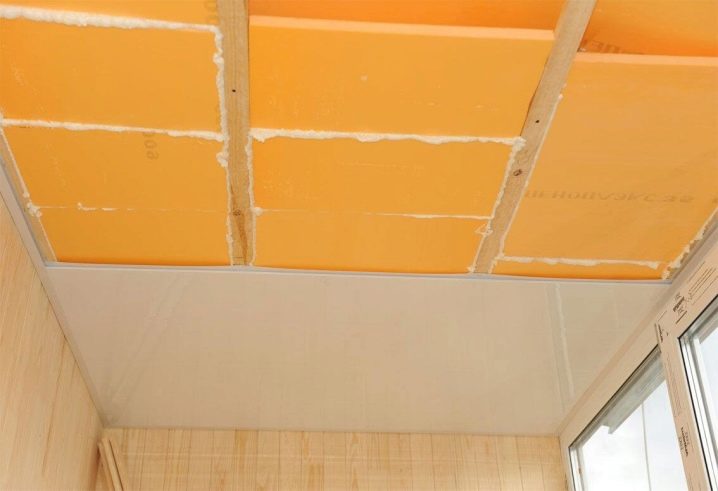
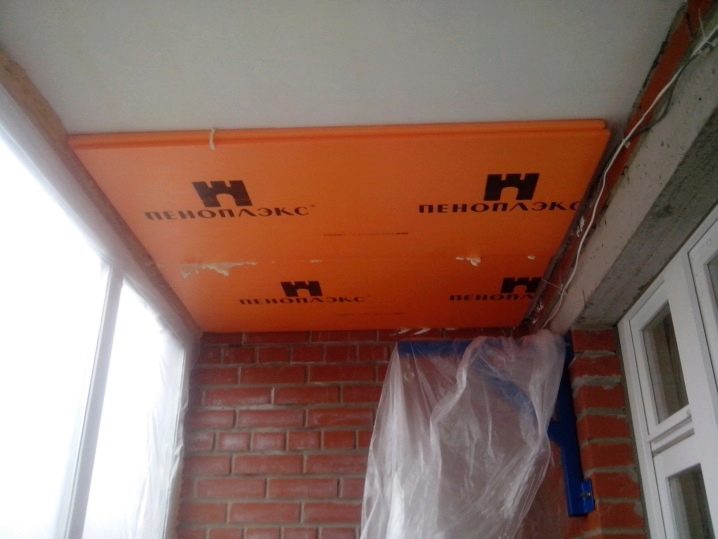
Ceiling insulation is also carried out on a flat surface, therefore, if necessary, make repairs first. Insulation can be done without lathing, only in this case additional fastening is required. To do this, use special plastic dowels (in the shape of an umbrella).
Here is the work algorithm:
- attach the foam board to the ceiling and drill holes for fastening in two places;
- fasten the sheets;
- take polyurethane foam and close up all the flaws (cracks, joints), especially carefully process the joints around the perimeter: heat comes out most of all through these cracks;
- when the foam dries, attach the mesh to the structure and putty.
For the ceiling, you can also build a crate and seal everything up with plasterboard. Let's get acquainted with the order of work:
- build a frame of wooden bars, build everything under a level (with a very uneven surface, fasten the bars with drywall suspensions, in other cases, use dowels);
- grease the penoplex around the edges and in the center with glue in a chaotic manner, then glue it to the crate;
- wait until the glue hardens well, then seal the seams with foam;
- finish the ceiling.
In some cases, the ceiling under the finish is sewn up with reflective material: this is done when there is a cold loggia at the top.
If there is no additional threat of cold air ingress, then it is not necessary to use reflective material.
Features of outdoor insulation
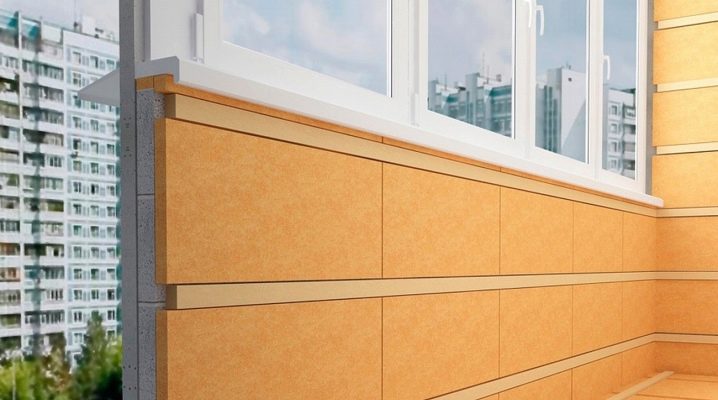
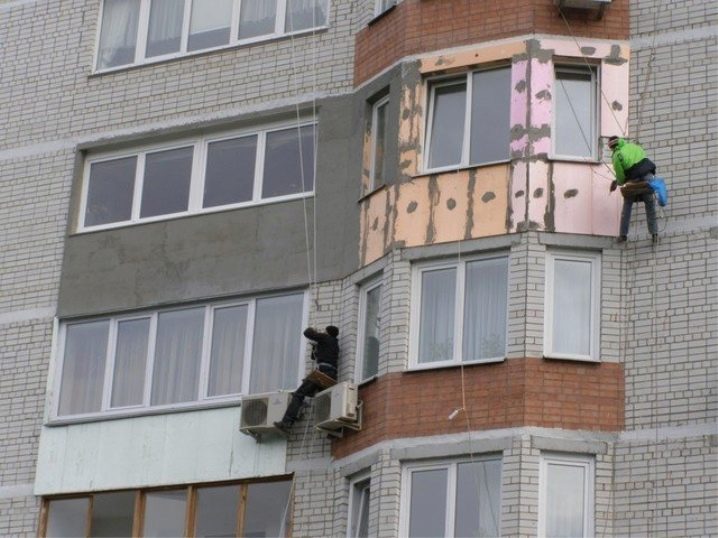
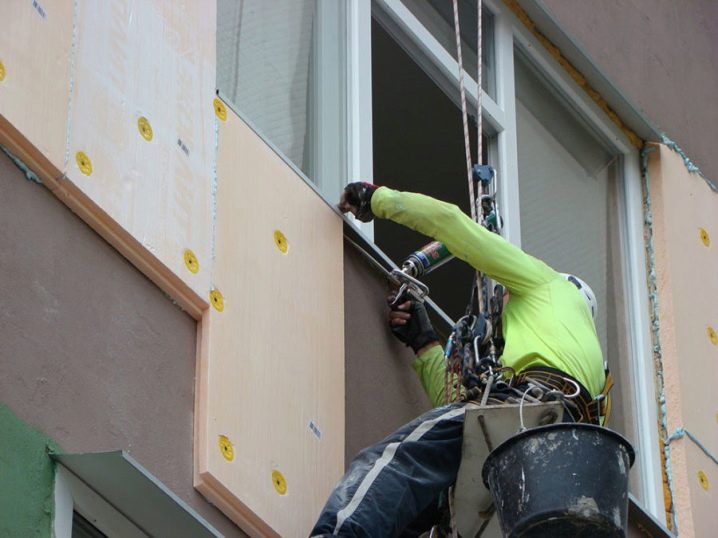
Outside, only the walls are insulated. The ceiling and floor are exclusively internal works. External insulation begins with preliminary cleaning of the walls, sealing all cracks and leveling the surface. The contraction of the lathing is removed from the wooden balcony. After preliminary work, you will need a facade primer. The walls are treated with it, after which a waterproofing layer is applied. The fixation of foam insulation boards to the outer part of the balcony is carried out on the lathing. Such a structure is constructed using liquid nails or special glue for outdoor use.
Prepare the slabs, coat them with glue and press firmly against the wall. The casing should be given time to dry: in good weather, this takes at least a day. Further, the seams are processed with polyurethane foam, and the hardened excess is removed (they are cut off with a sharp knife). The final stage of external insulation is finishing. To carry out all the work on the outside balcony insulation, you will need a long stepladder (for work on the ground floors) and additional insurance in the form of climbing equipment for performing high-altitude work.
How to close?
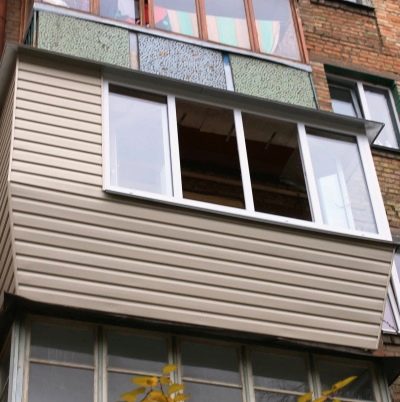
Siding panels are perfect for finishing the outer surfaces of the walls. They offer good climatic protection and are attractively designed. However, decorative plaster is quite capable of becoming a worthy alternative to siding.
But the work on its implementation is divided into two stages: first, the first layer is applied (up to 3 mm), in which the reinforcing mesh is recessed. After this layer has dried, the surface is leveled. Final work - painting the exterior walls in any color you like or to match the overall design of the house.
After warming with penoplex, the balcony can be sheathed with PVC panels, a good option is plasterboard sheathing (this allows you to then paint or glue the wallpaper). You can also decorate the room with clapboard. The interior decoration of the balcony will depend on what you plan to organize there. Experts advise to insulate the balcony with penoplex simultaneously from two sides: from the outside and from the inside. So there are more guarantees that the room will not be cold after carrying out the appropriate work.
Be sure to calculate your strengths and capabilities. It may well be that you can handle the insulation inside with your own hands, and you will not need the help of the construction team. But for outdoor work, in many cases, you have to invite professionals.
How to insulate a loggia with your own hands, see the next video.
