All about the insulation of the loggia
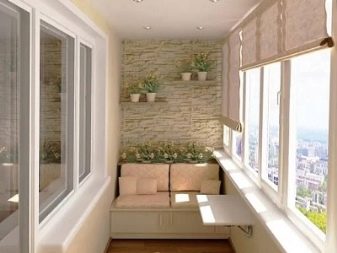
Loggia is a terrace, although few people know about it. It is formed by an open area, literally built into the house. The loggia does not protrude beyond the plane of the common facade, having only one open side - the front, as well as a protective fence. To the right and to the left of a typical loggia there are blank walls extending from the bottom to the ceiling surface. Obviously, these almost "street meters" can be used rationally, and if they are insulated, the living space in the apartment will become larger.
Advantages and disadvantages
Insulation of a loggia is a new opportunity for an apartment. Usually, the idea of insulation comes to the owners of a glazed loggia, but you can start to insulate literally from scratch, first solving the issue of glazing.
Let us examine what are the advantages of insulation.
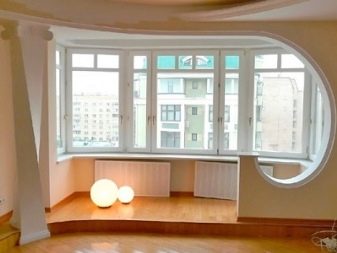
- Loggia can be a continuation of the living room... Thus, you can get an enlarged room, where it is easier to organize zoning, expand the functionality of the room or make it more comfortable. An enlarged kitchen can be obtained from a standard kitchen, with a bar counter in place of the former window block, for example. But such insulation provides for the unification of two premises, which, according to the law, must be coordinated with higher authorities.
- Reformatting the loggia into a room... There will be no unification, the loggia will remain isolated, but already a living room. They have an office, a playroom, a library, a mini-gym and more.
- Even if right now there is no clear desire to turn the loggia into some kind of room, it can arise during the process of living in an apartment. There will be no need to deploy a global repair. Therefore, especially often they insulate the loggia after purchasing a dwelling, when repairs are ongoing throughout the apartment.
What are the disadvantages of insulation:
- the cost of the project can cost a round sum (it depends on the materials, as well as on whether professionals will be involved in the repair, or it will be possible to do it on their own);
- the room adjacent to the loggia may depend on the repairs taking place on the loggia (the level of noise and the need to use it for the passage, and sometimes for storing materials).
However, the owners of the apartment are familiar with these points, and they cannot become a hindrance if the decision on insulation is made.
What materials are used?
Thermal insulation materials are selected taking into account strength, weight (the load on the base should be minimized), safety.
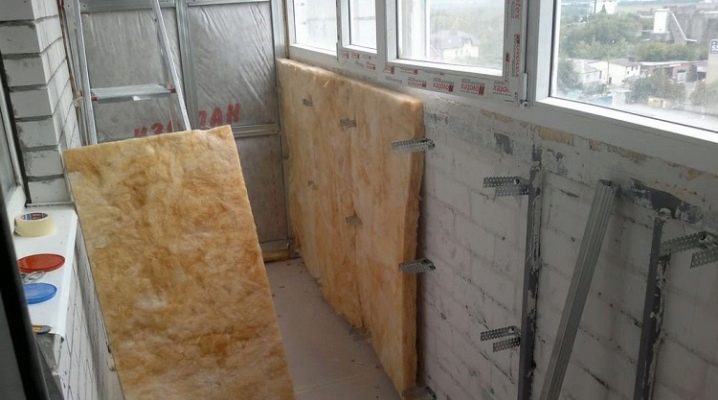
Mineral wool
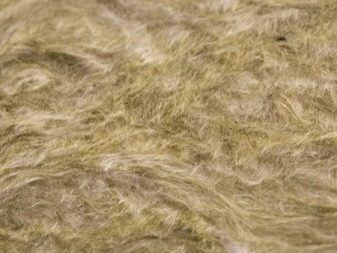
Of all its variations, the most reliable and safe insulation will be basalt wool. It can be called the most environmentally friendly type of mineral wool.
What are the advantages of the material:
- the coefficient of thermal conductivity is low;
- waterproofing;
- good air ventilation;
- fire resistance;
- strength;
- mold and mildew on this insulation will not start;
- resistance to chemical compounds.
Among the disadvantages, one can single out the formation of dust when cutting the material, as well as the need for overalls for work. Well, such material is not cheap.
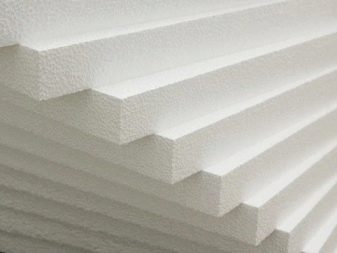
Styrofoam
This material is in demand for insulating loggias and balconies, usually a sheet variety of polystyrene is used, the thickness of which is 5 cm.If a loggia is insulated in a house located in the northern region, it is better to take a 10-centimeter foam plastic.
What are its advantages:
- the coefficient of thermal conductivity is low;
- the strength is satisfactory;
- high moisture absorption;
- hygiene;
- ease of installation;
- duration of use - up to 30 years.
What are the disadvantages of insulation:
- air conductivity is low, you will have to think about additional ventilation;
- sound insulation indicators are also low;
- resistance to chemicals, varnishes, drying oils is insufficient;
- the material is flammable.
With so many significant drawbacks, the material is still in demand, because this budget option allows you to organize insulation cheaply.
Extruded polystyrene foam
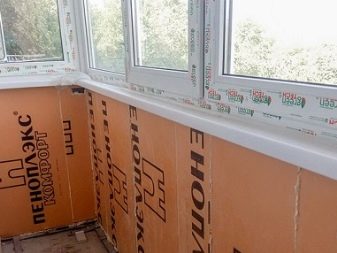
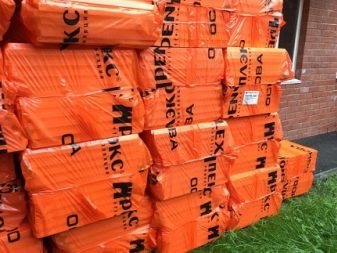
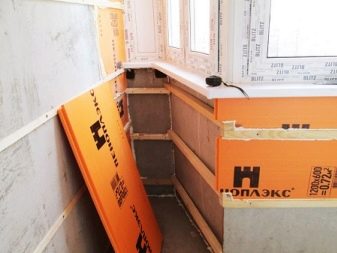
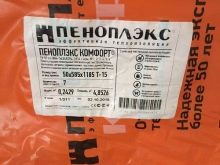
Another name for this insulation is penoplex. His the main disadvantage is the high cost... And, in fact, it is an improved version of regular foam. The thermal conductivity index of foam is even lower, since the material has a porous uniform structure. It also has less fire hazard than its predecessor. For all other indicators, the characteristics of the materials are the same.
Polyethylene foam
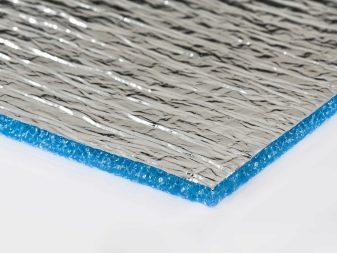
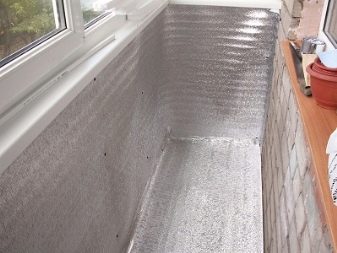
Penofol is also easy to work with. This material reflects heat and is available in mats and rolls. But still it is used in conjunction with something else, because it will not give the required level of thermal insulation alone... Penofol "A" has a one-sided reflection layer, and this material is suitable for combined insulation. Penofol "B" has a double-sided reflective layer, suitable for underfloor heating, as a substrate under the screed. And penofol "C" is a self-adhesive type that is picky about surfaces.
Important! In order for this material to really reflect heat fluxes, it is laid with the metallized side directed towards the inside of the loggia.
Isolon is an improved version of penofol, it is also realized in rolls, has the property of reflecting heat flows. It is a fire-resistant, durable, temperature-resistant material that exhibits good thermal insulation and sound insulation properties. It has a very long operational life, it is quite comfortable to install and will not allow water to leak in the event of such an emergency. But repairs with isolon are a little expensive.
Preparation
Whatever the final choice of insulation, the method of preparing the loggia for the process will be the same.
Let's get acquainted with the sequence of preparatory work.
- Clean absolutely all surfaces from traces of old finishes, cement and other.
- Remove small debris, dust the space. Better to do this with a vacuum cleaner.
- All the cracks found must be covered with cement mortar. Do the same with cracks and gaps.
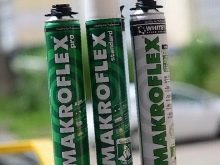
- Expand the gaps between the plates, spray them with water, and then fill them with polyurethane foam.
- Excess foam is cut off, as well as sealant and other used compounds. This is done when all surfaces are dry.
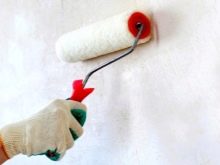
- Coating surfaces with a primer.
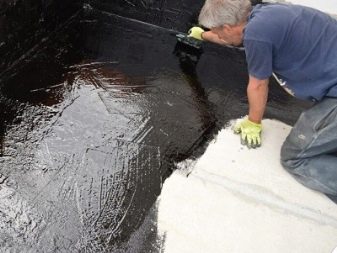
And also the list of preparatory work will include the waterproofing of the loggia. This is done with the floor and the bottom of the walls. You can waterproof a room in different ways.
Here are the options for waterproofing in the preparatory phase.
- Using roll materials... The calculation is primarily for roofing material. Once it was glued onto mastic heated with a burner, but now roofing material is produced with a ready-made adhesive layer, which means that it is no longer necessary to heat the material.
- Penetrating compounds and surface impregnation... This solution is suitable for concrete surfaces. But it is necessary to apply such a waterproofing layer very carefully, because these compounds are dangerous with burns to the skin and mucous membranes. They must be applied in several layers, they must penetrate into the thickness of the slab, crystallize there and seal the pores.
- Liquid rubber as a coating... Better for tiles and floors. The composition is poured directly in puddles, and then the surfaces are treated with a roller and a brush.
- Waterproof plaster mixes as waterproofing... The surface coverage is the same as for liquid rubber.
- Oil thickened paint... This solution is typical for tiled walls, but concrete will absorb it very quickly.
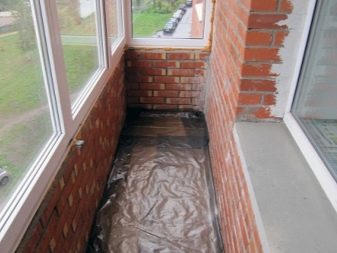
- Installation of thick plastic film... It should be laid so that the film becomes the so-called container for insulation.
When the preparation is completed, you can proceed directly to the insulation.
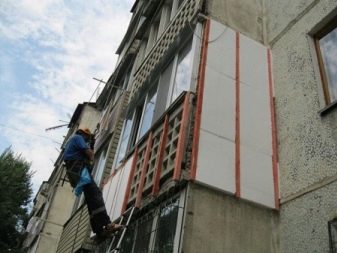
Features of insulation outside
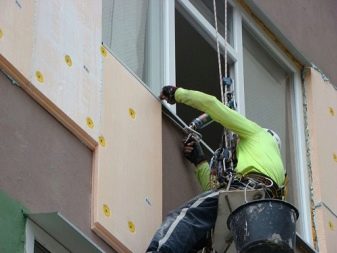
It is reasonable to insulate the loggia from the outside, because it is the outer insulation that is the most effective. The cold will be contained specifically from the outside, and this applies to all materials and surfaces, and also to the load-bearing ones. And even with internal insulation, water condensate at the border of the temperature change will enter the living area, that is, the internal walls of the loggia will sweat. If there is an opportunity to shift this not the most pleasant phenomenon outside the loggia, this is what you need to do.
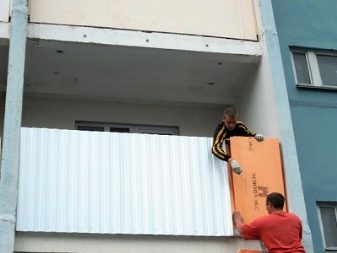
And the advantage of external insulation is that any, even modern thermal insulation is massive. And this will take a little space from the loggia, and sometimes these centimeters are very important. The cladding on the outside can be carried out using inexpensive polystyrene foam.
The step-by-step instructions include several steps.
- You need to start by cleaning the surface of the site, sealing deformations and eliminating irregularities.
- The slab will certainly be primed, which will contribute to optimal adhesion with the adhesive.
- Now the fixing of foam boards starts... They are fixed in a checkerboard pattern using bituminous mastic or dry diluted glue.
- The surface must be moistened before gluing... The solution is spread over the surface with a notched trowel, and the glue from the gun is applied along the perimeter of the panels, in their central part - pointwise.
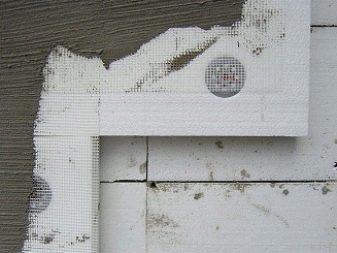
- After the glue has dried to promote better adhesion, insulation is nailed with plastic dowels... This cannot be done without a hammer drill with an 8mm drill bit. Through the penoplex, 5 holes are made per sheet, they should enter the concrete by 5-6 cm. Mushrooms are inserted into these holes, which fasten metal dowels from above.
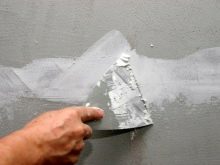
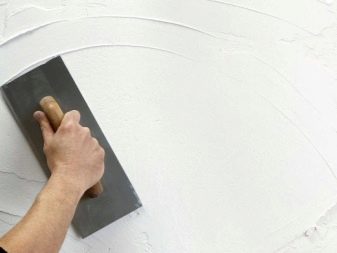
- The surface of the laid sheets must be plastered with glue solution... The first layer, not yet dry, should be laid with a reinforcing mesh, and then drowned in it. Then comes the next layer, leveling.
- Further you need to wait two days, and then the surface can be finished... It is primed with concrete contact, it must dry, after which a layer of gypsum decorative putty is applied.
- Loggia may remain white, but you can paint it in any other color.
This is how outdoor works look like, and if you can't do them yourself - and this is difficult, it is better to attract specialists.
How to insulate the inside with your own hands?
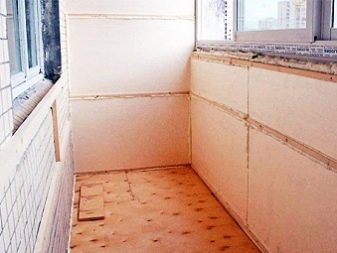
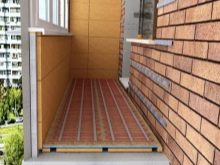
The loggia, in its ideal form, so that it is warm in winter and summer, is insulated on several planes - the floor, ceiling, parapet and walls.
Floor
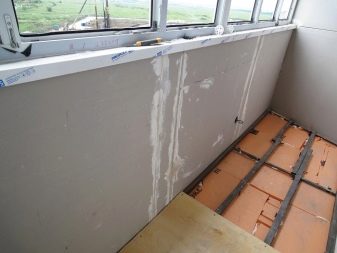
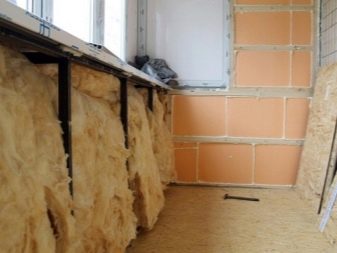
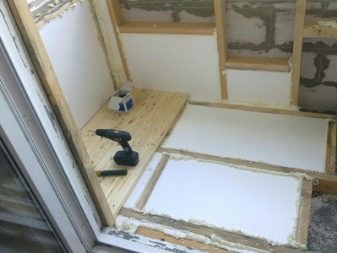
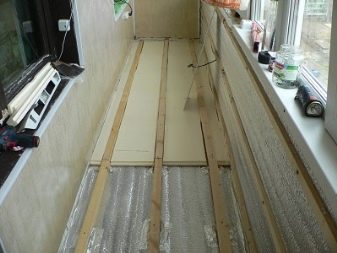
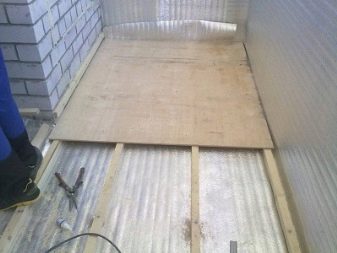
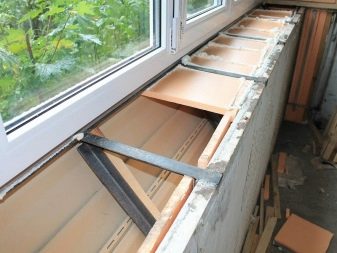
After laying the waterproofing on the floor, you need to install logs, they will be in the form of metal beams or wooden bars. For a loggia, wooden elements are probably better suited. They must be well dried and treated with antiseptics. The height of the bars is not higher than 15 cm, the distance is equal to the width of the insulation material. Foam will help to fix the bars in the desired position, to close up the distances between them.
After that, a layer of thermal insulation is laid so that there are no gaps between the material and the lags. If the insulation is multi-layer, the subsequent layer is displaced so that there is no overlap of the seams. Then a vapor barrier layer is required, which will be protection against condensation. And you can attach a sub-floor made of plywood, boards, fiberboard or chipboard to the logs. When all work is completed, the topcoat is laid.
Ceiling
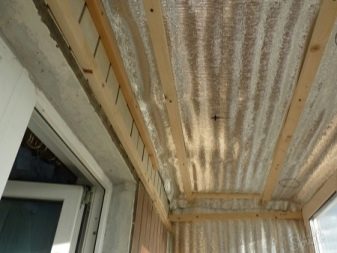
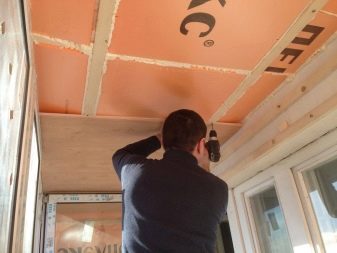
Thermal insulation of this surface can be frame and frameless. Any of the technologies is preceded by the processing of the ceiling surface with an impregnation with an antiseptic composition.... If the insulation is frame, then it begins with the formation of the crate, which means that bars and dowels will be required. Further, insulation is mounted in the crate - mineral wool, basalt or stone, suitable for this.The insulation will hold without additional fasteners if it is cheap foam, but the mineral wool is fixed with construction foam.
After this stage, the ceiling can be finished with any finishing material: plasterboard or clapboard, plastic panels. If a frameless method is chosen, the slab is treated with a strengthening soil: this way the insulation material will be fixed more firmly. Then glue without toluene is applied to the sheets, and the insulation will be glued to the ceiling.
If you want more confidence in the fastening, you can use the dowel-nails. The joints will be sealed with polyurethane foam, and the rest of it will be cleaned off.
Parapet and walls
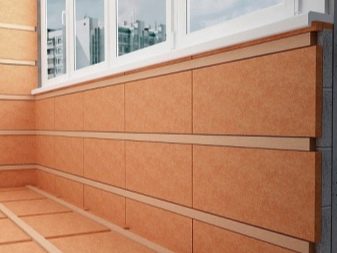
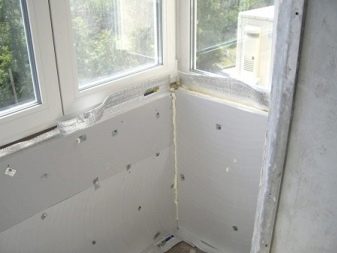
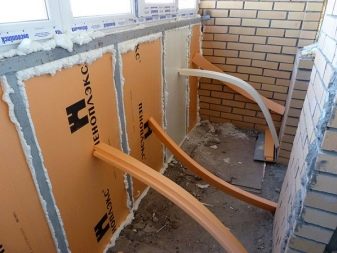
And here you can not do without creating a crate. The inter-block distance will be equal to the width of the insulation sheets - they work with the floor in the same way. Then the insulation is filled in there, the joints are filled with polyurethane foam. On top of this is a layer of film with a vapor barrier. If it is a wall that connects the loggia and the living room, the insulation is used in one layer. But it is better to insulate the outer wall in two layers.
Possible errors and recommendations
Here are listed those annoying blunders that are most often encountered when insulating a loggia in a new building or an old house.
- Removal of central heating radiators to the territory of the loggia... It's just illegal, and it's also unsafe. Such arbitrariness will be discovered, and the owners will face a serious fine.
- Demolition of a door or window block to form a combined room without the consent of the controlling authority... Yes, without permission, such redevelopment will be illegal.
- The choice of facade frameless glazing... It looks, of course, great, but the option is possible only for southern, warm regions. For insulation, double or even triple windows are used.
- Leaving wooden parts without treatment with special antiseptics... If rotting starts inside the insulation system, the whole system will "fly".
- It is impractical to seal the seams with plaster putty., she's afraid of moisture.
- Calculations "by eye" are always unreasonable, so you can accidentally overdo it with foam blocks for insulation, or, conversely, do not calculate how much mineral wool goes to a loggia of 6 meters.
It is possible to properly insulate the loggia on your own, but you need to be prepared for the fact that the process is not the fastest, requiring calculations and careful observance of each of the stages.
Review overview
This summarizing paragraph contains the most interesting and common moments that are shared on the forum by those who have already encountered the process of warming the loggia.
What is especially noted:
- penoplex is a compromise material in the price-quality ratio, and it is also very convenient to put drywall on it;
- it is better not to demolish the window-sill block, because you can make a table out of it, and there will be no problem "where to put the battery", besides, the demolition of the block is mandatory for registration;
- it is better to foam the seams during insulation, and then glue them with tape for insulation;
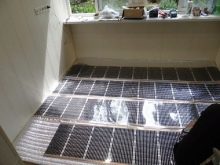
- without floor heating, the room can still remain cold, but if you put a warm floor, then only light and film, because the warm floor under the screed increases the load on the floor slab.
In every repair, even with a smooth process, there may be such "bumps" or "knots" that call into question the further development of events. That's why before taking on insulation, the topic must be carefully studied in theory, watch a couple of video instructions, and only then take measurements or calculations... At least it is this advice that leads in all forums as a general one.
In the next video, you are waiting for all the stages of warming the loggia with your own hands.
