All about cold glazing of balconies and loggias
To use the free space of a balcony or loggia, you must first glaze the room. With its help, you can create optimal conditions for storing things and having a pleasant stay in the warm season. Most home owners choose cold glazing because of its practicality and favorable cost.
What it is?
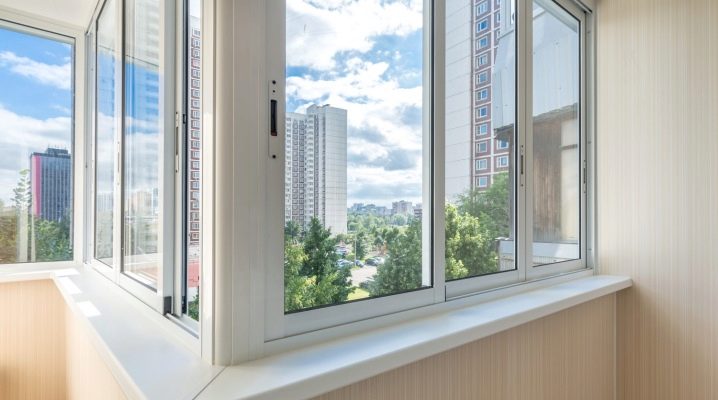
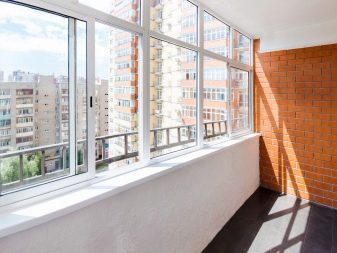
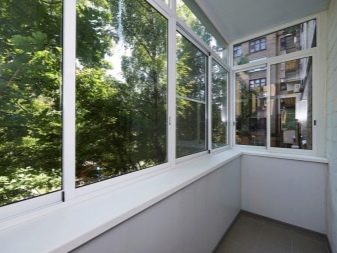
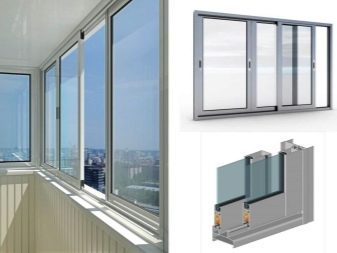
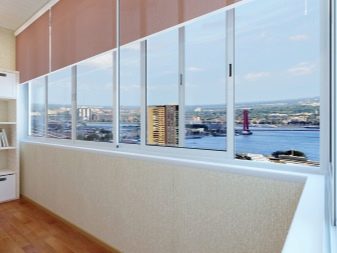
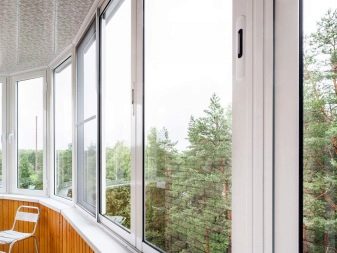
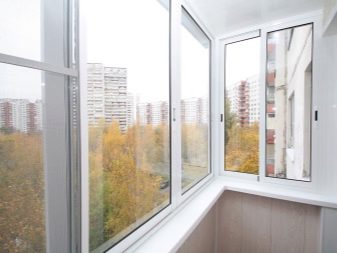
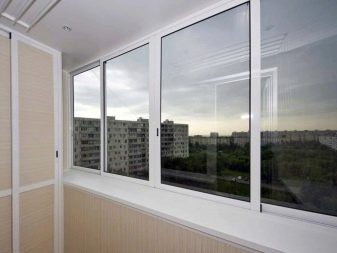
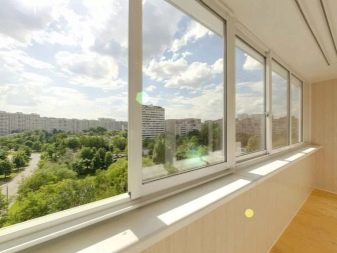
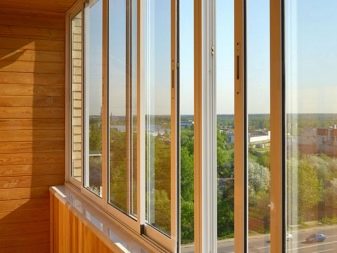
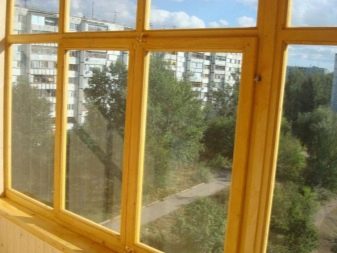
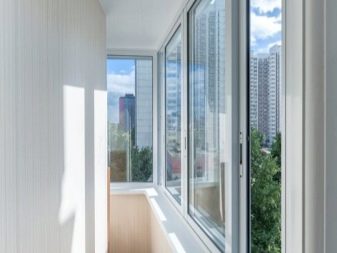
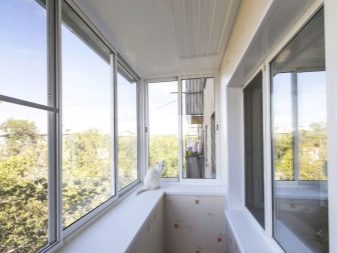
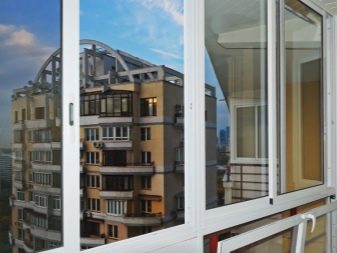
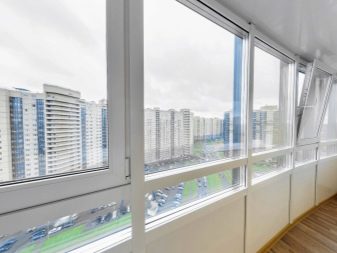
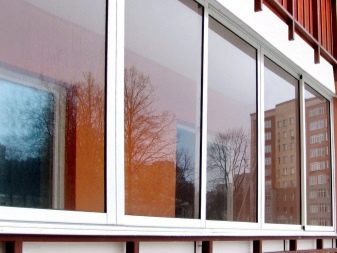
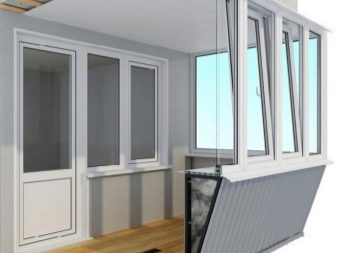
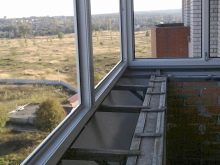
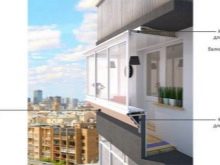
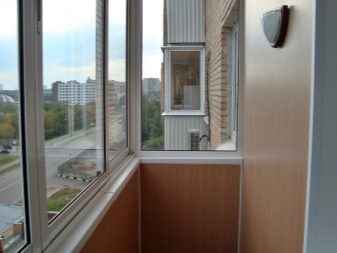
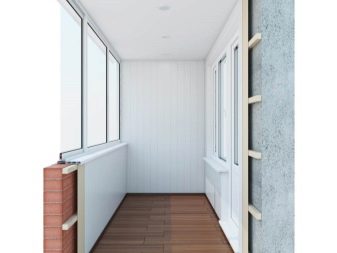
Cold glazing of balconies and loggias is the process of decorating part of the room by creating a structure from glass and metal profiles. The most commonly used parts are aluminum. Glazing will protect you from rain, snow, hail, dust, dirt and cold temperatures in winter.
This finishing option will not help to arrange a warm and comfortable living space. This means that "cold" structures are chosen only when the location is not going to be combined with the main part of the house.
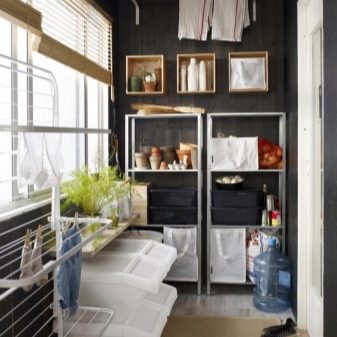
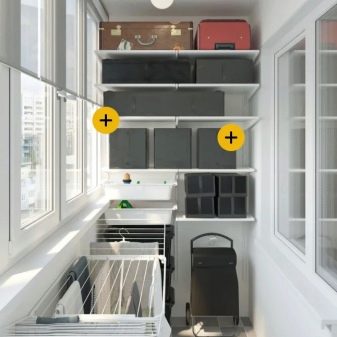
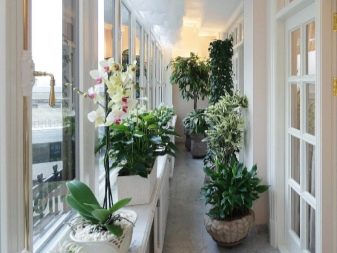
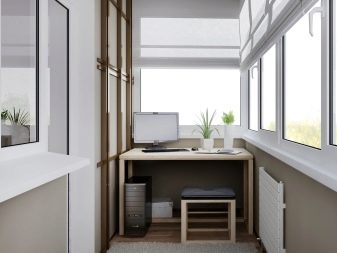
Such a room is perfect for storing personal belongings, some food or drying clothes. If you wish, you can arrange a zone for a pleasant pastime in the warm season.
Glazing features:
- this finishing option does not require a long and laborious preparation process, which includes thermal insulation of surfaces and their strengthening;
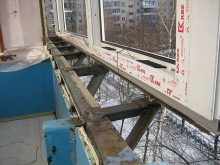
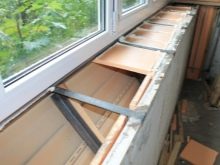
- windows are mounted directly on the balcony parapet; installation on beams that were securely fixed in advance is also possible;
- to save finances, instead of double-glazed windows made of wood or plastic, single glasses and a lightweight aluminum profile are used;
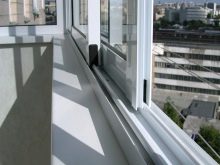
- most experts choose the sliding sash opening option - this helps to save free space.
Before getting started, it is worth noting the advantages and disadvantages. Let's start with the pros.
- High efficiency.
- Neat and attractive appearance. Having spent a small amount of money, the owner of the apartment receives a refined balcony or loggia.
- Simple installation process.
- The design can be adjusted to any size and shape. This finishing option is ideal for buildings with complex or broken geometry.
- Glazing takes up almost no space.
- Aluminum is a light metal, so it can be used on weak slabs that cannot support heavy weight. For older homes, this is the only safe option.
- The material used to make the profile is not afraid of rust and sunlight. It is easy to care for without any special treatment.
- If you carry out the installation correctly, the design will turn out to be reliable, practical and will last a long time.
- Do not forget about the safety of metal. Aluminum is considered an environmentally friendly material with high fire resistance.
- The assortment includes profiles of different colors and shapes. Designers can choose any option, depending on the idea.
The disadvantages should also be taken into account.
- When using cold glazing, the maximum indoor air temperature will be about 10 degrees Celsius. Such a low figure is due to the fact that the metal cannot retain heat for a long time. With the arrival of frost, the balcony or loggia cannot be used for relaxation.
- Achieving a high level of sound insulation will not work. Due to the low tightness, it will also not be possible to protect the room from fine dust.
- In the cold season, glaciation of the metal profile often occurs. A layer of ice prevents the flaps from opening freely.
Comparison with warm glazing
To determine which of the glazing methods is better, you need to consider their differences. More recently, specialists have used only two options: double wooden profiles or frames made of PVC. The first option has a significant drawback - the need for regular maintenance and painting. The material must be protected from negative environmental influences. This is the first difference from cold glazing with an aluminum profile.
Also, the difference lies in the adjustment of fittings for plastic windows. Thanks to this function, it is possible to switch between winter and summer positions to increase the level of comfort. The changeover takes a minute.
Despite this advantage, plastic profiles have a significant drawback - a lot of weight. They can only be used on balconies with a strong and durable base: shaped pipes, brick or concrete. Some professionals consider the width of the profile to be a disadvantage. Its large size prevents the sun's rays from entering the room.
When compared with glazing using aluminum profiles, the advantage of plastic options is their high rate of tightness. PVC products are great at keeping warm, do not allow dust and other debris from the street to pass into the room. Reliable protection makes it possible to arrange a summer garden on the balcony and even an additional room, for example, a study.
Species overview
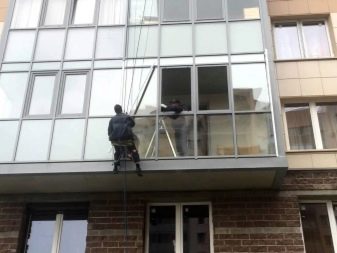
When installing the system, workers use either of two methods - no take away or with take away. It is not recommended to carry out the installation on your own without professional skills and a set of necessary tools. This is not an easy job, therefore it is recommended to entrust the work to professionals who will perform the task correctly. Only in this case, you can be sure of the quality and durability of the structure.
Conventional constructions
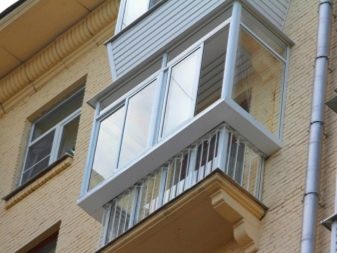
The most popular option is installation without removing the structure. This method is considered the simplest, which is why it is widespread. The aluminum profile is mounted directly on the parapet.
It is very important to closely monitor the level of the new design. Any irregularities will cause inconvenience, noise will appear in strong winds. It can also be difficult to open sliding windows.
The work is carried out according to the following scheme.
- First you need to prepare the parapet. If necessary, it is leveled or reinforced to increase reliability. Finishing work is also carried out.
- Accurate measurements are taken to calculate the required amount of metal profile.
- The material is cut into pieces of a specific size. They are fastened together to obtain a window frame.
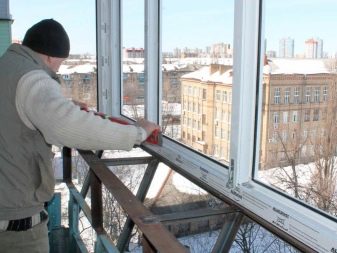
- The resulting structure must be installed on the railing or directly on the parapet of the loggia or balcony.
- The profile is fixed with self-tapping screws, the evenness of the installation is checked with a building level.
- Next, the installation of slopes and ebb tides is carried out. To make the structure as tight as possible, the seams are sealed with sealant or polyurethane foam.
- Install the required swing elements and sashes. Check their opening and functioning.
With a takeaway
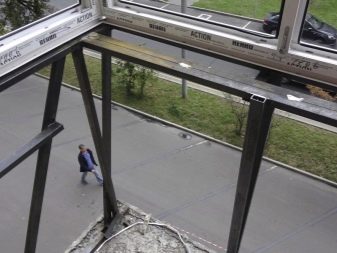
The second option, which is most often chosen for small and narrow rooms, allows you to slightly expand the space. The takeaway glazing is perfect for houses with old layouts. The main difference between this method and the above is the construction of a frame, which is located outside the balcony.
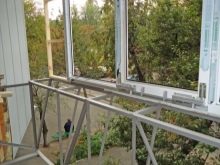
Due to this characteristic, the installation process becomes more complex and time consuming. For the structure to be strong enough, you need to securely attach the brackets and install the main structure on top of them. It is important to correctly complete the entire installation process.
Scheme of work.
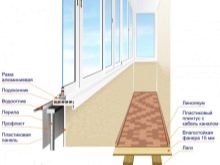
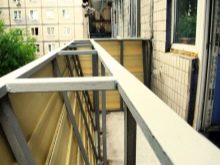
- The first step is to install the outrigger brackets. Their length can vary from 25 to 40 centimeters.They are attached to the outside of a loggia or balcony fence.
- After that, you need to assemble the frame for future glazing. It is formed from wooden blocks.
- Some specialists will do the cladding using siding. You can skip this step if you wish.
- After the parapet is mounted.
- At the end, the installation of the profile and other adjustment work are carried out. Finishing is also carried out and sashes are hung.
Materials (edit)
As already noted, an aluminum profile, light and strong enough, is chosen for glazing. Due to its special natural qualities, this type of metal is considered a cold bridge. He does not keep warm well, freezes quickly. The metal profile is used both as a frame and as frames for glasses. Other features of this material are indicated in the advantages and disadvantages of glazing.
Preparation
Before proceeding with the installation, it is necessary to complete the preparatory work. This is a prerequisite before installation.
The steps are step by step.
- First you need to remove the old window frames if the loggia or balcony has already been glazed before. The work must be done carefully so as not to damage the glass.
- A cement-sand composition is used to seal the holes from the front wall of the room, intended for fasteners.
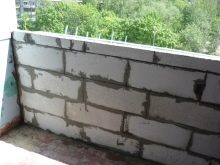
- The fence is carefully inspected for defects. If they are present, they must be eliminated, be they small cracks or serious flaws.
- A 5x5 cm beam is mounted to the railing. To securely attach it, use bolts of the required size.
- 2 vertical beams are attached to the balcony wall. Experts attach them using self-tapping screws. Dowels are also used.
Installation technology
As a rule, work begins with dismantling the aluminum window. First of all, the opening doors are removed, then the glasses themselves are taken out. After they start screwing in the screws, which are placed around the perimeter of the frame. The optimal distance between them is about 6-7 centimeters.
When the screws are securely fastened, it is time to put the frame in place and adjust it horizontally and vertically. To achieve the desired result, you can use special pads or wood pads.
The frame will be securely attached to the ceiling and walls. Free space (gaps and slots) is sealed with polyurethane foam. When the composition dries, you can assemble the window. At the end of the installation work (installation of the frame, its fastening and assembly of the window), do not forget to remove the pads.
Note: The installation process may differ depending on where the work is being done. For example, a balcony in "Khrushchev" will differ from a balcony in a new building. Before starting the cladding process, you need to accurately calculate the required number of profiles. Some balconies can be compact and narrow, others - 6 meters or more in length.
Thermal insulation of the balcony after work
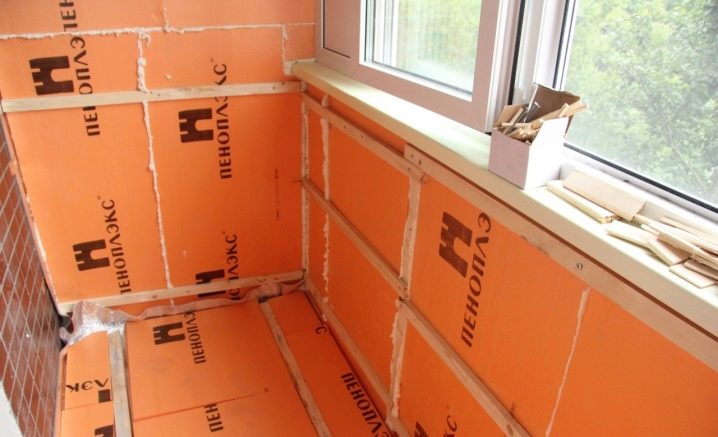
To create more comfortable temperature conditions on the loggia or balcony, the room can be additionally insulated. Such work is quite appropriate for cold glazing, and the free space can be used in the cold season.
The work is carried out according to the following scheme.
- First you need to pay attention to the seams and joints. Through them, a lot of cold air enters the room. It is recommended to use a special sealant - it is used to treat walls from the inside and outside.
- At the joints, gaps are closed.
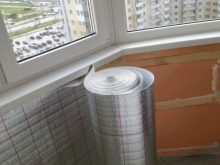
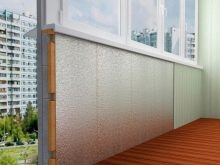
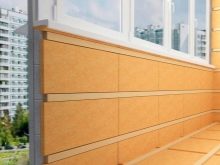
- Then you can start insulating vertical and horizontal surfaces: walls, floor and ceiling. The walls can be pasted over with thick wallpaper, and for the floor, choose a coating that retains heat.
- An energy-saving film is great for insulating glass. With its correct application, it will turn out to save about 20% of the heat. It also reliably protects against the negative effects of direct sunlight.
Note: large-scale insulation work will not be cheap.Additional costs should also be calculated in advance. To save money, you can choose budget options for finishing the premises. Insulation of a glass balcony can be performed using additional heating devices.
Subsequent registration
After the glazing and insulation work has come to an end, you can start decorating. Do-it-yourself interior decoration will help save money that could have been spent on the work of specialists. For this purpose, you can use the same materials that are great for finishing the main part of the living space.
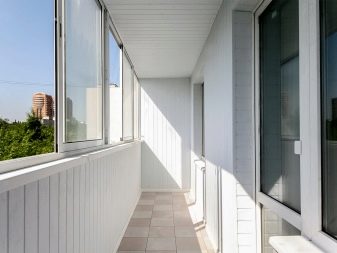
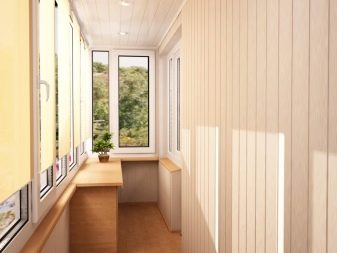
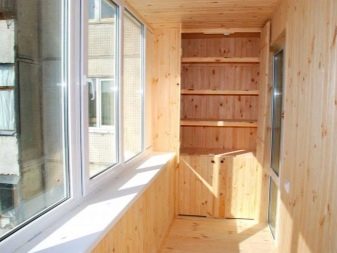
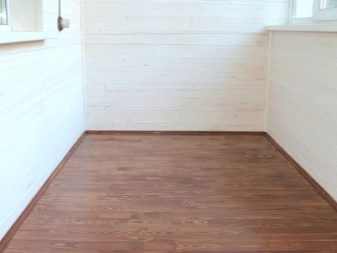
Plastic or wooden lining has become widespread. This is an affordable material that can be found in any specialty store. To create a cozy and homely atmosphere in the room, opt for wood cladding. It is also a great option for a classic-style room, which is characterized by the use of natural wood.
Plastic lining is easy to care for, and it costs much less. This is the preferred choice for modern designs.
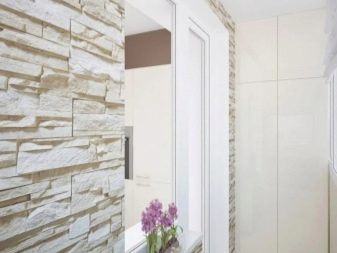
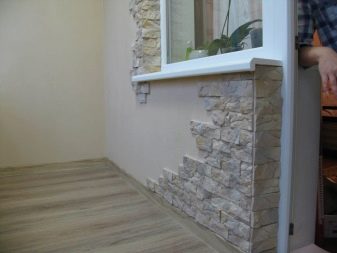
The next design option is tiles imitating brick or decorative stone. This finish has high aesthetic and operational qualities. It is perfect for both cold and warm glazing.
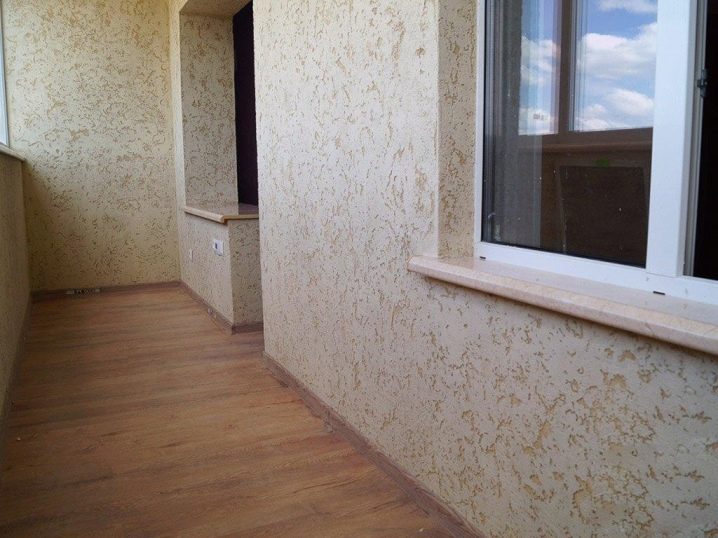
Pay attention to the decorative plaster. Another option is to decorate the walls with texture. This product is available in a wide variety of colors and shades. You can apply the plaster yourself.
It is very easy to care for the coating. It is sufficient to periodically wipe the surface with a cloth or brush. A quality product boasts a long service life. The material is not afraid of sunlight, and the pigments retain their rich color.
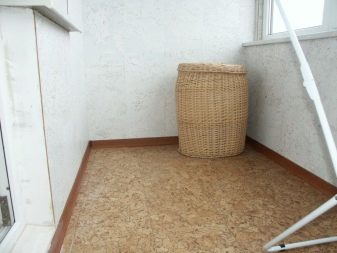
When decorating a room, you need to make the floor not only practical, but also attractive. When decorating, you can put any of the materials. The most practical and affordable option is linoleum, chipboard or chipboard. If financial possibilities permit, you can choose laminate or parquet.
Current trends in the world of design suggest mixing several types of finishing materials in one location. The main thing is to be able to correctly arrange them. When choosing products, be sure to consider the color scheme. It should match the palette used to decorate the rest of the apartment.
