How to make a do-it-yourself podium bed?
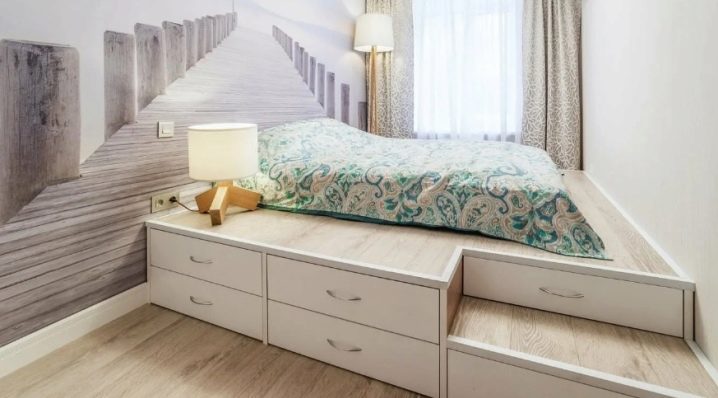
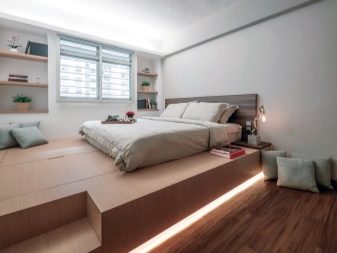
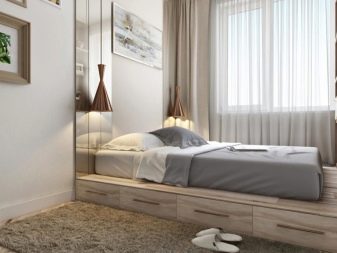
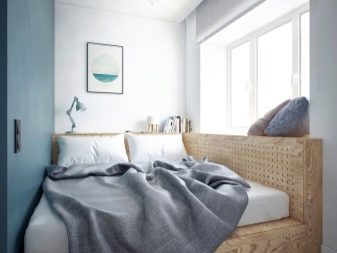
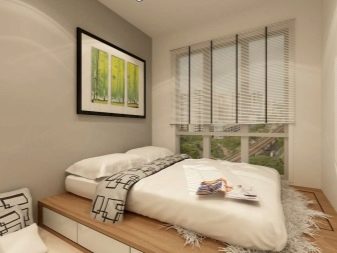
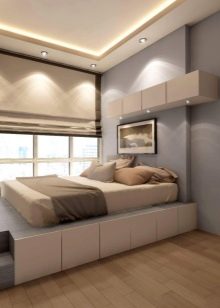
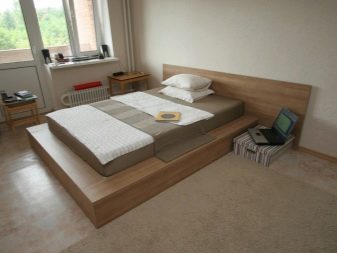
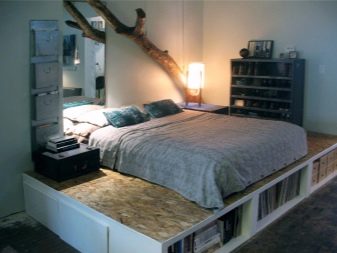
A modern solution for organizing a bed can be called the creation of a bed on the podium. It allows you to significantly save space, as well as increase the comfort of living.... There are many different projects, you need to choose depending on the layout and the requirements for the room.
Drawings and dimensions
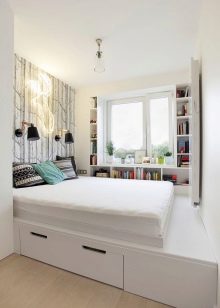
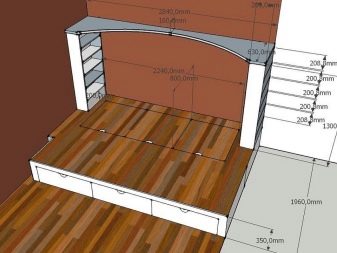
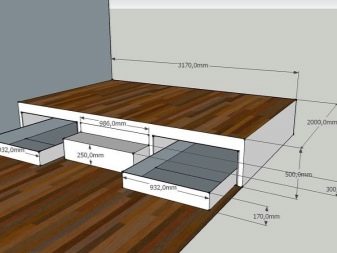
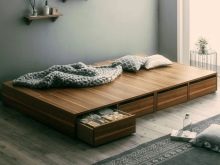
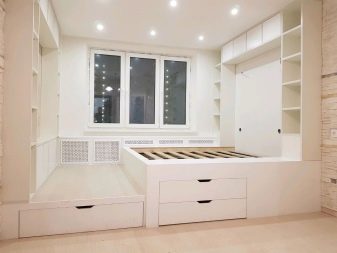
You can make a podium bed with your own hands according to a previously prepared drawing... In a small room, you can make a sleeping place with niches for storing various things. Such a scheme allows you to use free space with maximum efficiency.
There are several different types of this design. The most widespread are several options.
-
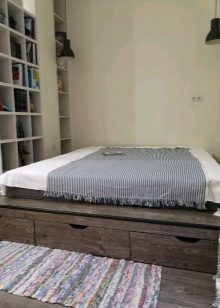
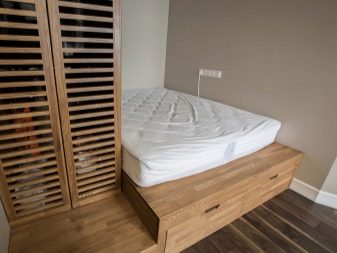
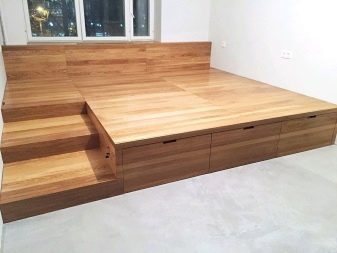
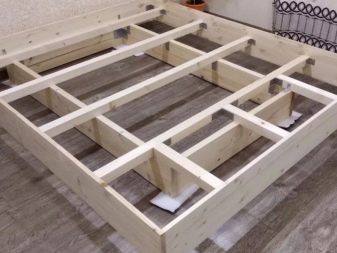
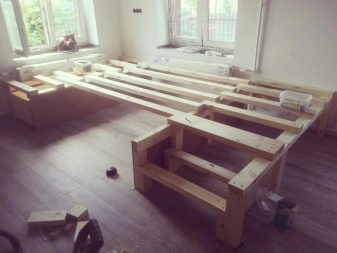
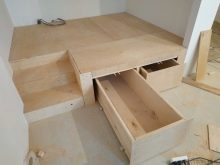
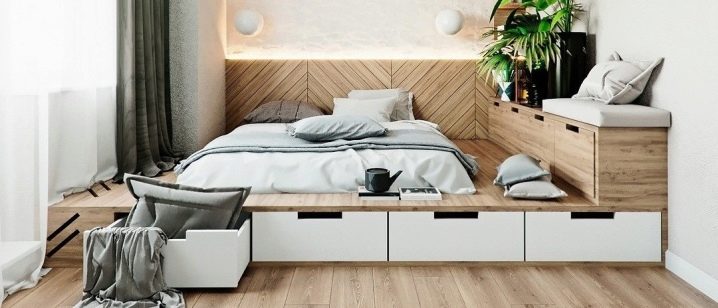
With a frame podium. In this case, light wooden structures are the material. You can make them yourself, or purchase ready-made kits.
-
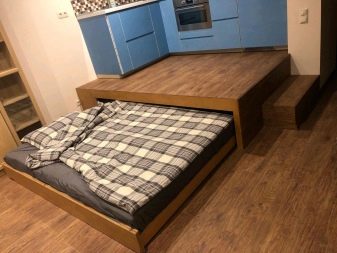
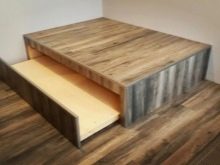
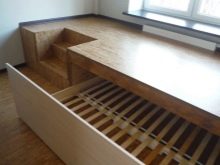
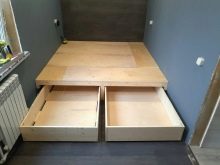
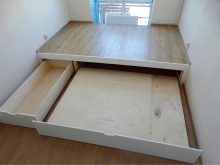
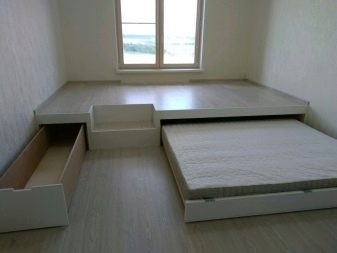
With pull-out beds. This option is suitable for nurseries or other similar rooms. One or two beds are located under the base of the main frame, which are placed on castors. On the podium itself there is a workplace, gaming or various equipment.
-
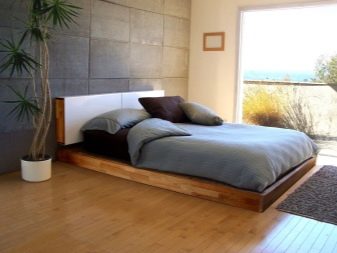
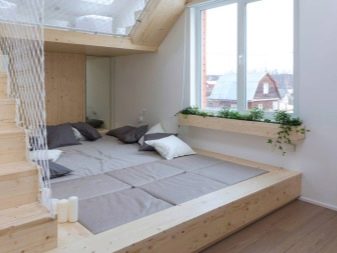
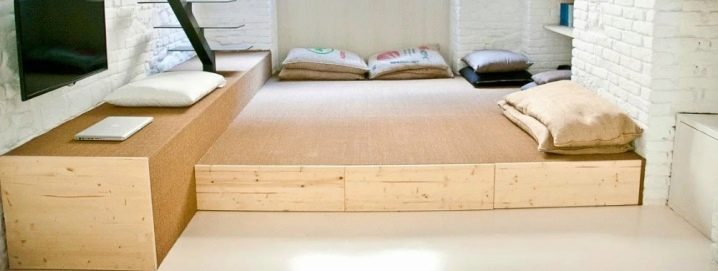
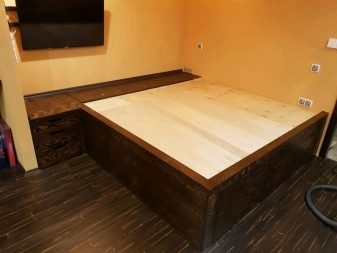
With a monolithic base. In this case, the space under the podium is not used, and the structure is only responsible for the zoning of the room.
A frame bed with drawers has a number of advantages.
-
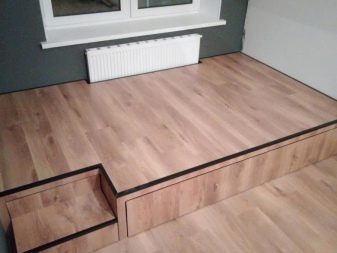
An effective way of zoning. The room, which is divided into separate zones, looks much more interesting. Such a bed stands out from the general background.
-
A practical approach. The entire space can be used for storage or other functions. With the help of a frame structure, room defects, as well as various communications, are hidden.
-
Make a similar bed not very difficult it is enough to have the required tools and materials.
There are also several disadvantages to consider.
-
Injury hazard. Due to the fact that the bed is at a height and has no sides, you can fall. Therefore, when creating such a structure in a nursery, you need to take into account the need for protective bumpers.
-
The height of the room is visually reduced. This bed is not suitable for low ceiling heights.
-
Redevelopment will not be possible. Another significant drawback concerns the fact that the structure is rigidly attached to the floor or walls. Therefore, this option is not suitable for lovers of rearrangements in the house.
An additional niche allows you to almost completely abandon the classic cabinet. Therefore, this option is the most popular. The selected project should contain basic information.
-
Overall dimensions are height, width and length. When developing a drawing, measurements are taken between the walls in several places. The height is chosen according to personal preference. It should be such that the internal space is sufficient for storing various things.
-
Dimensions of boxes and fasteners. The boxes usually take up the entire interior space. However, additional supports must also be taken into account.
-
Location of fasteners... Additional supports are placed in the middle of the structure. They provide the required strength.
Do not forget that the design must be solid... Therefore, when developing drawings, attention is paid to stiffeners, the type of fasteners used. A wide variety of things can be stored in a niche, therefore ventilation is provided in some cases.
Tools and materials
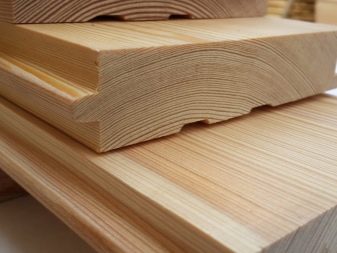
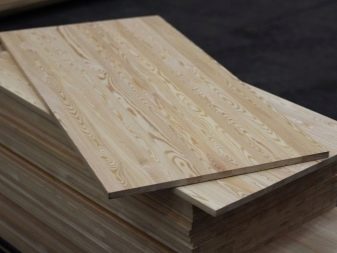
Having decided on the most suitable project or completing it yourself, you can start preparing materials and tools. As a rule, the bed is made of wood.
It also has certain requirements:
-
the absence of knots, as they cause a decrease in the strength of the material;
-
the absence of resins and other substances, they can be released with a strong increase in the ambient temperature;
-
good surface smoothness.
To create a supporting frame, you will need a beam with a section of 50 by 50 mm and 100 by 50 mm. You will also need plywood and oriented strand boards.
If you make a supporting frame from a bar, the main thing is to use well-dried lumber. This is due to the fact that natural material can warp during the drying process. In other words, after the frame is made, it is deformed.
In addition to the basic materials, fasteners and accessories will be required. They are as follows:
-
self-tapping screws can be called a universal fastener;
-
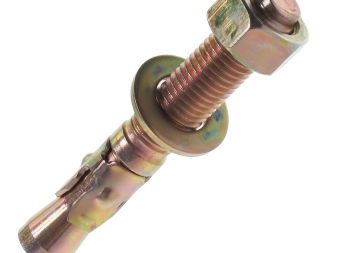
anchors are required when attaching load-bearing elements to the wall;
-
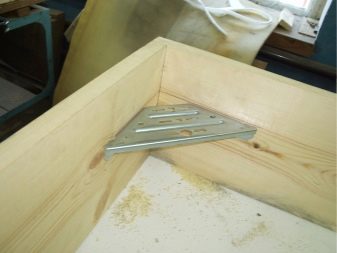
metal corners significantly increase the rigidity of the structure;
-
dowels;
-
furniture wheels will be required in order to increase the practicality of the pull-out sections;
-
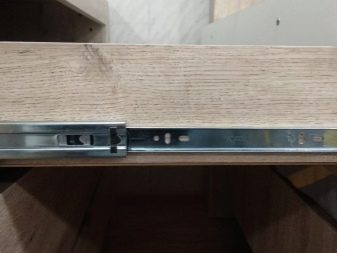
full extension guides will be required when creating hanging boxes;
-
handles are attached to the drawers.
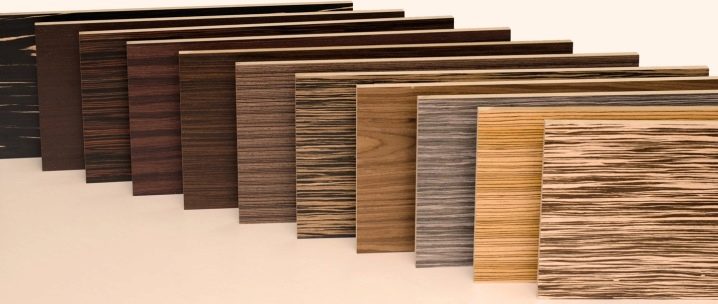
Floor coverings can be used as a finishing material. In this case, the following are suitable:
-
laminate it is considered the most common modern material that is not only attractive, but can also last for a long period;
-
linoleum used as a cladding, can provide good protection of materials;
-
carpet soft, pleasant to the touch, suitable for finishing most of the surface;
-
furniture boards have high strength and relatively low cost;
-
MDF boards - an inexpensive and versatile option that can serve for a long time.
Some people make a similar bed out of pallets. In this way, you can save a lot, but the quality of the product is relatively low. The selected pallets must be made of pure wood.
At the time of work, many measurements are being carried out, so a large number of measuring instruments will be required: tape measure, corners, level and some others. When working with wood, it is enough to have only a hacksaw, screwdrivers, and a screwdriver.
The necessary set of tools and materials can be drawn up already at the time of work. But, as a rule, all of the above is quite enough.
Step by step making a bed with drawers
In the apartment, you can assemble a bed with storage boxes for various things. Most often, it takes up all the space between the walls in the corner of the room. When developing a project, the gaps and thickness of the materials used are taken into account.
The instructions for creating such a bed in the bedroom are divided into several stages. They are as follows:
-
the creation of the frame does not take much time, but at this stage you need to carefully check the structure for strength;
-
assembly of pull-out sections that will be used to store various things;
-
sheathing will not only give an attractive look to the structure, but also significantly increase its strength.
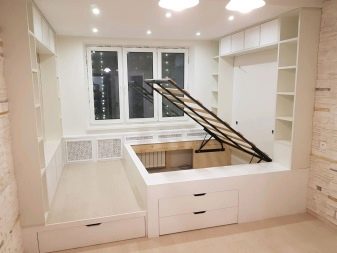
The most difficult thing is to make your own bed with a lifting mechanism. This design provides better access to the niches.
A double bed should have more stiffening ribs. It is a little more difficult to make it, due to the increase in the size of the boxes, they need to be done with roll-out fasteners.
Frame
All the load falls directly on the frame. Therefore, this stage needs to be given more attention. All work is divided into several main parts, following the requirements of which you can easily build a beautiful bed.
-
As the main material, a bar of 50 x 50 mm is used. It is used for making racks and supporting beams. Particular attention is paid to cuts, since they must be made strictly at right angles and not have serious defects. You need to cut the tree with a hacksaw with a fine tooth.
-
Racks are placed near the walls and in the space between the drawers... Their attachment to the base is carried out using metal corners. Due to them, rigidity is significantly increased.
-
Strength is ensured by the arrangement of the supporting elements at a distance of 60 cm from each other. This is sufficient for a maximum load of 300 kg.
-
If the bed will be located between the walls, guides are attached to them. This solution is considered universal.
-
To reduce the likelihood that the tree will crack at the time of fastening the screws, you can by creating holes for them with a smaller diameter.
-
Rubber spacers are placed between the individual wooden elements. Due to this, the likelihood of a squeak during operation is reduced.
-
After the installation of the bars, plywood or OSB strapping is performed. This significantly increases the stability of the structure. All sheets are attached with at least two self-tapping screws.
The strength of the structure can be increased even more by gluing the joints with wood glue. This will also reduce the chances of squeaking when the bed is in use.
Retractable sections
After the main part has been assembled, you can start making drawers. This work can be done in several stages.
-
To create the base, laminated chipboard or thick plywood is used. The bottom can be made with fiberboard.
-
If the boxes are made for storing light things, the bottom is fastened with nails or self-tapping screws.... To increase the strength on the side surfaces, grooves are made into which the canvas is inserted.
-
If the shelves are arranged in one row, the drawers can be put on casters... This will make them easier to use. There are no problems with the fastening of the wheels, since these products have holes for self-tapping screws.
The top drawers are attached to full extension rails. They are fixed with self-tapping screws.
Sheathing
You can make the structure more attractive by sheathing. A variety of materials are suitable for this.
-
Conventional vertical bezels do from chipboard. You can save a little by using painted plywood.
-
A similar material is laid on the top of the structure. For fixing, a small side is made with a height of 5 cm.
If possible, the material is fastened with self-tapping screws from the inside. In this case, it is important to choose the correct length of the fastener.
Possible mistakes
Despite the fact that such a design is quite simple, errors can be made when creating it without the required experience. To minimize them, we list the most common ones.
-
Non-compliance with the convection mode... Often there is a situation where the bed is placed on the side of the radiator. Due to this, warm air ceases to spread throughout the room, the windows begin to sweat. If it is not possible to arrange the bed differently, holes are created in the lower part for the intake of cold air and the outflow of hot air.
-
When choosing the most suitable project, some people forget that mattresses are available in standard sizes... Otherwise, you will have to order its production.
-
Lack of electric points. If the room has electricity on top of the cladding, its location must be thought out before creating the frame. It is not recommended to do the wiring through the bed.
-
A small gap is maintained between the structure and the wall. It is required if the structure is slightly deformed due to changes in temperature or humidity.
As practice shows, the most problems arise with the development of the project, the correct maintenance of all sizes. Therefore, a kind of blank templates can be made from wood.
The above information indicates that it doesn't take much time and effort to create such a bed... At the same time, the cost of the materials used is relatively low. Do not forget that this solution is characterized by its certain pros and cons.
In the following video, you can get a better understanding of the process.
