Laying laminate on the floor of the balcony and loggia
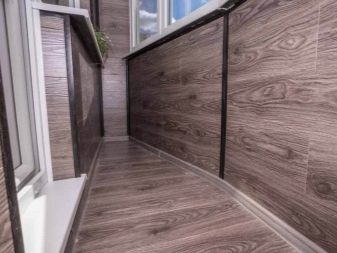
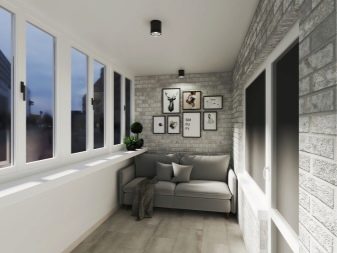
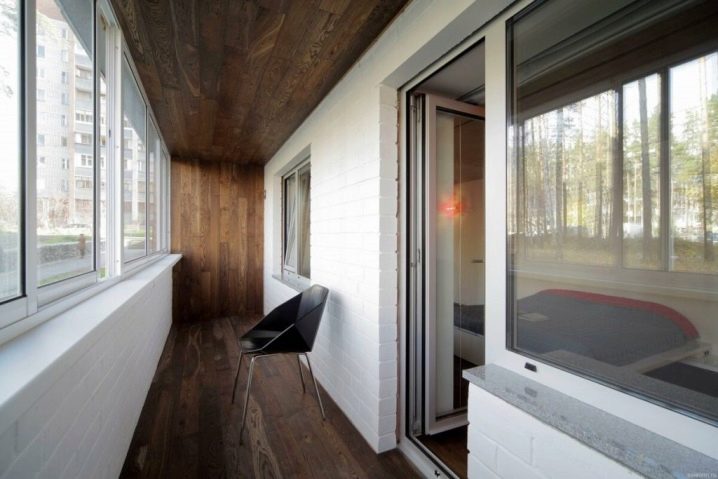
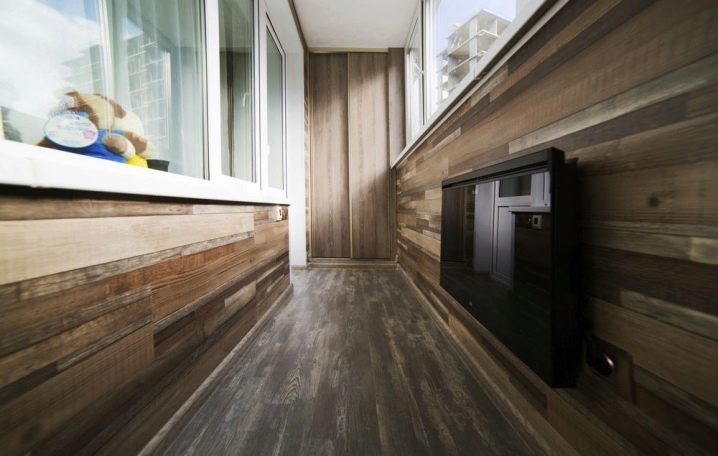
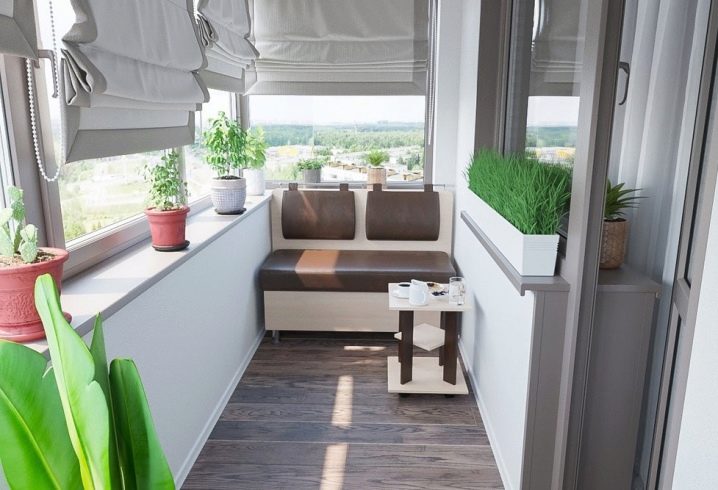
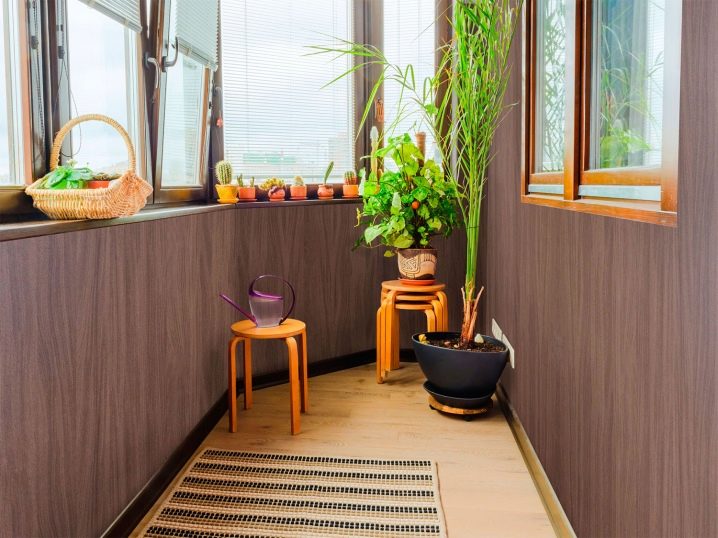
Laminate is a floor covering that has long won the love of buyers for its versatility, a large selection of design options, and a wide price range. It can be installed in any room except toilet and bathroom. Laminate is also suitable for a balcony or loggia, but you will have to pay special attention to choosing a model and observe some conditions during installation. This will be discussed in the article.
Advantages and disadvantages
Let's clarify that we are talking specifically about laminate, and not about vinyl tiles or SPC. These are completely different materials with their own characteristics and subtleties in use.
Like any other flooring, laminate flooring has its pros and cons that must be considered.
Let's start with the pros.
- Appearance. Most manufacturers' catalogs are not limited to models that mimic the board. There are options with a pattern for concrete, marble, textiles, models designed specifically for children's rooms, with a corresponding pattern.
- Ease of installation. Unlike adhesive vinyl or porcelain stoneware, anyone can easily lay or dismantle laminate flooring.
- Practicality. High-quality laminate can easily withstand mechanical stress.
- Wide price range. It will not be difficult to find even a moisture-resistant laminate that suits your price.
Not without its drawbacks.
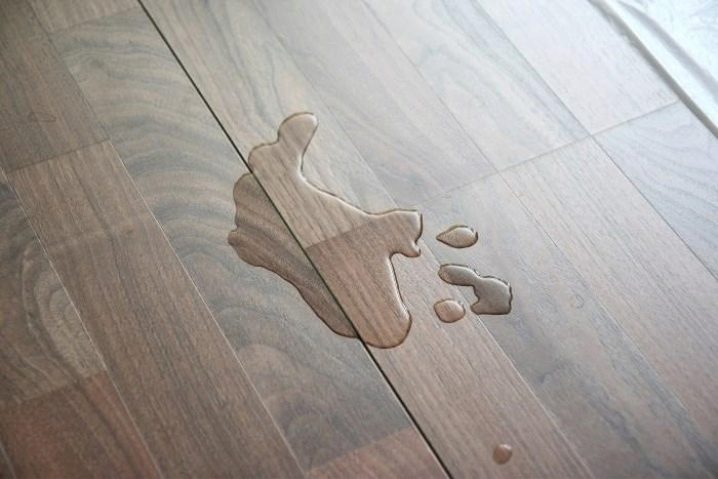
- Laminate is afraid of water. Even for models with increased protection against moisture, its prolonged exposure does not bode well.
- For laying laminate a dry and level base is required.
- Laminate will not work for open balconies.
To minimize risks, you need to carefully approach the choice of laminate.
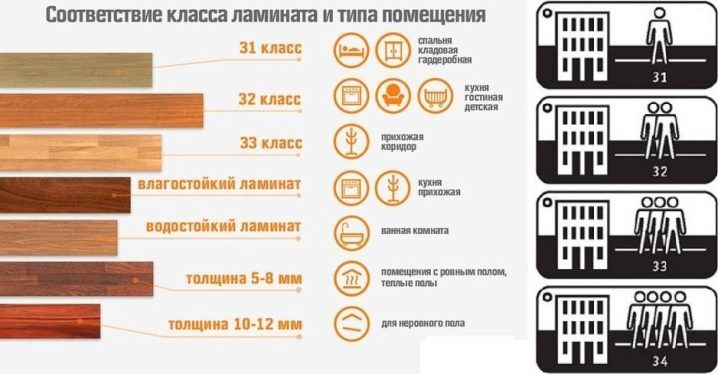
Let's start with the class. The class of the laminate primarily characterizes the permeability of the room for which it is intended. Now most often you can encounter commercial laminate classes, household ones are less and less common.
- 31 - commercial premises with low traffic. Suitable for classrooms and children's rooms.
- 32 - rooms with medium load. Suitable for most living spaces.
- 33 - rooms with high traffic. These are corridors, reception rooms and other similar objects.
With caution, you should treat the models marked "class 34". Most often, it is installed by Asian manufacturers, Europe and Russia practically do not use this class. By purchasing such a laminate, you are playing roulette - it may serve you for many years, or it may not survive the installation.
Now remember - the class is very conditionally related to the moisture resistance of the model. Yes, class 33 laminate withstands exposure to water more easily than class 31. But if you want to be sure that the seams will not swell, choose a model with increased moisture protection. Moreover, these should not be just locks treated with wax. Responsible manufacturers process the entire board. Usually such models are marked with a drop. You will no longer find the old designation in the form of a blue slab.
The manufacturer is no less important. After all, a 32-class laminate from a trusted company can serve you longer than 33, in the manufacture of which standards were violated. Moisture resistant models suitable for a loggia can be found in the brands Quick Step (Belgium, Russia), Egger Aqua + (Germany, Russia), Pergo (Sweden, Russia), Alloc (Norway), Kronotex (Germany). Waterproof models of these brands are slightly more expensive than conventional ones, but this is fully justified by their quality.
What kind of substrate can I put on?
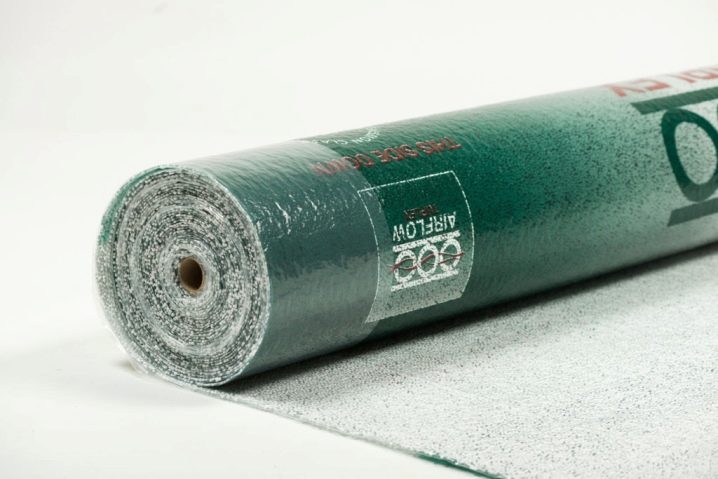
Most laminate manufacturers recommend sticking to a 2-3mm underlay without trying to level or raise the floor with a thick underlay.As for the material, opinions differ here. Many people recommend using cork because of its environmental friendliness and insulating properties. But on the balcony, we would still recommend staying on synthetic options. The Tuplex brand substrate, which has vapor barrier properties and protection against the formation of fungus, is gaining popularity. Under such a substrate, according to the manufacturer, it is not required to lay a vapor barrier film.
The ways
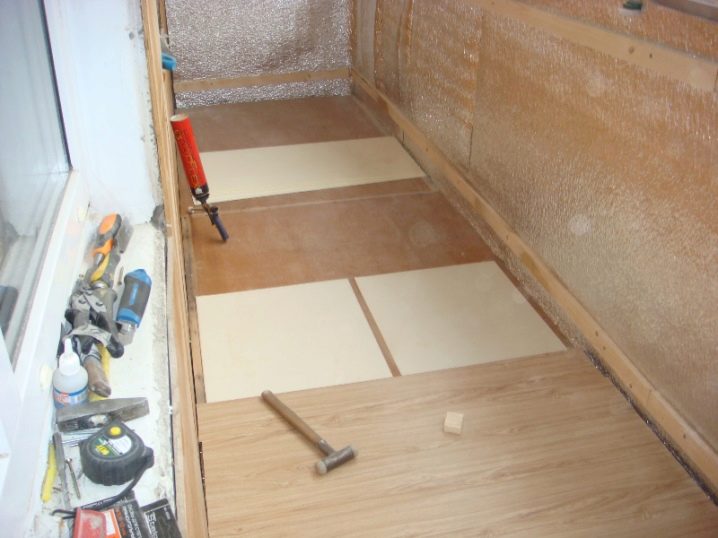
Now you need to decide how to lay the coating - along or across. In the narrow space of the balcony, this is especially significant. The answer depends on the substrate for the laminate. In the case of a fresh screed, it is better to mount the lamellas in the direction of the light, across the balcony. If the floor is wooden, then you must first check the reliability of fixing the boards, then level the surface of the wood, and after that, mount the laminate across the old boards, since the wood will shrink and expand under the influence of temperature and moisture, and this can damage the lock if it is not laid correctly ...
Required tools
Let us examine what may be needed directly for laying the laminate, except for the coating itself and the substrate.
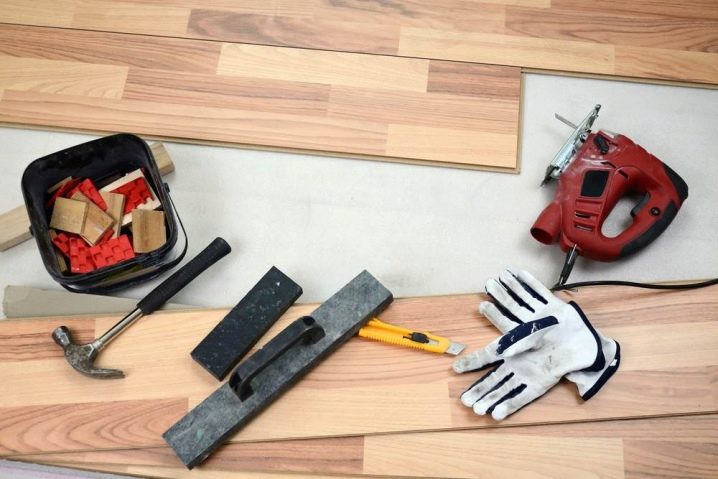
- Vapor barrier film. Although many skip this step, it is imperative for a balcony to have a film under the backing.
- Jigsaw or hacksaw. Now on sale you can find hacksaws and jigsaw files designed specifically for laminate flooring.
- Rubber mallet for tamping.
- Adhesive tape for fixing the substrate (optional).
- The tape is of sufficient length.
- A set for laying laminate flooring, consisting of a set of wedges, a block and a staple.
- Square.
- Construction knife.
- Marker.
- Miter box for cutting at an angle.
- Skirting boards, sills, all the accessories necessary for them.
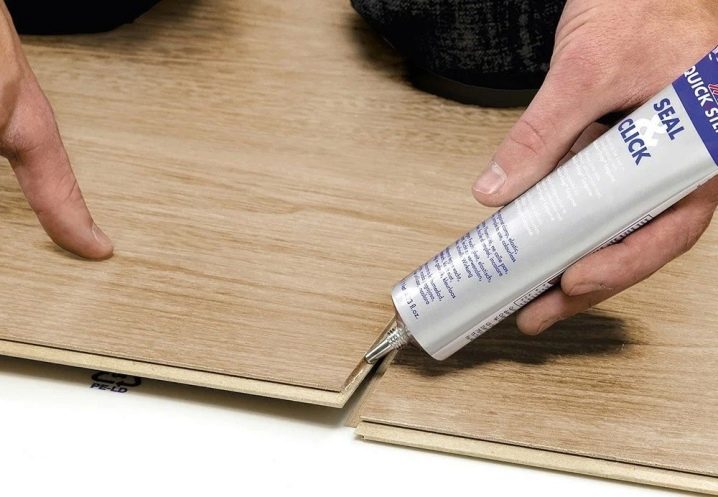
Separately, it is worth mentioning various gels for sealing joints and wax-based protective compounds. Many people insist on the need to use them on the balcony, without taking into account one nuance. The use of these products may constitute a ground for termination of the guarantee for the laminate flooring. First of all, this applies to a laminate with factory moisture protection. Therefore, in order not to get into an awkward situation, before installation, read the warranty conditions on the manufacturer's website.
Technology
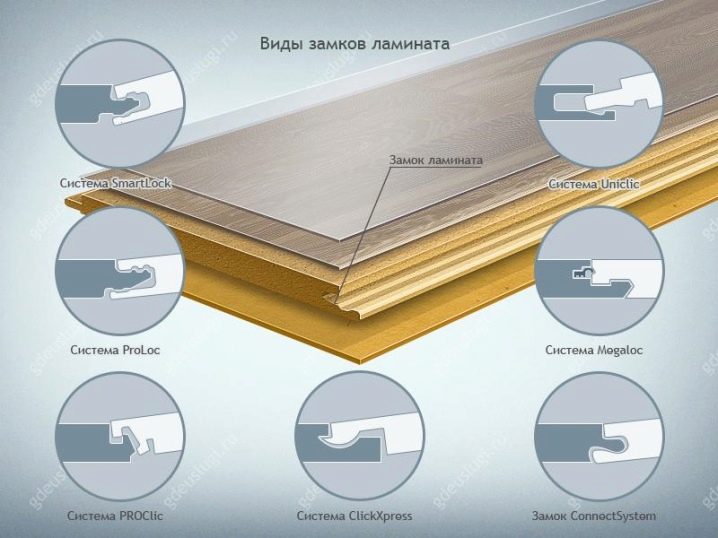
At the moment, almost all manufacturers produce laminate flooring with their own locking systems, which will be assembled with some differences from each other. For in order to correctly lay the laminate on the loggia with your own hands without any problems, read the assembly instructions. It can be found on the back of the label or on the manufacturer's official website.
Preparation
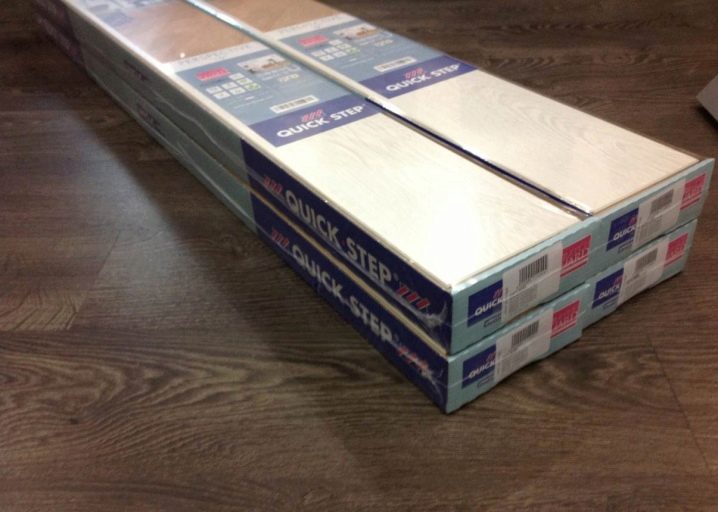
The first thing to remember is that before you start laying the packaging with the laminate, you must spend 48 hours in the room open, at a distance of about half a meter from the walls. This will allow the coating to get used to room temperature.
In the meantime, the room of the loggia is freed from furniture, if it was present.
Alignment
The unevenness of the floor should not exceed 2 mm per square meter.
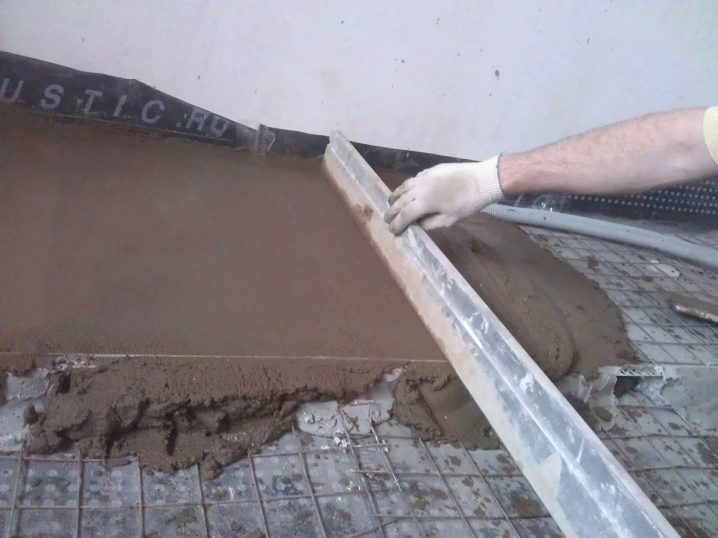
Usually the floor is leveled with special mixtures. This stage of laying is best entrusted to a specialist, especially if the repair of the loggia fell on the cold season, since the water in the mixture can freeze. To avoid this, the solution must be diluted with special additives.
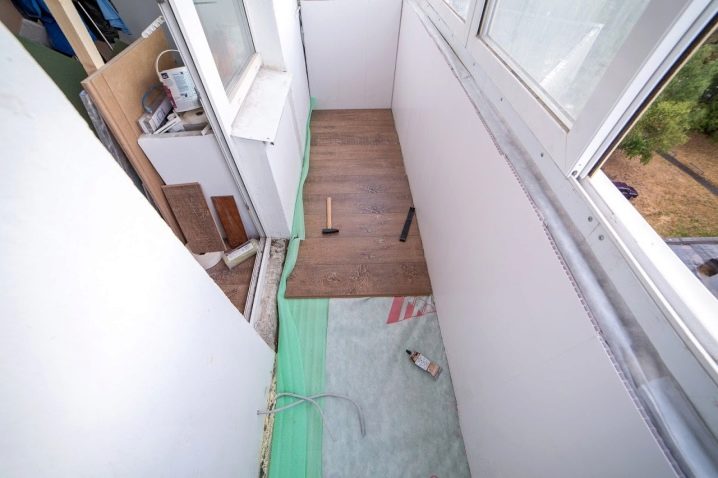
The laminate is placed on a dry floor that has already set. Before that, it is necessary to lay an insulating film, with an approach to the wall of about 10 mm, and already on it - a substrate.
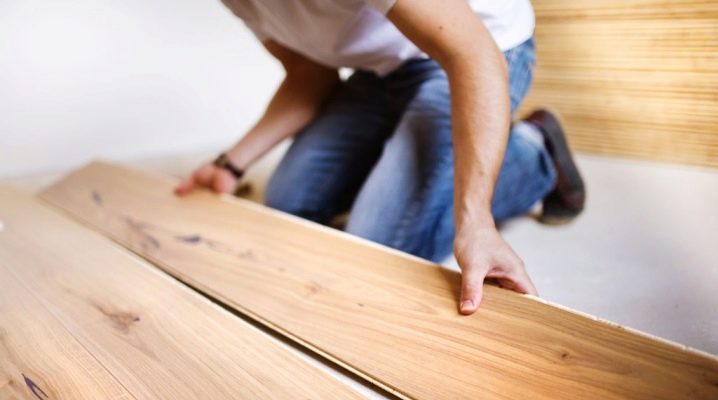
Laying slabs
At this stage, you should just refer to the instructions. Models with some types of locks need to be laid in rows, for others this condition is not necessary. Besides, some models simply snap into place at an angle, while others need to be tamped.
The general principles of laying are as follows:
- ideally, laying is perpendicular to the window;
- it is required to leave a gap of up to 15 mm between the panels and the wall in order to compensate for the expansion of the slab - on a balcony, especially a cold one, this is extremely important due to frequent temperature changes;
- it is advisable to start installation from the place where the whole die can lie.
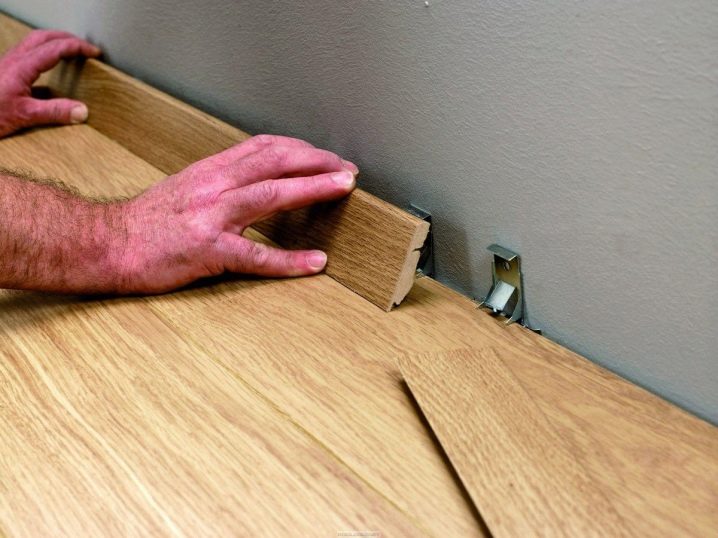
At the end of the laminate installation, sills and skirting boards are installed. This is the final stage of finishing. In addition to the skirting boards themselves, you need to immediately purchase fittings of the same color and the same manufacturer - internal and external corners, plugs, connectors.
Skirting boards are attached as follows:
- walls are measured;
- the skirting board is trimmed to the required length;
- direct attachment to the wall;
- skirting boards snap together;
- plugs are installed.
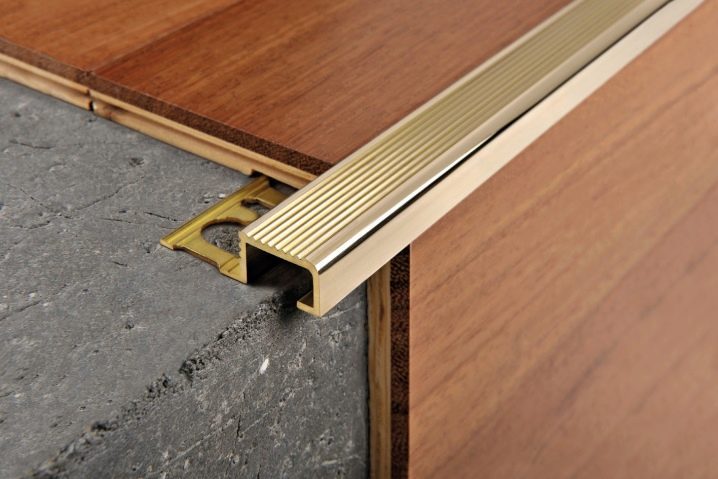
The tracks are mounted at the transition from one coating to another. They can also compensate for differences in the height of the pavements.
As you can see, installing laminate flooring on a balcony seems like a much more complicated process than it actually is. Pay attention to the choice of materials, check all the pros and cons and, following simple rules, feel free to get to work.
How to lay the laminate quickly and easily on the balcony with your own hands, see the video.
