All about the screed on the balcony
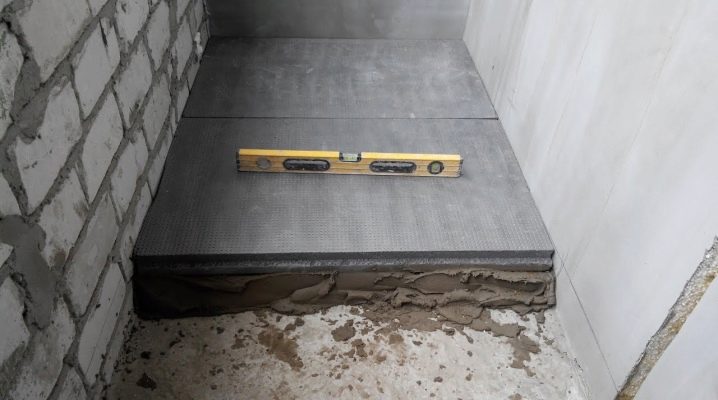
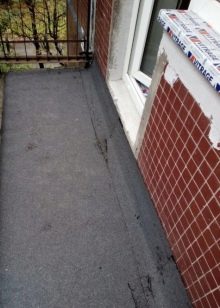
To protect the floor of the open loggia from the destructive effects of such factors as rainfall, wind, direct sunlight, etc., a screed is mounted on the balcony. This simple technology is quite capable of mastering an ordinary master on his own.
We will tell in the publication about the types of screed in an open balcony space, about the methods of filling it, as well as what materials and tools will be needed to carry out this entire procedure. But first, you should familiarize yourself with the general rules.
Primary requirements
To properly mount the screed on an open balcony, you need to familiarize yourself with the requirements for this process. Let's outline the important points.
- The balcony slab has a certain load limit, so the screed should not add additional weight to the base of the loggia.
- The minimum thickness of a wet screed is 2-3 centimeters, be aware that a thickness of 5 cm can already lead to the destruction of the slab. But if the screed is made from a dry mixture (light version), then you can fill in a layer of 5 cm.
- To protect against destruction, it is better to strengthen the structure by creating additional reinforcement under the tile.
- The screed in such a place is made for a long time. Strive for quality so as not to return to repairs in such a tight space.
- In addition to the protective function, the screed evens out the floor surface, so pay attention to this point when working.
- The floor screed on the loggia is also additional heat and sound insulation.
In addition, this is not the most expensive construction pleasure: specialized retail facilities offer a wide selection of high-quality, moreover, inexpensive mixtures for floor screed in open spaces.
Preparation
Some craftsmen do not bother themselves and lay a new screed on the old surface without cleaning the old flooring. As practice shows, this is not the best solution. Professionals still insist on removing the old floor completely.
Yes, this will require an additional 2-3 hours of work, but the process will turn out to be of better quality.
If you pour a new layer onto the old one, then you will reduce the useful area of the loggia (the height of the loggia will decrease by several centimeters), the base will not be as strong as it should be.
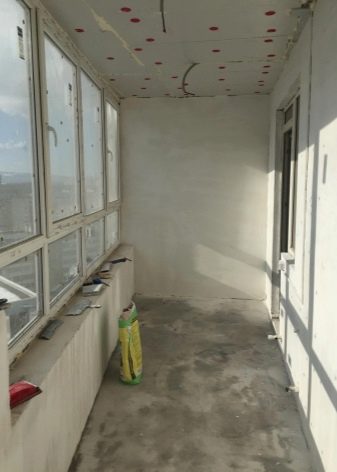
First of all, free the balcony space from things and remove the skirting boards, as well as the platbands at the door (the door itself will also have to be removed for a while). Please note that during dismantling work there will be a lot of dust and various debris, so you need a respirator. You can constantly spray the walls - with the help of a spray gun or simple devices - so there will be less dust.
Further, depending on what the old flooring consists of, choose a floor cleaning method.
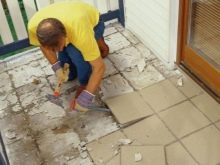
- The ceramics are knocked down (you can use a chisel, or remove the tile with a perforator). This is one of the most difficult types of work to clean the balcony floor from the old ceramic coating. It is necessary to warn the neighbors that you intend to engage in dismantling, and it can be quite noisy, do not violate the law in this regard.
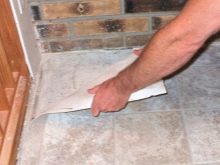
- Linoleum is removed much easier: it is enough to cut it into strips and simply roll it up (if the canvas is not glued), or scrape off the remnants of this material with a scraper (if the canvas is glued).
- If the floor has been painted, remove the painted layer. To do this, use a solvent, if the paint layer is quite thick, then you will have to knock it down.
- To remove the tree, you will need a nail puller or a hacksaw or a small saw to simply cut off the wooden base in parts.
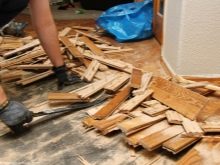
- To remove the parquet, you need to find a finishing rail (it is usually located under the radiator or by the door). Take out the finishing element and gradually disassemble the entire parquet base on the floor. If you still can't figure out where the end of the work is, then use a chisel and a hammer to simply uproot the boards. At the same time, do not forget to warn the neighbors below about the work being done, and try to make noise at the time allotted by law.
After you clean the surface, do a few more steps.
- It is necessary to get rid of chips and loose places.
- Chipped cavities are sealed with cement or adhesive.
- Bare places where the fittings are visible are primed or painted over with an anti-corrosion special compound.
- Remove large debris, then connect a vacuum cleaner. This is an important procedure, as a wet screed, laid on a dusty base, will not be of good quality.
- The final stage is the primer. While working, protect your eyes with glasses, hands with gloves and it is advisable to prepare a respirator for this business - do not neglect safety measures.
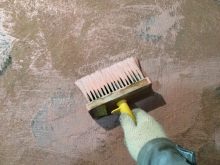
It is important to complete the preparatory work with a primer, as this creates good conditions for the screed to bond and also provides additional insulation. It is better to prime it twice and then let it dry for at least 8 hours.
How to make a wet fill?
Usually, a wet screed is used for a jellied floor in an open space of a loggia. But remember that it should be no more than 4 centimeters and that each centimeter will take 1 day to dry. So, it will take at least 3 days to dry a base of 3 centimeters.
It is possible to fill the floor correctly only in the warm time of the day, otherwise the solution will lose its quality: at low temperatures it collapses and does not have the strength that is necessary to create a solid floor base on the loggia.
Tools and materials
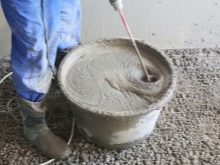
The solution is easy to prepare, you can do this in a small container in portions, or use a household concrete mixer. The second option is not very practical for a small space, so it is enough to have a trowel, a large galvanized bucket or trough and the necessary materials for the mortar:
- cement (1 part);
- crushed stone (1 part);
- 2 parts of sand (preferably river sand - it is finer and cleaner);
- water.
You can beat all this with a mixer for construction work or with the help of a shovel (a field shovel is also suitable), if the dishes in which the composition is prepared allows. The pouring mixture is brought to the density of sour cream, and it is leveled using a smooth board or a special building rule.
Technology
Work on the installation of a wet screed is carried out in a specific order.
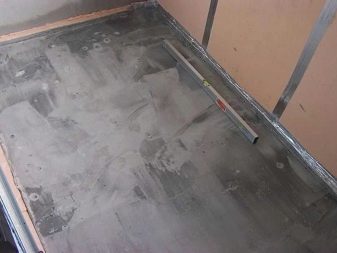
- They take a plumb line and a level, with the help of these building objects, the zero point of the fill is revealed (marked along the perimeter). The height of the screed must not exceed this level.
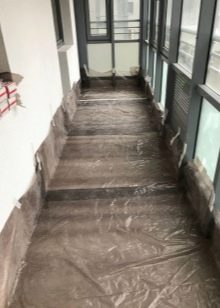
- With the help of roofing material or plastic wrap, the floor is waterproofed. Sheets are stacked with an overlap on the floor and overlapped on the walls.
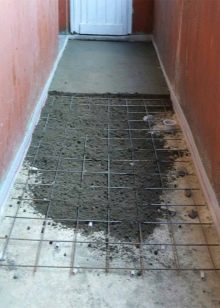
- A fine-mesh metal mesh is laid on top of the waterproofing layer - this is especially true for large balconies: this way the screed will hold on better.
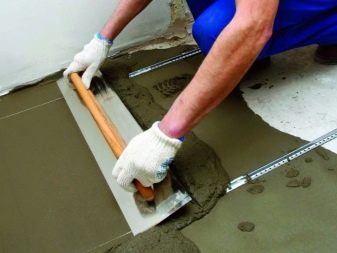
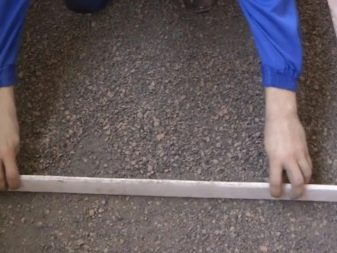
- To make the screed even, metal profiles are installed - these are beacons at the zero point. The profiles are held on a solution of alabaster or gypsum composition, but they can also be screwed with self-tapping screws, for this, put a wooden base (pieces of boards) or washers (rubber).
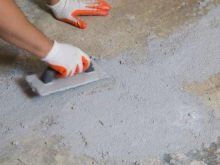
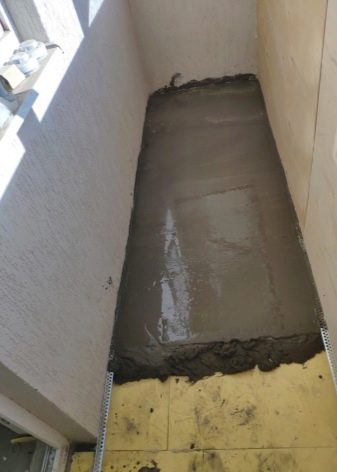
- The screed itself is poured in portions, starting from the side opposite to the door. The layer is leveled with a board or a special rule, and the solution is prepared after all the preparatory measures: you do not need to do it in advance.
- To prevent moisture evaporation, cover the screed with a film. If this is not done, the solution will crack. You can also moisten the laid layer, but it is more convenient to cover it with foil.
- Remove the beacons (profiles) after 7 days.To make them better removed, before laying them, you can treat each profile with oil (machine oil). The resulting voids from the lighthouses are covered with a cement compound.
A wet screed dries out completely in 3-4 weeks after pouring it, therefore they are not in a hurry with finishing work, the base must be allowed to dry well. A wet screed is made for the installation of ceramics, parquet, laminate, carpet.
Consider further another option for leveling the floor on the loggia - dry backfill.
DIY dry screed
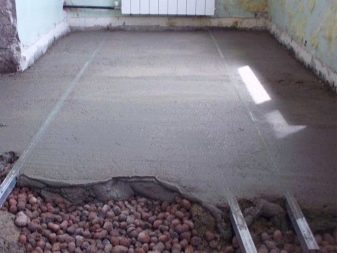
Dry mix with expanded clay is a lightweight option and is suitable for perfectly leveling the balcony surface of old houses. It will take one day to install such a screed on your own. Advantages of dry work:
- speed when filling the dry composition;
- negligible load on the floor concrete slab of the balcony;
- improving the thermal insulation of the balcony floor.
Among the disadvantages are the following:
- high cost of dry mix;
- does not make the base stronger.
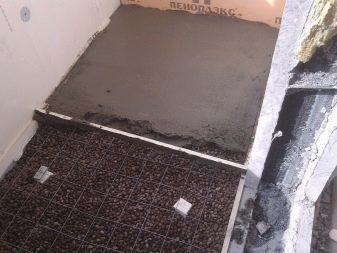
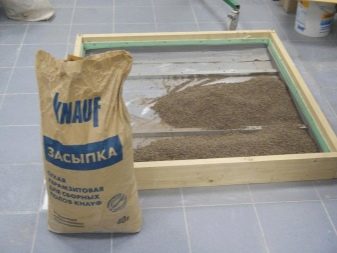
A dry screed is usually made from expanded clay materials (crushed stone, sand and gravel are mixed), in the case when only sand is used, the base can freeze. At construction points, a ready-made dry mixture is sold for filling the screed, to which foam is added (vermiculite and other plasticizers, as well as wood chips - all this only improves the technical properties of the floor covering). For the installation of a dry composition, a number of sequential actions are performed.
- A concrete floor slab is prepared and a waterproofing layer is first laid.
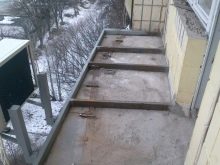
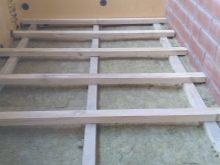
- Around the perimeter, a zero level is found and designated, and logs made of wood are installed transversely (they are fixed with anchor bolts). The wooden blocks themselves are treated with an antiseptic before installation so that they do not rot.
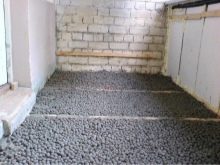
- The mixture is poured between the wooden blocks, the dry base is leveled and tamped well. Such a screed is made at least 5 centimeters high.
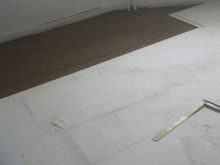
- On a dry base, they immediately make a finishing coating - they glue the plywood or apply another material (preferably waterproof).
If necessary, add another mixture under the sheets - you need to ensure that there is no void under the finishing material. Leave the plywood on the balcony for a few days to "acclimatize", so you get a smoother surface and a floor without deformations.
If you do not have time to wait, choose not a wet "bedding" of the floor on the loggia. You can step on the dry composition immediately, you can immediately take up the final finishing of the flooring, and then immediately proceed with the general finishing. But in the first case, with a wet sand-cement composition, you will be able to complete the repair in at least a month.
Each master makes the choice independently. It also depends on the conditions: dry "filling" is suitable in all variants, but in old houses, do not risk installing a cement-sand screed - there is an opportunity to fall through to the neighbors from below.
In a word, follow the instructions and all recommendations, and then you will get a good experience for further renovation in your apartment. After all, the screed may be needed not only on the balcony. This additional protection will make your home warmer and more comfortable, well, and will increase sound insulation, which is important for your neighbors, especially if you have children.
All about the screed on the balcony, see the video.
