Ways to finish the balcony and loggia outside
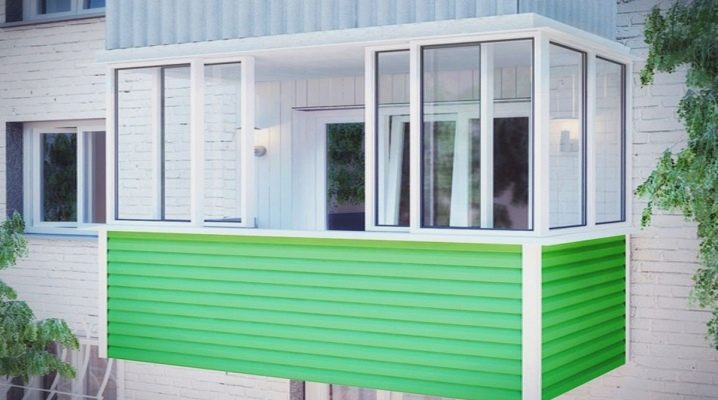
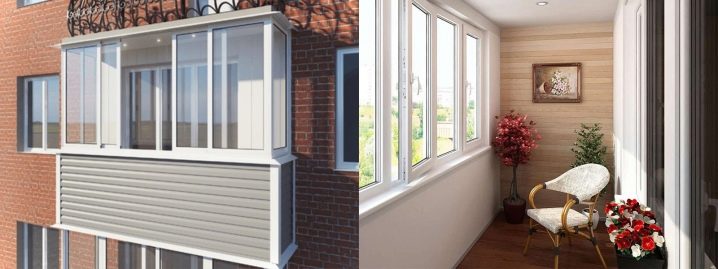
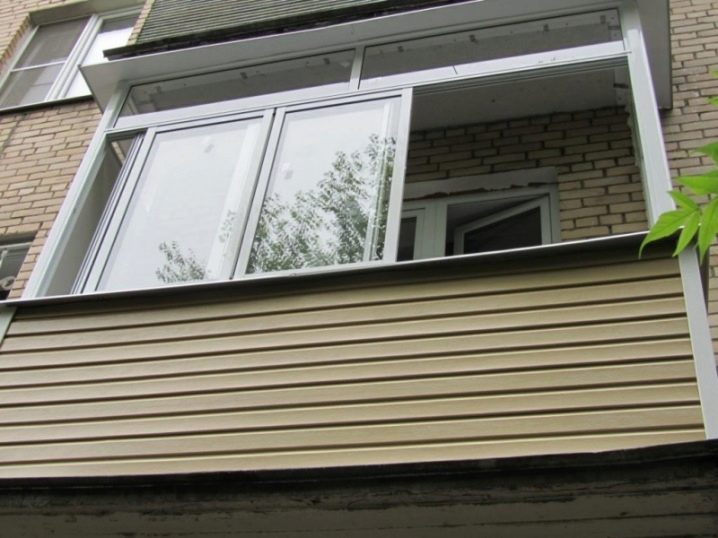
Finishing the balcony and loggia from the outside allows you to give the entire structure an aesthetic appearance, solves the problem of heat loss. External cladding with panels is independently carried out in a short time, with the correct selection of materials, it requires minimal costs. When deciding how and what to trim your façade with, you can also consider vinyl and metal siding as decor options.
Peculiarities
The aesthetics of the building facade is no less important than the interior filling. Finishing a balcony or loggia outside with modern materials makes it easy to put even old buildings in order.
In addition, in addition to increasing the visual appeal, it also adds comfort, reduces the volume of external noise, and increases thermal insulation.
The main tasks for finishing work are simple.
- Elimination of cosmetic imperfections. Over time, they appear even on the highest quality cladding.
- Protection of the premises from atmospheric influences. Correctly executed finishing prevents water, snow, dirt from entering the balcony from the road.
- Formation of a modern appearance. Plastic or aluminum glazing is not compatible with slate or wood paneling.
- Preservation of slabs and supporting elements. They require reliable moisture insulation.
Usually, the replacement of the balcony cladding is carried out at the same time as the installation of the glazing, but these stages of work can also be spaced in time. The easiest way to complete the task is on the ground floors of apartment buildings.
When performing high-rise work, you will have to take care of the construction of scaffolding or the delivery of special equipment to the site.
Precautionary measures
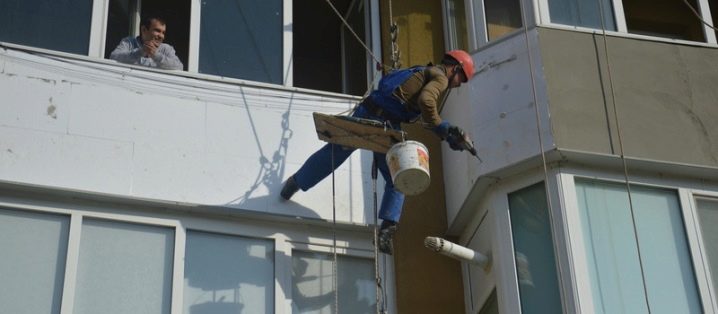
Replacing the outer cladding of a balcony is always associated with a certain amount of risk.
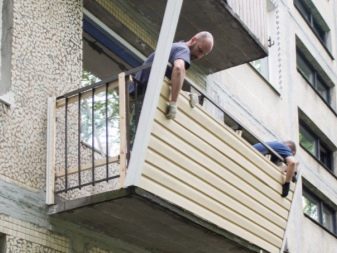
Of course, on the first floor, you can do with an ordinary stepladder, but with an increase in height, you will have to take care of ensuring safety.
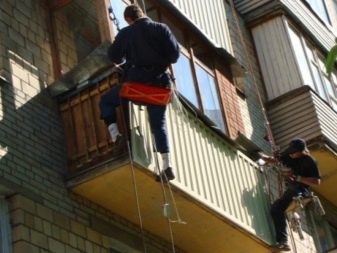
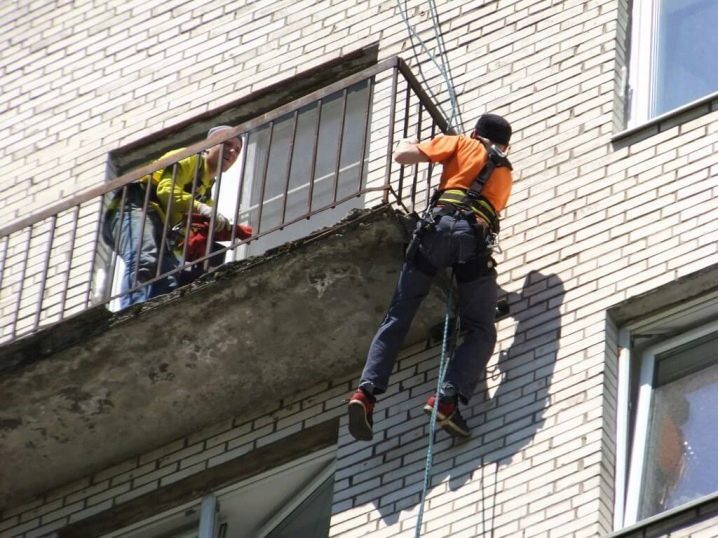
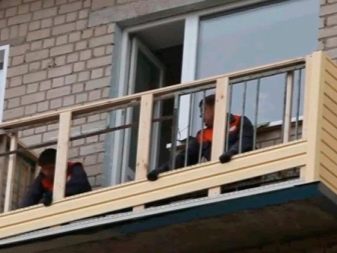
Not everyone can afford a long-term rental of an aerial platform. It is important to know that it is forbidden to carry out high-rise work alone - an assistant must be present on the ground. In addition, the territory will have to be fenced off, warning signs posted, and in the case of an apartment building, such actions will also have to be coordinated with the utility company serving the building.
Security measures during high-altitude work include:
- construction of scaffolding;
- use of winches and climbing equipment;
- strengthening the parapet;
- manufacturing of a fenced platform.
It is better to arrange the delivery of building and finishing materials from the apartment. In this case, the risks of their fall will be significantly reduced. It is very important to securely fasten all the tools used, to make sure that when fastening the trim parts, they are immediately fixed to the base.
Preparation
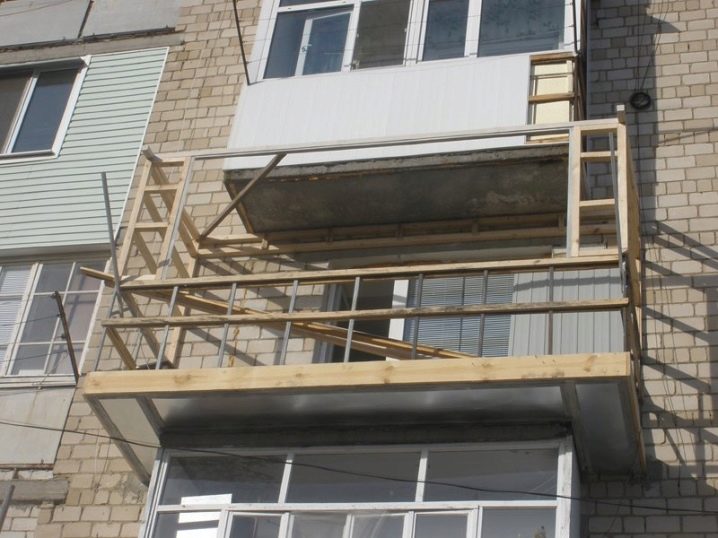
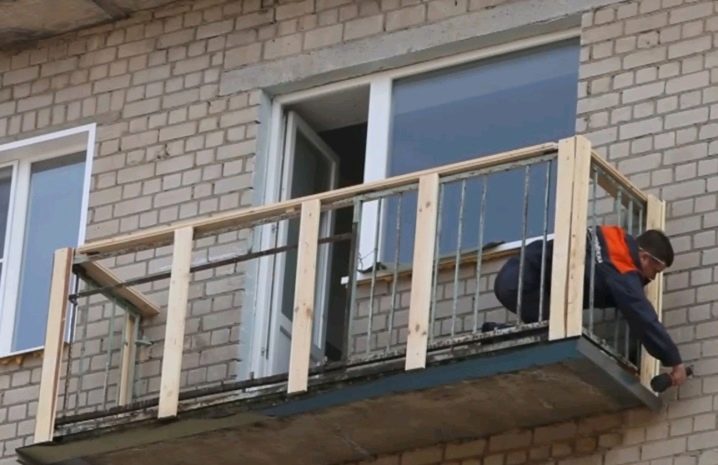
As part of the preparatory work on the cladding of the facade of the balcony or loggia, the old cladding elements are dismantled. Anything on the outside of the frame is removed.
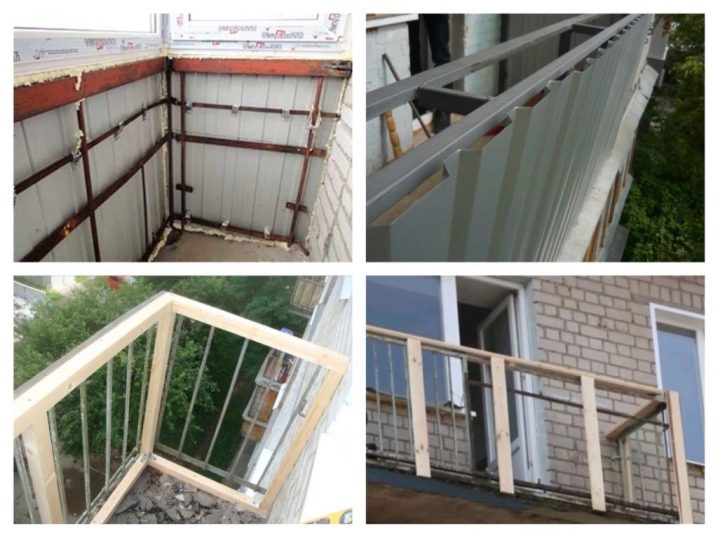
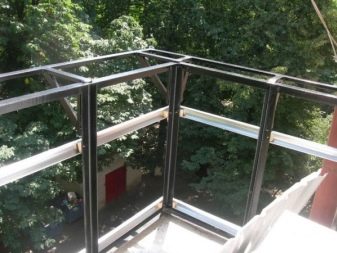
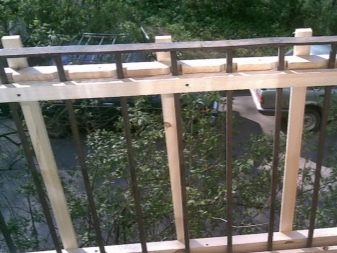
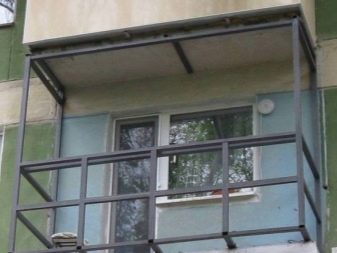
If there are metal railings, they can also be cut off by replacing them with a new crate. It is mounted on corners from the outside of the concrete slab.
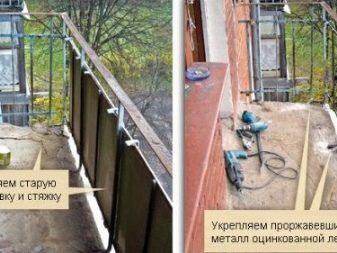
At the preparatory stage, it is important to inspect the base of the balcony. If collapses, chips are detected, it is recommended to close them up, strengthen them with corners. At the junction with the plate, the steel fence is reinforced with a galvanized strip of metal.All surfaces are cleaned, treated with primers and anticorrosive compounds. Only after that you can proceed to further work.
As part of the preparation, you need to take care of preparing the necessary set of tools. Regardless of the choice of cladding option, in the process of work will be used:
- building level and level;
- hammer / impact drill;
- hand saw or jigsaw;
- screwdriver;
- hammer;
- scissors for cutting metal (for steel siding, profiled sheet);
- marker and tape measure.
For a drill, a screwdriver, you will need additional bits and drills. In addition, you will have to stock up on suitable fasteners - galvanized self-tapping screws with or without press washers.
How to sew with your own hands
Balcony cladding on the façade side begins with the choice of materials. In most cases, you can do without dismantling the existing metal railings., but if they are very dilapidated, you can completely remove all interfering elements, replace them with a new crate and a harness frame.
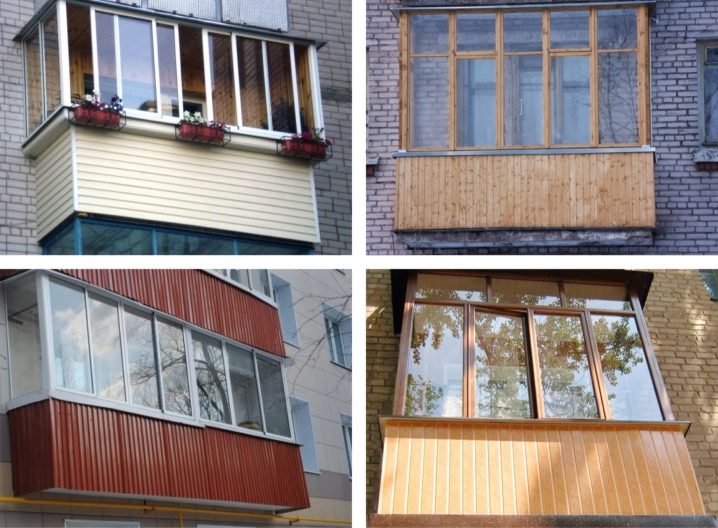
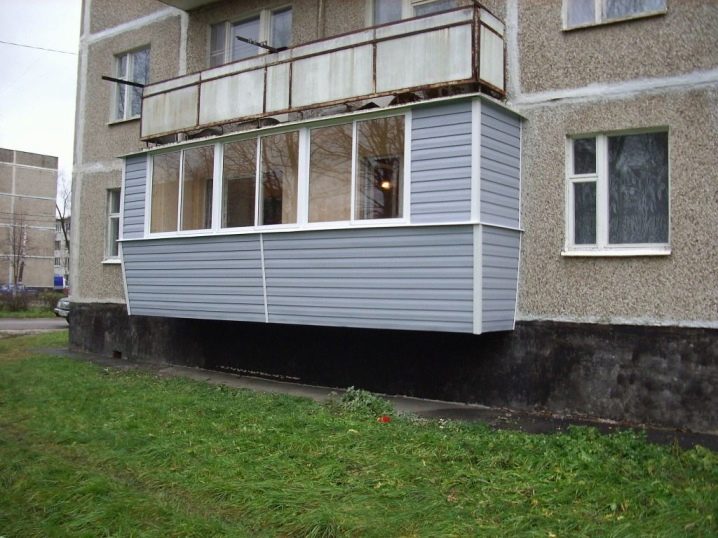
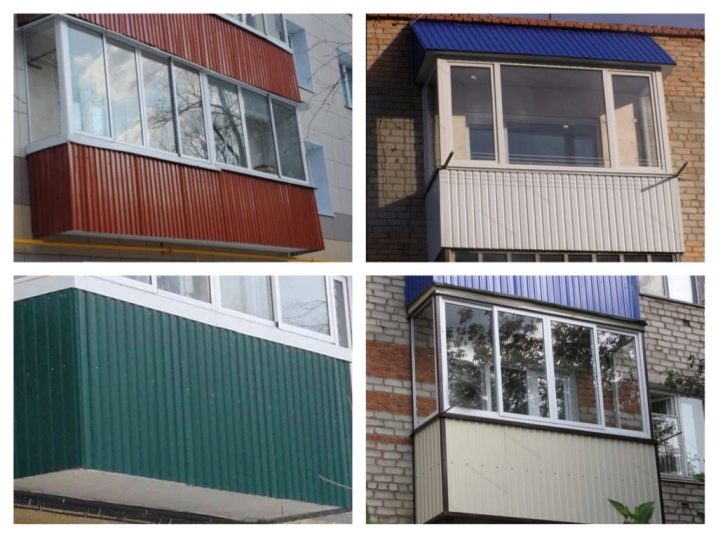
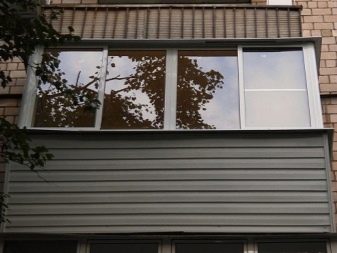
Depending on the wishes of the owner himself, you can finish the structure from the outside with siding, plastic clapboard or metal profiled sheet.
If the old cladding is made of lining, you can leave it in place.
When choosing the best way to refine the balcony structure on your own, it is customary to rely on economic and aesthetic factors. You can cheaply finish the front part of the loggia with a metal profile.
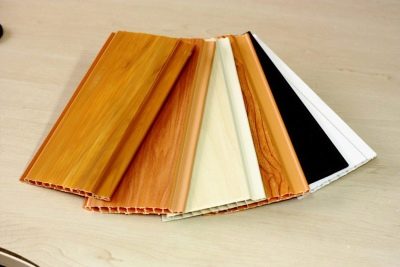
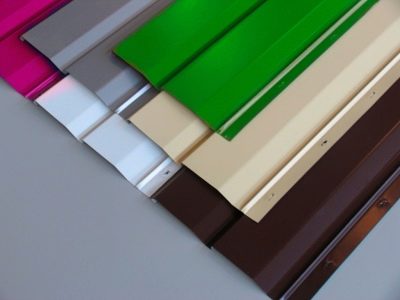
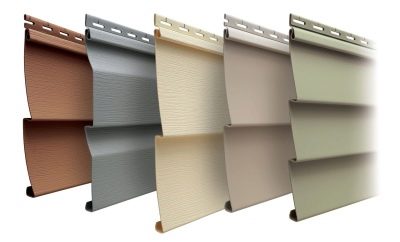
If design is important, vinyl siding or plastic paneling is worth considering. They look beautiful, have different colors and textures, width and profile shape.
Original design solutions can also be created from such material as metal profiles. Such panels can be used to decorate both the balcony in the "Khrushchev" building and the front part of the loggia. When designing a structure, you can handle it on your own. Step-by-step instructions will help you to do everything right.
Plastic clapboard
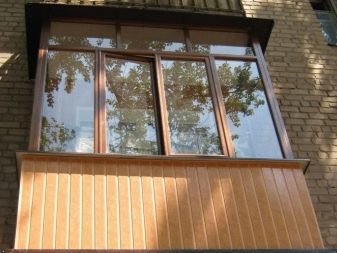
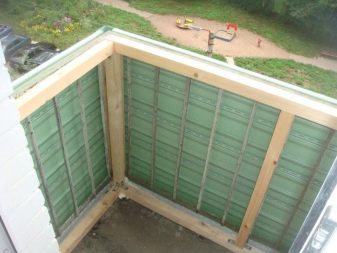
Finishing a balcony or loggia outside with plastic is the most affordable solution to ensure a quick transformation of the entire structure. The cladding is carried out on top of the lathing made of wooden beams or metal profiles.
This finish offers many advantages, from color variety to ease of installation. To successfully complete the work, simply follow the instructions.
- A crate is formed from sections of a bar or profile.
- The first strip of plastic lining is fixed at the level. She plays the role of a guide. Installation is carried out at the very bottom, in the starting profile.
- The rest of the trim elements are attached to the very top. The connection of the plastic lining is carried out according to the thorn-groove principle.
Upon completion of the assembly of all parts, you can proceed to the insulation and interior decoration of the balcony.
It should be added that the plastic lining can be fixed both horizontally and vertically.
Profiled decking
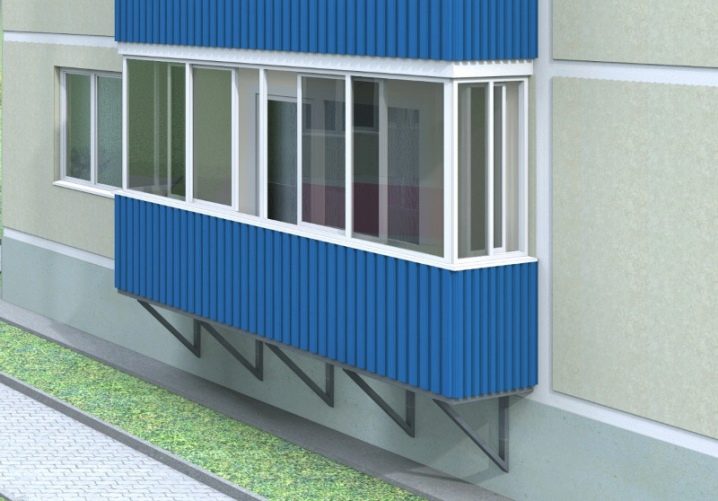
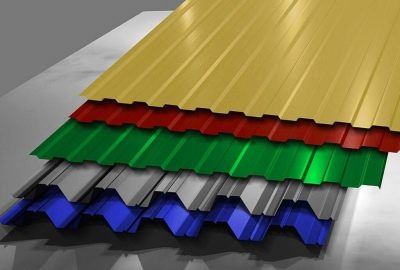
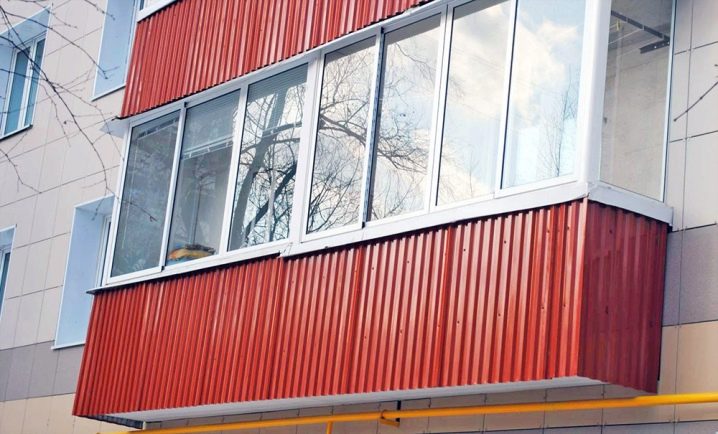
Finishing the outer part of the balcony or loggia with corrugated board is an economical option that allows you to quickly and efficiently form the outer skin. The profiled sheet is easy to cut, usually located vertically.
The material belongs to the middle price category, you can choose a suitable option among products with a colored polymer coating or with a galvanized surface.
This finish turns out to be tough and durable, does not create a significant load on the balcony base, and has a service life of up to 50 years.
Installation is carried out using a lathing made of wooden beams or steel profiles. It is recommended to cover the frame with protective compounds.
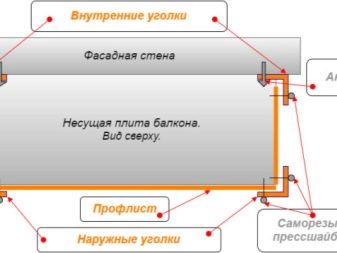
The profiled sheet is fixed with an overlap, using self-tapping screws with rubberized overhead washers. Sheathing begins from the corner, with the installation of end plates. The frame is attached to the front wall with anchors at the corners.
Despite the fact that the profiled sheet is not considered a material with a high aesthetic value, it is quite often used in balcony cladding due to its high covering ability.
Aluminum siding
This cladding option is suitable for creating a comfortable insulated space inside a balcony or loggia. The material is resistant to external influences, practical in operation, durable.
Installation is carried out on a metal profile crate. The polymer coating does not fade over time, is completely fireproof, resistant to frost.
The only drawback of this finishing option is the higher cost in comparison with analogues.
The installation process for aluminum siding is fairly straightforward. It is enough to follow a certain sequence of actions.
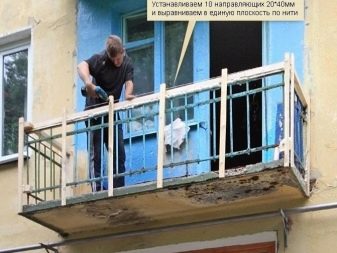
- Installation of the lathing. It is necessary to install the main support beams - at the corners and near the walls, as well as the horizontal elements that form the frame. More frequent lathing elements are stuffed on them - 10 pieces with a section of 20 × 40 mm. The frame must be aligned with the level.
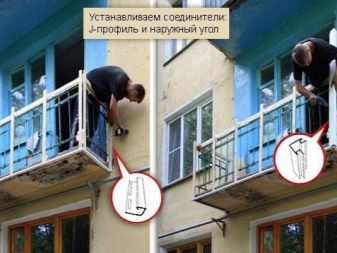
- Installation of the profile at the bottom and at the top. It allows you to protect the guides from damage, provides an additional bundle of elements. Dowels and corners are used for fixing to concrete. Place 2 strips at the joints. The corner L-shaped profile is fixed with self-tapping screws before installing the siding.
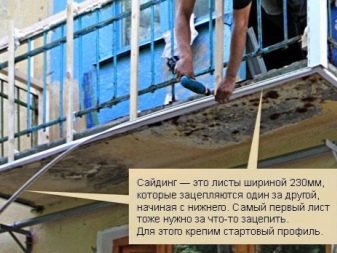
- Fastening the starter bar. It is fixed with self-tapping screws on the lower strapping.
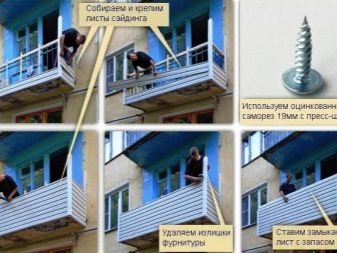
- Siding fixation. It is pre-cut to the desired size. Installation starts from the starting profile using self-tapping screws. It is important not to screw them all the way down. A gap of 5 mm is always left to compensate for the thermal expansion of the materials.
- Installation of the closing sheet. It is fixed in the upper part with a margin of 10 cm, closed with a finishing profile. Surplus fittings are removed.
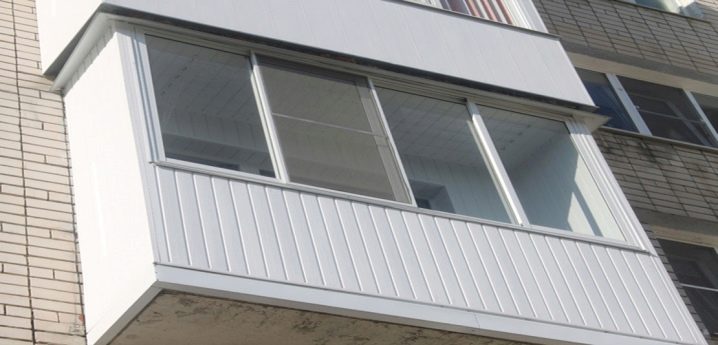
When installing aluminum siding, the panels are wound over the sheathing, and then placed in the corner profiles along the edges. The first panel in the starter bar is fastened with self-tapping screws. Subsequent elements are joined end-to-end. You can do all the work directly from the balcony - this allows you not to use devices for lifting to a height.
Vinyl siding
An affordable and aesthetic material - PVC polymer siding - comes in a wide range of designs and textures. It is resistant to high temperatures, is considered environmentally friendly, and is easy to keep clean.
Installation of vinyl siding is carried out using a frame method. You can use lighter versions of the aluminum profile for the batten, since the mass of the planks is significantly lower. You can also replace it with wooden battens. The section of the elements is chosen taking into account the thickness of the insulation, which will be used in the future - usually at least 60 mm.
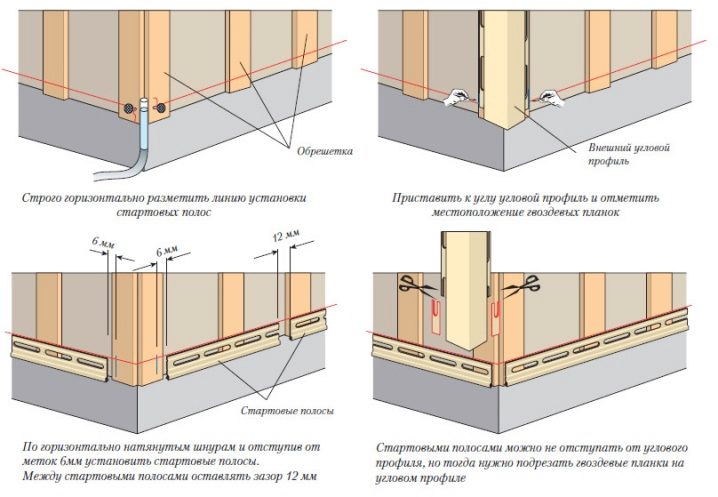
Installation of the frame for vinyl siding is carried out starting from the side surfaces. Here rectangular frames are assembled, additional jumpers are installed with a step of no more than 50 cm. Then the ropes are pulled between them.
If there is an old parapet, it is connected to the new frame elements using copper wire.
It is also important to take care of strengthening the balcony itself. The harness is connected to the wall surface with anchors. It is recommended to pre-soak siding made of vinyl polymer for at least 24 hours in the same conditions where installation will be carried out. This will prevent the cladding from warping in the future. Then a starting bar and corners are placed, fastened with galvanized self-tapping screws.
When hanging vinyl siding trim on a balcony, it is important to follow a few rules.
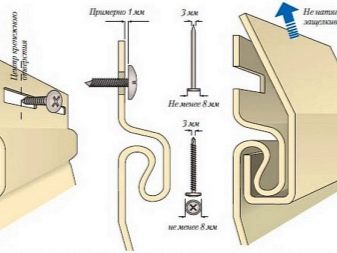
- Leave a gap of 10 mm. It is necessary in the area of joining the panels and the frame to compensate for thermal deformations.
- Screw in self-tapping screws not completely. Screwing is carried out strictly in the center of the mounting hole.At the same time, the heads of the fasteners are not fixed tightly to maintain the free play of the siding.
- Check the horizontal after each plank. Any distortion in the case of vinyl siding will lead to the fact that with each new module the curvature will only increase. It will be impossible to install glazing on top of such a finish; you will have to disassemble everything.
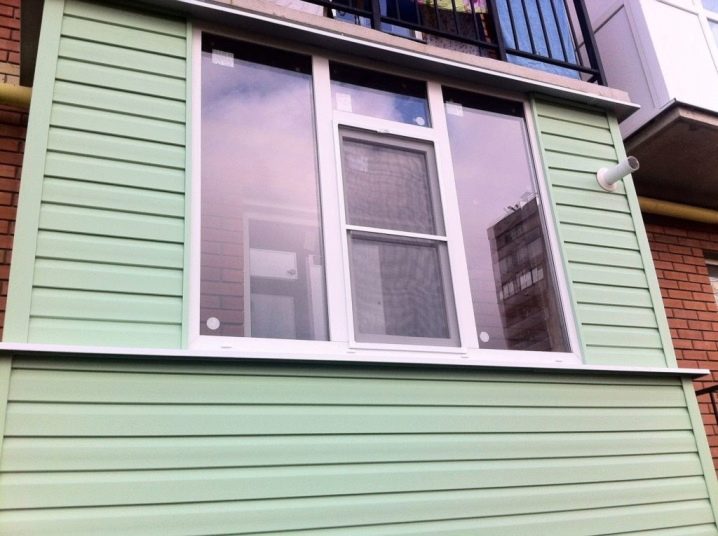
The last vinyl siding panel should be fitted with a wide margin. On average, it will be sufficient to leave about 30 mm. This is enough to harmoniously complement the facade with glazing without disturbing its visual appeal.
How to finish the balcony outside with vinyl siding, you will see in the next video.
