Finishing the balcony and loggia with PVC panels
Finishing the balcony and loggia with PVC panels has its own characteristics. The cladding inside and outside with plastic laminated panels with their own hands is significantly different. In addition to a general acquaintance with the installation options, it is necessary to study detailed step-by-step instructions.

Advantages and disadvantages
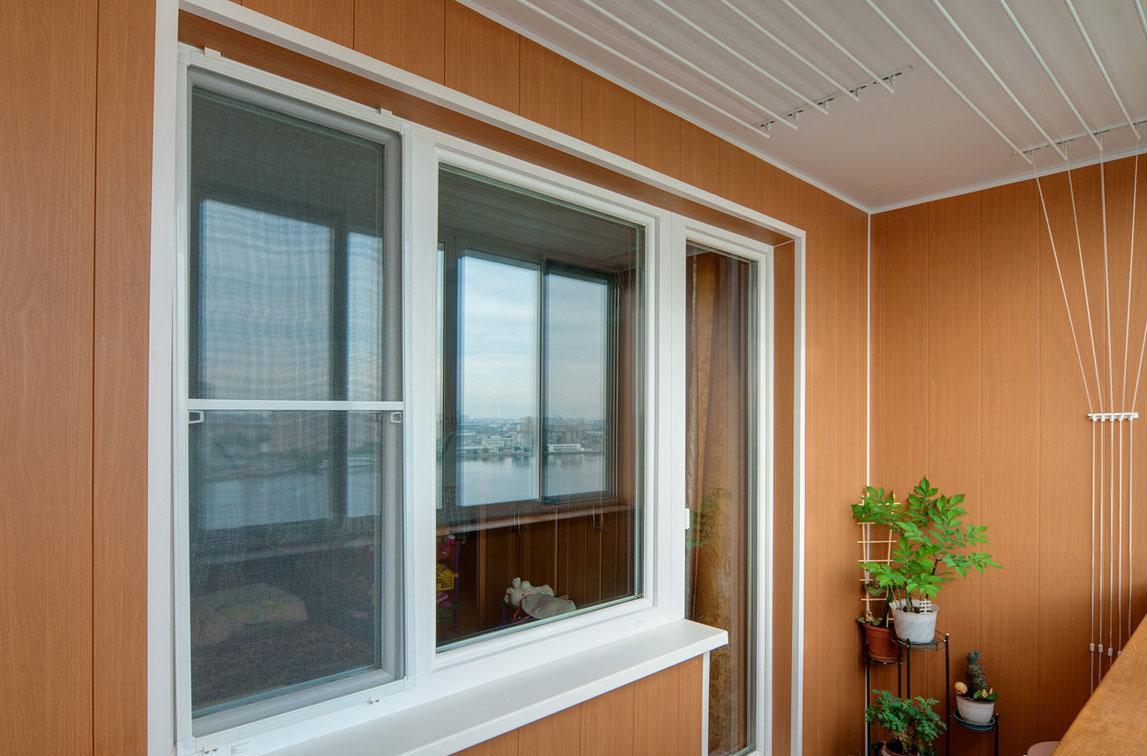
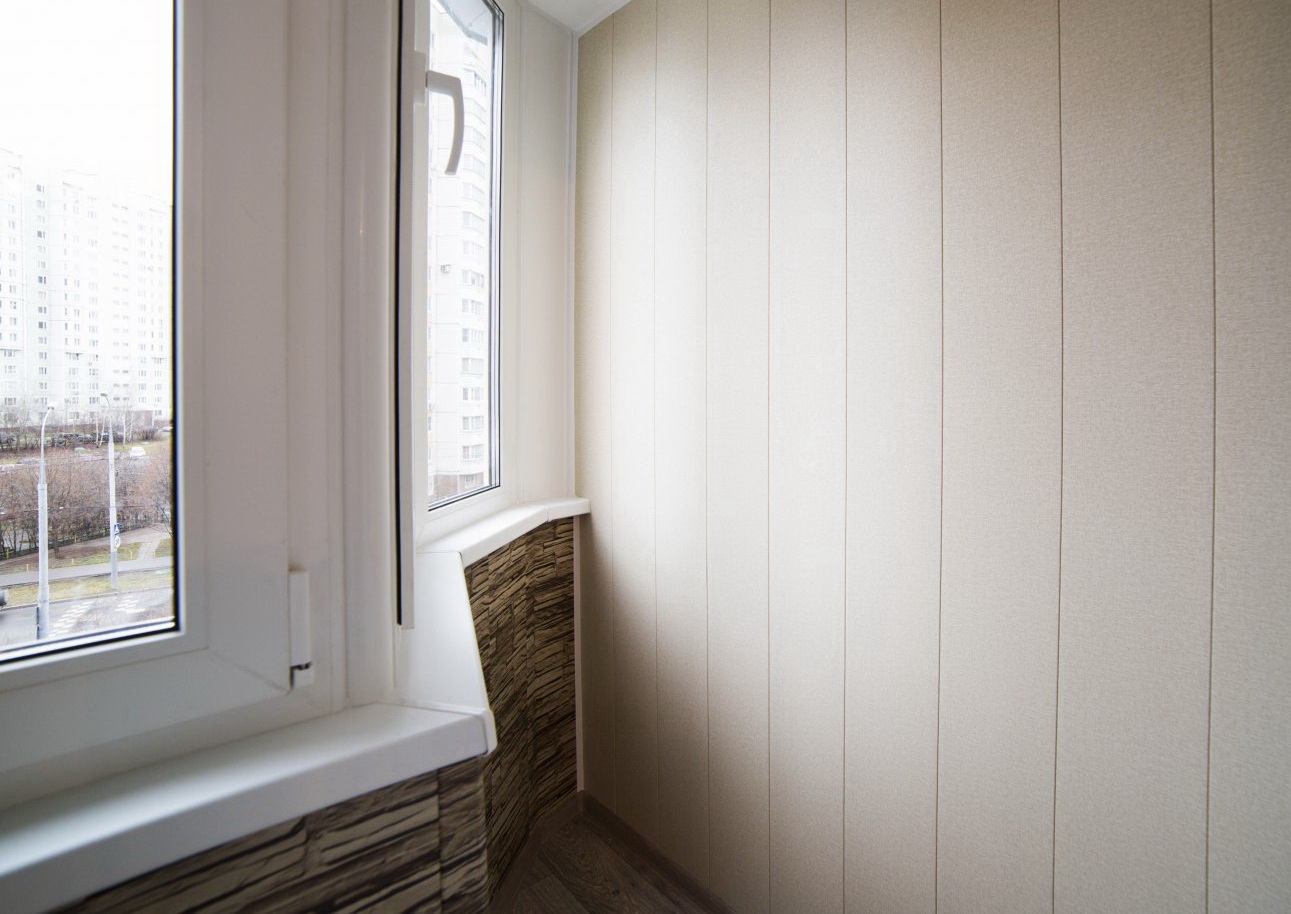
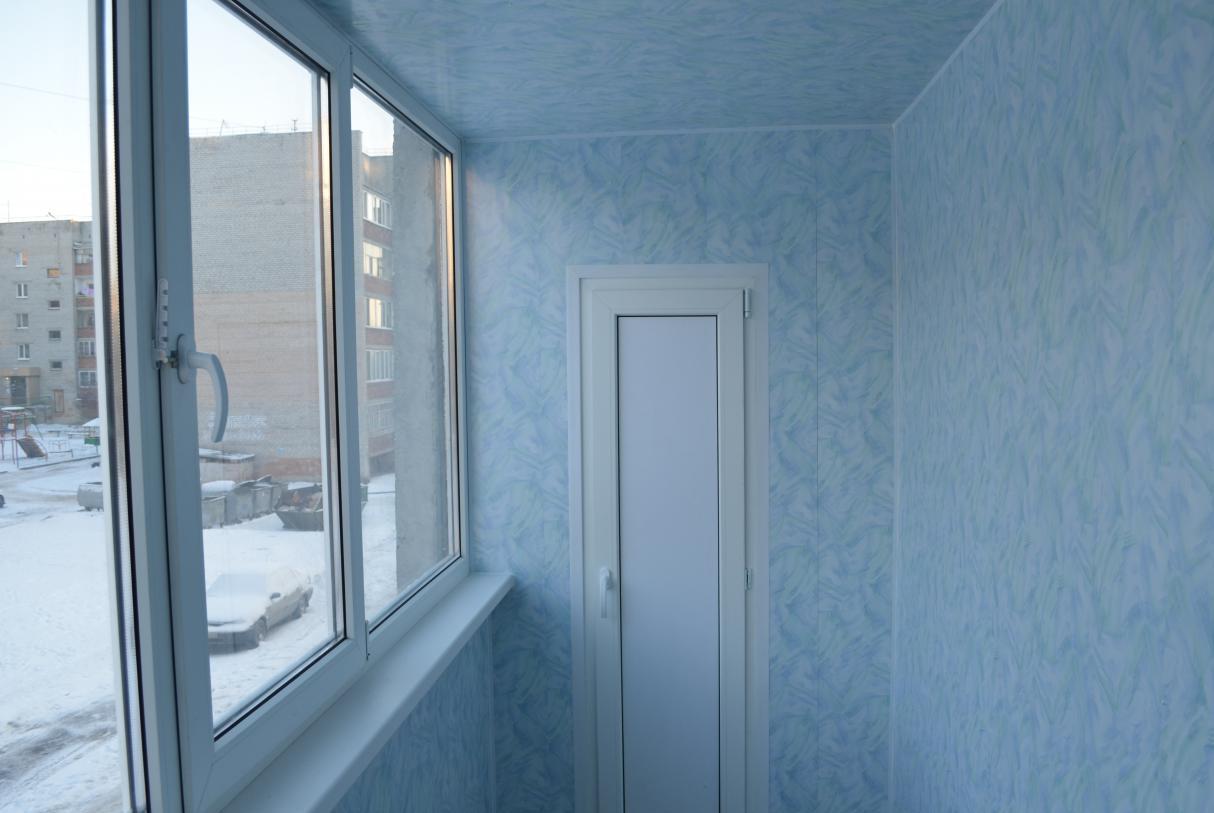
Each apartment owner strives to achieve its maximum coziness and comfort, an attractive appearance. And even on protruding areas or square meters attached outside, everything should be no less elegant than inside. Decorating the balcony with PVC panels or a similar solution when repairing a loggia is quite justified and popular. Those who have already used such methods note that such actions do not require a significant investment of time. They note that polymer products look beautiful, they are suitable for installation both on walls and ceilings.
The service life of PVC products is very long. Saturated colors last for a long time.

Even the most original design project can be realized with the help of such tones. In the manufacturing process, over 200 different components are mixed with the polyvinyl chloride itself. They improve:
-
light resistance;
-
thermal stability;
-
surface characteristics;
-
elasticity and other plastic qualities.
Each manufacturer never tires of reminding them that the formulation used is thoroughly tested and that it does not pose a threat to both people and the environment. It also indicates the low flammability of the panels and their ability to self-extinguish. Combustion is possible only with continued exposure to fire from the outside. As soon as you put it out, it stops. The use of polymer structures is also quite simple - it comes down to annual washing and periodic wiping, surface cleaning.
Good panels will last at least 20 years. Therefore, repairing the balcony is often not required.
If suddenly there is a desire to replace the panels, the old blocks are simply dismantled and new structures are installed. However, this does not mean that there are no weaknesses and problems. Difficulties with finishing appear when some parts of the balcony are not sufficiently insulated, or energy-saving double-glazed windows were not used for glazing.

In this case, the negative effects of cold, wind and sunlight can greatly damage the finish. And even a specially selected recipe does not help in such a situation (unless we talk about special persistent options). The conclusion is obvious: everything must be done very carefully and scrupulously. As for the other properties of plastic, in the usual descriptions they note:
-
versatility (suitable for installation on plywood, concrete and brick surfaces);
-
ease of fastening entirely or trimming to the desired size;
-
affordability;
-
no need for additional processing of joints and final finishing (as happens with gypsum plasterboard);
-
susceptibility to scratches and abrasion with active mechanical stress;
-
inability to "breathe", as does a lining made of wood, therefore you need enhanced ventilation and auxiliary ventilation;
-
relatively weak strength.
Material selection
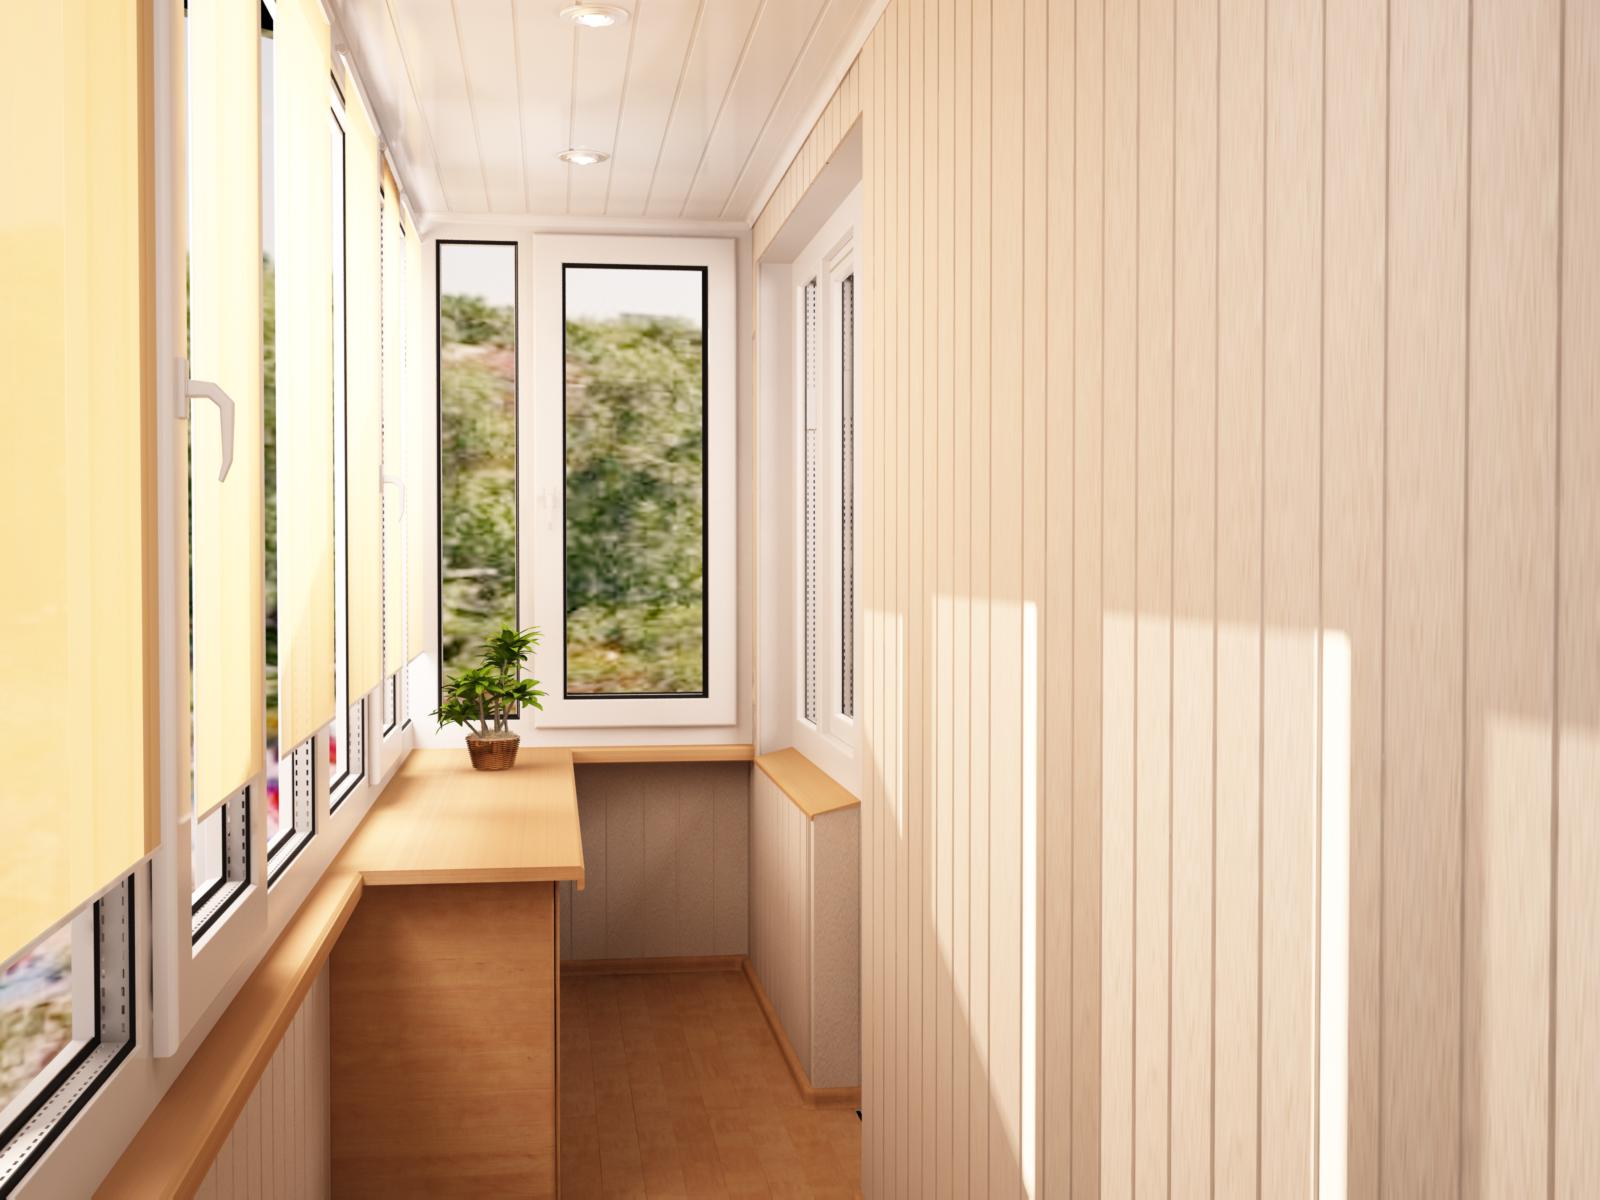
It is hardly reasonable to use the first available plastic constructions. There is a great risk that they will only bring disappointment. If you have a very limited budget, then it is better to choose simple wall products - without experiencing illusions about their quality and special durability. The dimensions of such units are ideally matched to the needs of customers. Relatively little waste remains during installation. The latter circumstance is very important when arranging a limited space.
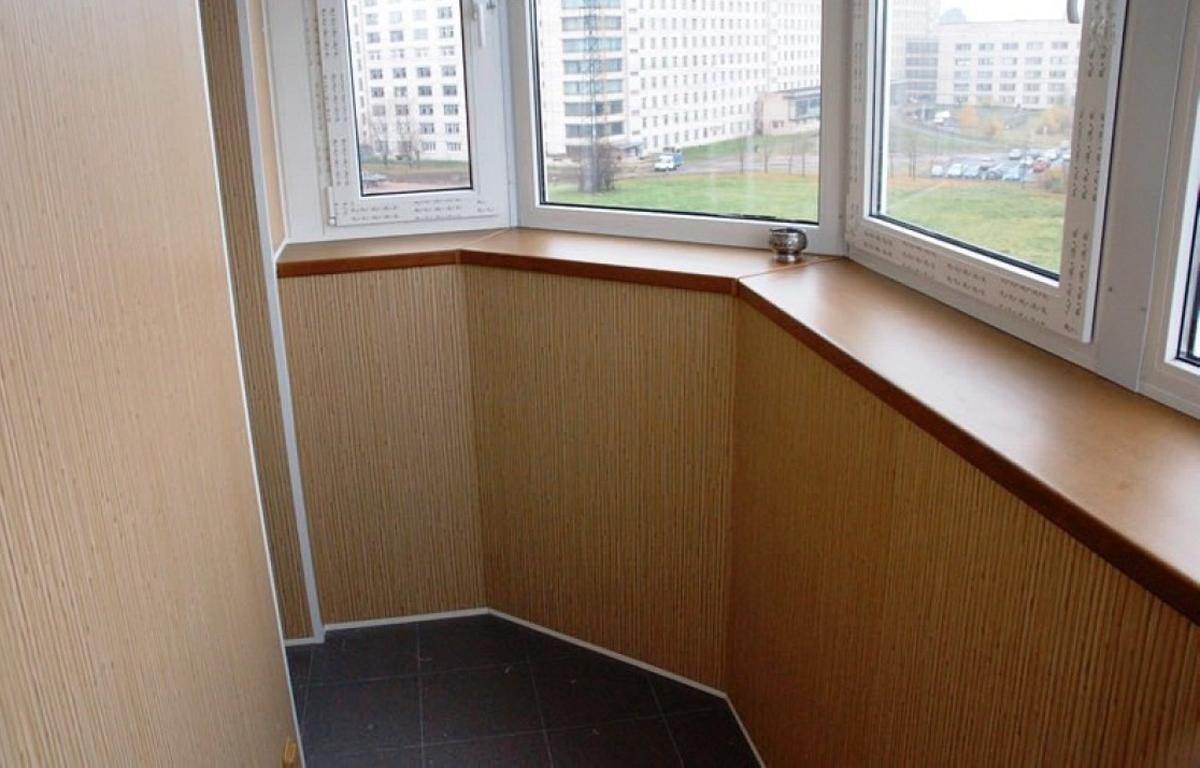
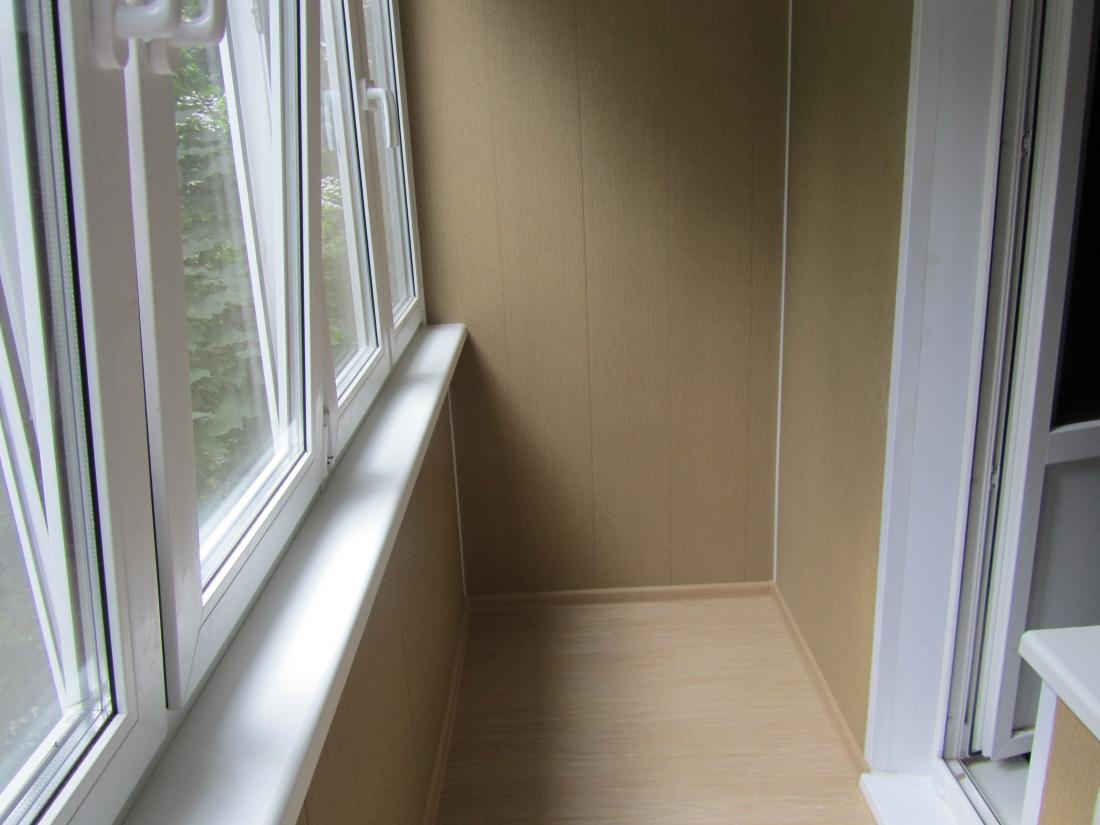
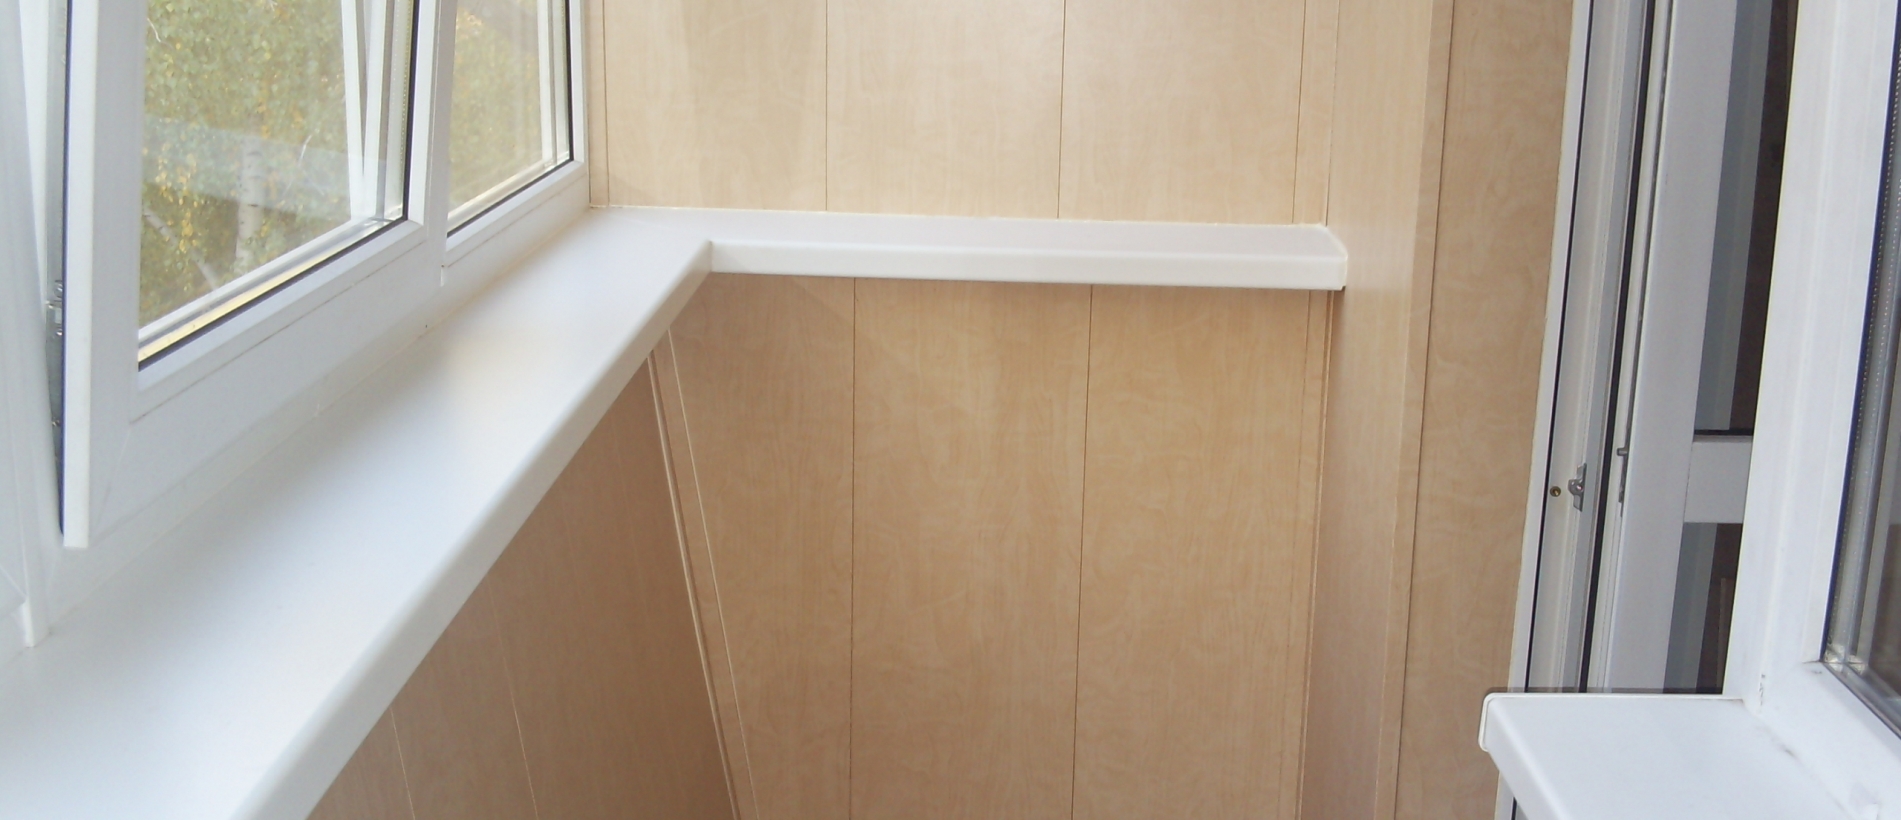
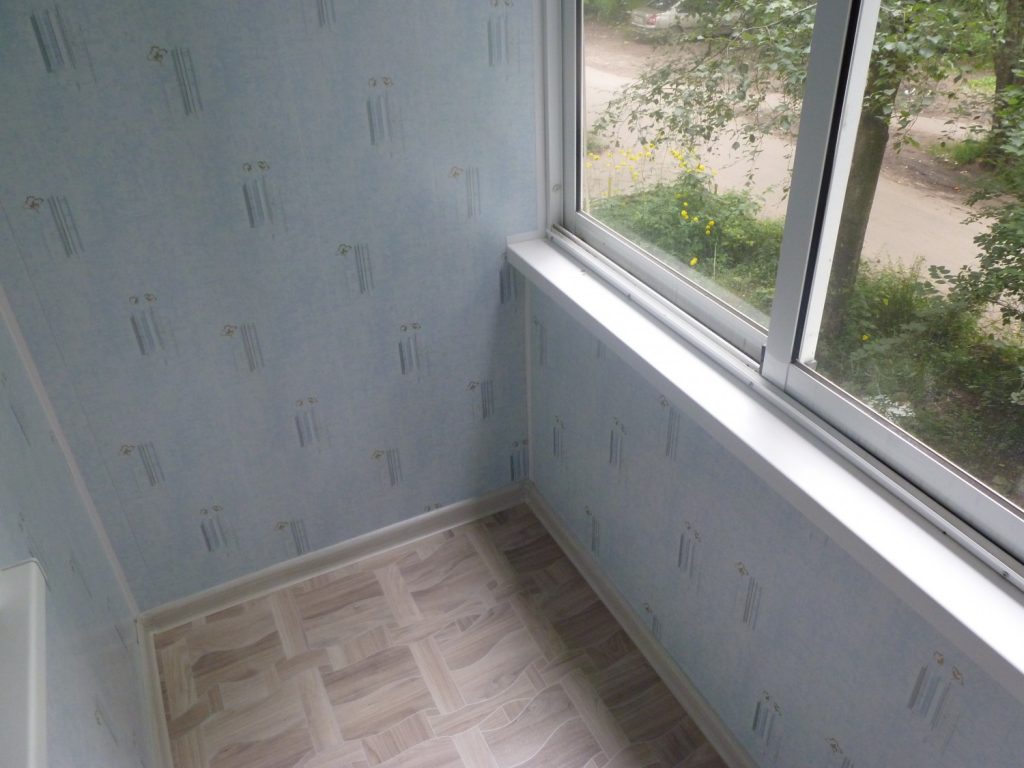
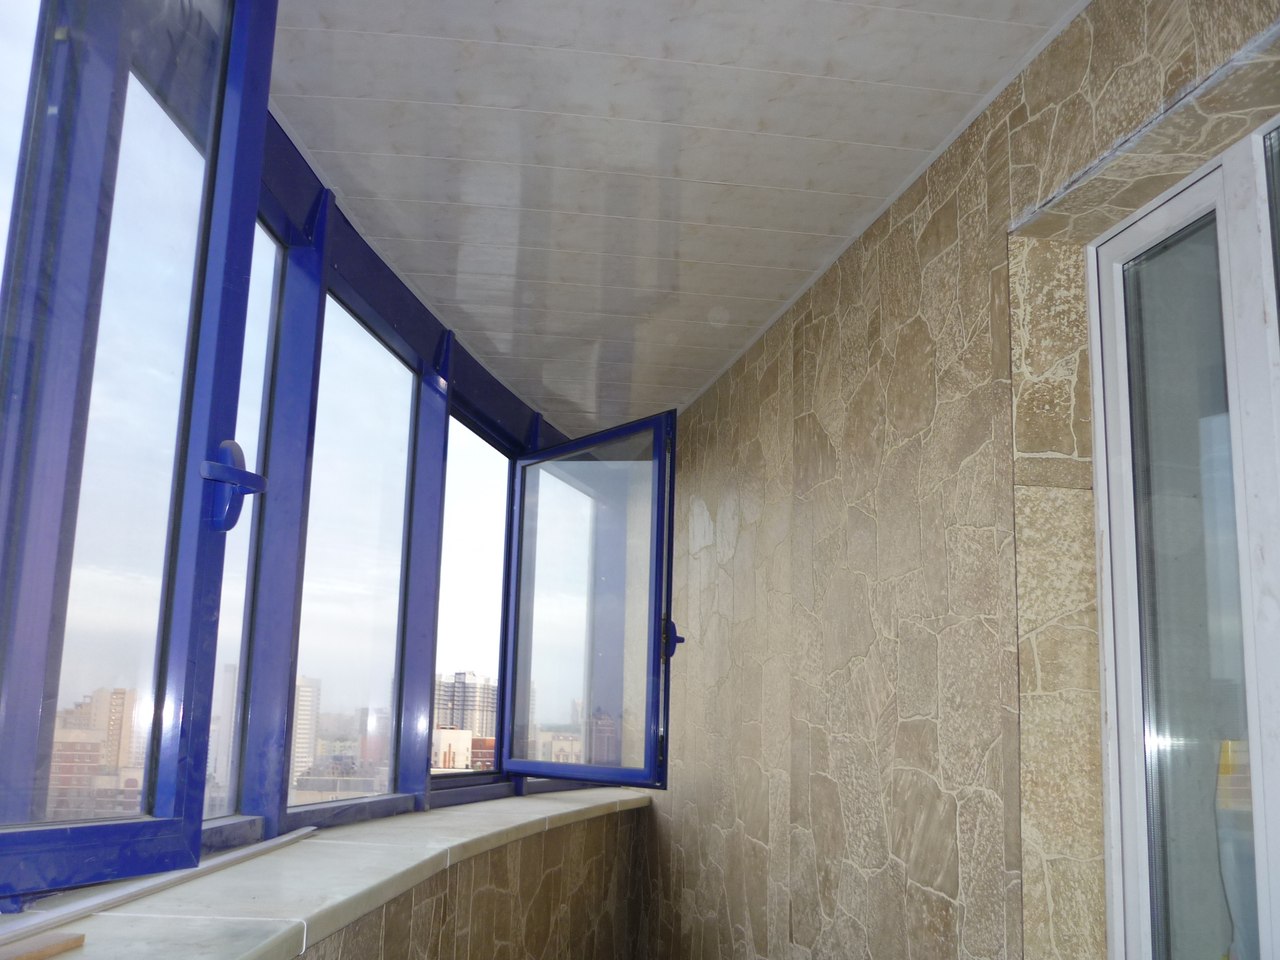
For walls, ordinary matte panels are also suitable - in addition to excellent decorative properties, they are good for cleaning with abrasives. This is unacceptable for glossy models. However, they wash well with ordinary soapy water. Wide facade and wall laminated panels are popular. They are distinguished by excellent moisture resistance characteristics.
Laminating film guarantees resistance to most substances found in everyday life, including acids and household chemicals. It also increases resistance to ultraviolet rays. The last parameter is very important for balconies facing the sunny sides of buildings. The higher the glazing level, the more relevant this requirement is. Lamination creates an excellent texture that is pleasant even to the touch.
If natural material is imitated, this imitation becomes even more pleasant and effective.
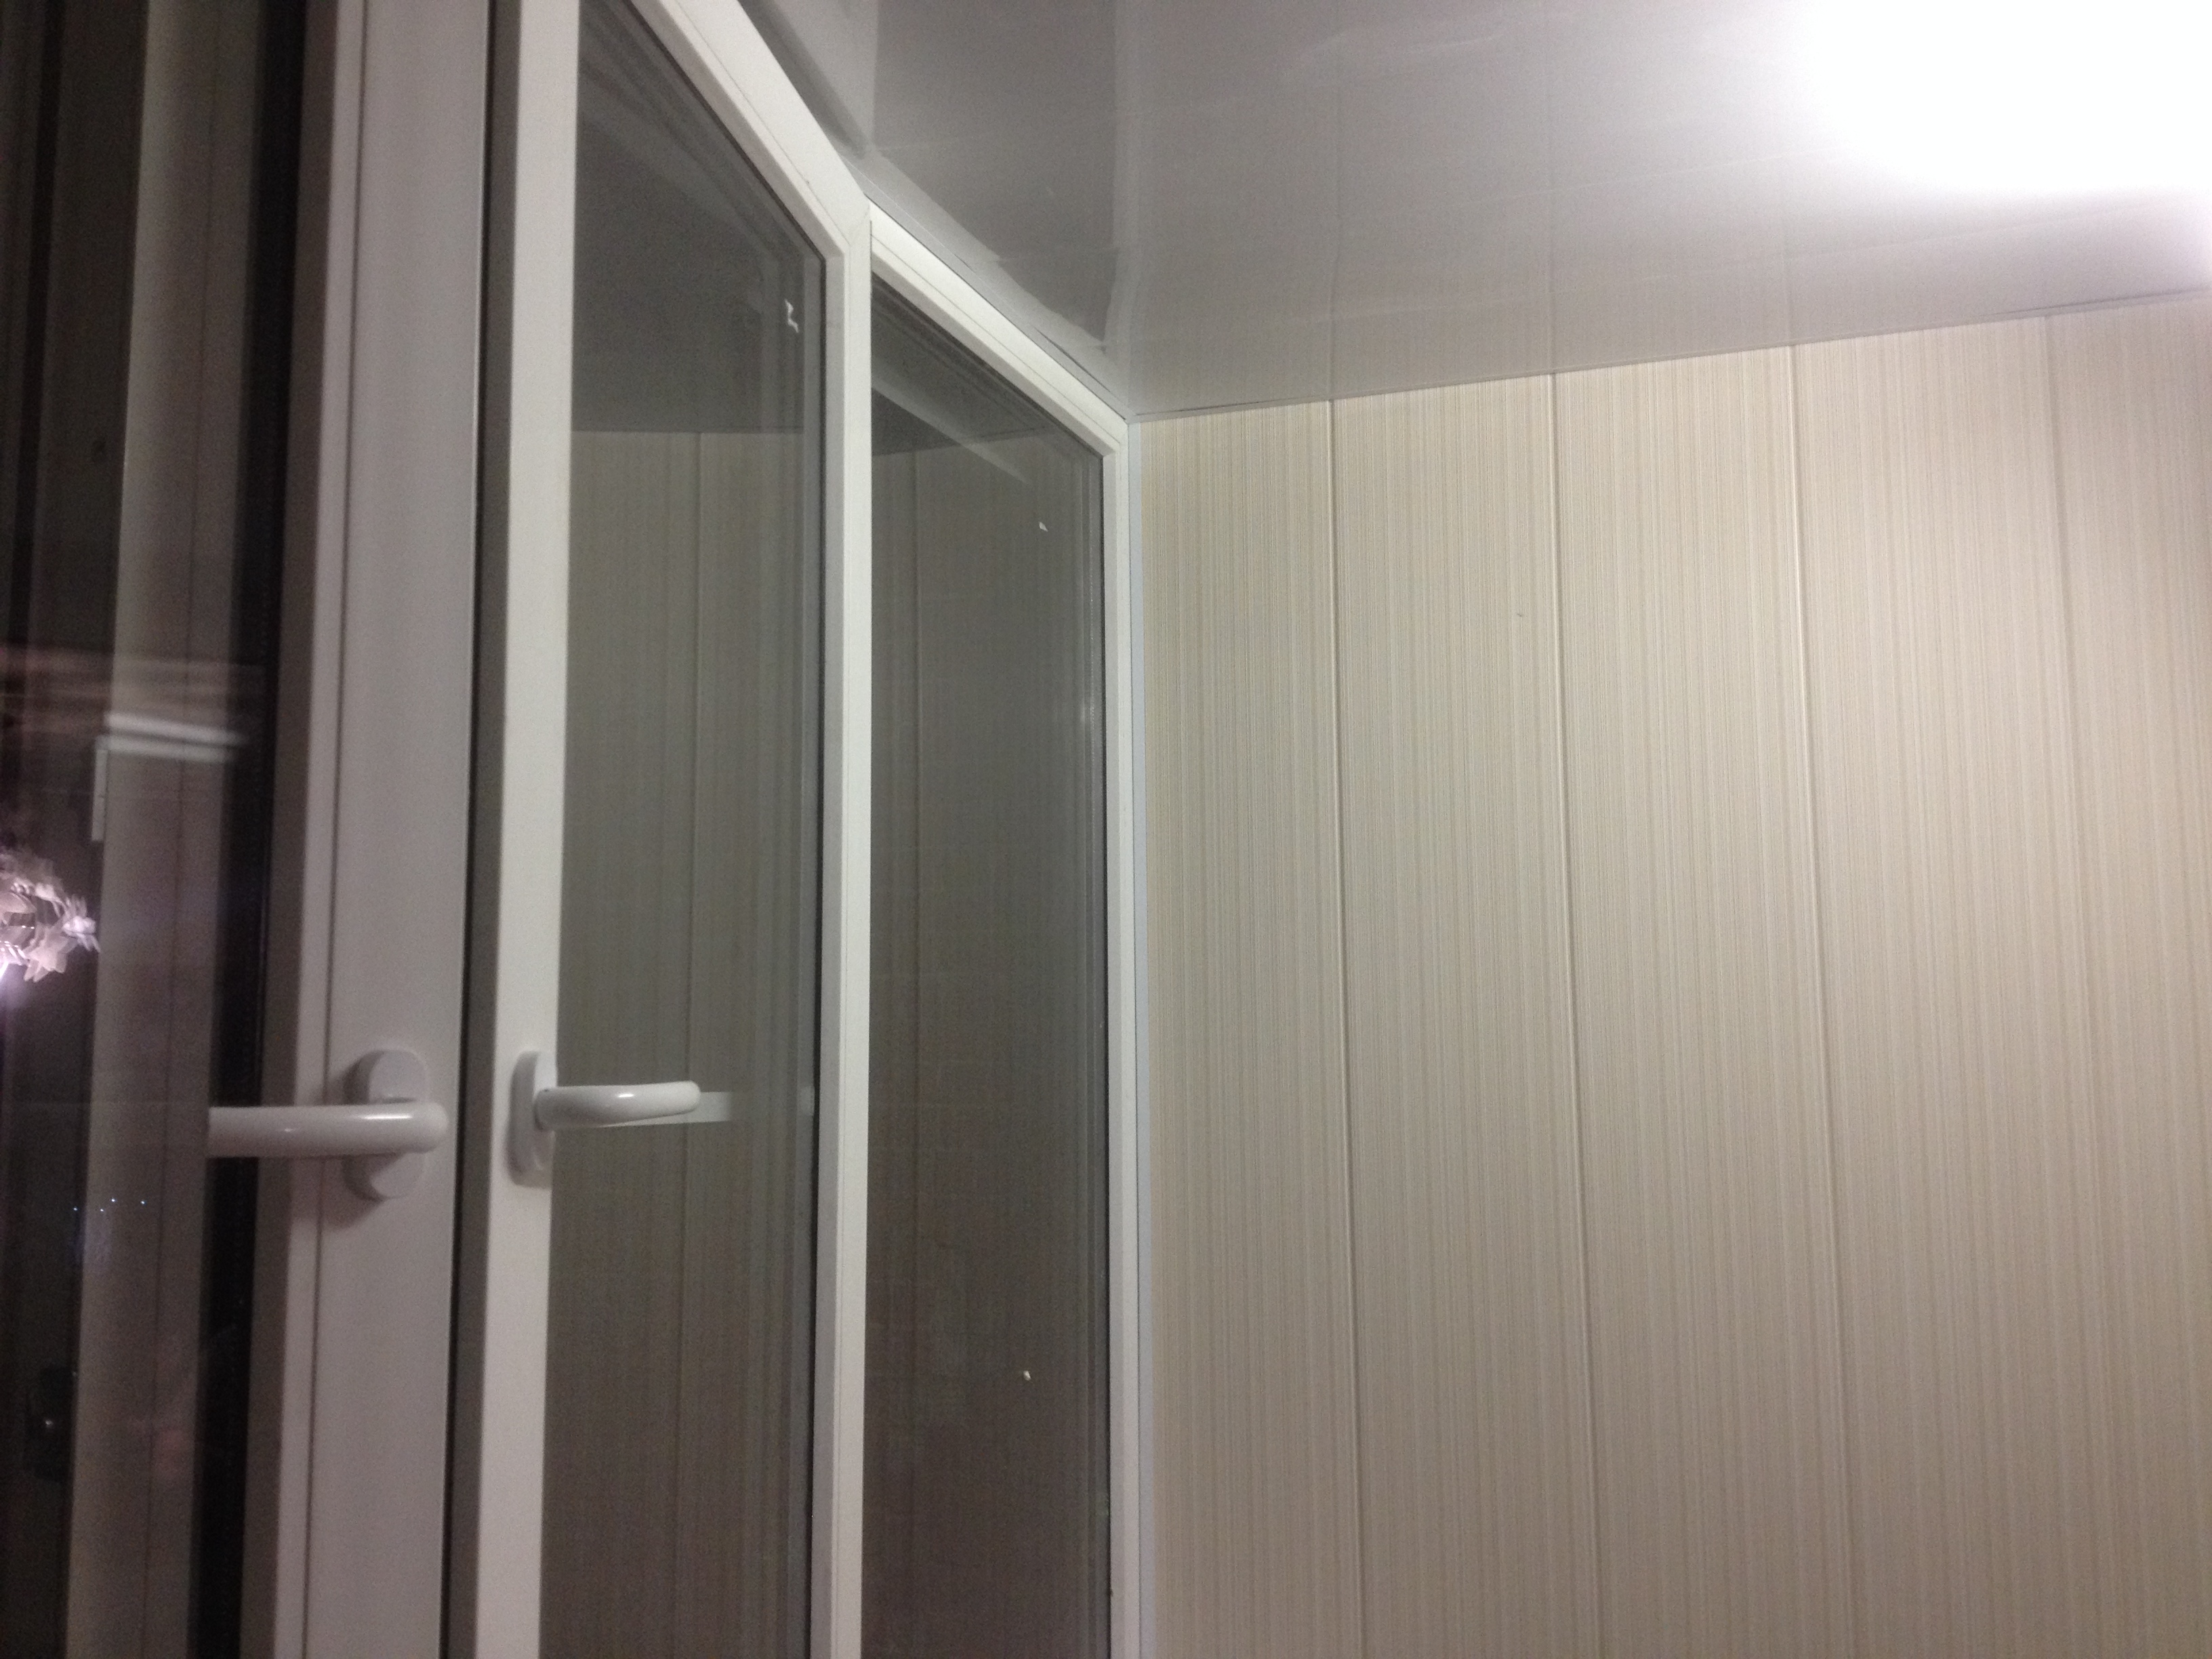
It should be noted that laminated products are also frost-resistant - their resistance to low temperatures allows you to confidently finish balconies not only from the inside, but also from the outside. Such a surface perfectly tolerates the effects of burning cigarettes and other heated objects. Even if powerful mechanical influences are applied to it, for example, with careless movements, then it is more reliable than other polymer products. This finish helps out perfectly even if different clawed and toothy inhabitants of the house come out onto the balcony. Finally, laminated structures are much more elastic than conventional ones, and this property is very popular with finishers.
The textured design immediately expands the space visually. This circumstance is especially important on narrow balconies and loggias with a small total area. By attaching such products to the ceiling, you can make the room noticeably higher and more spacious. However, caring for them is somewhat complicated. Embossed surfaces make cleaning difficult.
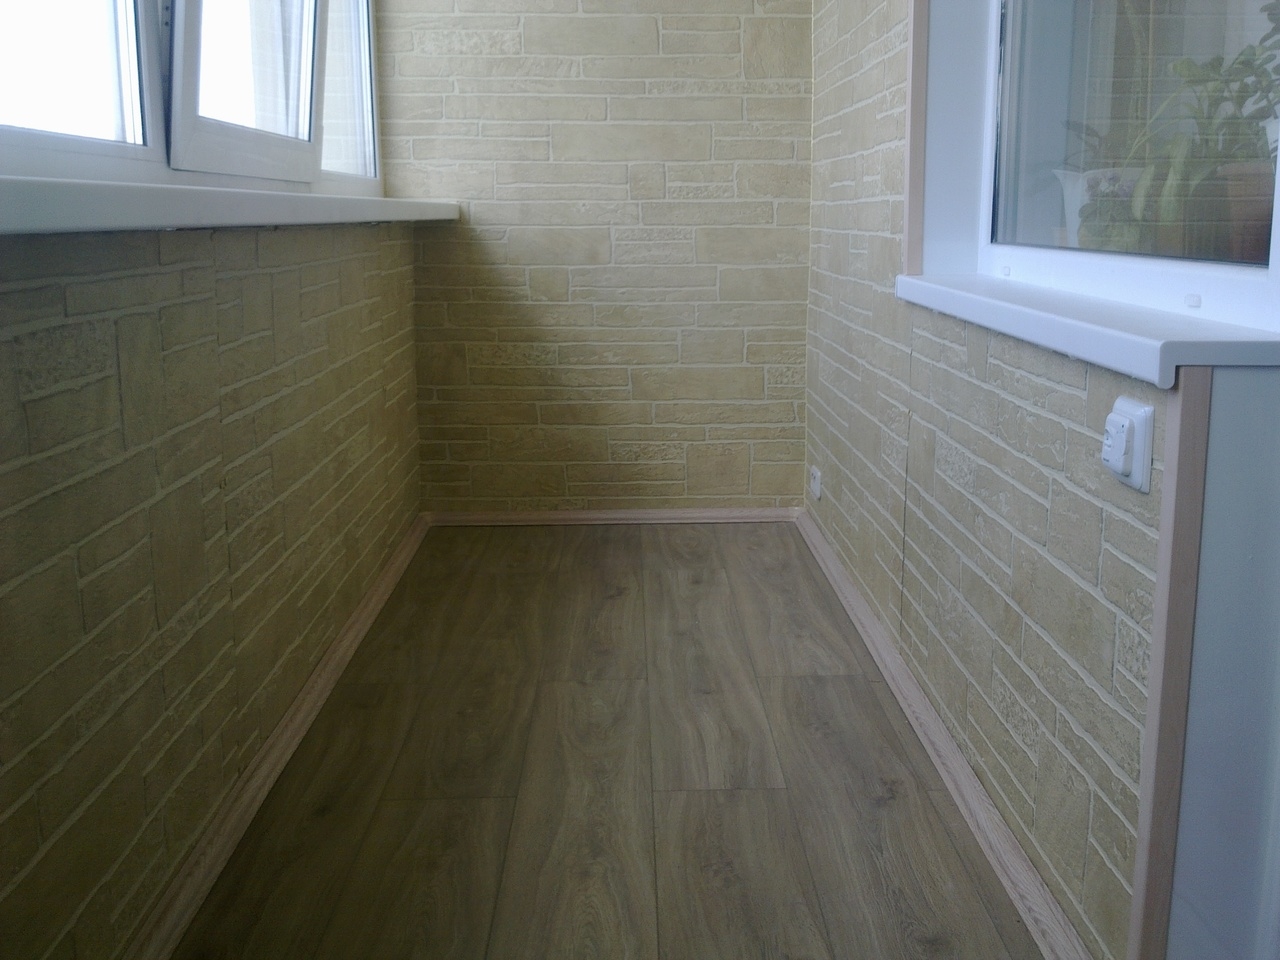
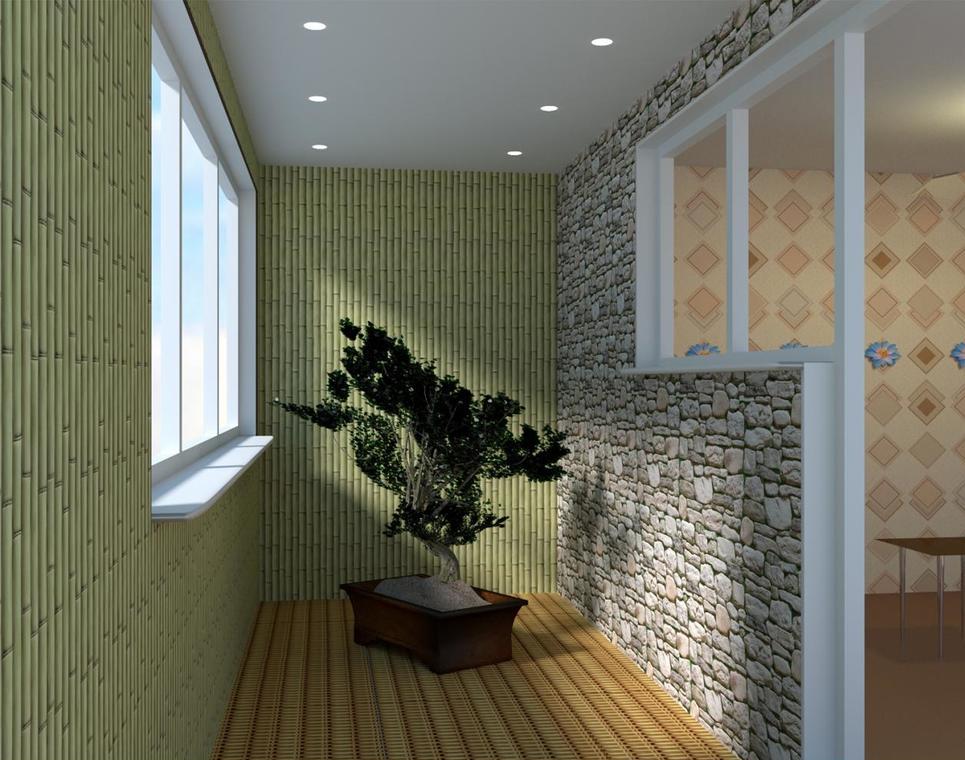
Patterned models are deservedly in demand. Carefully chosen images will look unusual and presentable in any case. There are simply no restrictions, other than those related to style and personal preferences. All arguments about the appropriateness or inappropriateness of this or that design in general are deliberately incorrect.
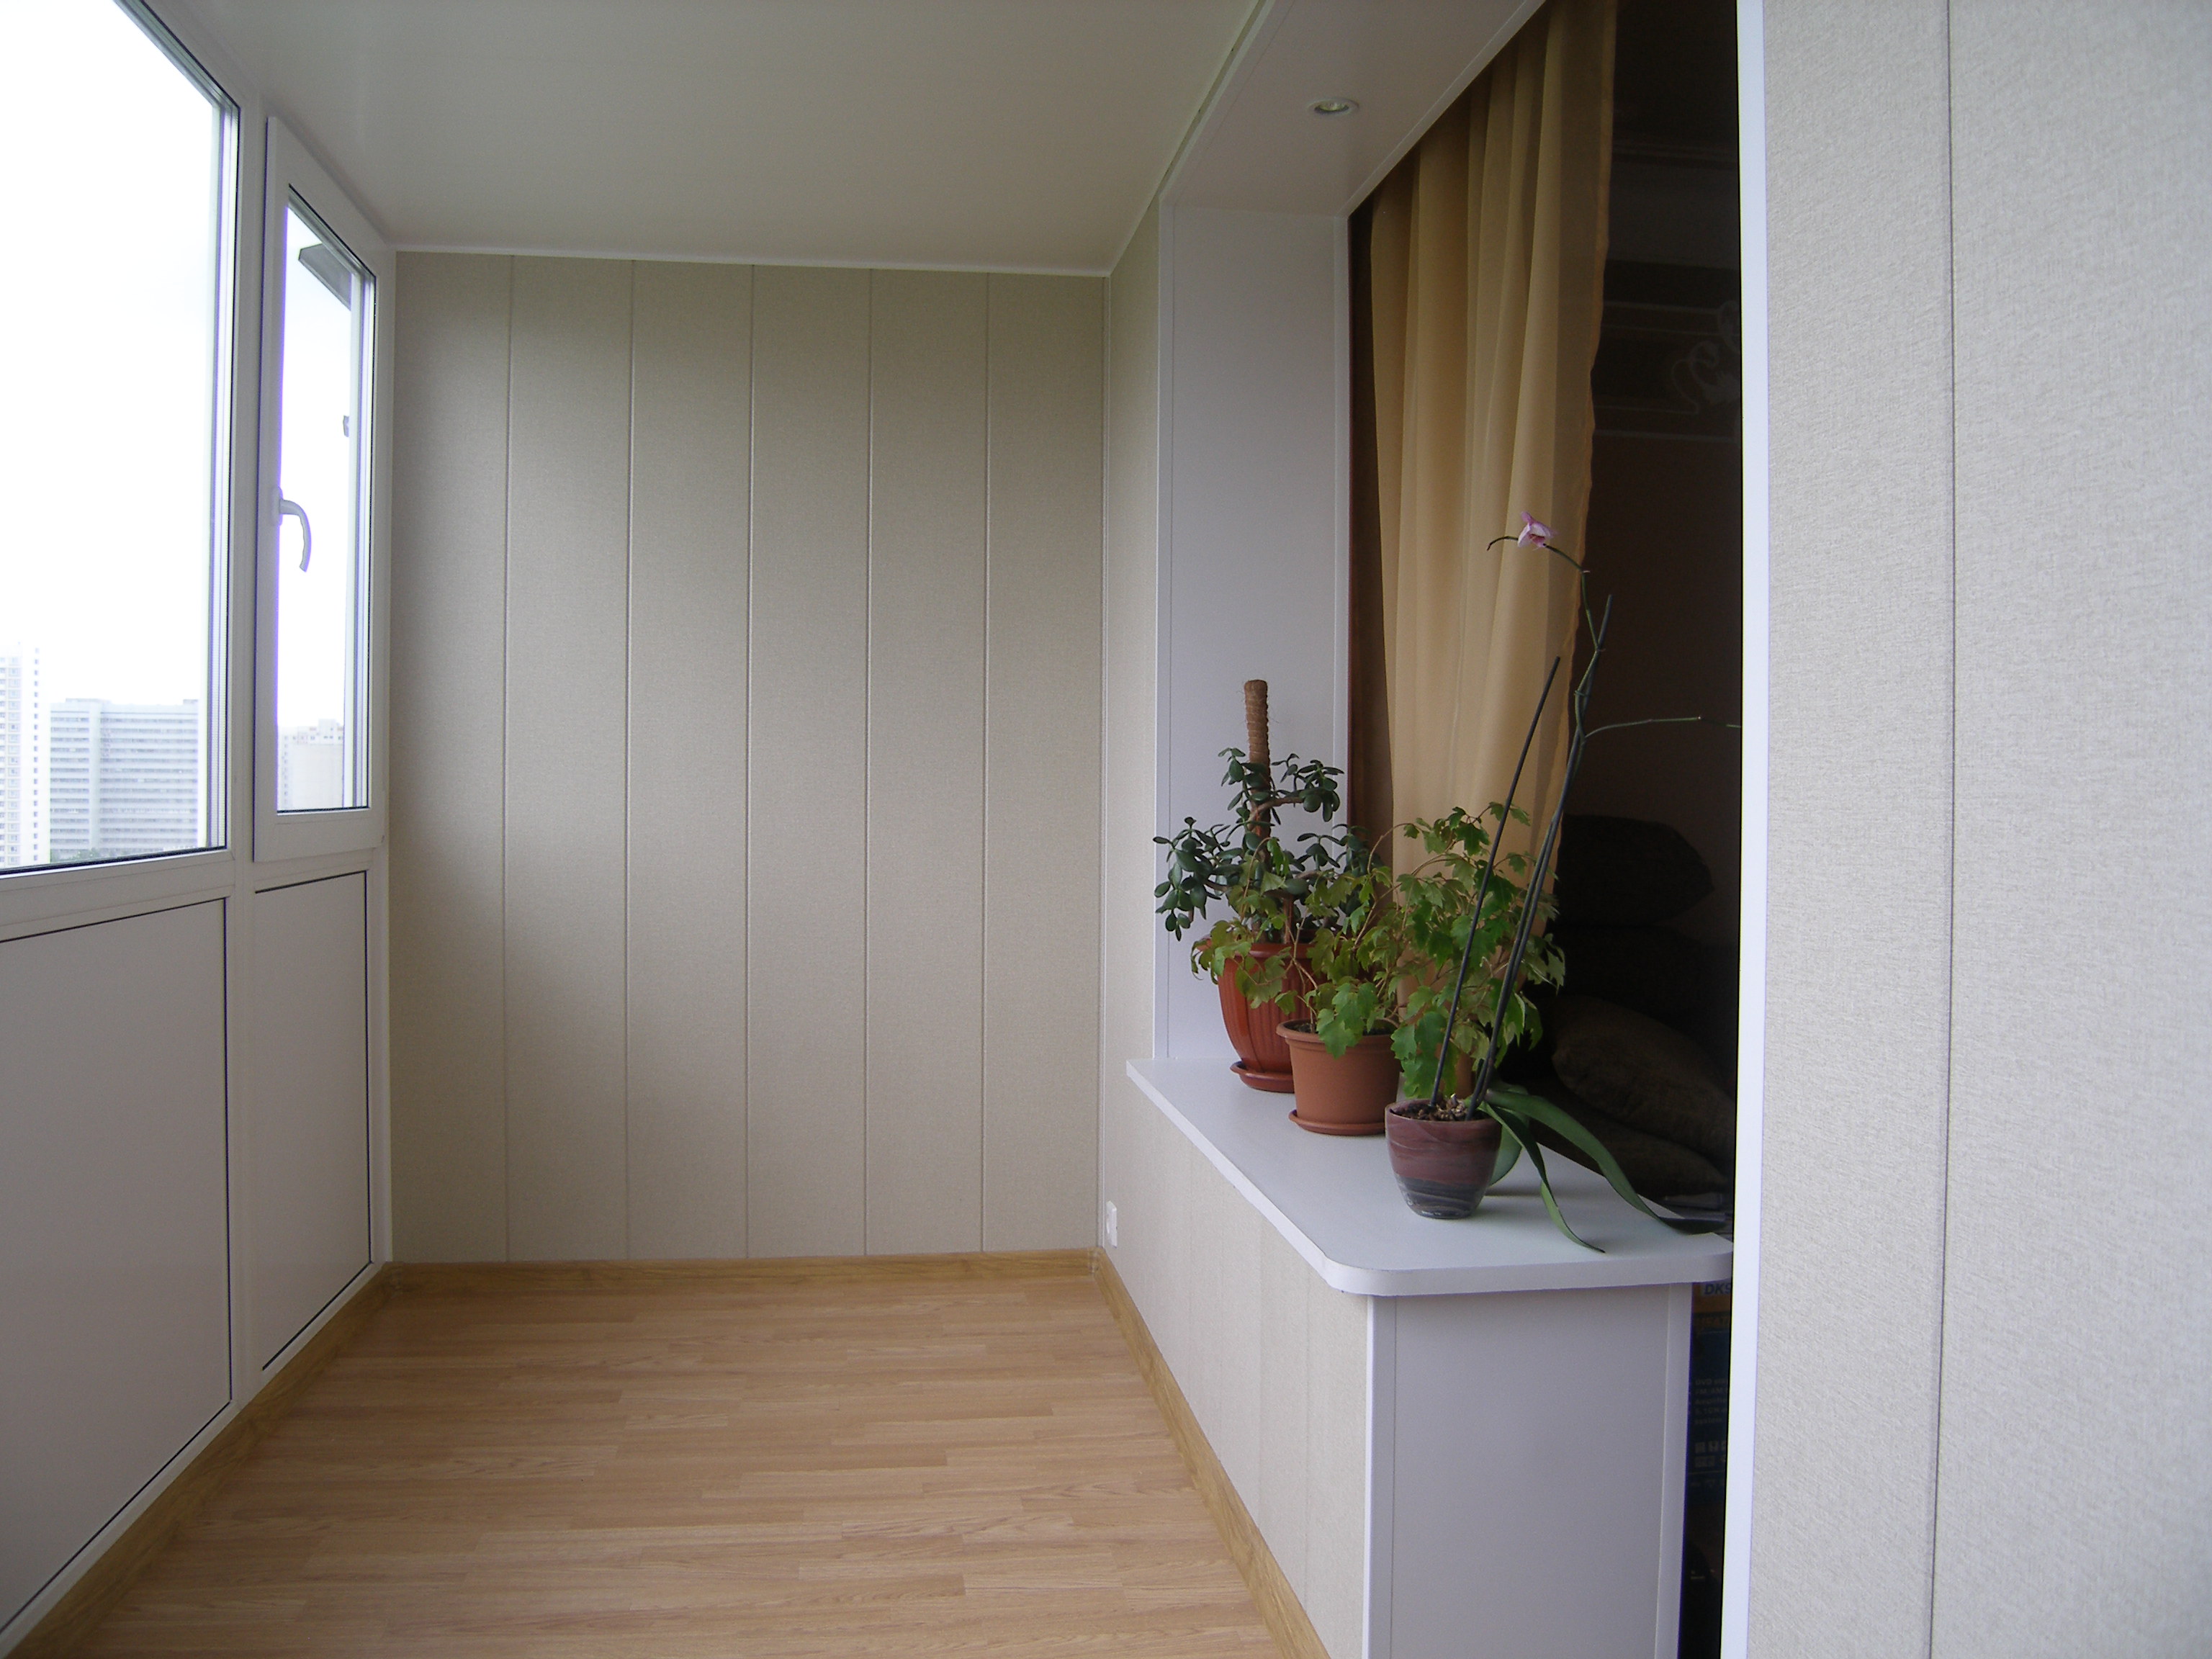
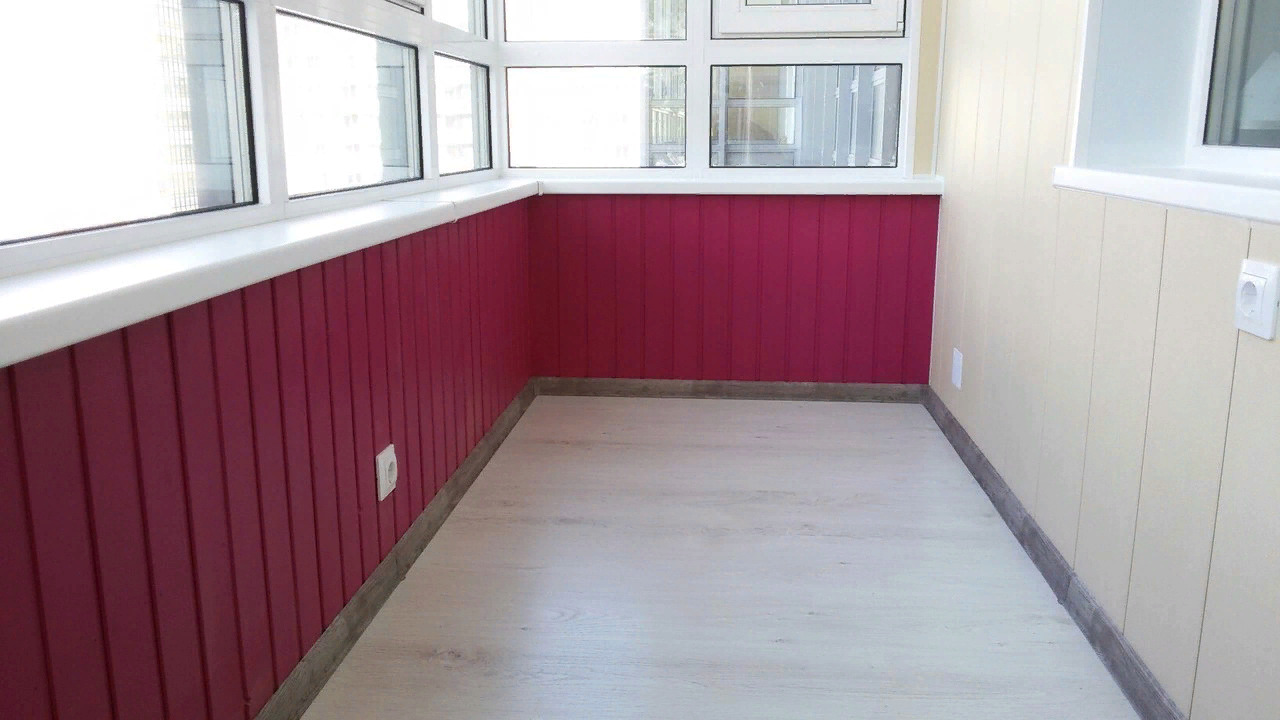
The shades are very varied. Along with the classic white tone, you can use spectacular golden colors. Blue and green colors are more suitable for a romantic interior or "nautical style". Milky and milky white, sandy and similar colors allow you to achieve tranquility and harmony.
Light shades create a feeling of greater width and are very good decorating techniques even in the most sophisticated interiors.

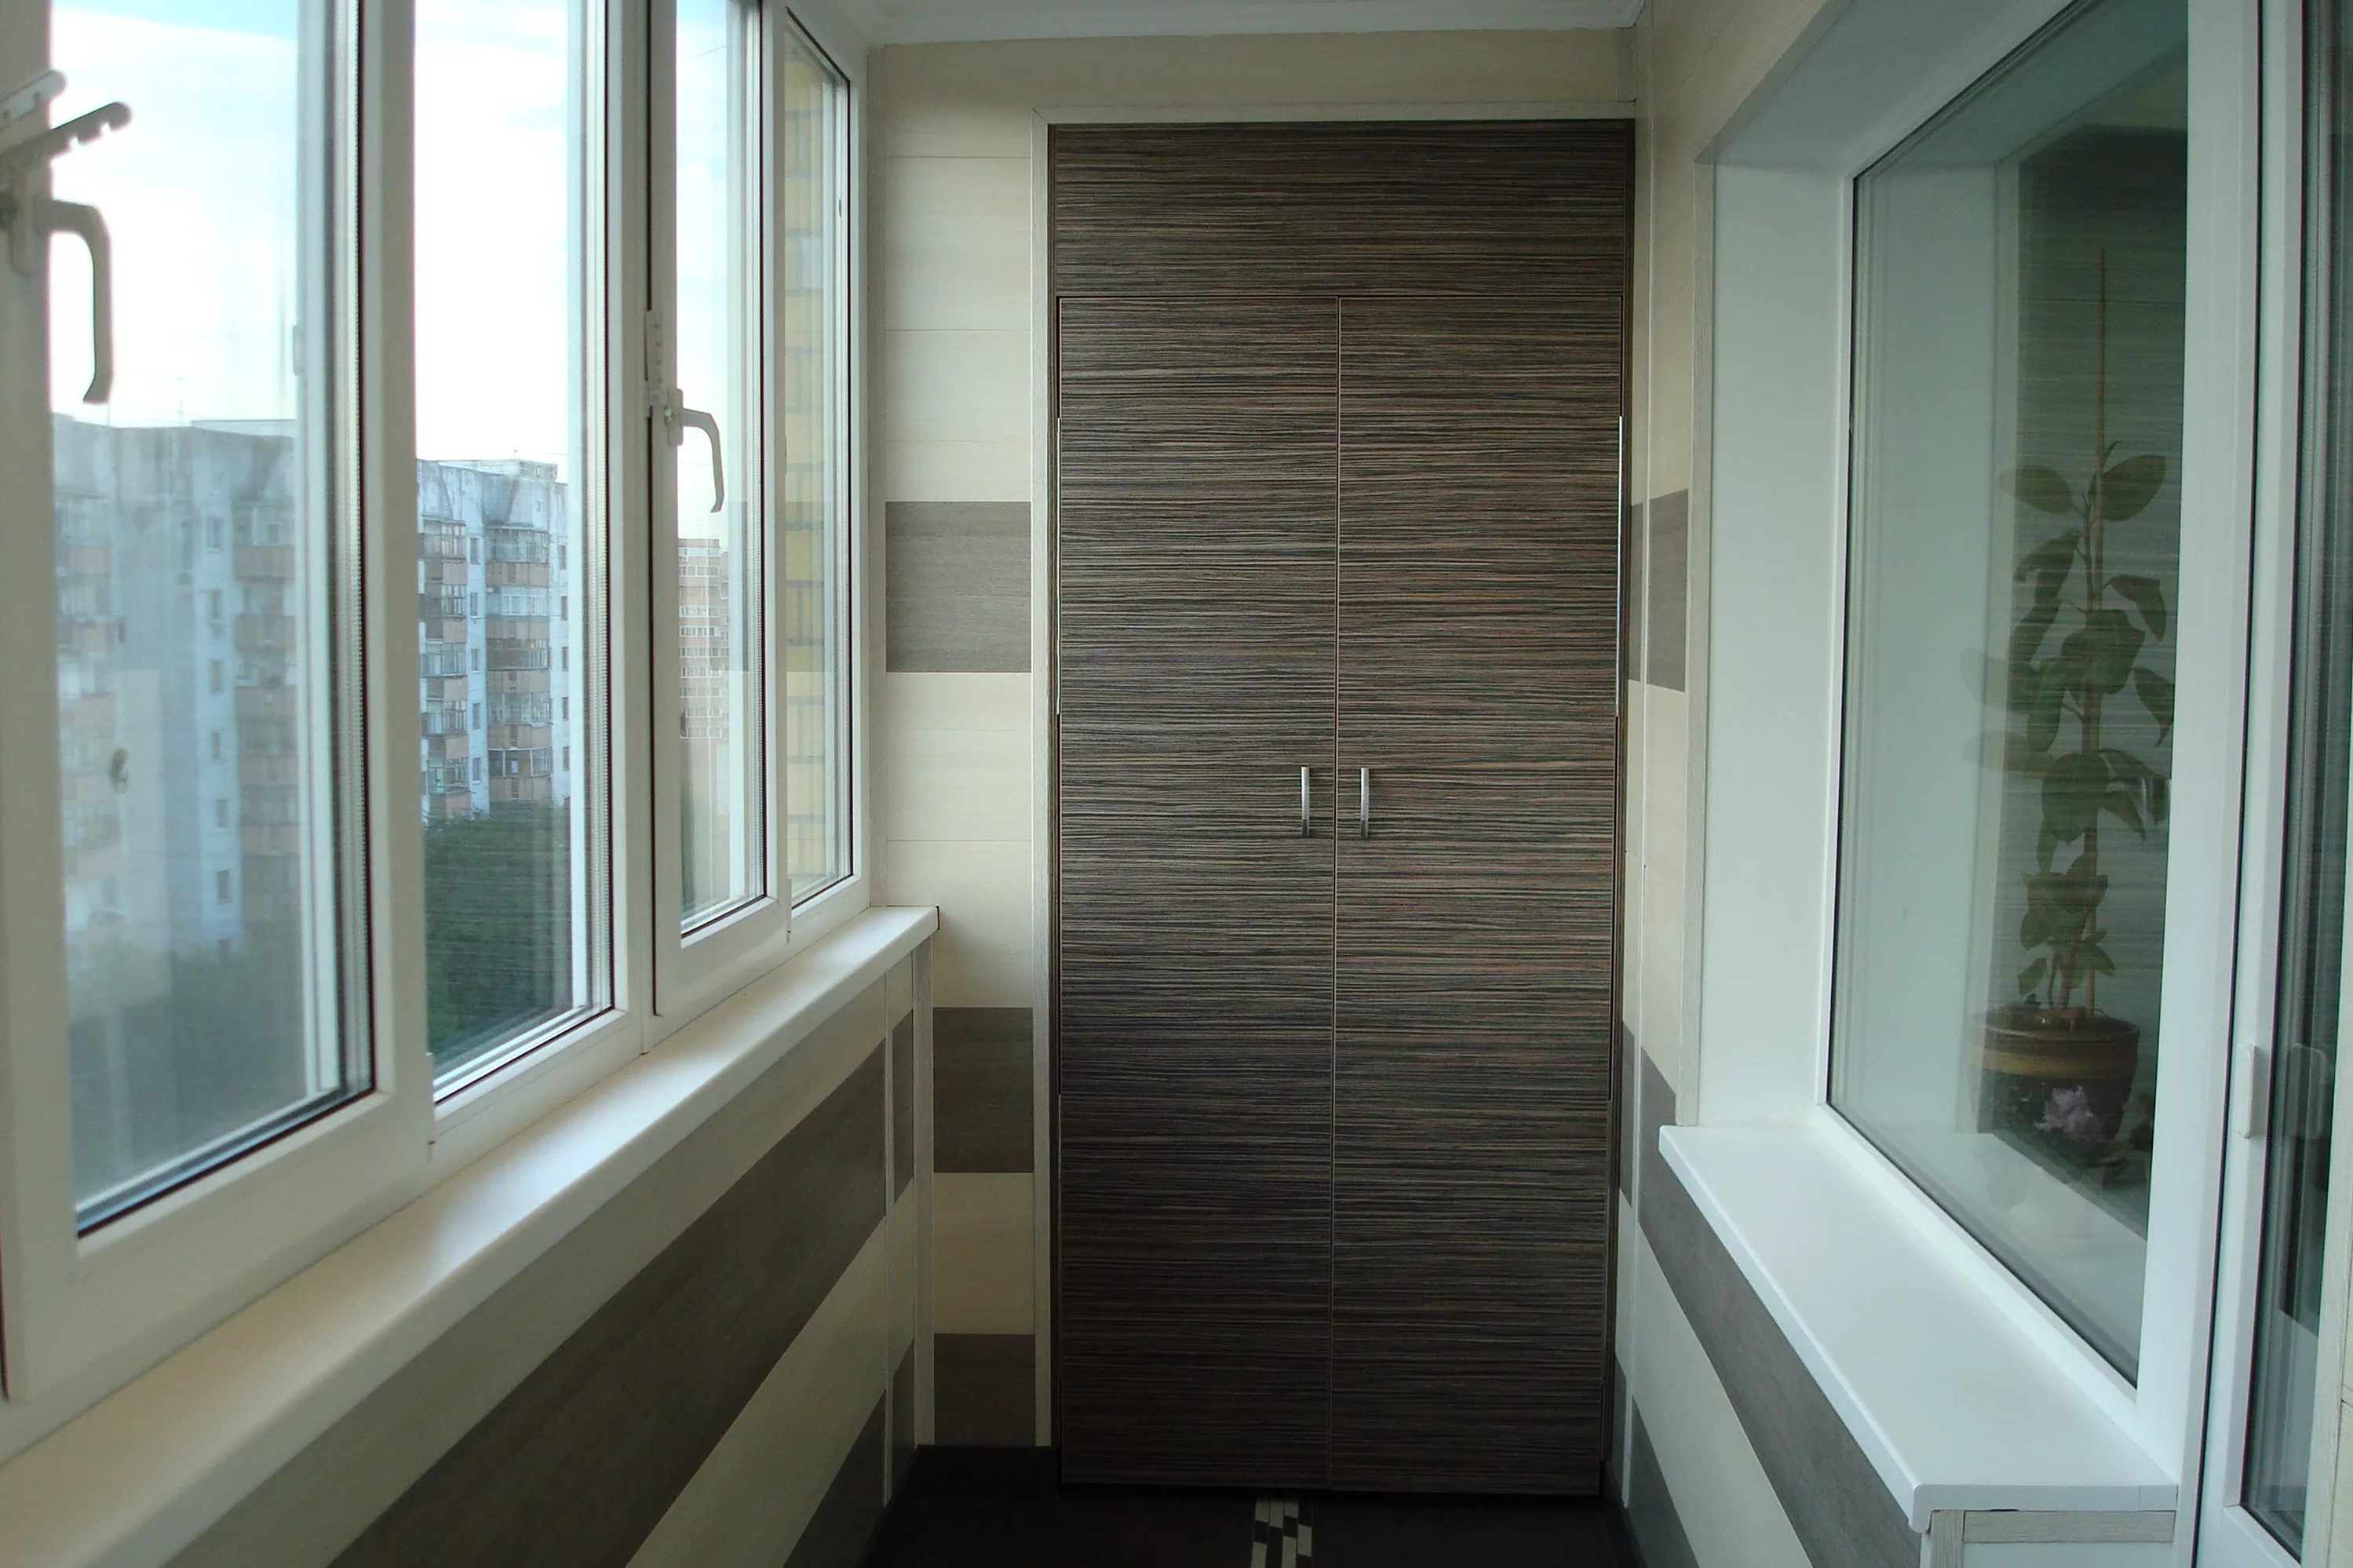
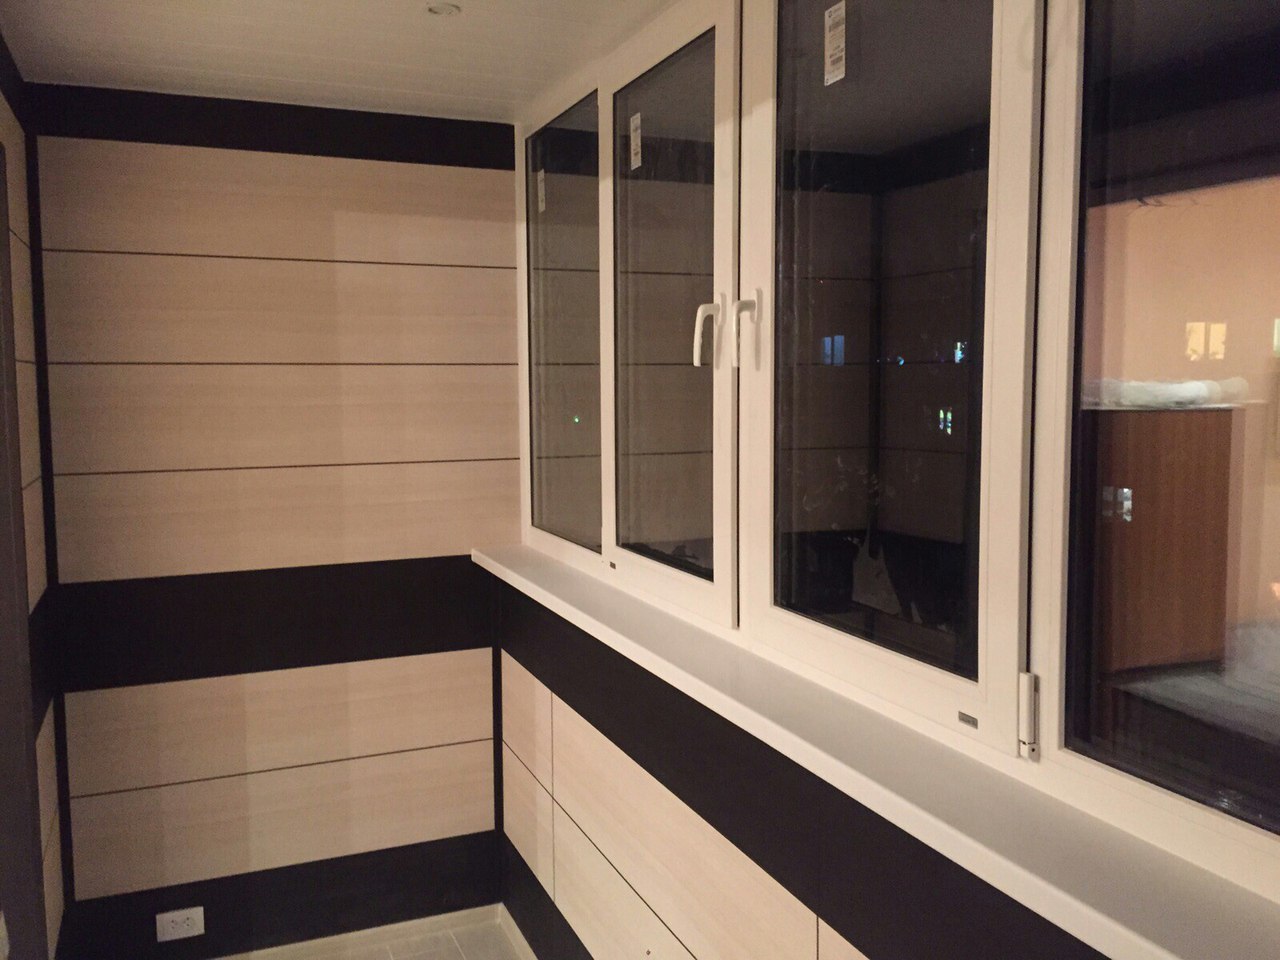
Bright and rich tones cannot be the base except in the fusion style and other similar radical approaches. Monochrome wall panels can also be used. However, in this case, it is advisable to add bright color spots to the overall interior. When choosing a variegated finish, at least one monochrome wall should be formed. Gray, brown areas will look good.
Preparation
Calculation of the number of panels
Typical dimensions of ceiling units:
-
in thickness - from 0.3 to 0.5 cm;
- in width - from 12.5 to 38 cm;
- in length - up to 10 m.
Wall structures have other dimensions:
-
in thickness - from 0.6 to 1 cm;
- in width - from 25 to 30 cm;
- in length - minimum 2.5, maximum 6 m.
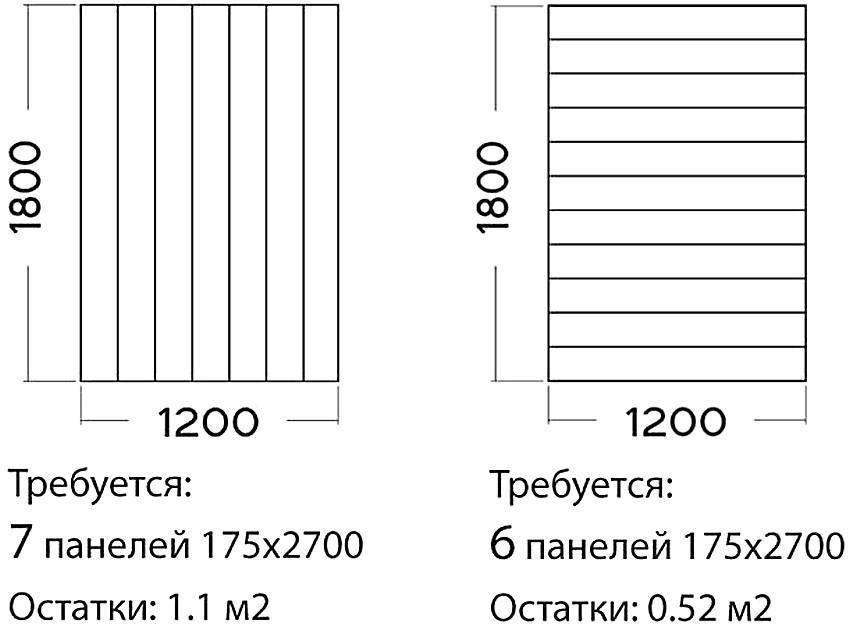
Particular attention should be paid to the width. Very bulky plastic panels reduce the number of installation joints. This creates the effect of a more uniform surface.But it is more convenient to work with narrow structures, they are lighter and more flexible. Therefore, most of the practical calculations are based on the use of panels with a width of 25 cm - they are very practical.
The exact calculation is determined by the perimeter of the sheathing base. The perimeters of all doors and windows are subtracted from this indicator, as well as areas that are decorated with other materials or left without finishing.
Next, divide the result by the perimeter of the unit block. But we must not forget about trimming individual elements, especially at the corners. Instead of the perimeter, you can calculate by area - the result will not be very different. Rounding off for errors and trimming is usually done with a 10% margin.
Required tools
For work you need:
-
an electric drill with a set of drills and a crown for driving wood;
-
fixtures for fixing sheets;
-
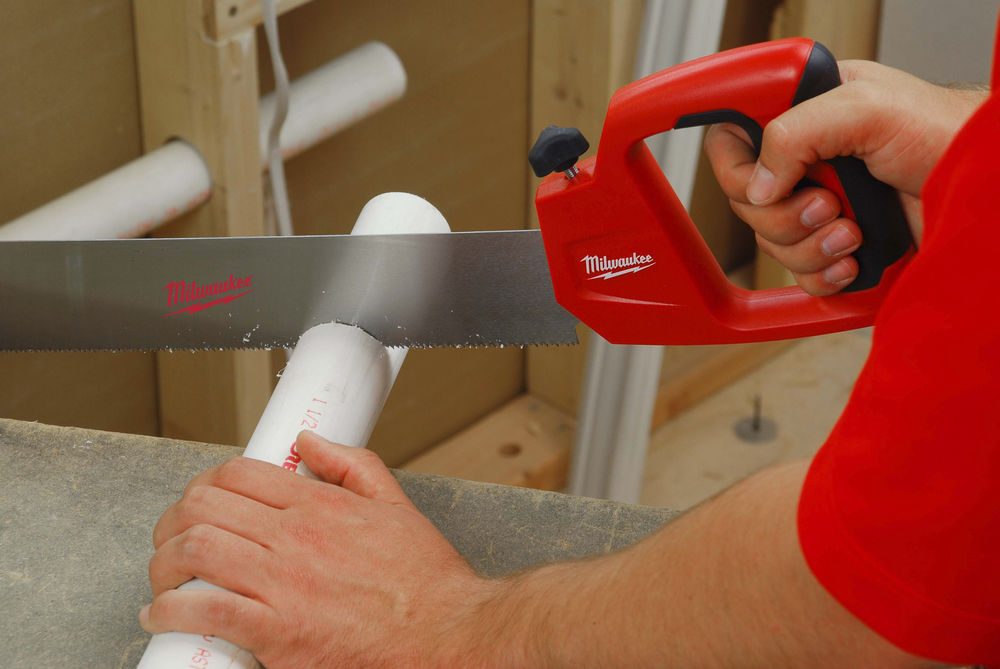
saw on plastic;
-
hydraulic or laser level;
-
construction knife;
-
starting bars;
-
corners for masking joints in the inner corners;
-
a number of other moldings;
-
sealants for finishing seams;
-
moldings connecting short sections of panels;
-
edging of the universal type, making out the perimeter.

Mounting options
There are several options for attaching PVC panels to walls and ceilings:
-
using self-tapping screws;
-
at the expense of kleimers;
-
using high-quality assembly glue.
The adhesive bond is only suitable for extremely smooth, thoroughly leveled walls. It is not necessary to take adhesives specifically for PVC. Many universal compounds and even "liquid nails" show themselves just as well. Gluing is quite simple and fast, it allows you to abandon the arrangement of the lathing.
However, the dismantling of the panels becomes much more complicated, and subsequently it will not be so easy to carry out repairs.
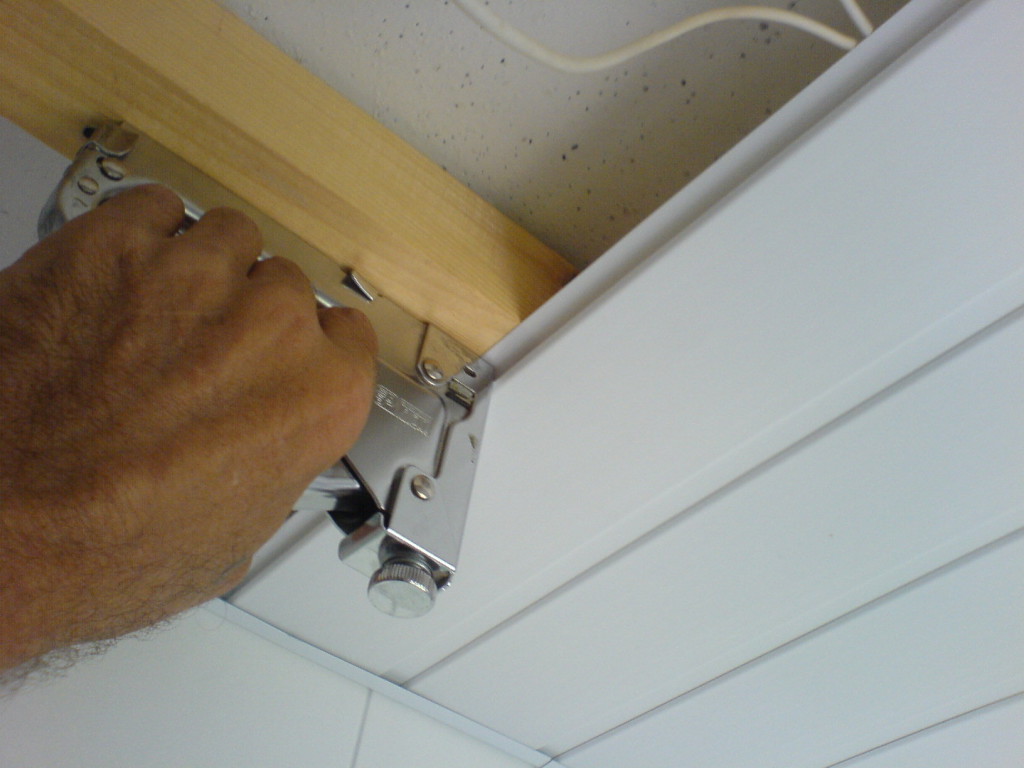
You can screw the panels with self-tapping screws even on a relatively uneven surface. But turning them by hand is long and tedious. You will have to use a screwdriver and ensure its connection to the network. Self-tapping screws are best screwed into a wooden frame. That's why they waste additional time: it will be necessary to cut the timber to size, and treat it with an antiseptic.
Mounting on kleimers is considered by experts to be the best option. After installing the battens, they attach quickly and easily, and securely hold the structure. The lathing is desirable from stainless steel. With this approach, the subsequent replacement of deformed panels is also facilitated, and even a complete dismantling of the finish, if necessary, will be easy. As far as installation without lathing is concerned, it is only possible on truly flawless surfaces.
How to prepare the surface?
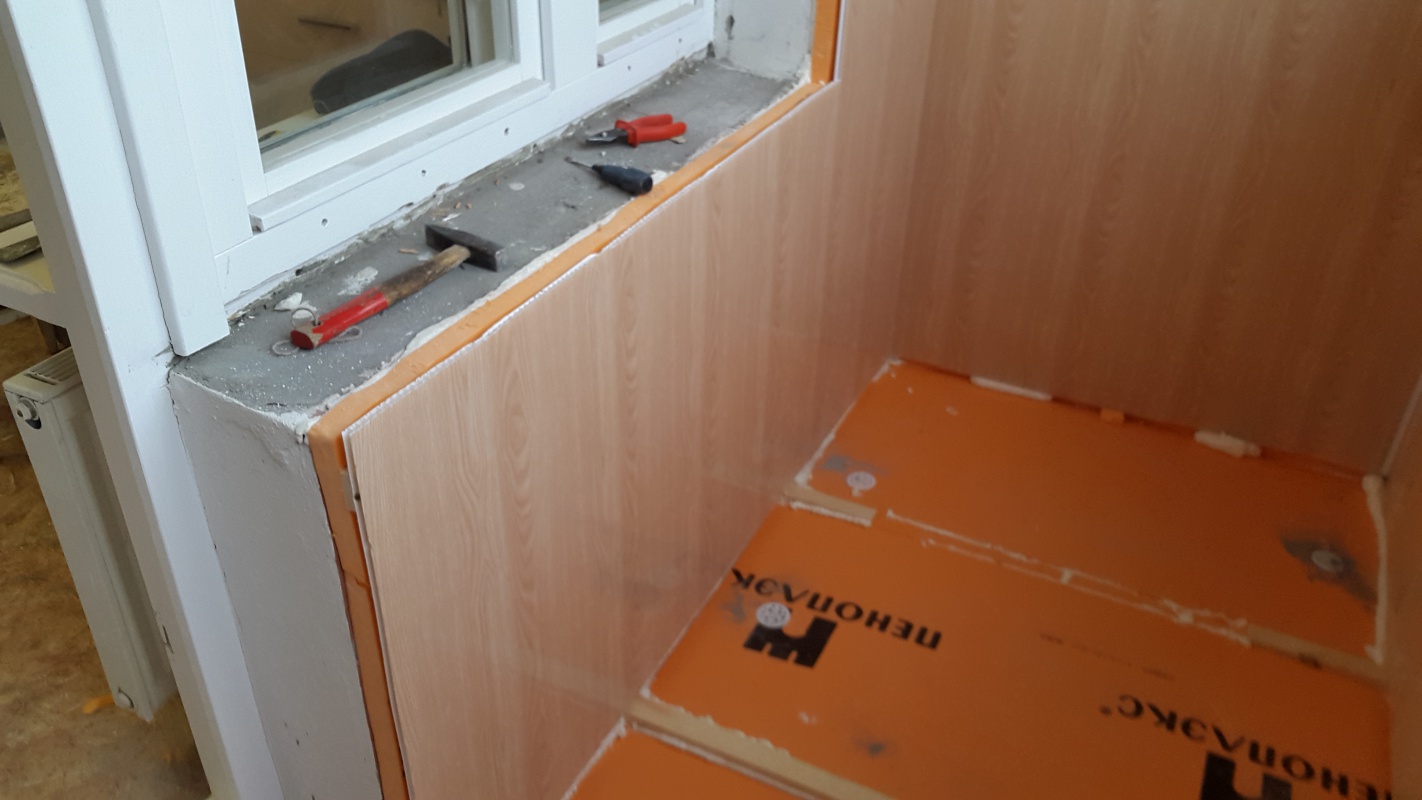
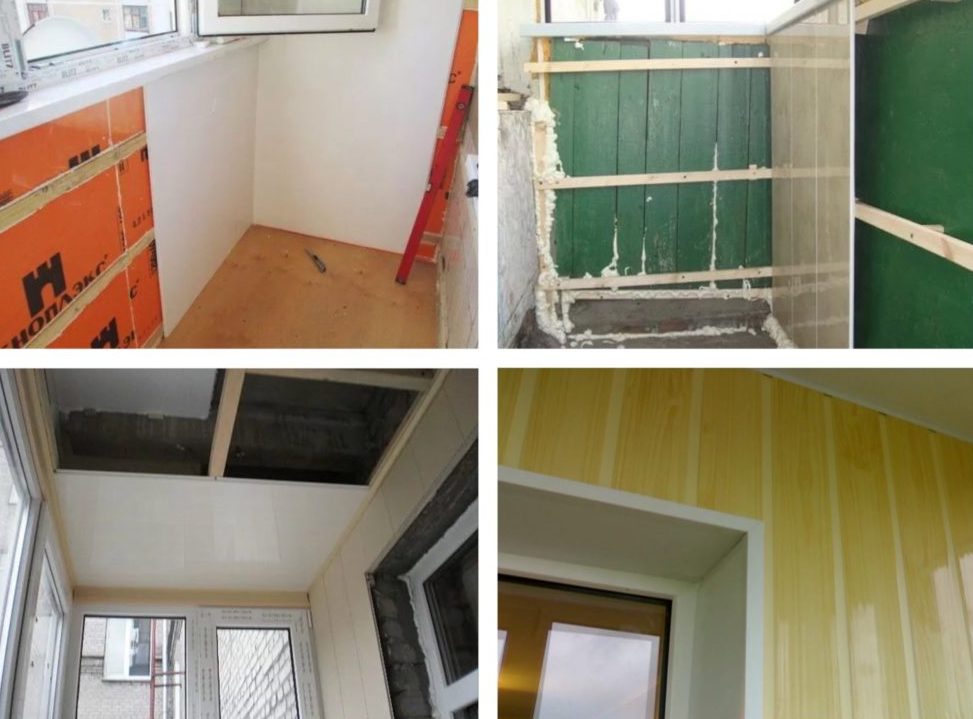
Of course, all old finishes must be dismantled. Be sure to remove all parts that may fall out. Large indentations and weakened areas are closed. Walls or parts of the ceiling protruding beyond the contour are squeezed - if necessary, with electric grinding equipment. The installation of the battens or direct fastening requires one more step - the application of a primer containing disinfectant components.
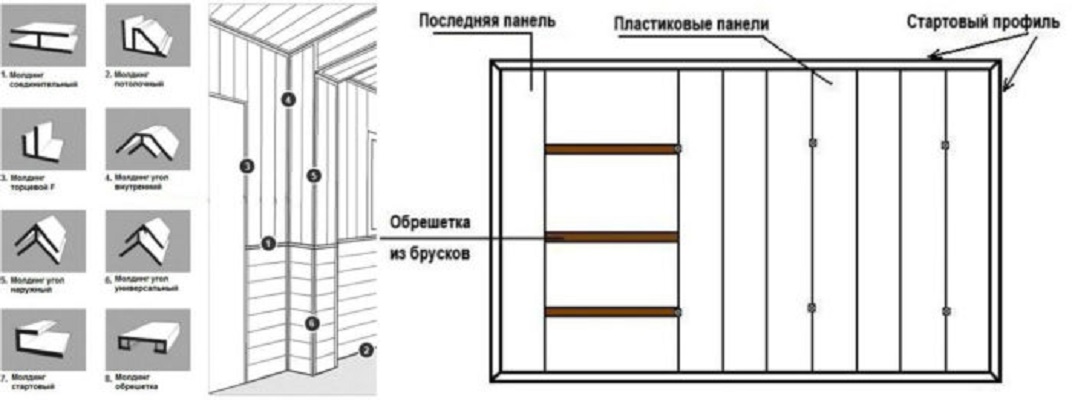
Sheathing stages
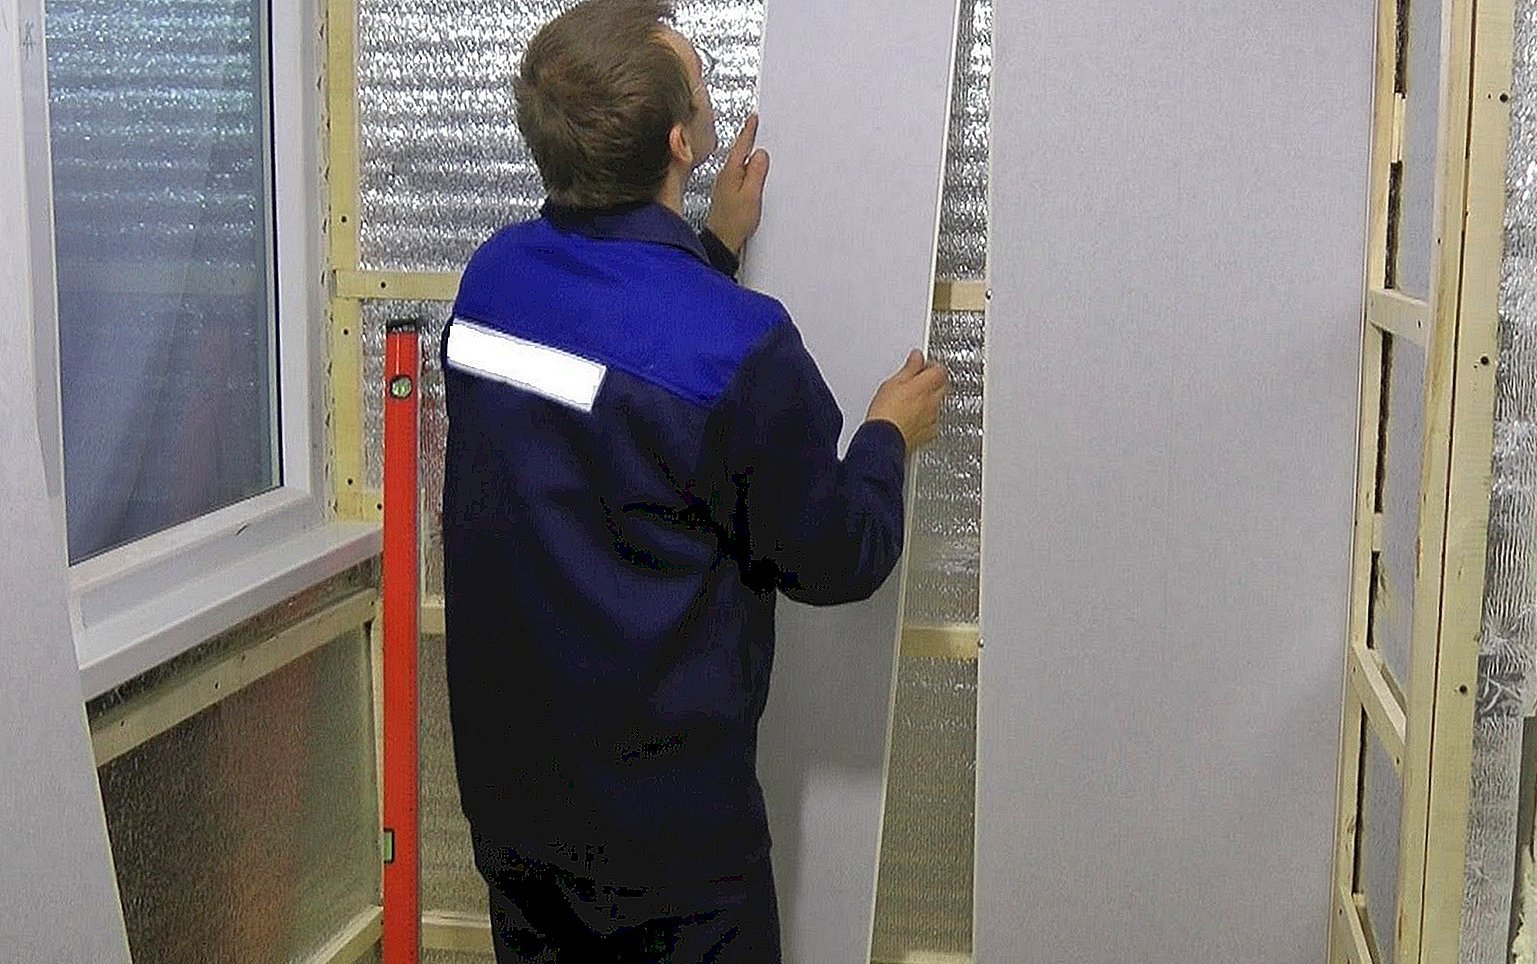
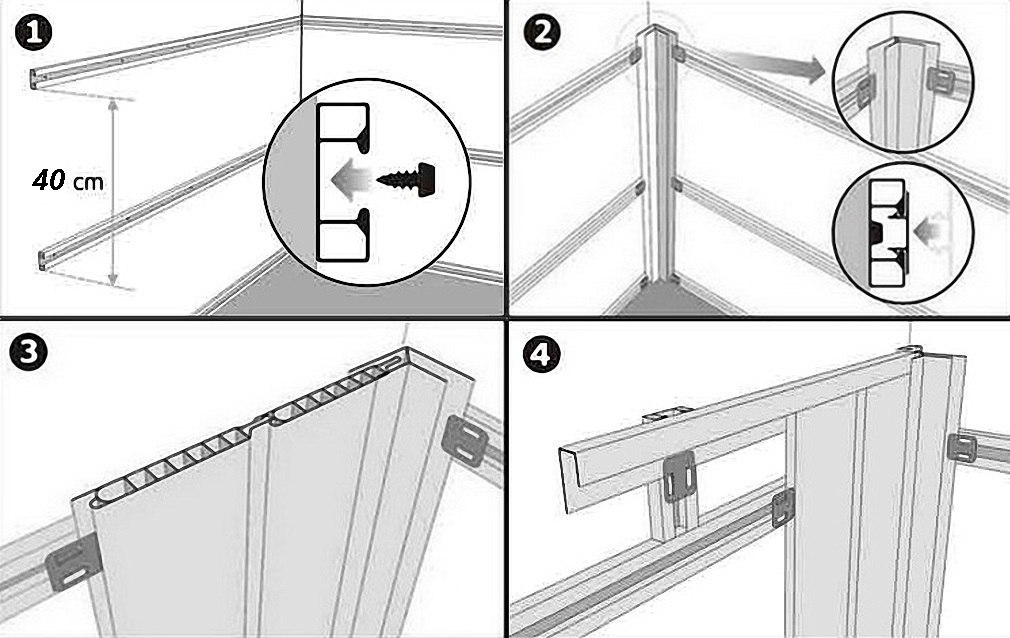
Installation of the lathing
The instruction for facing the balcony with polymer panels mentions lathing work for a reason. Despite the seeming simplification of work in the absence of them, you will have to face additional problems in practice. It is advisable to treat wooden blocks with antiseptic treatment even before they are mounted on a wall or ceiling. But even with proper processing of the rails, their service life does not exceed 5-7 years.
Experts believe that it is better to make a frame from metal elements whenever possible.
Their service life is 15 to 20 years. Considering the slightly higher price, this choice is quite adequate. Any home craftsmen can create a frame substrate and continue working step by step on their own.In some cases, the lathing is made of plastic. This is also a simple and affordable option - moreover, the identity of the levels of thermal expansion allows you not to fear additional problems.
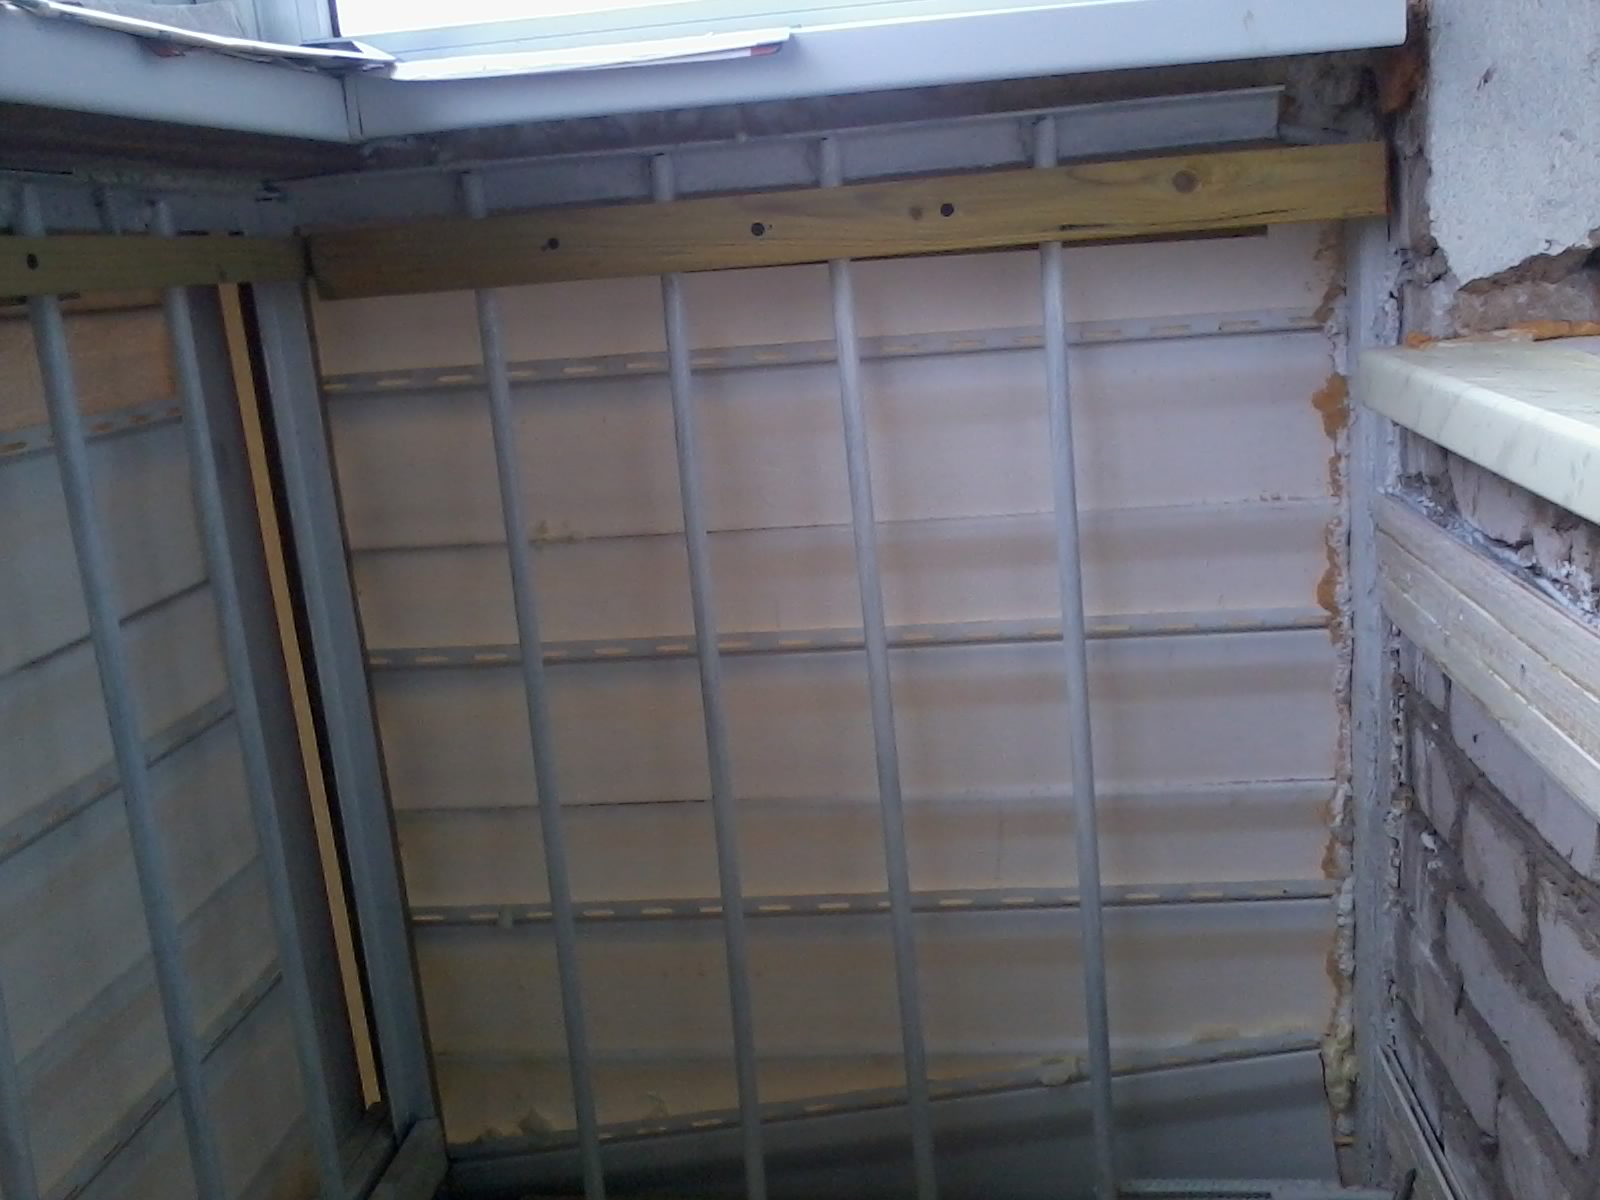
When planning to fasten the crate, you should not think that this automatically solves all problems, and that no surface preparation is needed. On the contrary, it is imperative to remove all surface relief curvatures of more than 5 mm - both notches and protrusions. To make the frame correctly with your own hands, you need to carefully mark everything out. Holes are drilled at the designated points and dowels of a suitable sample are driven in there.
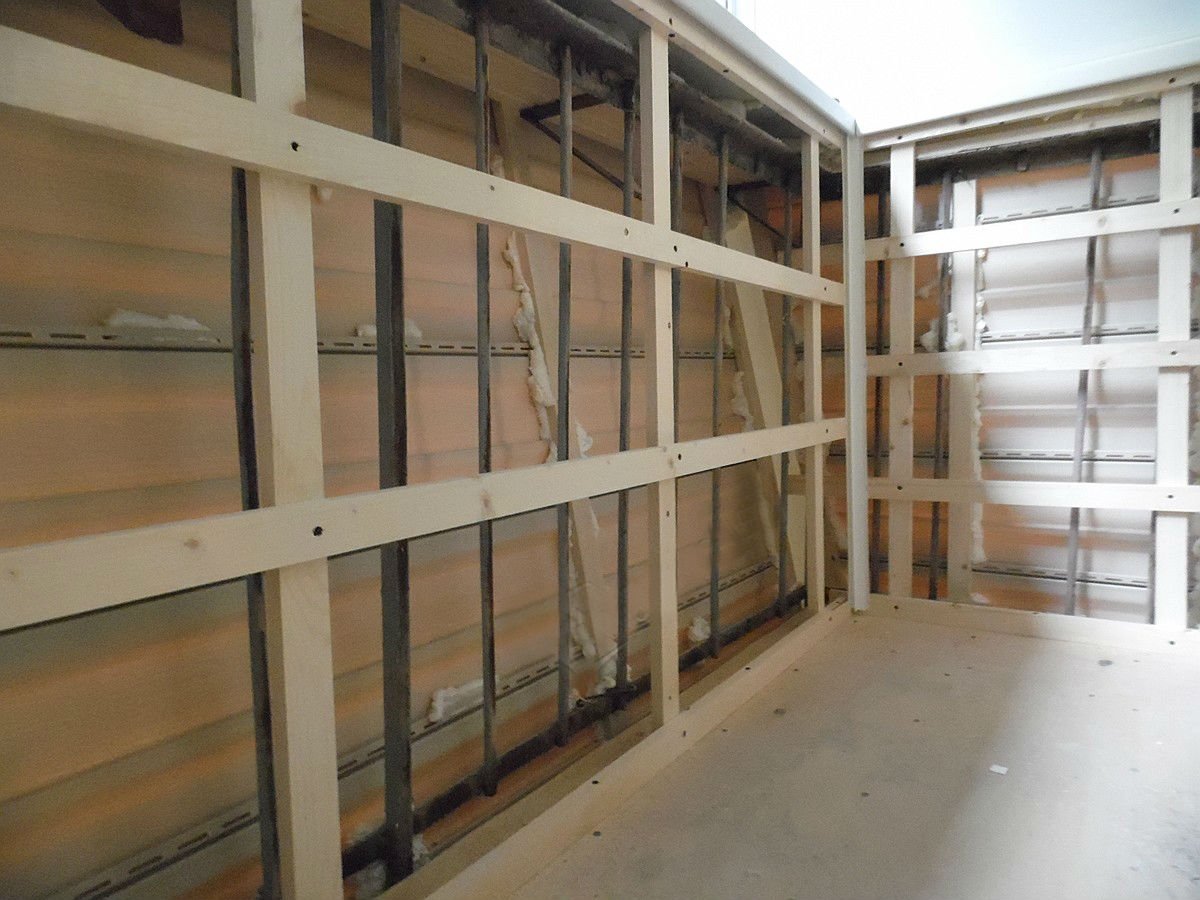
These dowels will allow you to install guide metal profiles or wooden strips. The slats in the guides are placed in increments of 0.4 m. You can bring them closer together, but it is categorically not recommended to move them apart to a greater extent. The profiles to the guides must be attached strictly at an angle of 90 degrees - otherwise, it will not work effectively to sheathe the balcony.
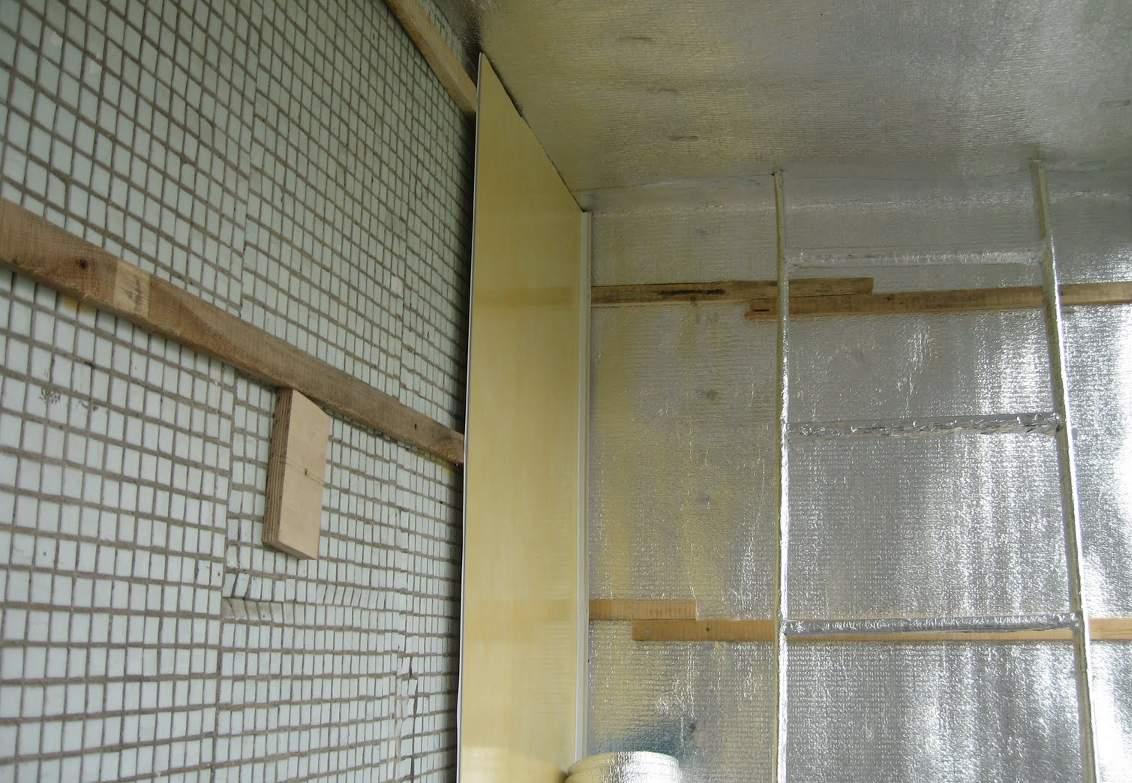
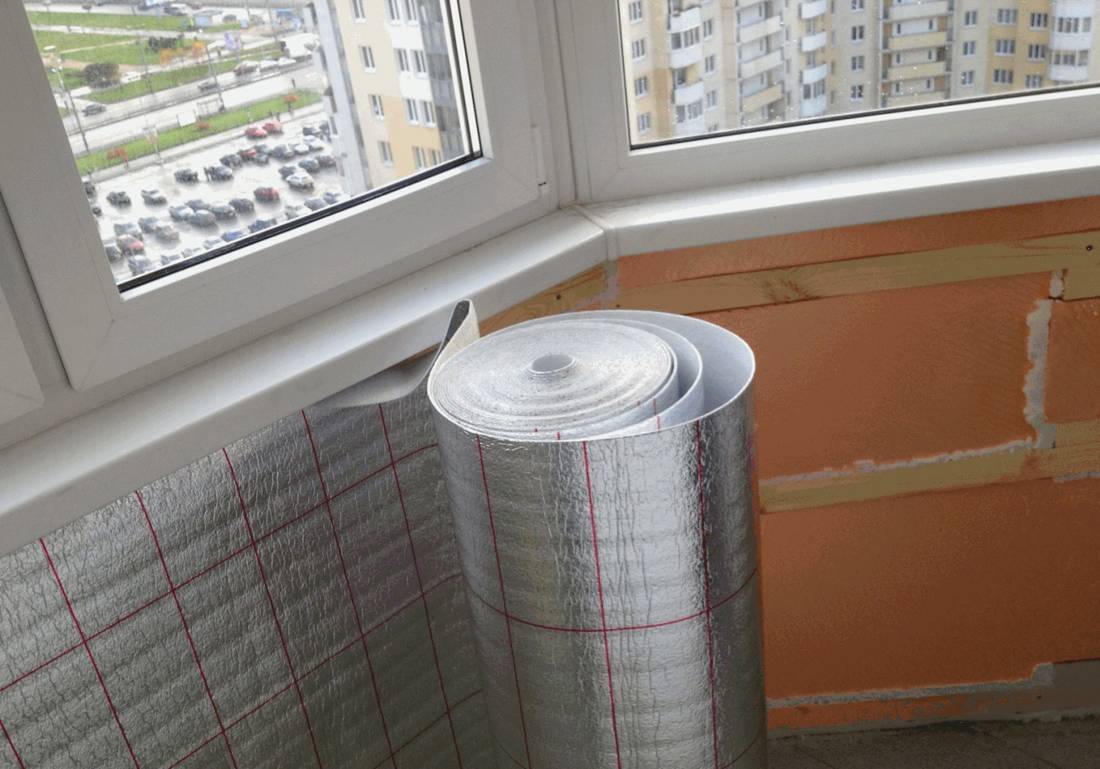
Warming
This point also needs to be given special attention. It is especially important in "Khrushchev" or in any other house, where thermal insulation has long failed to meet current standards, despite major repairs. For reasons of minimum thermal conductivity, it is worth giving preference to extruded polystyrene foam. Foam blocks are also fine - however, they take up a little more useful space. But if it is decided to decorate the inner part of the balcony with panels, then mineral wool insulation becomes a quite good choice.
Some experts recommend using glass wool. But its installation can be dangerous due to the specific composition.
When using wadded materials, we must not forget about the wind barrier films. Some specialists prefer Izover heaters. However, this decision has a number of critics, so that in most cases, you can stop at acceptable traditional options.
Fastening plastic
The owners themselves can complete all the necessary work, including the finishing itself outside, on the first or second floors. But for higher-altitude work, it makes sense to contact qualified installers. If we are talking about an apartment building, then below they put up fences and mount information signs. Rules:
-
the crate is previously placed, as well as outside, along the entire sheathed perimeter;
-
the first panel is set in level on self-tapping screws;
-
other strips are mounted very carefully.
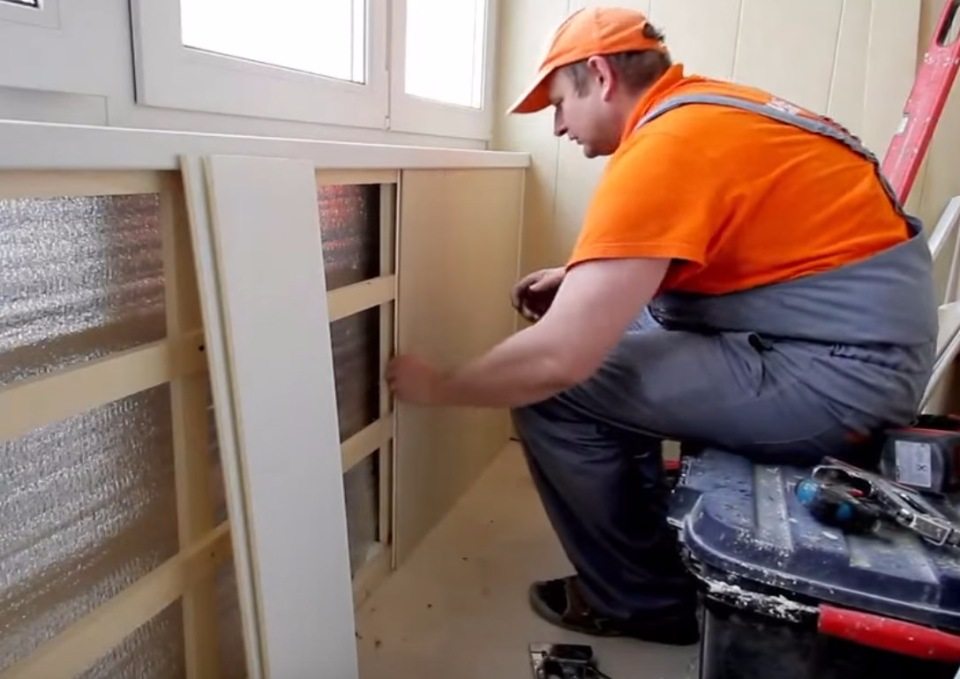
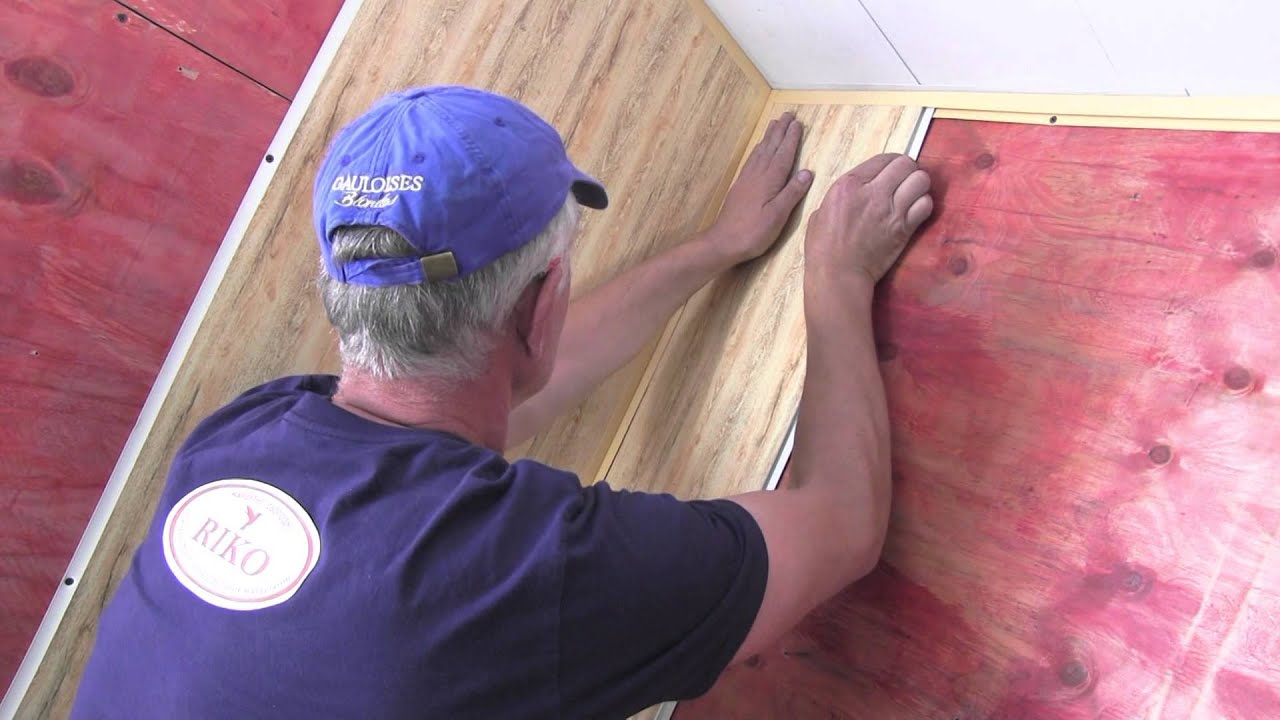
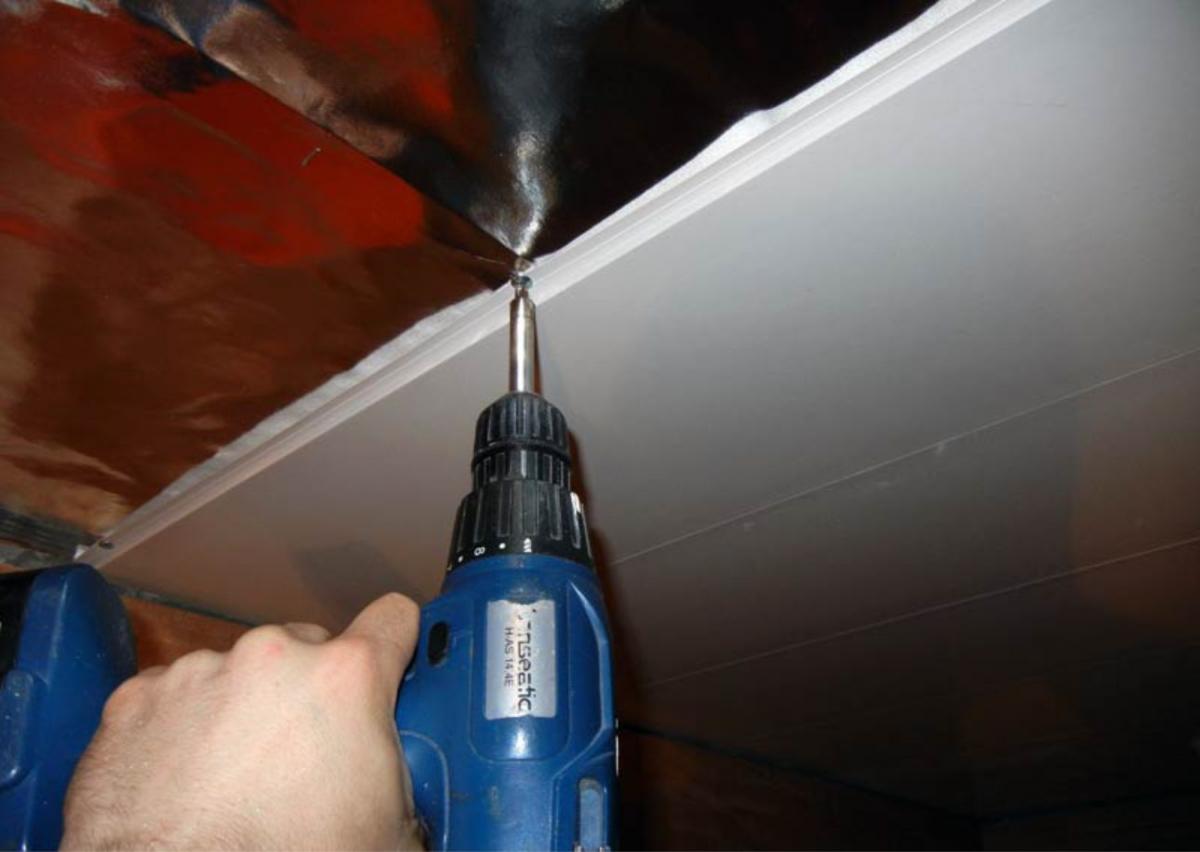
Inside the balcony, structures can even be nailed to the wooden crate. But this approach is bad because it will not be possible to dismantle the entire product in the future. If installation with kleimers also does not suit you, you can try to drive the staples with a construction stapler. They start with the installation of fittings. For large panels that cover the entire wall from top to bottom, a ceiling plinth must be installed.
It is placed on the top bar. The panels are put into fasteners and fixed using nails or brackets. Be sure to look at how smoothly the first block is installed. Only then do they move on to the next panel, inserted with a narrow edge into the groove. Having found that the parts do not fit in size, you need to shorten them with a knife.
For finishing the balcony with PVC panels, see below.


