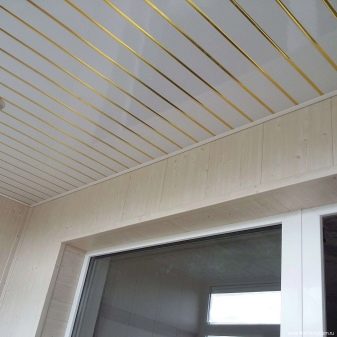
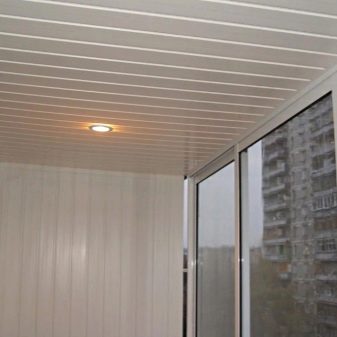
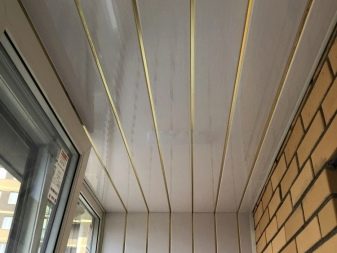
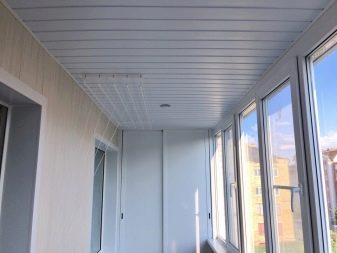
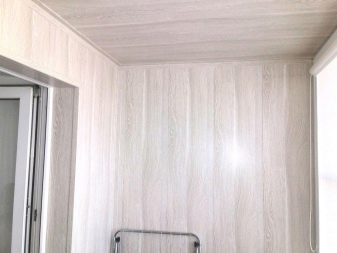
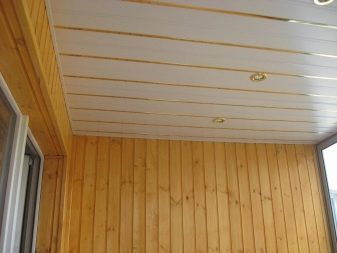
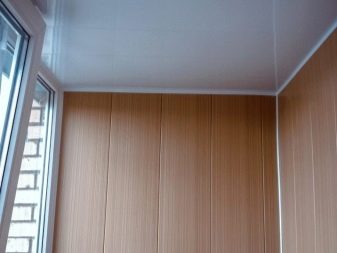
Ceiling decoration with plastic panels on the balcony and loggia
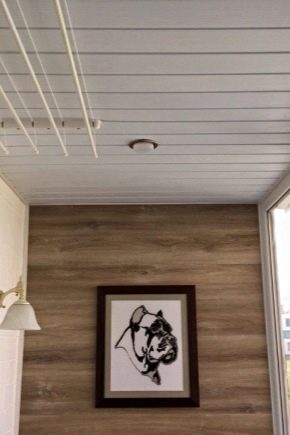
Today, balconies and loggias have long ceased to be a place where the owners of an apartment and a house usually put various things, turning them into a kind of storage room. Today, such spaces have long been glazed by many, and everything has been done in them to be so comfortable that they can be mistaken for another room.
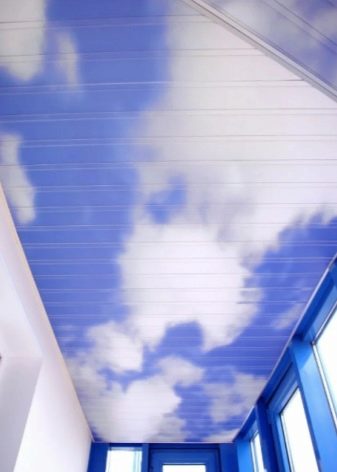
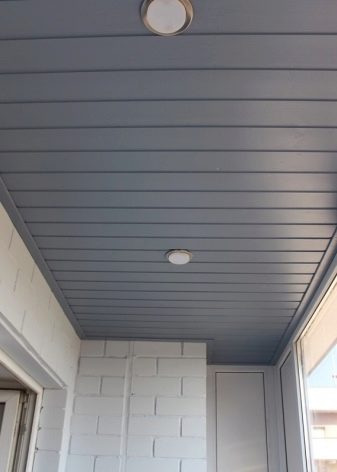
You can turn them into a comfortable room in various ways. One of them is the decoration of the balcony ceiling with plastic panels. This rather interesting solution allows you to make it more beautiful and even implement various ideas in the matter of lighting. Let's try to figure out whether it is necessary, in general, to do it, and how to implement such a solution on the loggia.
Advantages and disadvantages
For the vast majority of people, PVC balcony panels are attractive because they are quite affordable in terms of price, they are easy to maintain, and they are relatively durable. Technically, such plastic is considered a versatile building material and has a number of advantages.
-
Resistant to temperature extremes. Depending on the composition, manufacturers declare the normal use of the material in the range from -30 to +80 degrees. Naturally, such indicators are somewhat averaged, and for a particular type of plastic there will be specific values.
-
Environmental friendliness. At temperatures less than +40 degrees, the ceiling, sheathed with plastic, will be completely safe for humans. But when heated or during combustion, it really, to one degree or another, can emit substances and compounds harmful to health.
-
Ease of processing. To cut plastic into sheets, it is enough to have only a construction knife on hand. To speed up the process, you can use a drill with drills or a jigsaw with metal files.
-
Ease of installation. To install such material on the ceiling, you do not need to have any special skills. That is, it can be done even by an ordinary person without experience in this matter.
-
Low weight of material. This allows you to do on your own when installing such material without the involvement of lifting equipment and other people.
-
Resistant to moisture. Thanks to this, it is possible to sheathe not only a balcony, but also such rooms with a high level of humidity, such as a bathroom or a swimming pool.
-
Convenience of replacement. If a specific part is damaged, it is not necessary to replace the entire coating. It is enough just to change the element.
If we talk about the shortcomings, then first of all it should be said that the material is prone to fading over time, as well as stains from natural dyes and oily substances form on it. In addition, plastic absorbs various kinds of odors very well. Another disadvantage will be its vapor permeability, which is why condensation begins to accumulate on it at a certain level of humidity.
In addition, despite the fact that plastic does not rot, it can cover the supporting structure, which will be susceptible to fungal attack and the destructive effects of moisture in general.
Another the disadvantage of this material is increased fragility when exposed to low temperatures. At the same time, the material has a fairly high coefficient of thermal expansion. For this reason for finishing the ceiling on the balcony, do not use products with a thorn-groove mechanism. Better to use connecting strips... Alternatively, you can use a wide decorative profile or moldings with wall fixings.
Another disadvantage is good visibility of the seams at the junction of the panels.
Material selection
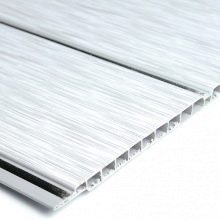
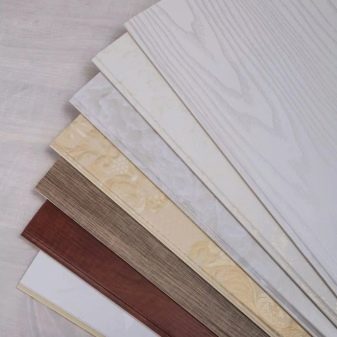
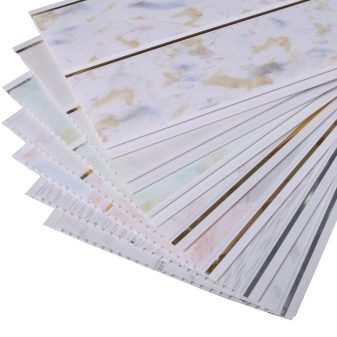
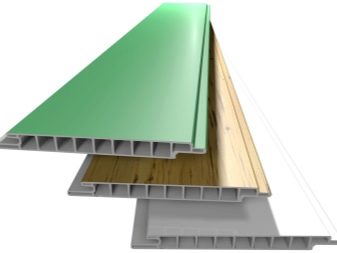
If we talk about what materials are available today, then manufacturers offer a fairly large selection of panels not only for walls, but also for ceilings. The difference between both categories of panels will be the thickness. A base that is not subject to mechanical stress has this indicator in the range of 4-8 millimeters. In addition, various models can be found in terms of composition, shape and coating.
Several categories are most common today.
-
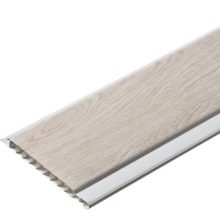
Vinyl lining. Such products can imitate a wood structure or simply have a smooth surface.
-
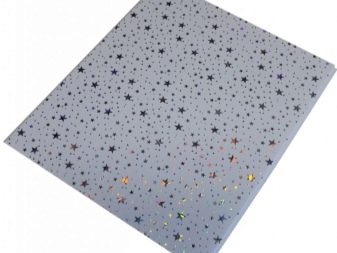
Sheet products usually made in the form of mosaics or tiles. Usually, this type of canvas is fixed with an adhesive composition.
-
Sandwich panels have a smooth surface, can imitate various types of natural materials or various types of masonry. On the inside, they have insulation in the form of polyurethane foam or high hardness stone wool slabs. For this reason, products of this type can be up to 300 millimeters thick.
-
Monolithic panels with strips of 3 mm thickness. The installation of such products is carried out according to the same algorithm as for sheet products.
-
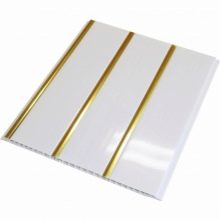
PVC boards usually presented only in white colors. Often they have standard sizes - a length of 50 to 100 centimeters, a thickness of 8 to 12 mm and a width of 3-12 centimeters.
Note that different materials can have patterns that can be applied in different ways. The most common method of applying them is lamination. That is, we are talking about applying a thin film with a print. And also varnishing is used for these purposes.
In addition, all products are coated with a special varnish, which gives the coating additional resistance to wear. Products that use three-dimensional printing look quite interesting.
Required tools
To carry out the installation of plastic panels on the ceiling or loggia, you will need to have the following tools and accessories on hand:
-
staples;
-
dowels, as well as self-tapping screws;
-
mounting type bar;
-
a plinth and a corresponding corner for it;
-
building level;
-
hacksaw;
-
roulette;
-
stapler;
-
drill or hammer drill;
-
pencil;
-
special wallpaper knife.
Depending on the case, in order to properly finish the ceiling of the loggia, you may need any other tools or fixtures.
How to do it yourself?
Now let's try to figure out how to make the ceiling trim with plastic panels on the loggia and balcony with our own hands. Typically, this process is divided into two large steps:
-
frame installation;
-
direct installation of panels.
But before considering the process of installing a frame crate, it is required to consider the preparatory measures, which it is highly desirable to carry out, so that, in fact, everything is done efficiently. Generally, a good level of comfort can be achieved only in the case of a glazed balcony or loggia, the implementation of high-quality sealing and insulation.
But there are rules that should be followed in preparation for the sheathing of the balcony.
-
Plastic windows must be installed. They are distinguished by a high level of tightness, low cost and durability.
-
Before sheathing the balcony, you should prepare expanded polystyrene or polystyrene foam for insulation.
-
Be sure to remove mold and mildew, if present. The site of their location must be treated with a special compound.
-
Sealing of cracks can be done with polyurethane foam or construction mortar.
-
If the main walls in the room are made of gratings, they should be dismantled, and the vacated space should be closed with bricks or some other material.
Now let's start considering the installation of the frame and panels.
Installing the frame
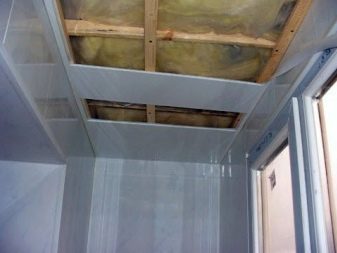
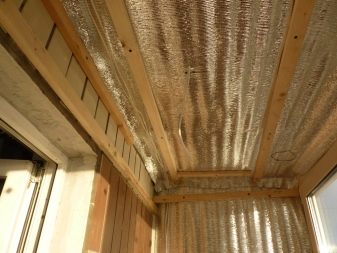
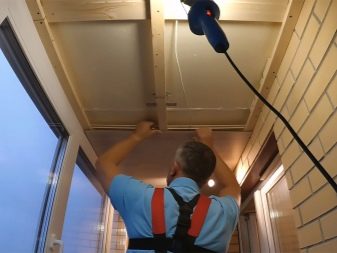
For the assembly of the frame, a metal profile or wooden slats are usually used. To create it, you need to adhere to a certain algorithm.
-
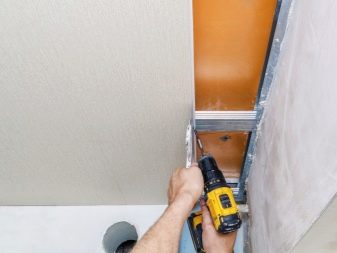
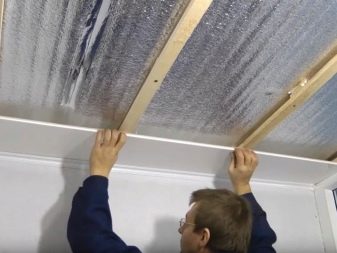
First you need to install the guides, which must be placed around the perimeter of the room. For the correct installation of such elements, markings should be applied. For this, it would be better to apply a building level. An extremely important point - guide-type profiles should be located exclusively horizontally. It is required to attach the guides to the surface using dowel nails.
-
After that, you need to mark the ceiling... It is according to the markings applied that the ceiling-type profiles should be placed between the guides.
-
Along the lines drawn, it is required to fix the suspensions... An important point here is that the distance between them cannot be more than 90 centimeters.
-
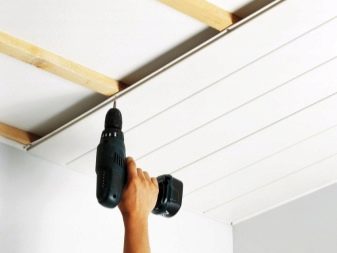
After that a ceiling-type profile must be installed in the guideand then fix it on the suspensions using self-tapping screws.
-
Special lintels should be installed between the ceiling profilesthat must be fixed with the help of "crabs" - special cross-pieces of the connecting type.
-
The assembly of the frame from wooden components is done in the same way, but to fix the parts, you will need to use a dowel-nails... It should also be taken into account that the thickness of the insulation should be selected depending on the rack thickness. Right before creating the frame, you should think about how to protect the wooden parts from external factors. It would be better to treat them with a special antiseptic.
Panel mounting
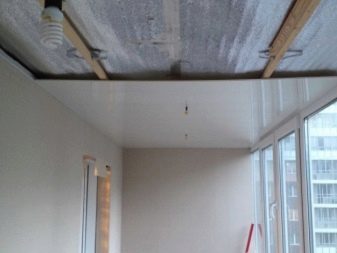
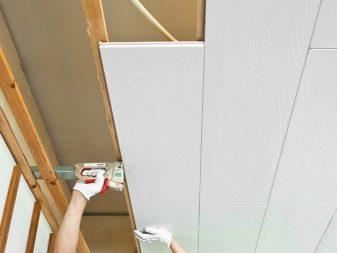
After installing the frame mechanism for the ceiling made of plastic panels, you can start directly with the ceiling sheathing itself.
Let's analyze the algorithm for implementing this process.
-
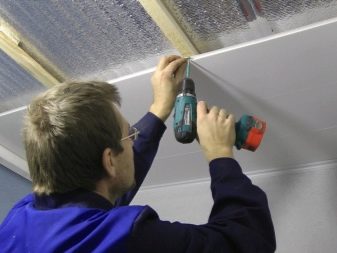
Skirting profiles are installed along the perimeter of the ceiling, attaching them with self-tapping screws to the ceiling-type profile. Skirting boards should be located only on 3 sides so that there are no problems with the installation of the last plastic panel;
-
Now you need to determine the dimensions of the panels in length... To do this, measure the distance between the opposite parts of the ceiling, put it aside on the panel and cut along the marks.
-
Take the first panel and install it with a spike and ends in the skirting board... Fixing to the ceiling profile should be done with self-tapping screws on the side of the panel groove.
-
Now we take the next part and install it with the end part in the skirting board, and the spike is directed into the groove of the first panel. Fixation must be made from the side of the groove. The same should be done with all panels prior to the final plating of the ceiling surface.
-
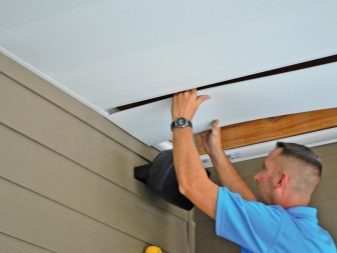
If we talk about the last panel, then usually here you have to make a fit to the width., after all, the space that remains is rarely directly fully matched to the dimensions of the panel. Cutting the plastic should be done in the direction of the groove, after making the required marks along the entire length of the plastic product.
-
The final action of the process we are considering will be the installation of the last skirting board... To install it, you first need to measure this element along the length, after which it should be trimmed. Then it only remains to stick it to the surface of the ceiling and wall.
It should be said that this instruction is also suitable for lining the ceiling with clapboard made of wood.
You can familiarize yourself with the process in more detail by watching the following video.
