Balcony cladding with profiled sheet outside
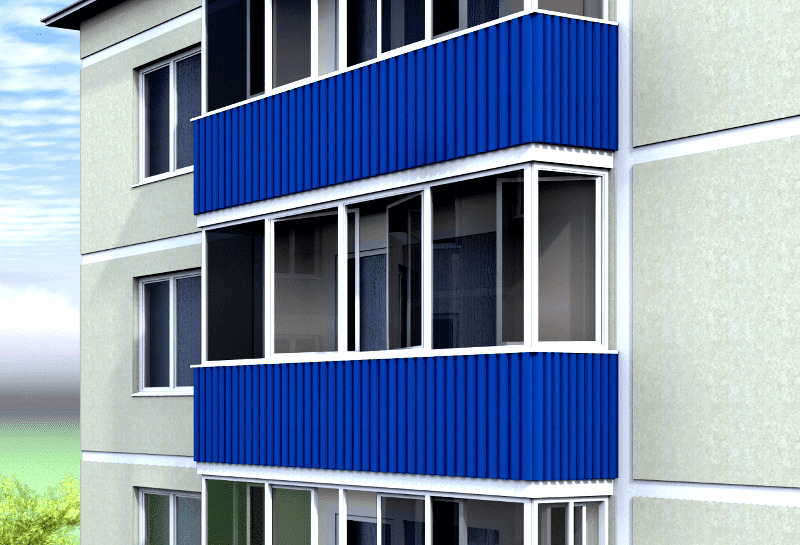
The time comes when you need to freshen up the appearance of the balcony and replace the old fence. Today, corrugated board is increasingly being chosen for the external cladding of the loggia. It is classified as a durable material: even after ten years, metal sheets do not lose their functionality and do not undergo changes in appearance.
In the article, we will talk about how to make cladding with profiled sheets with your own hands, where to start and what stages of finishing you need to follow. Installation of corrugated board is a simple matter, you can cope with it yourself, observing all the requirements and knowing what the professional sheets are.

Advantages and disadvantages
Decking is corrugated steel sheets. Corrugations serve for rigidity, such ribs allow you to withstand increased loads. For durability, the sheets are coated with zinc and polyester (sometimes plastisol is used for processing).
The material is different in thickness, as well as in the shape of the ribs. The advantages of professional sheets include:
- high wear resistance (withstands strong winds, is not afraid of hail, snowy weight is not scary);
- can be operated for up to half a century;
- refractoriness of the material;
- thermal insulation properties;
- strength and lightness (no additional reinforcement of supporting structures is required);
- does not lose its attractive appearance over time;
- protected from corrosion;
- does not grow moldy, does not give in to decay;
- during installation, it is not required to select sheets according to the picture;
- wide assortment (in terms of color scheme and size).
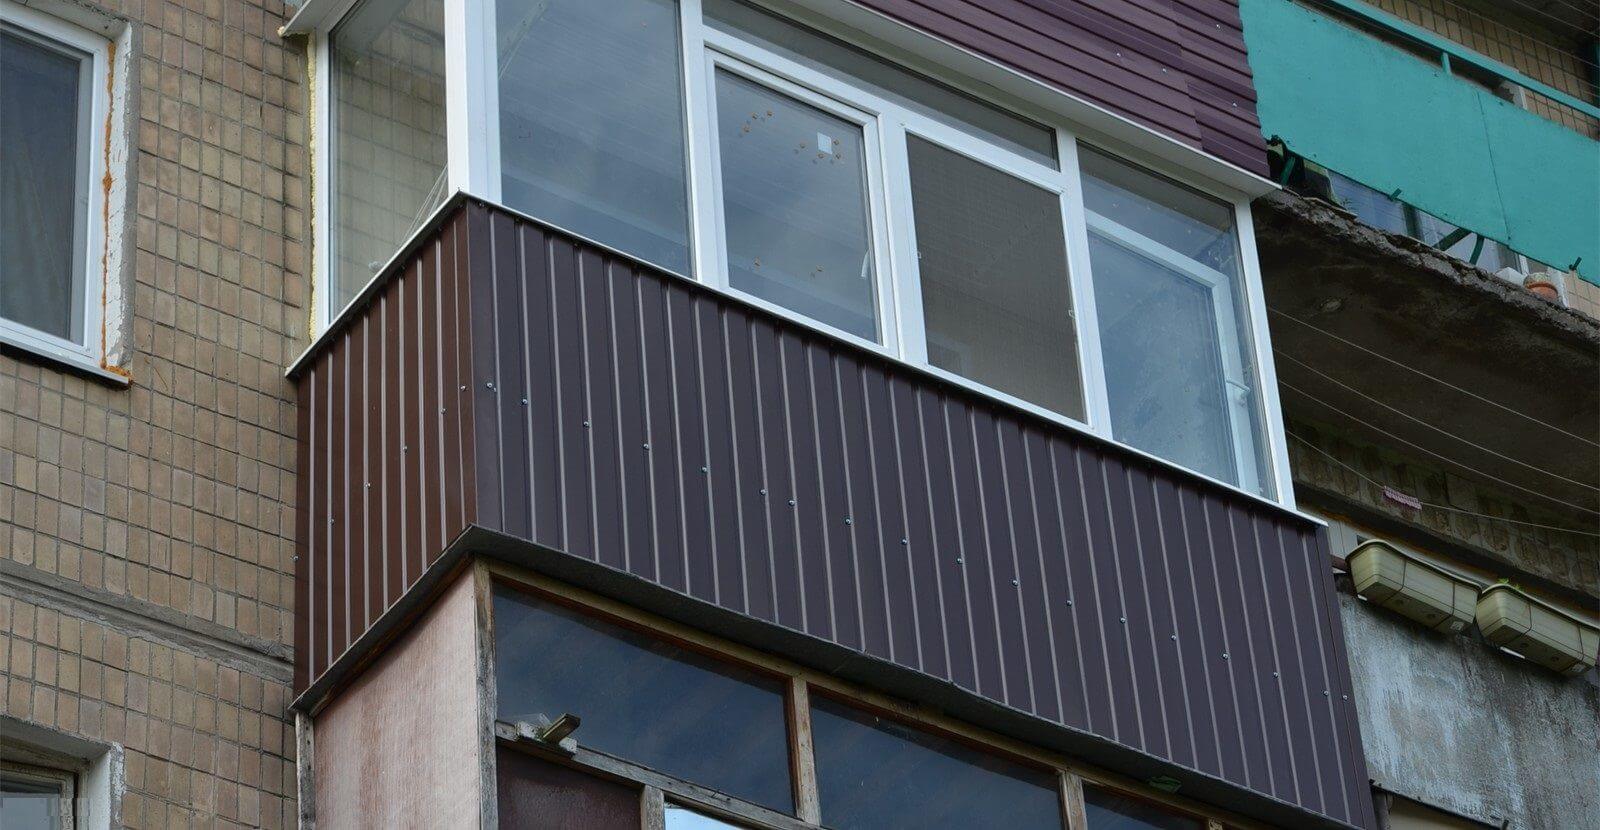
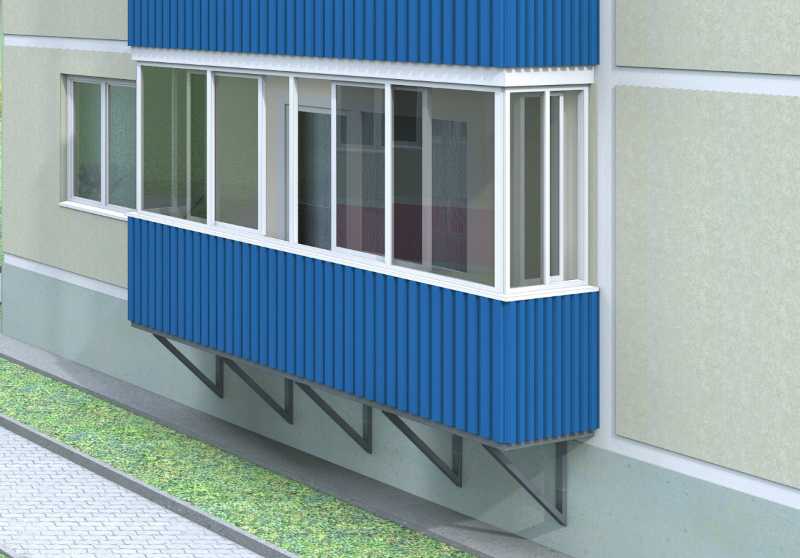
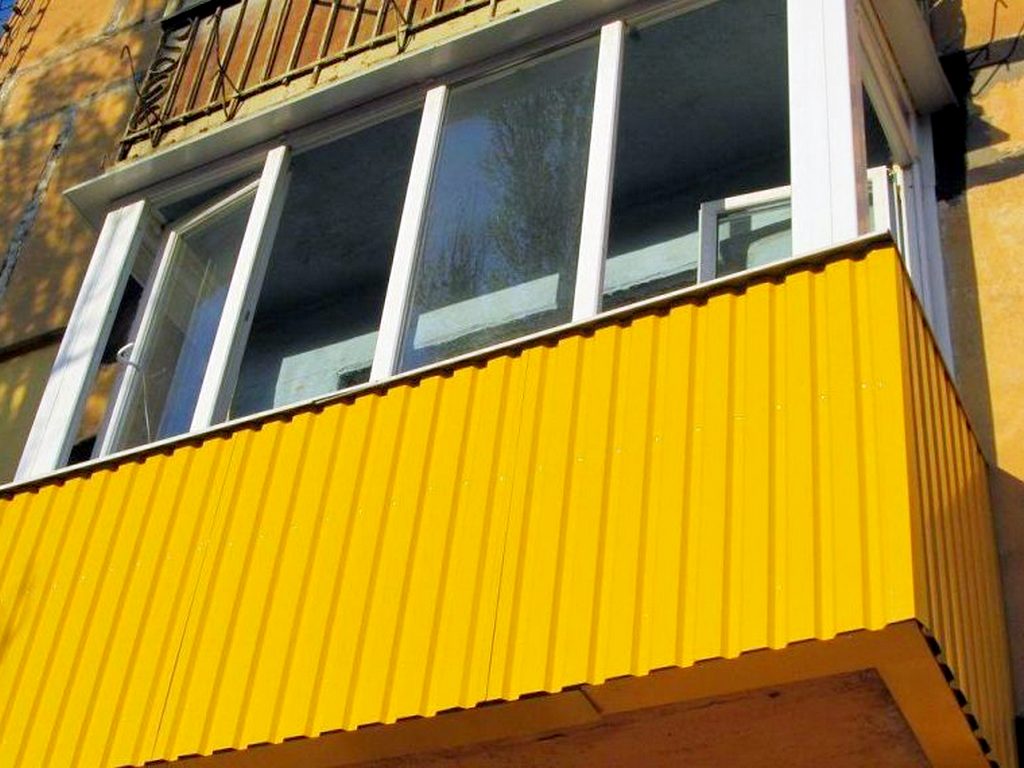
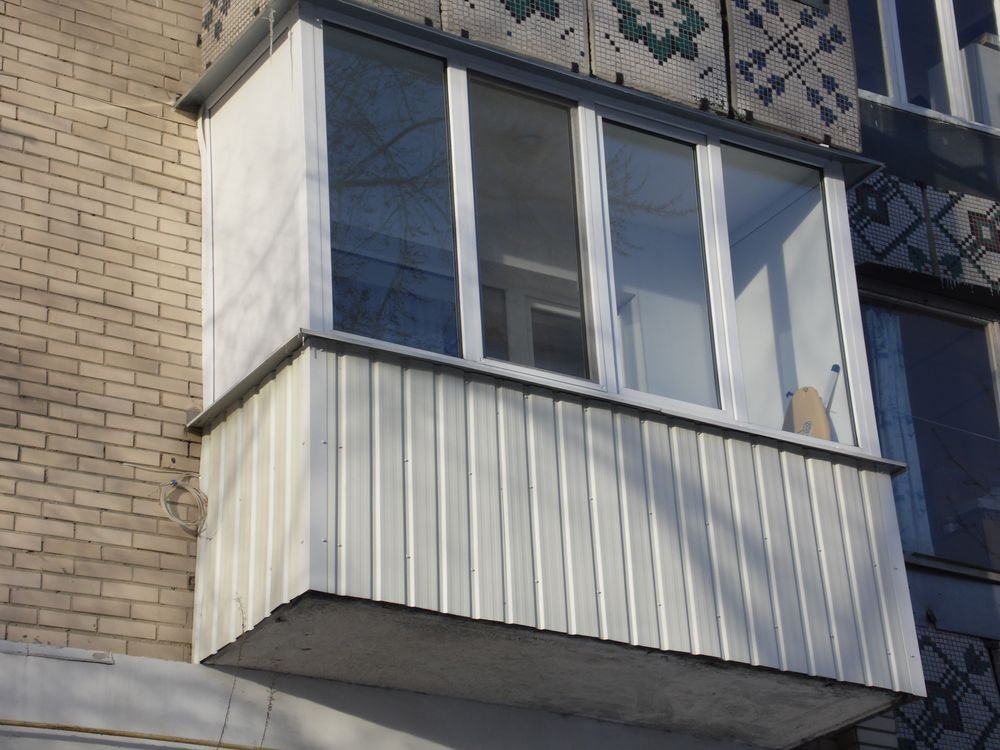
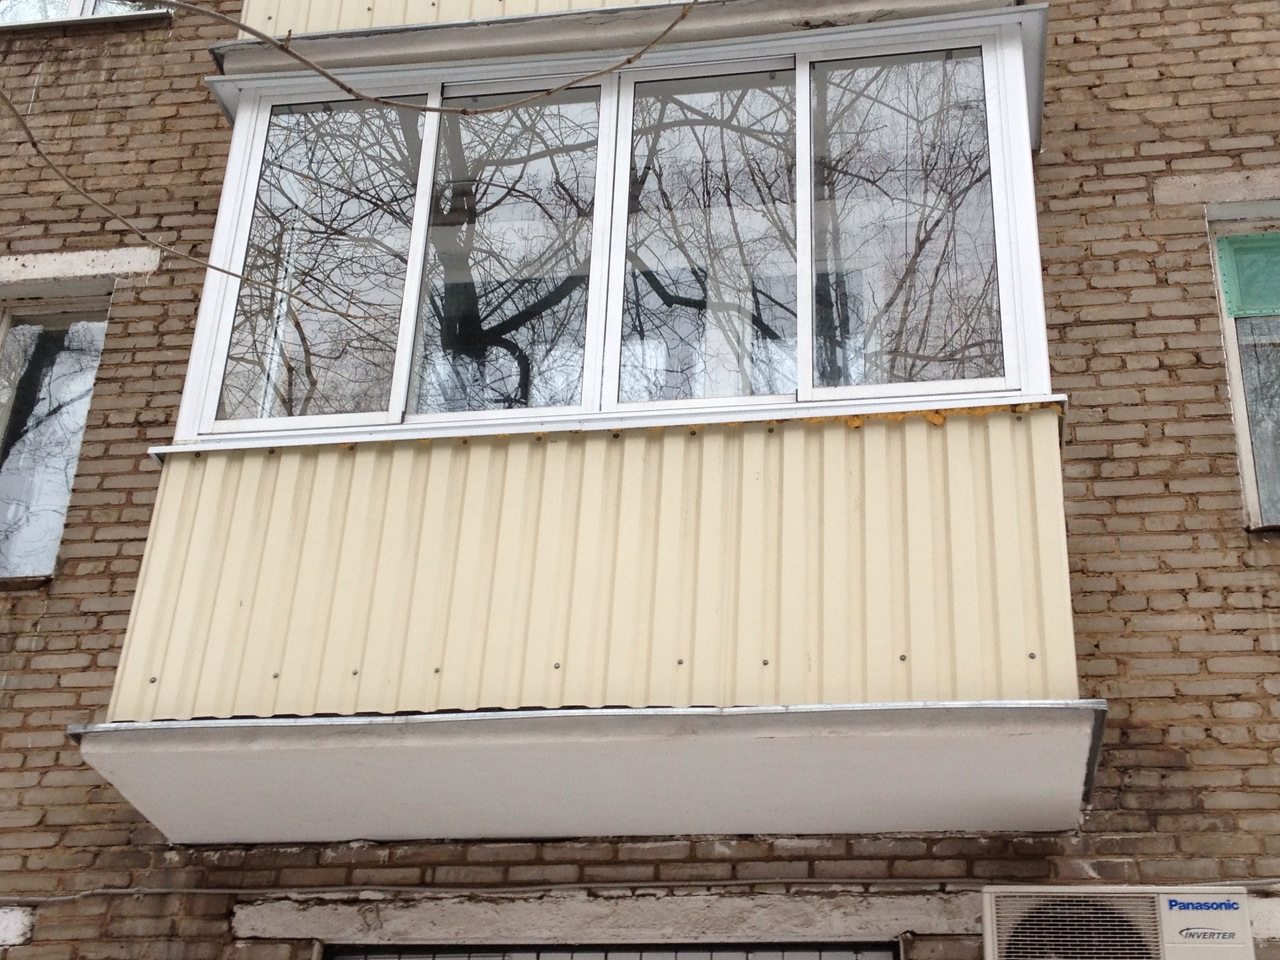
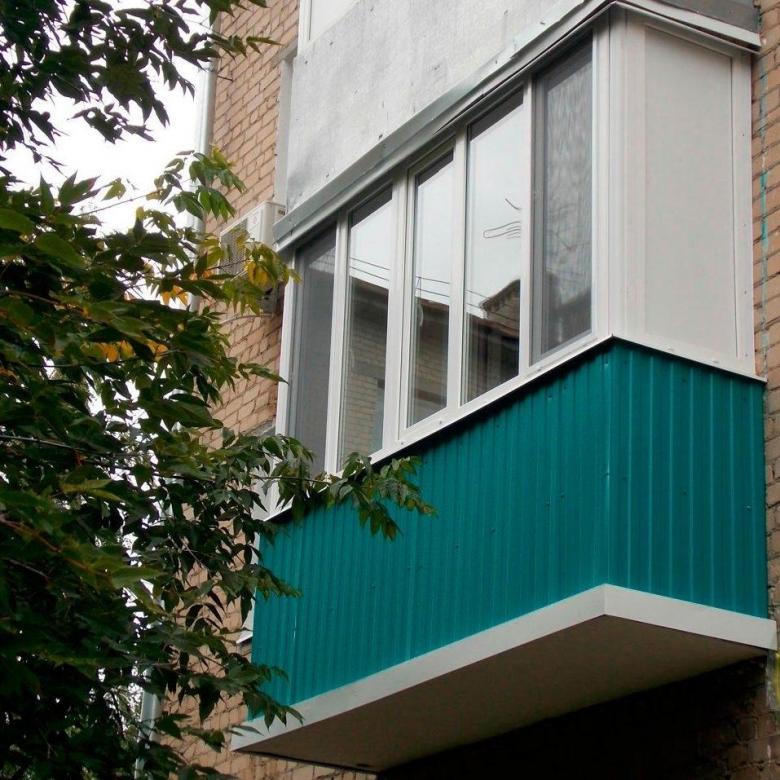
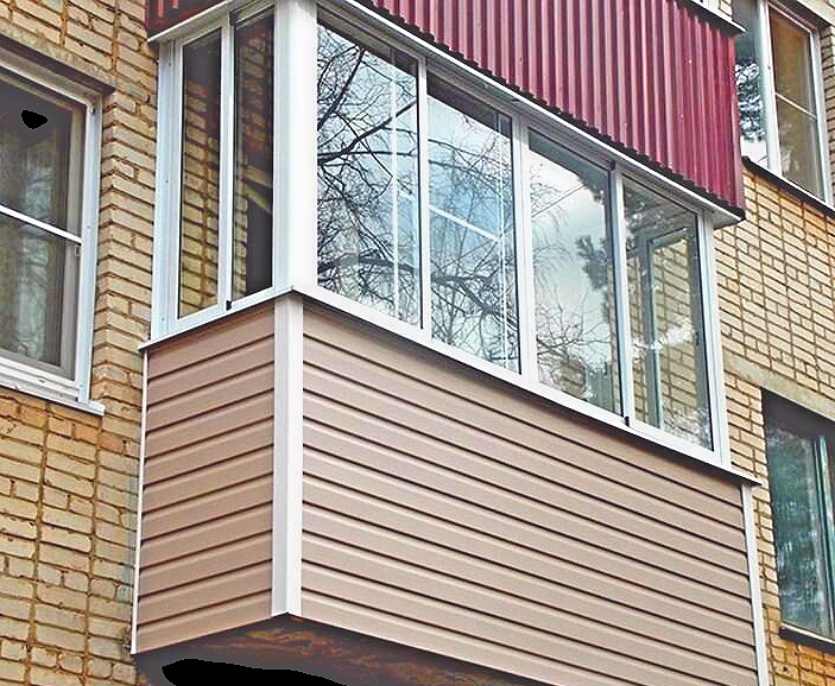
I must say that the aesthetic side is also of great importance, you will receive a structure that not only protects and insulates the home, but also decorates the front side. The balcony sheathed with corrugated board looks very neat and stylish for all its simplicity.
Of the shortcomings, experts single out only a strong knock in the rain and the formation of rust when the polymer layer is damaged. The rest of the profiled sheets are perfect for external cladding of a loggia of any size.
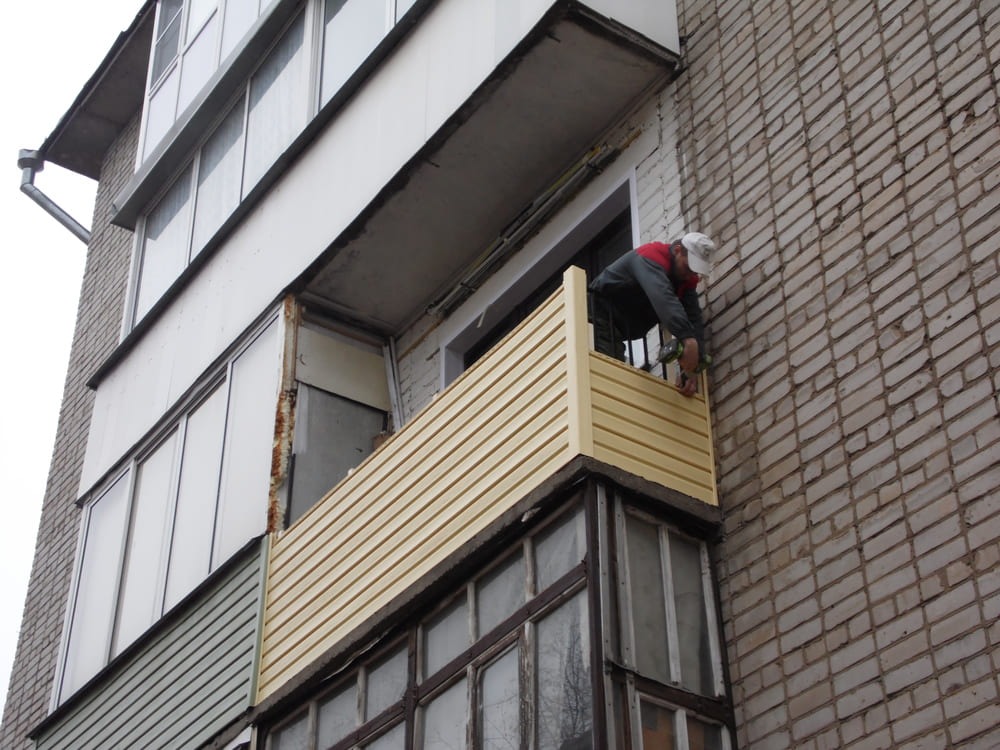
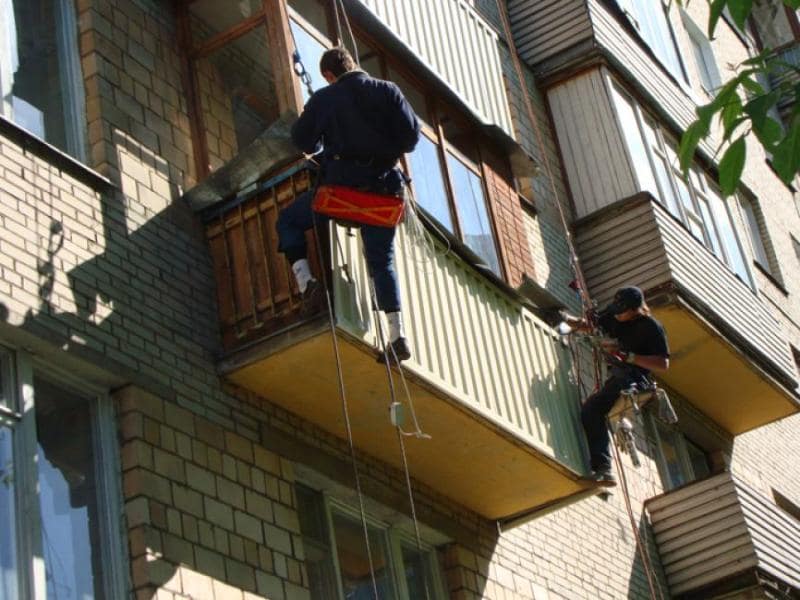
But before you start finishing work, pay attention to the preparatory stage. You will need an assistant and a strong rope for insurance - this is in case you decide to do the installation of professional sheets yourself. Let's consider the preparation stage in more detail.
Preparation
First of all, take measurements and prepare the required number of steel sheets. For exterior decoration, you can buy material with both vertical and horizontal ribs, the length is the same for all - 120 centimeters. It's just that in a vertical position during installation, special strips will be needed and for a tighter joining of sheets - silicone sealant.
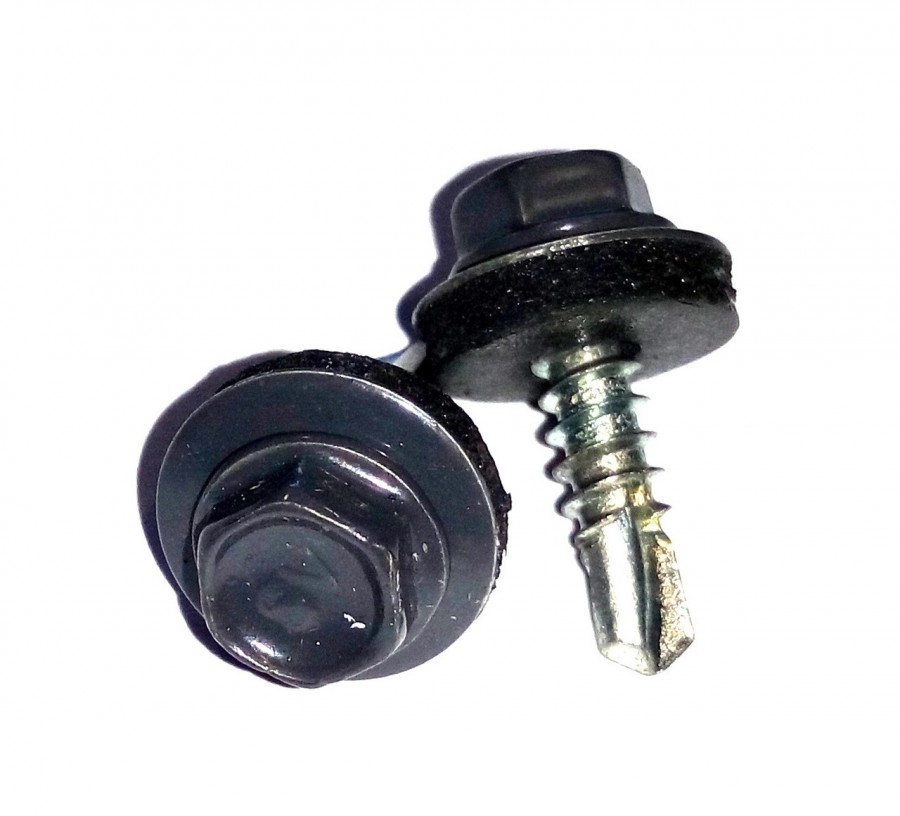
Besides, the work cannot be carried out without metal corners (end and external) and fasteners - self-tapping screws. It is advisable to choose them according to the color of the profiled sheets, they should have a protective coating, and rubber washers should be included with them.
Well, prepare a screwdriver, a grinder, metal scissors, a drill with the necessary drills for metal. Before you start trimming the loggia from the outside, you need to free the space from things and other rubbish - it will be more convenient to do the work, nothing will bother you to move around the balcony.
Pay attention to the condition of the supporting beams, perhaps the existing frame will only need to be restored: treat with an anti-rust compound and paint. Do not forget to fence off the area under your balcony below so as not to injure people passing by.
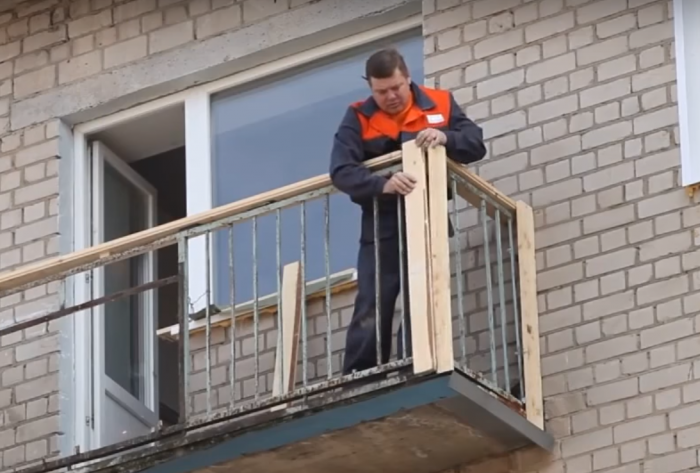
The point is that you need to get rid of the old outer skin, and this can result in injury to others if the space is not fenced off. Before re-sheathing the balcony, you have to remove asbestos slabs - this is the most common material that used to be used to finish the outer side of balconies.
And they can collapse over time, so dismantling is carried out carefully and in compliance with all precautions. Take a grinder and cut off the upper hooks (note that the fasteners can be rusty, so be prepared for the structure to fall apart right in your hands).

Pull on the loose plate and cut off the bottom hooks. After removing one element, proceed with removing the second, and so on, until the outside is clean. Even at the stage of dismantling the old finish, you will need at least one assistant. Consider further the stages of the main work on the new skin.
Finishing stages
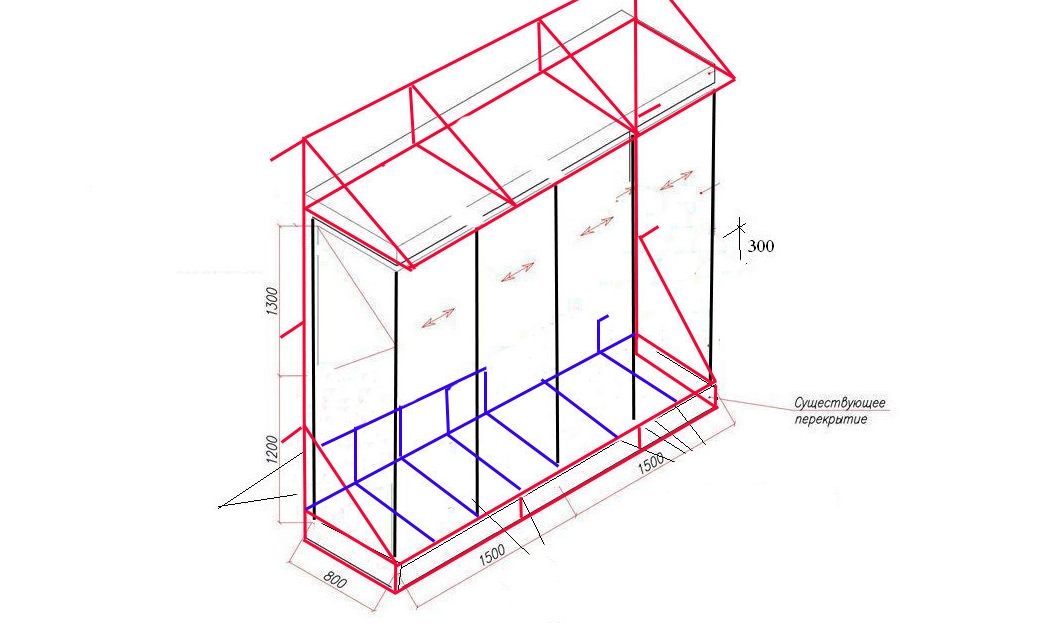
To sheathe a balcony with your own hands from the outside of the house, you need to go through several stages. The first step would be a good idea to draw up a drawing of the cladding supporting frame, if you can do it. If not, then proceed directly to the creation of the frame structure.
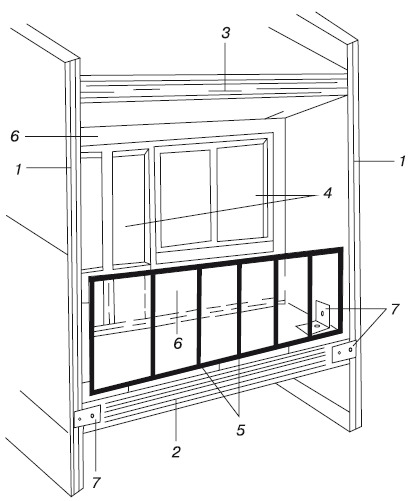
Lathing
The lathing can be metal or wooden. It is difficult to work with metal components, professionals do it better, and ordinary craftsmen often prefer to create a frame on a wooden base.
Planks must be subjected to antiseptic treatment so that the tree does not rot under the influence of temperature extremes and other climatic conditions. Therefore, buy a special compound and process the slats, otherwise the structure will not last long.
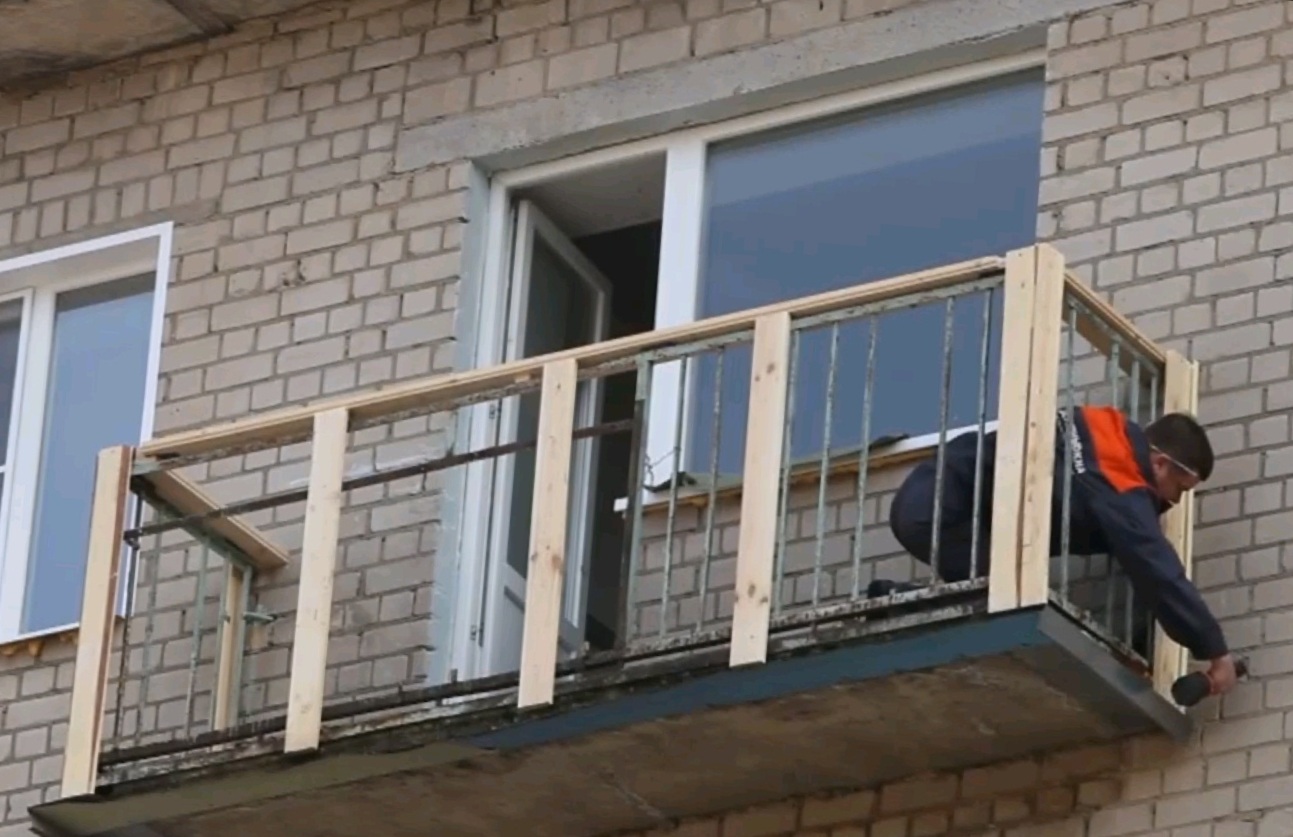
The installation of wooden beams is done using a drill: holes are drilled in the balcony frame and fixed with screws or screws. Do not forget that you need to connect these elements with each other and in the corners (fix them with screws).
Choose wooden slats for the length of the balcony. Bars with a section of 40x20 mm are mainly used, but sometimes they are taken with a section of 40x40 mm. Let's talk about two types of timber frame.
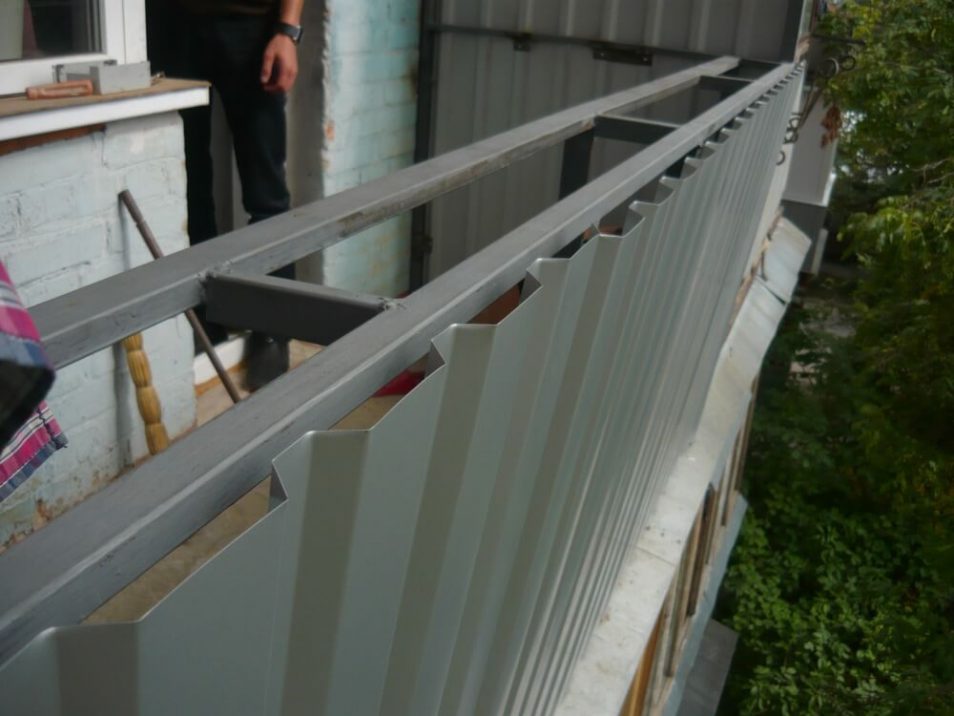
- Traditional version of the straight frame - this is when the profiles are fixed parallel to the walls. Such a frame is easily insulated with mineral wool and then sheathed with profiled sheets.
- Oblique extension of the structure - this is when the profiles are located slightly in front of the loggia and on its sides. Due to this removal, an additional area appears inside the balcony, thus, for example, you can expand the window sill.
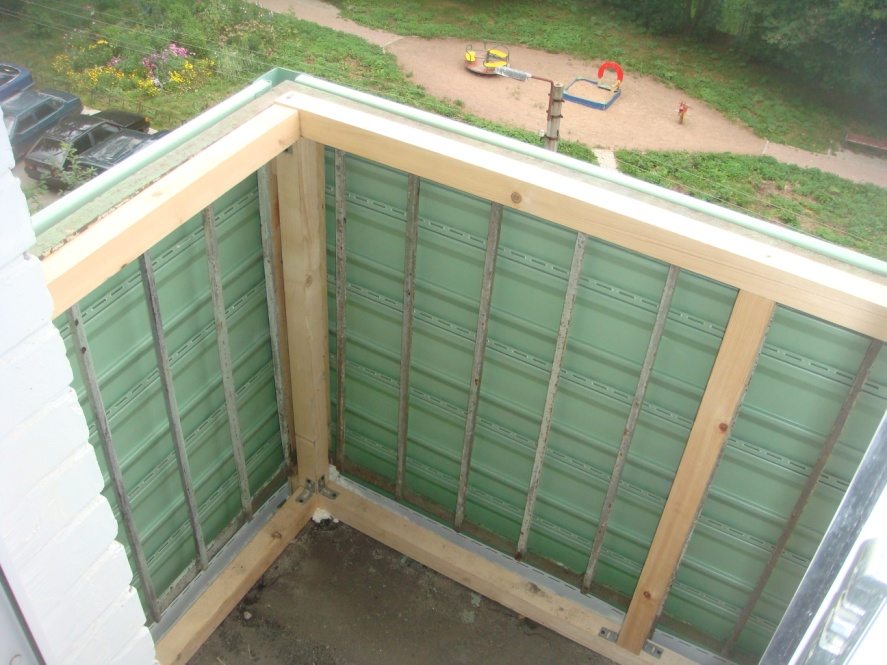
Many people use the second option: a very popular idea, especially for small balconies - they can be somehow enlarged by moving them out. Well, then glaze the balcony, and such a loggia will look very nice and cozy.
Installation of corrugated board
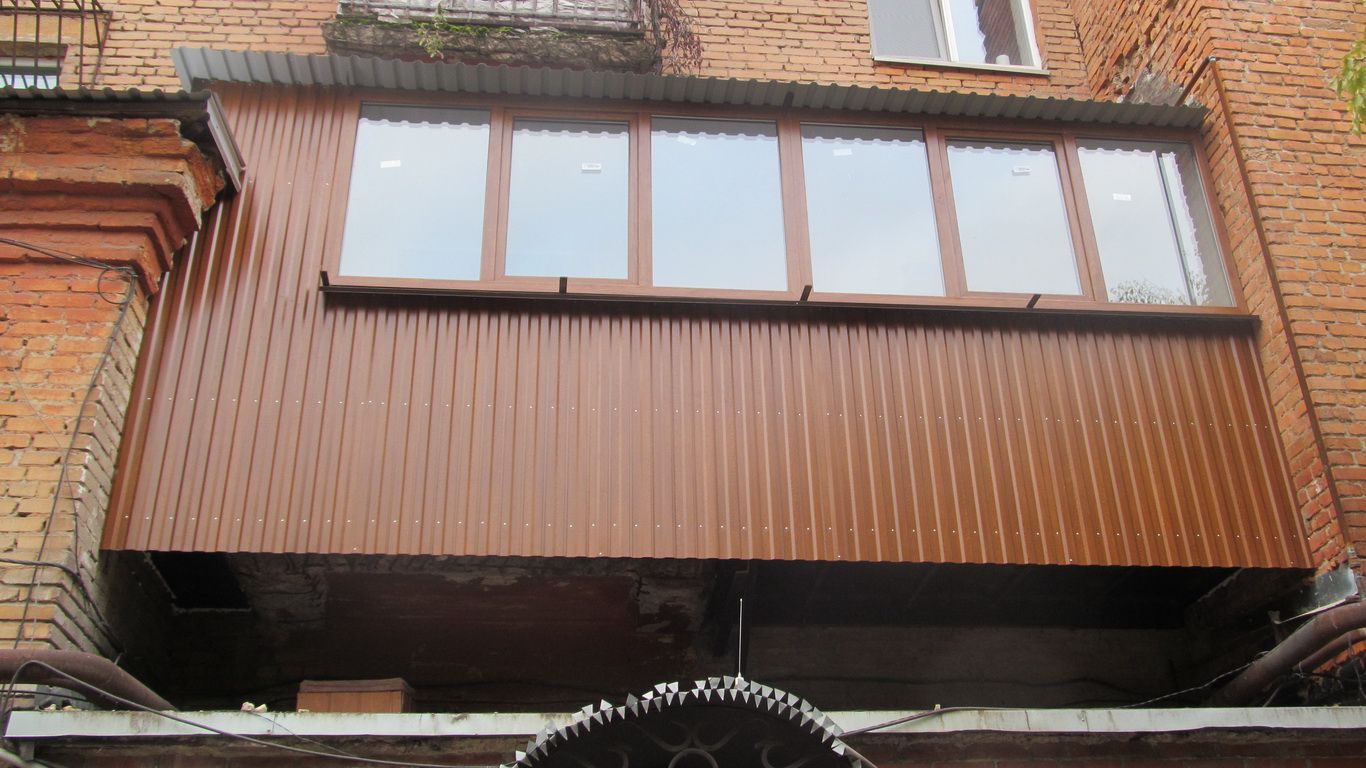
Before installation, a profiled sheet (the C10 grade with a width of 1.10 m is better suited) is laid on a flat surface for marking. Sheets are trimmed taking into account the fact that they will overlap each other by the width of the edge.
This brand of profiled sheets can be easily cut with metal scissors, however, to make the cut more beautiful and smoother, you can do it with a grinder. Corner joints are made without bends, with the help of edges the corrugated board is joined, and then the places of such joints are masked - for this, special corner strips are prepared in advance.
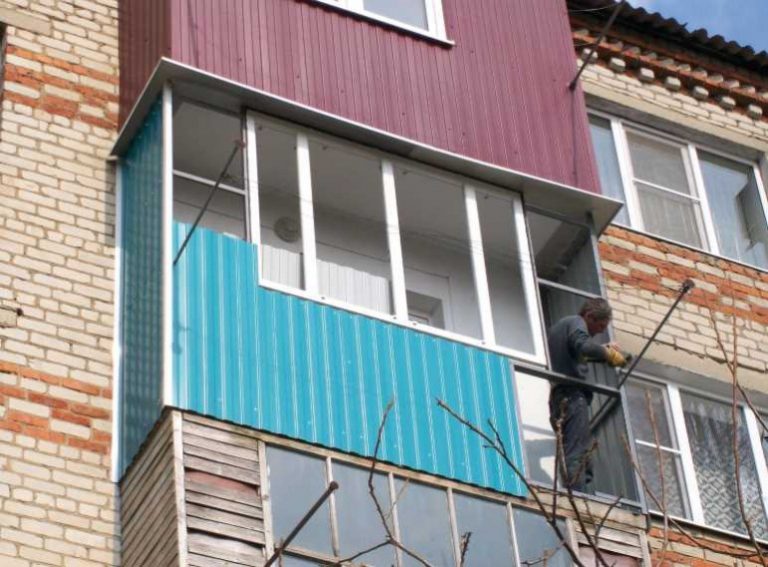
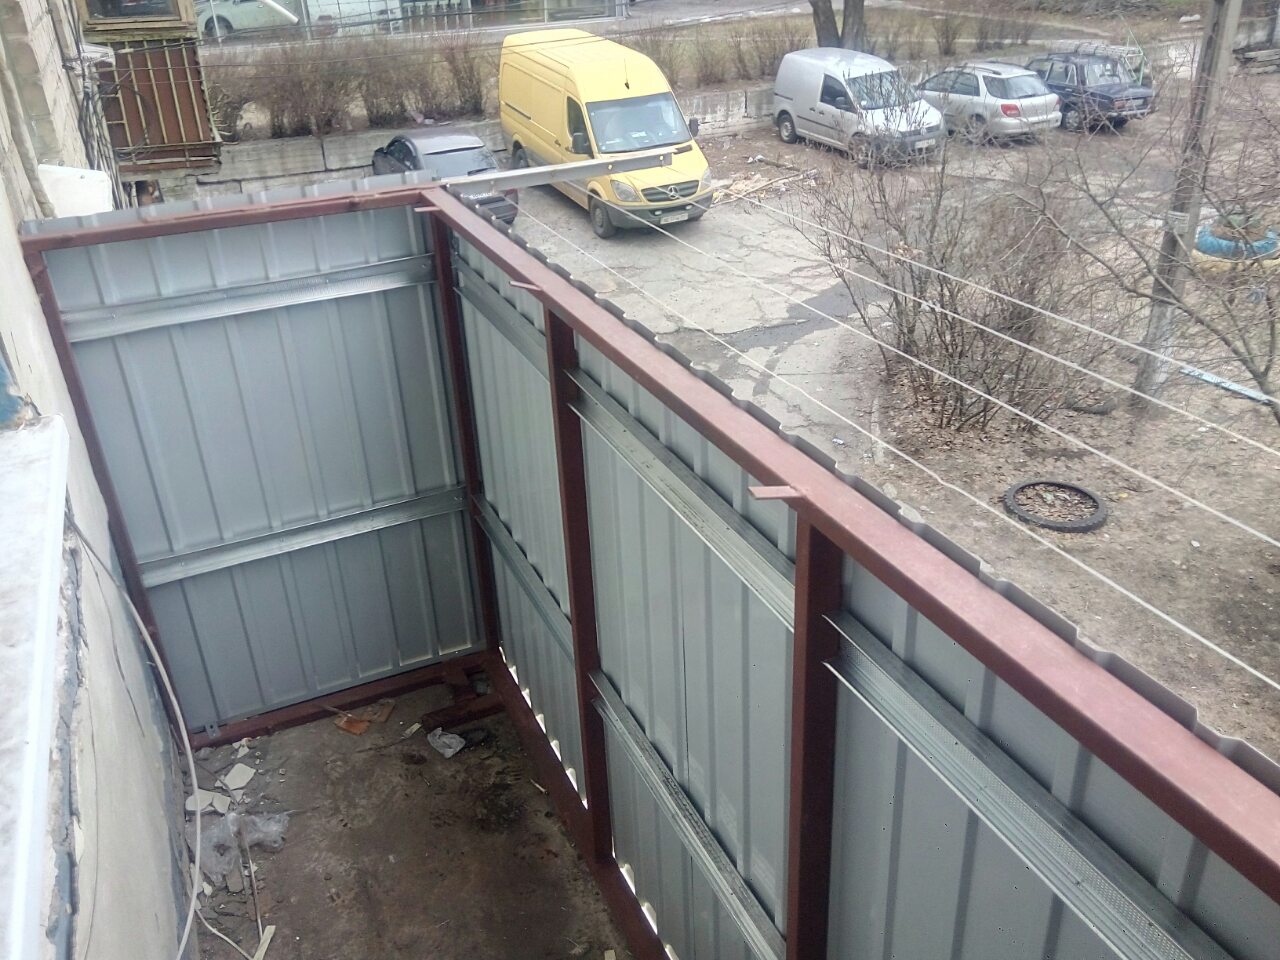
It is better to start work on the installation of profiled sheets to the frame from the wall that adjoins the windward part of the house. This will protect the interior in case of rain or other precipitation. For fastening, you will need self-tapping screws with press washers.
They attach equally well to both a wooden base and a metal support.
In this case, you only need the skill of working with a screwdriver: it is important not to twist the self-tapping screw, you need to maintain a certain level of clamping, do not bring it to the point that the rubber washer is not visible.
It should fit snugly against the corrugated board. There should not be any constriction of either a self-tapping screw or a washer, it is necessary that the washer lies firmly and well closes the hole, the self-tapping screw is twisted exactly at an angle of 90 degrees.If it goes skewed, there is a risk of corrosion at the attachment point.
In the process of sheathing, the surface of the profiled sheets can be scratched. You can cope with this problem: select in advance the desired color of aerosol enamel and then spray the damaged areas on the profiled sheets with a spray can.
So, knowing the sheathing technology, having the crate, the necessary materials, tools and fasteners, you can easily sheathe the loggia from the outside. Let us outline the stages of such work.
- It is necessary to dismantle the old structure or to clean it.
- Installing the lathing will require you to be able to work with a drill. To drill holes in the balcony frame, prepare drills (diameter - 3.5 mm). Drill double-row holes and attach the battens to the existing frame. Be aware that you will still need to work with a screwdriver, and therefore the lower rail should not be below half a meter from the loose edge of the corrugated board.
- For sheathing with a professional sheet, be sure to invite an assistant and stock up on a safety cable. A standard sheet of corrugated board has a length of 1 m 20 cm, and calculate the width according to how convenient it will be for you to work. Considering the overlap, cut the sheets 50 to 150 millimeters wide.
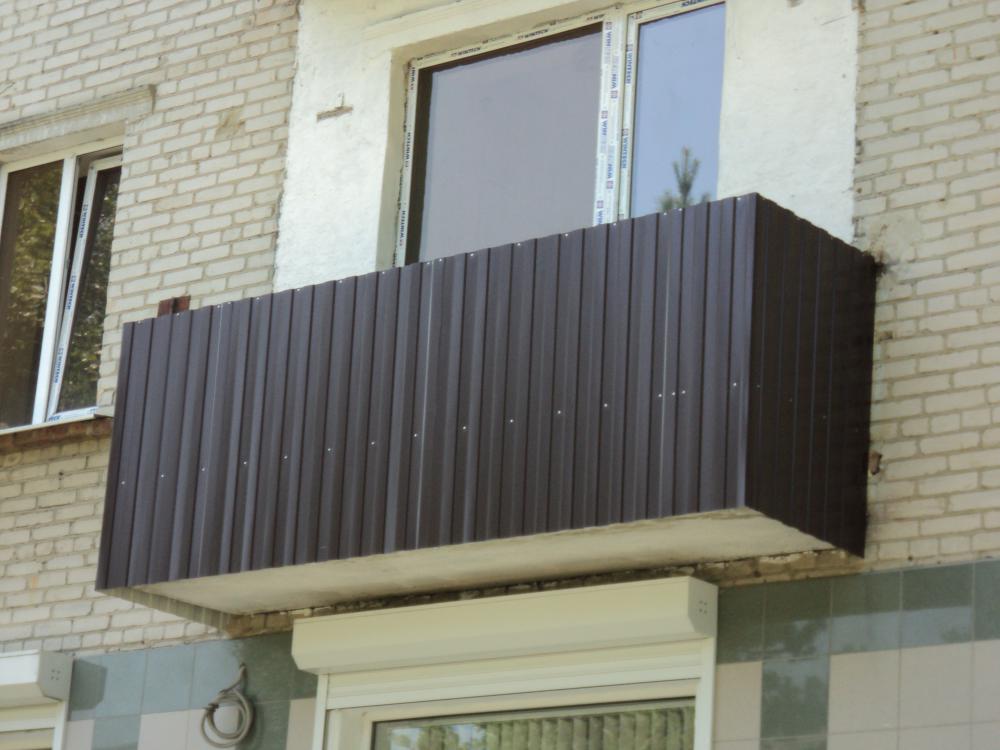
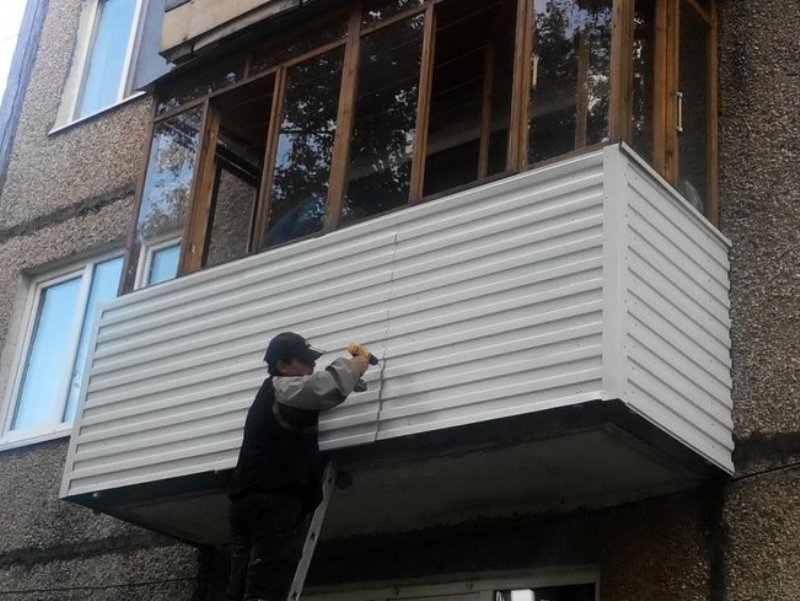
- They start the planking from the corner part and move in one direction to the other corner. Self-tapping screws are screwed in from the inside of the bend in 2 rows.
- Then they begin to install the inner corners. So that they hold well, the docking places are reinforced with additional screws.
- Well, they complete the cladding by installing the outer corners.
If you want to create additional insulation, tamp the insulation under the sheets (mineral wool is suitable, you can take another one, but only with a high degree of thermal insulation). But here you need to take into account such a nuance: because of the porosity, the insulation reacts to moisture, and so that it does not deteriorate, cover it with a film.
Such a "sandwich" will definitely provide both waterproofing and protection from a hurricane, and will create a thermal effect.
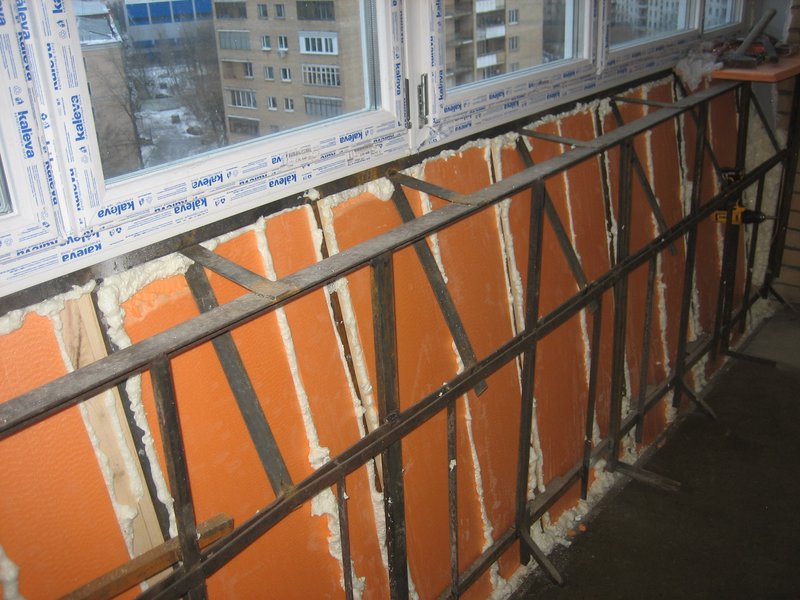
It is better to use this advice, and when performing work on the outer sheathing, also insulate the structure. Thus, you can then increase the functionality of the loggia, especially in winter.
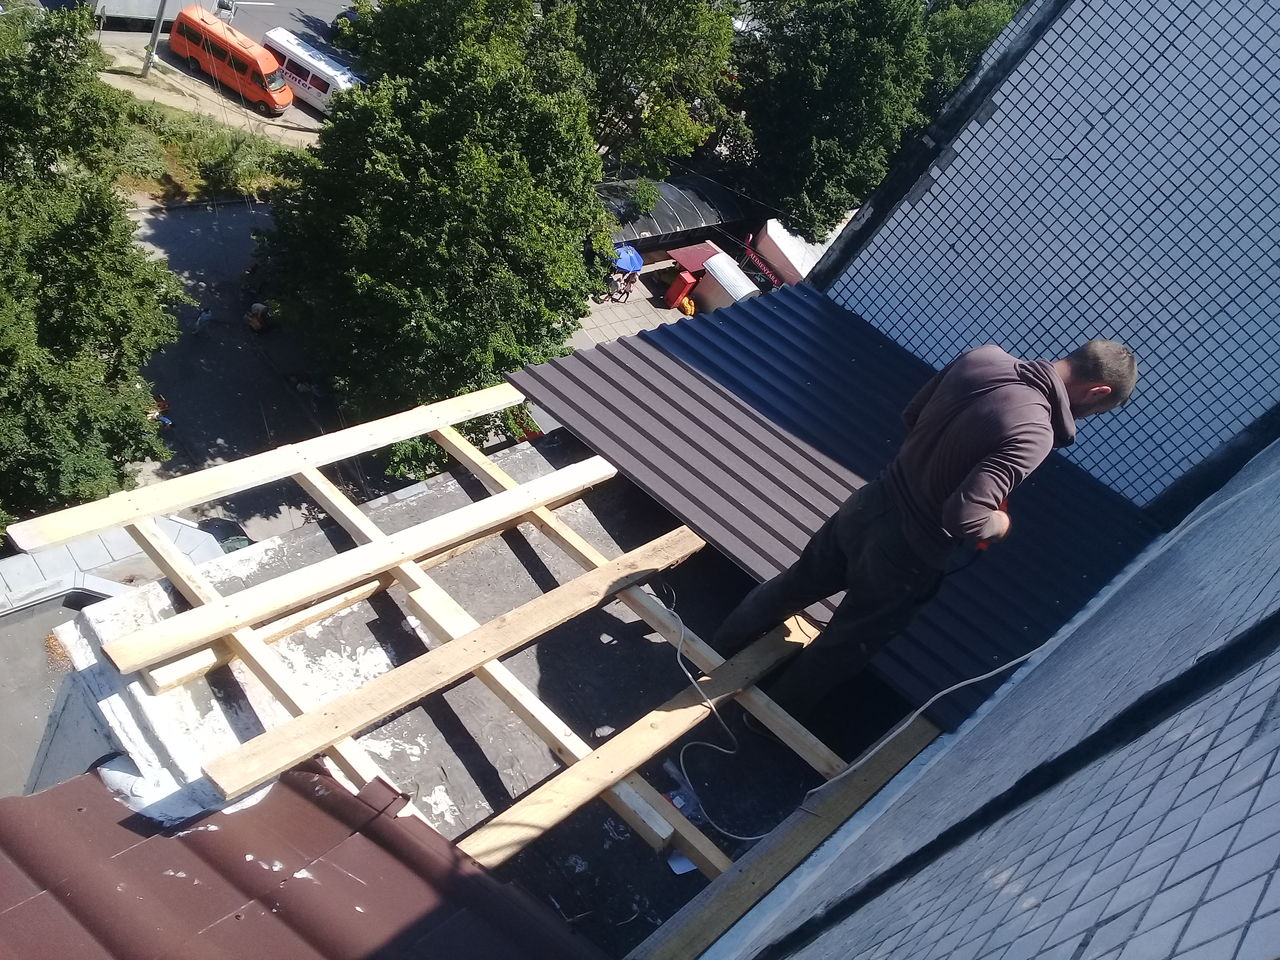
If the loggia is located at the very top (last floor), it can also be covered with a profiled sheet. In addition to the fact that you will get a uniform style in the external design of the structure, the material will provide good sound and heat insulation.
For the roof, use a profiled material with a section of 4x3 cm. First, a wooden frame is also attached, insulated, sheathed inside with clapboard or plastic panels, and corrugated board is mounted on top. For such work, you will also need insurance and a person nearby as an assistant.
For cladding a balcony with a profiled sheet from the outside, see the following video.


