Finishing the balcony and loggia with MDF panels
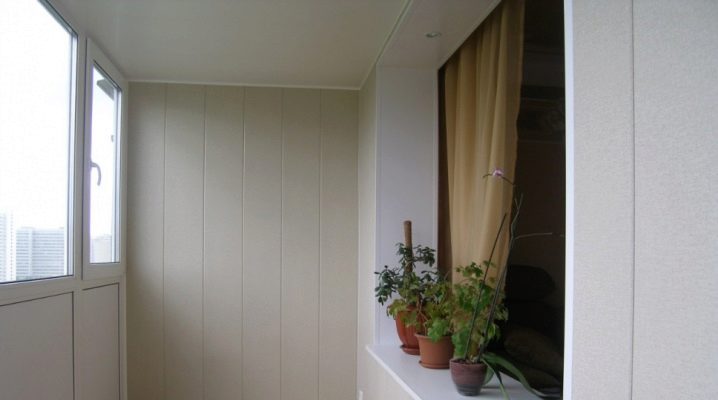
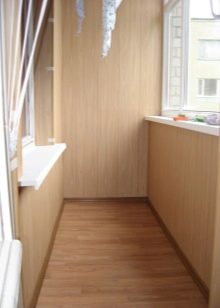
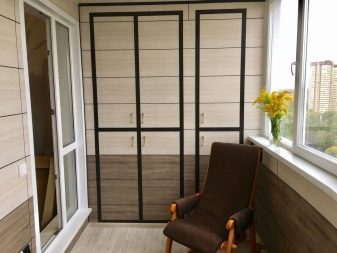
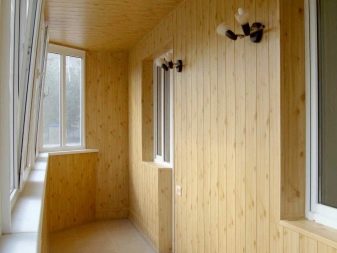
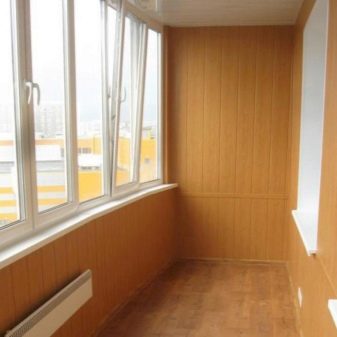
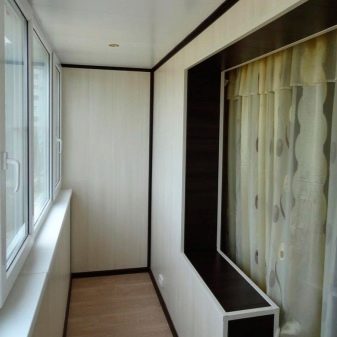
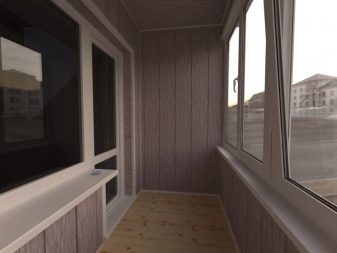
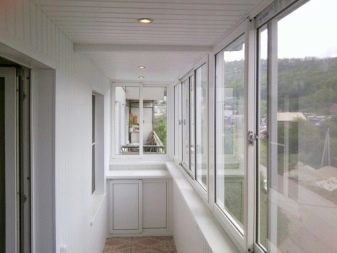
Facing loggias and balconies with MDF slabs is very popular these days. The demand for such repairs is due to the ease of installation, aesthetic design, variety of colors and affordable cost. At the same time, it is not at all necessary to turn to the services of specialists - having a set of the simplest tools at hand, you can decorate the room with your own hands, thus saving a considerable amount.
Advantages and disadvantages
Facing the walls and ceilings of loggias with MDF panels is one of the most common techniques for finishing additional space. The widespread use of this material is due to its high technical and operational parameters and democratic cost. If you follow the installation technique of plates, you can, without much hassle, protect the walls of balconies and loggias for a long time from the effects of precipitation and other unfavorable factors.
The advantages of MDF panels are obvious.
- They are made from wood-based materials, and lignin acts as the main binder. This makes the material environmentally friendly. Individual users are known to be exposed to formaldehyde emissions. However, such cases are explained, rather, by the unfairness of manufacturers who use adhesive components based on harmful resins in production. High quality products should not contain phenol.
- The material is durable. It tolerates temperature surges well - this is very important when it comes to finishing an insulated balcony.
- Thanks to a special treatment, MDF panels become resistant to mold, fungi and insect pests.
- These products are characterized by low thermal conductivity parameters. Thanks to this, the finish allows the use of additional thermal insulation materials.
- When laying the slabs, no preliminary leveling of the walls is required. This significantly saves time, physical effort and money.
- Installation and dismantling of such panels is not particularly difficult. Therefore, it is easy and simple to remove the damaged part and replace it with a new one.
- Often, copper pipes connecting the evaporators with an external condenser in climatic systems, as well as electrical wiring, are passed through the loggia. These utilities do not always have a neat look - MDF wall panels allow them to be disguised and thus improve the overall look of the interior.
- The use of MDF panels is becoming one of the most budgetary solutions. The panels themselves are inexpensive. And the absence of the need to remove paintwork, whitewash and other preliminary preparation of the walls additionally reduces the cost of installation. At the same time, the quality does not suffer at all - the loggia or balcony turns out to be very cozy and stylish.
- MDF panels can mask all the irregularities on the walls.
- In terms of its performance characteristics, this finishing material resembles wood, but it is more flexible and ductile.
It is no coincidence that it is often used for facing structures of complex shapes.
But MDF panels also have their drawbacks.
- On the one hand, the slabs are able to withstand wet cleaning. But if you put flowers on the balcony and spray them from time to time, then drops of water will fall on the panel. This leads to the fact that the film covering the board darkens over time and becomes covered with streaks. The same happens when rain or snow hits the panel. Therefore, this material is preferable for glazed loggias that are well heated in winter.Otherwise, the operational life of such a finish will be much shorter than that declared by the manufacturer.
- Not everything is smooth with the strength indicators. Of course, no visual changes will occur from pressing your hands hard on such panels. However, it will not be difficult to damage the film coating, so marks from accidental or deliberate blows with heavy objects will certainly remain. In addition, it is undesirable to glue anything on the plates with scotch tape or masking tape - ripping it off, you will tear off fragments of the film.
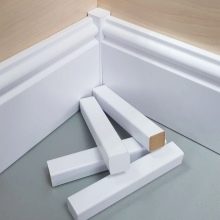
- All joints at the corners should be hidden. For this, special corners are provided, you can choose models of different textures and colors. Although user reviews about them are mixed, many believe that these corners look unaesthetic and fall off from time to time. However, most often this is due to non-compliance with the technique of fixing them and the use of low-quality glue. It is best to take small carnations, they will not spoil the overall picture, but they will provide excellent fixation.
- Finally, it is a combustible material, although modern manufacturers use methods that increase the fire resistance of these panels.
However, if electrical wiring is laid under such panels, then for security reasons it is better to hide it in a fire-resistant corrugation.
Preparation
In order to efficiently and quickly carry out all the work, you need to prepare for them in advance.
Tools and materials
To work with MDF panels, you do not need specialized high-tech equipment. A minimum set of tools will be required, which are usually found in every home:
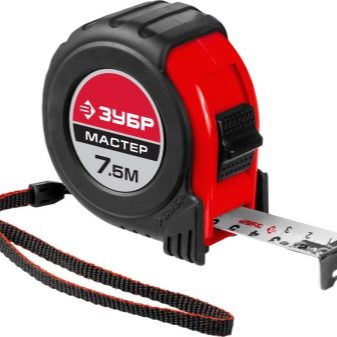
- roulette;
- marker / pencil;
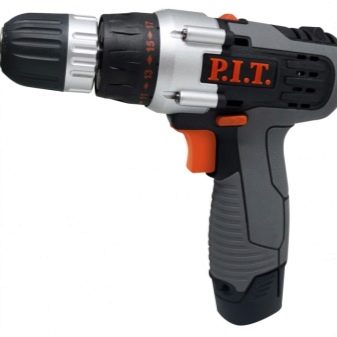
- screwdriver / perforator (depending on the main wall material) - for arranging the frame;
- electric jigsaw / wood saw;
- level;
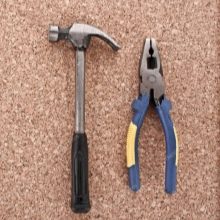
- hammer;
- pliers;
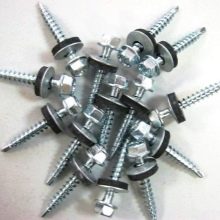
- hardware (nails, liquid nails, screws, clamps,).
Payment
Before starting work, you should take measurements of the entire balcony space and, on their basis, calculate the amount of required finishing materials.
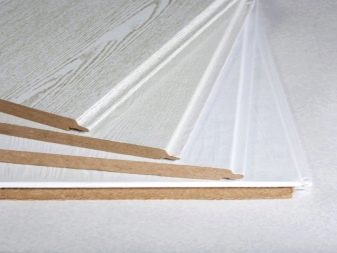
- MDF panels. These are rigid slabs of a certain size. For facing loggias, it is better to give preference to moisture-resistant plates with a thickness of at least 6 mm. The number of panels is calculated taking into account the total quadrature of the sheathed walls by adding 15-20% to it for fit and waste.
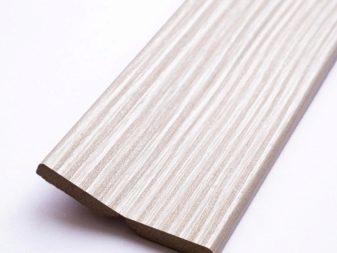
- Corners. These are thin stripes that fold along the finishing line. The required number is determined by the footage in exact accordance with the number of internal and external corners.
- Insulation. It is purchased in square meters according to the total area of the surfaces to be trimmed.
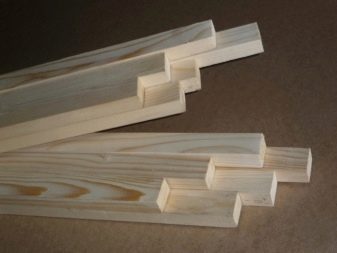
- Wooden bars with a diameter of 20x40 mm or a metal profile for mounting the lathing. It is purchased in running meters so that the lathing step is 45-50 cm.
Lathing and insulation
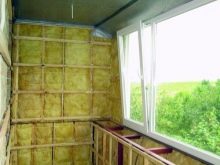
Before installing the battens, special attention should be paid to the surfaces of the walls. It is not necessary to align them before work, but a number of preliminary work should still be done. This is due to the fact that balconies and loggias are very specific spaces, they are characterized by high humidity and temperature fluctuations. It is very important to make sure that moisture does not accumulate under the cladding and that no sources of fungus and mold spores appear. To do this, you need to do the following:
- clean the walls from the remnants of the previous finish;
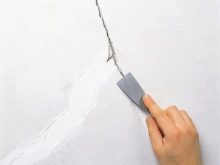
- patch up all loose spots and cracks;
- cover with special fungicidal and antifungal impregnations;
- treat with a primer.
MDF panels can be fixed to perfectly aligned walls using an adhesive solution without constructing a crate.
However, when facing balconies, it is advisable to install it at least on the outer wall. - in this case, insulation can be placed in the cells of the frame and how to create the most comfortable conditions for operating the balcony as an additional living space.On an insulated loggia, thermal insulation and facing materials can retain their functional and decorative characteristics for a much longer time.
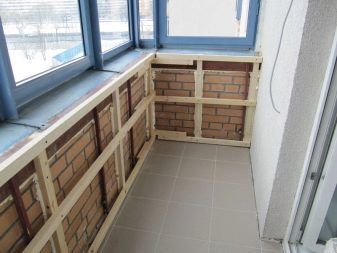
Usually, for finishing balconies and loggias, they construct a crate of wood. It is easier to install than metal, and lighter - this is especially true when it comes to equipping balconies with weak slabs. At the same time, the wood has the same absorption parameters as the MDF material. Therefore, warpage when exposed to moisture and temperature fluctuations will be less than when rigidly fixed to a steel crate.
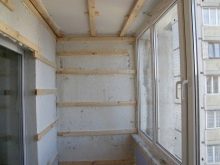
The finishing boards can be placed vertically, horizontally as well as diagonally. Moreover, if the crate is vertical, then the panels should be directed horizontally. And, accordingly, on the contrary - with a horizontal crate, the panels should be directed vertically. With the diagonal direction of the panels, the direction of the battens does not really matter.
The installation of the frame includes several sequential steps.
- Using a pencil and a ruler, markings are made in 50-60 cm increments.
- Sheds are attached along the drawn lines, they will allow to further level any defects in the walls and bring individual details of the crate to a single level.
- Next, you need to install the bars and check the evenness of the entire structure. If necessary, the indents from the wall should be adjusted.
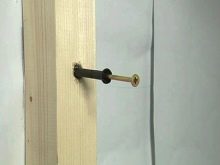
- Further, it remains only to rigidly fix the crate on the base. After that, the wooden surface is treated with an antiseptic impregnation, insulation is cut according to the size of the cells and fixed between the logs.
Step-by-step installation instructions
After the construction of the lathing and fixing the thermal insulation material, you can proceed directly to the finish. This is not difficult to do. Fastening of MDF panels can be performed in several techniques:
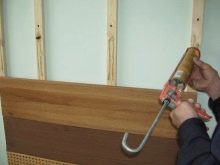
- Sticky. Ideal for securing thin slabs in small areas, as it does not provide the required strength in large areas.
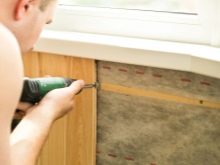
- Mechanical. Such fixation involves the use of self-tapping screws or staples. It is a strong and reliable fastener, but it prevents the natural expansion of the material. The method is optimal for insulated loggias, where there is no contact with water and temperature fluctuations.
- For kleimers. Specialized clips, they are firmly fixed to the frame and then to the panel edging. This method is considered the most reliable.
Consider the general sequence of actions for the internal cladding of balconies and loggias in stages.
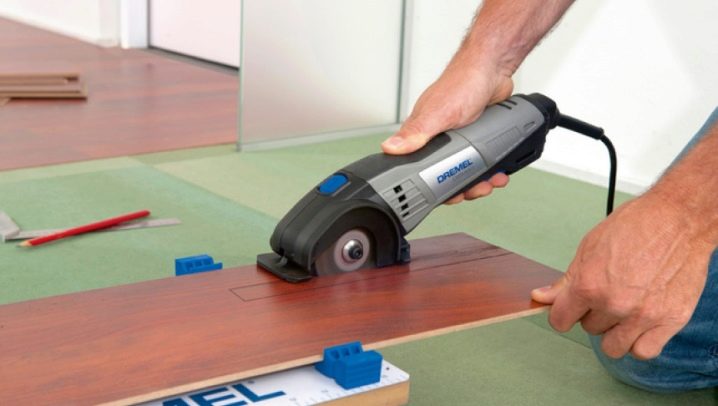
First of all, MDF panels are cut to the required size. A gap of 3-5 mm should remain on the sides; during finishing, it will overlap with corners. Openings for switches and sockets should be provided in advance.
Next, you need to fix the first panel. Fixation of vertical panels usually starts from the window, horizontal - in the direction from bottom to top. Each next plate is inserted into the groove of the previous one and additionally secured with clamps.
Corner panels are trimmed, while it is advisable to take all narrow pendants to the far corners. Otherwise, near the doorway, as well as around the window, they will be conspicuous. This must be done very carefully.
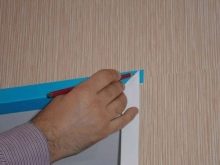
After the initial installation has been completed, you can proceed to finishing the slopes. First, the panels are fixed to a horizontal slope, then to a vertical one. The sequence of actions in this case is as follows:
- to begin with, measure the upper slopes under the window and near the doorway;
- cut out a workpiece of the required size from the MDF panel;
- mount it on construction foam;
- propped up with the remnants of the bars, trim panels or other special spacers and left to dry.
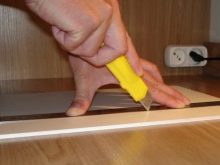
After the material stops expanding, all excess foam is cut off with a sharp knife. The same manipulations are repeated with vertical slopes.
After that, it remains only to carry out the finishing cladding with corners. It will allow you to mask all the cuts and joints and give the balcony / loggia a complete look. These works include several stages:
- first attach the floor plinth;
- then cut a strip of corners sold in a set with MDF plates (it is important that the vertical and horizontal corners touch exactly, for this their ends are cut at an angle of 45 degrees);
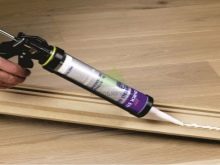
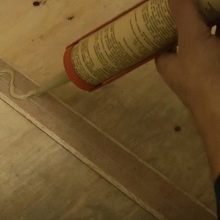
- the workpieces are coated with glue, bent along and pressed with an effort on the inner and outer corners of the walls sheathed with MDF panels;
- the gap remaining between the window frame and the slabs is treated with a silicone-based sealant;
- after solidification of the mass, all excess is carefully removed.
MDF panels are a fairly simple budget analogue of wooden lining. With the help of this facing material, you can give the space inside the balcony the most presentable look.
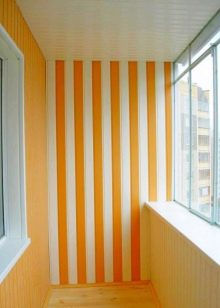
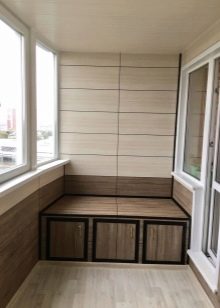
The high quality of the panels and the variety of colors and textures available for sale allows you to choose the optimal solution for any design.
For information on how to set external corners (slopes) for MDF panels, see the following video.
