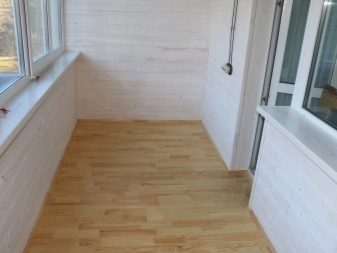
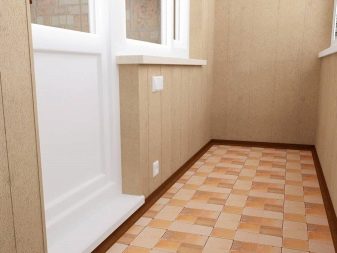
How to raise the floor on the balcony and loggia?
Planned renovation or moving to a new home ... Everyone is familiar with this situation. Most prefer to pay the workers and not bother with the repairs themselves. Others, on the other hand, favor economy. Having moved to a new home, the owners get a lot of repair problems. One of the problems of most apartments is the different floor levels of the living quarters and balconies. This defect brings discomfort to people of all ages - children, young and old. Therefore, the question of how to raise the floor on the balcony and loggia will definitely arise from the owner of the dwelling.
What is it for?
The decision to raise the level of the loggia floor to the room level comes on the basis of many factors. There are often cases when the owners want to increase the area of housing and decide to combine a balcony or loggia with a room. Such a move looks advantageous in the bedroom with the replacement of ordinary windows with panoramic ones. The ability to wake up in the morning surrounded by gentle sunshine captivates most people.
Also, such an interior solution suits the taste of housewives who wish to expand their kitchen possessions.
Elderly people decide to raise the floor on the balcony, who, due to their old age, began to notice this discomfort for themselves. With age, it becomes difficult not only to overcome obstacles of different heights, but also to calculate the depth of the step. Thermal insulation of the balcony also requires raising the level of the floor covering. On average, the thickness of the insulation layer is up to 20 cm, which will allow you to do two things at the same time. After all, it is much better to step on a warm floor without being afraid to stumble.
Preparation
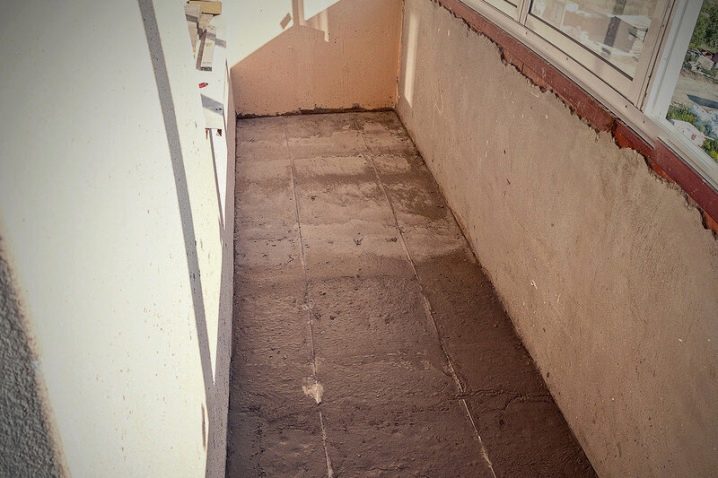
Repair is considered a laborious and time consuming process. So that during work you do not get in the way of excess trash, you need to remove it, free the floor, remove the old coating with a hammer or chisel. The next step is to coat the floor with a primer and antifungal agent. Then you need to choose a way to raise the floor, calculate the required amount of building materials and purchase it.
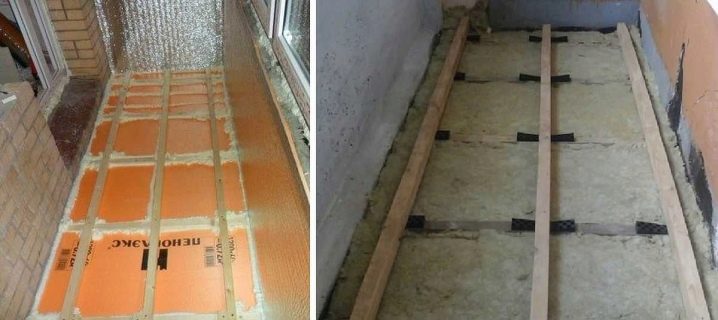
Expanded clay, polystyrene or glass wool are suitable as insulation.
Basic ways
There are four main options for screeds.
- Dry screed - appreciated for lower cost and speed in execution. Relevant for those who wish to raise the floor level by 20 cm.
- On metal structures - the metal tie is represented by a welded or prefabricated structure. The key to quality work will be the choice of rigid types of metal or thick profiles.
- The screed on the joists is distinguished by environmentally friendly materials, light weight and simple assembly. Wooden logs are an alternative cladding option.
- Sand-cement screed - based on a mixture of sand and cement. This type is particularly durable and does not take much time.
Dry screed
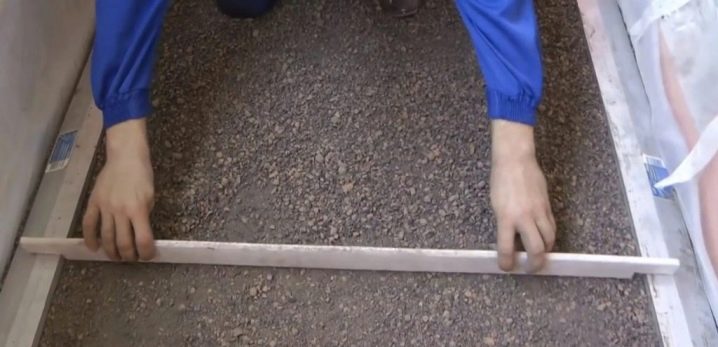
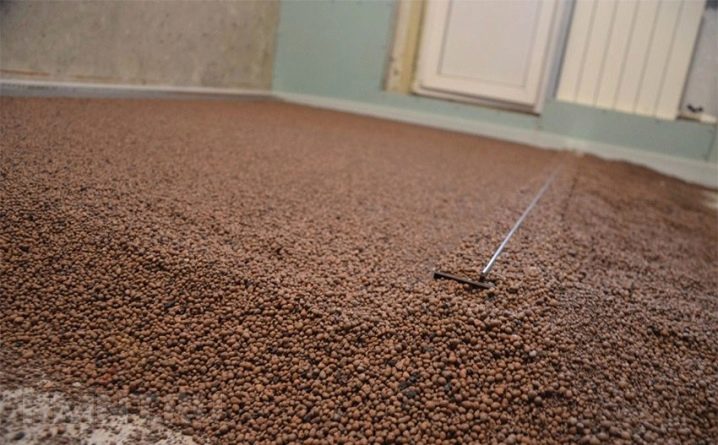
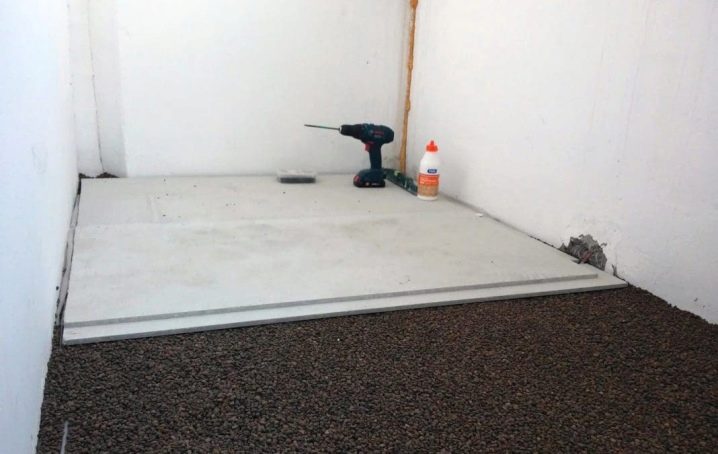
Roofing material, penoizol or polyethylene are preferred as waterproofing. At the base of the dry screed is compacted finely dispersed material - fine-grained slag, expanded clay, sand. Having installed the lighthouses, they proceed to the embankment of expanded clay crumbs with a mountain. Well-rammed expanded clay does not shrink over time, therefore, after leveling and ramming, they immediately proceed to the next step.
A leveling material is laid on top of the expanded clay, for example, a sheet of drywall, plywood, chipboard.
Ideally, use gypsum panels that are grooved on four sides. The choice of this material will significantly reduce the working time. Large panels are cut to size and fixed with self-tapping screws.A dry screed will allow you to raise the floor by 20 cm with your own hands without the use of additional tools and building materials.
On metal structures
This type of screed allows you to raise the floor by 20 and 30 cm. In order not to be upset by the vain efforts from the seen picture of the skewed floor in the future, it is necessary to thoroughly approach the choice of metal structures. In the course of work you will also need:
- corners;
- welding machine and welder (if you are not yourself).
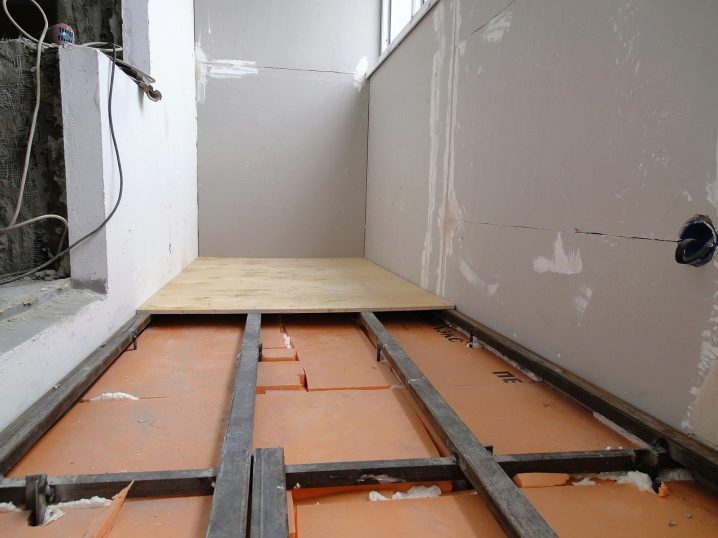
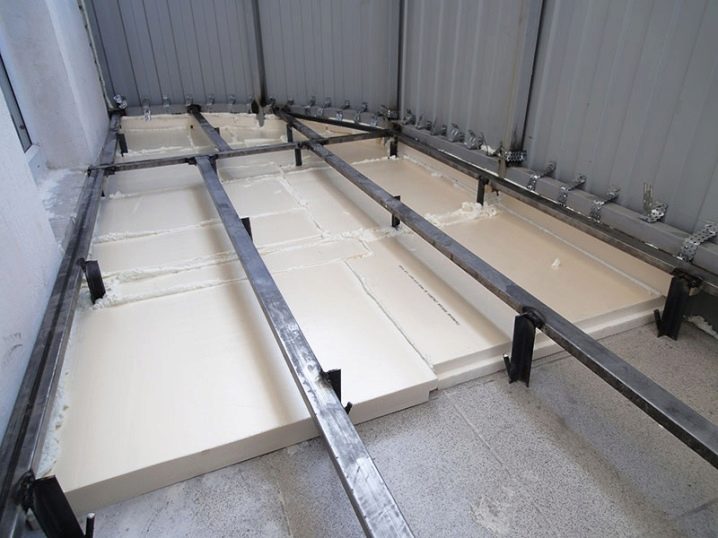
For screed in this way, it is necessary to cover the floors with an antifungal agent, cover with an insulating layer. Then the welder connects the entire structure from individual elements. Also, the option of acquiring a finished structure according to the size of a loggia is not excluded.
After the structure has been installed, it is fixed to the floor using anchors or construction dowel nails.
After that, a rough covering is laid on it - plywood, chipboard, tongue-and-groove boards, etc. The craftsmen think over their work in advance and prepare in advance the place for placing the wooden crate. This will help strengthen the structure.
The finishing layer is performed in various variations:
- linoleum;
- carpet;
- parquet;
- laminate;
- tile.
On the lags
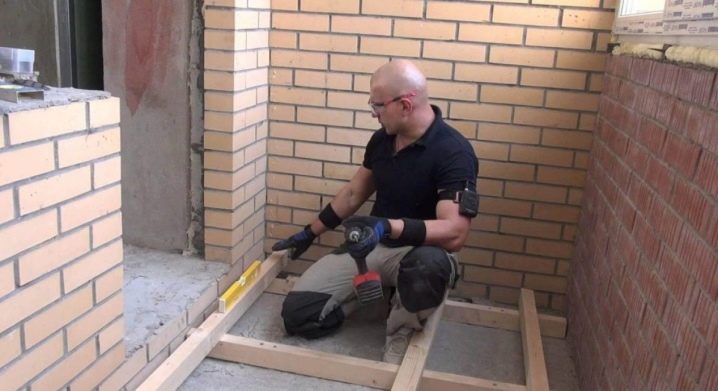
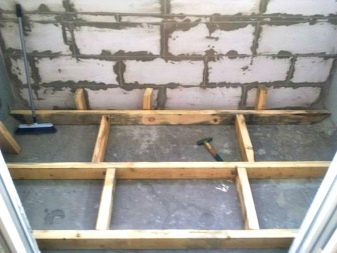
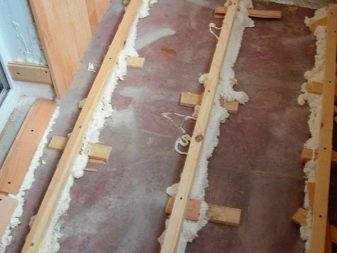
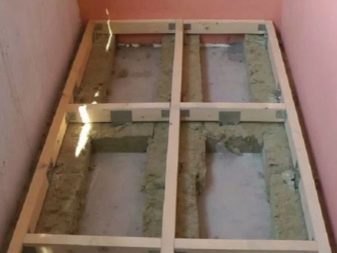
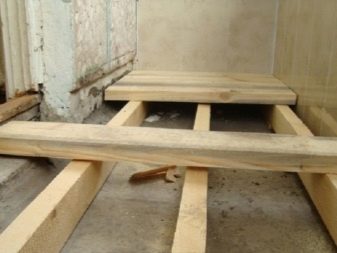
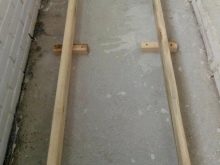
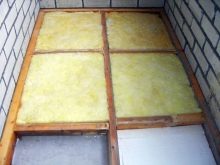
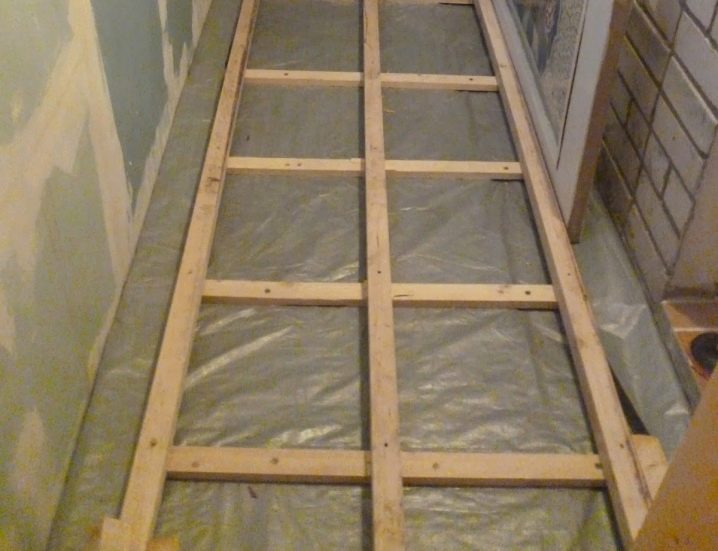
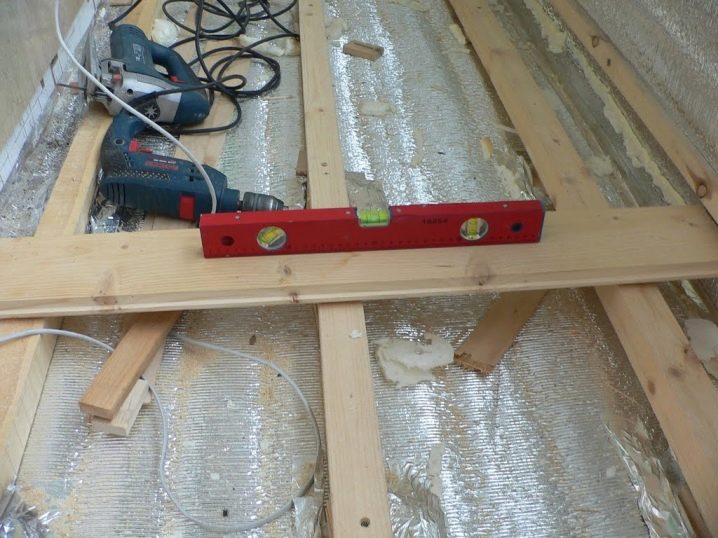
Another way that will raise the floor on the loggia is a screed on the logs. This design option is lightweight, environmentally friendly and durable... The wooden floor can be raised to the desired level without restrictions. To carry out construction work, you need to know the exact amount of lumber, for which measurements of the room and mathematical calculations are made. It is preferable to give the choice in favor of a bar, block or wood. Getting started, you need to take out unnecessary things from the balcony, sweep out the debris and cover the existing cracks with mastic. Using a spirit level, mark the desired height, check the angle of inclination of the base and find its high point, if any.
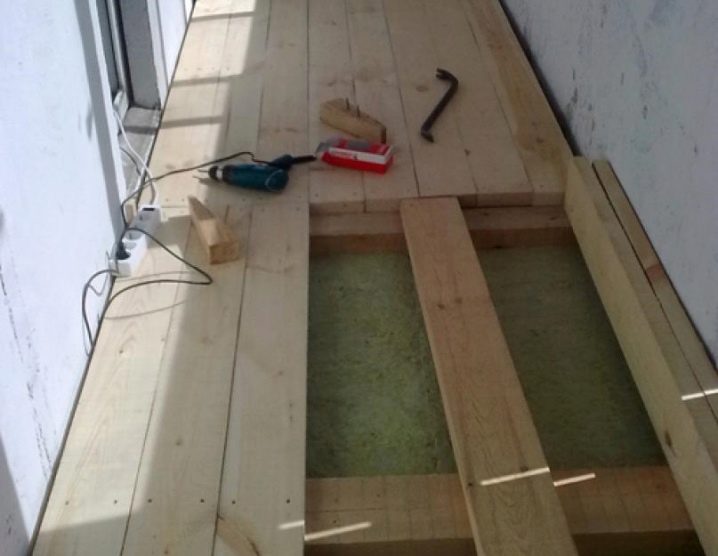
As practice shows, it is best to take lumber in excess. When working directly, the boards are cut to the same length, which can easily fit into the width of the loggia. The distance between them should be the same. Then again we saw the bar into segments equal to the resulting distance, and place them between the previous ones. The finished structure is fastened with screws or nails using a corner.
The resulting structure must also be leveled: cut somewhere, and somewhere put until the ideal level is reached on all sides.
Further, with the help of anchors, the structure is fixed and lags are laid for their further fastening with screws. At the end of raising the level with bars, chipboard is attached, on which the finishing coating is subsequently laid. Raising the level with bars does not take long. This method does not require special skills and abilities and will save the family budget.
Sand-cement screed
Sand-cement screed is an old old-fashioned method. Those who wish to choose this particular option should remember the following.
- The main disadvantage of a cement screed is weight. Based on this, it is worth remembering that the permissible maximum level of raising the floor will be 10 cm.Therefore, if you want to raise the floor by more than 10 cm, you should give preference to other options.
- The main advantages of a cement screed are durability, strength and wear resistance.
- The neutral quality of this method is pouring during warm and dry seasons. Otherwise, you will have to postpone the repair of the balcony until better times.
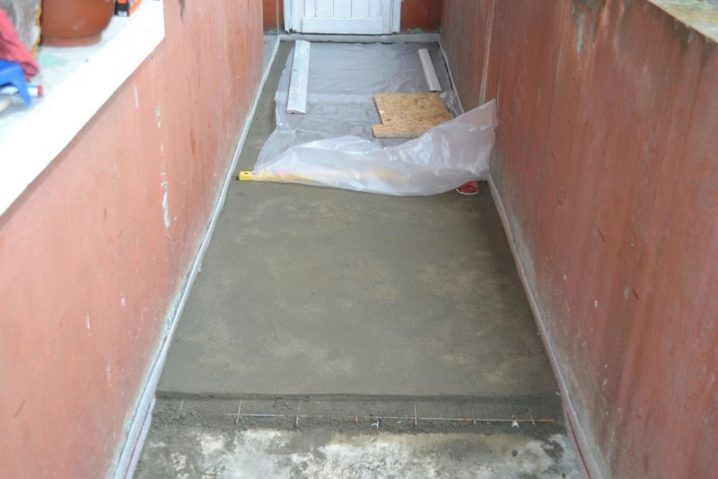
The desired floor height is marked on the walls with a level. This point of the instructions should be taken with particular seriousness, since the final result will depend on this. Then it is necessary to lay roofing material or other waterproofing material. When choosing roofing material, it is advisable to pick up a whole piece so that you do not have to overlap. It is also worth remembering the overlaps on the walls above the desired floor level. Reinforcing mesh is optional.
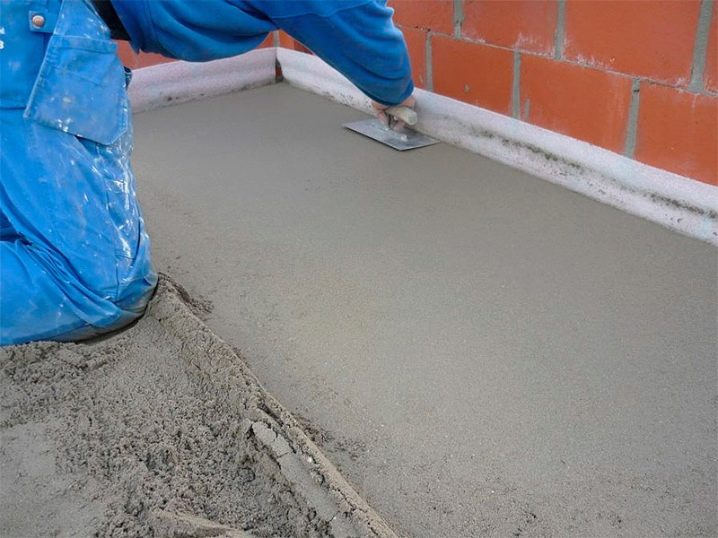
The next step is to install beacons. This is done in order to prevent the center from sinking. After installation, it is necessary to perform control measurements of the level and height of the beacons. Before pouring the floor, it is necessary to lay a damper tape around the perimeter. After completing the previous points, proceed to the final step - laying out the cement mixture. This is easy to do, especially with the support of a friend.
The screed must be laid evenly, leveling it at the same time. After that, you should give time to harden. It is worth taking up to 3 days for this.
Then beacons are removed, waves and roughness are adjusted. After that, the floor is covered with plastic wrap and left for a couple of weeks, which will prevent cracks and strengthen the screed.
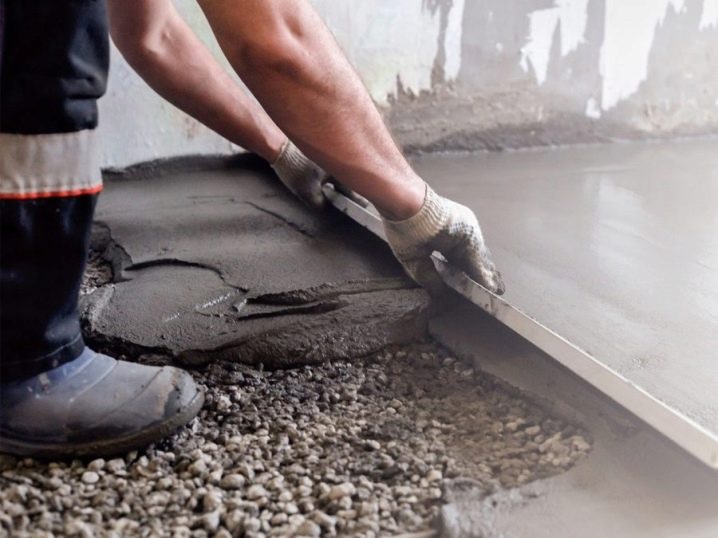
The next trick in the cement screed is the use of expanded clay. To do this, after preparation and waterproofing, beacons are installed, the floor is covered with a mixture of expanded clay of various dispersions just below the marks. Then it is worth pouring the floor with the finished cement mixture and level the surface. After drying, a rough coating is placed on the cement, and on it the selected finish.
If you want to save even more time, then you must immediately add expanded clay to the mixed cement mortar. This mixture is also spread on a pre-prepared floor at the level of the lighthouses. The last two methods allow you to save not only time, but also add a few centimeters to raising the floor on the loggia.
The question of raising the floor level of a balcony or loggia is scary in its wording. As it turned out, the lifting process is not so difficult and is quite within the power of a man who has nothing to do with construction work. From four types of floor screed, you can choose the one that suits you best. Reliability lovers will appreciate the metal or cement screed. These two types involve the work of craftsmen and, as a result, an extra waste of money. But for those who decide to save money, a dry screed or on logs is perfect. The deep floor always rises to the desired height. By choosing a method convenient for you, you can carry out your idea with ease.
How to raise the floor on the balcony, see below.
