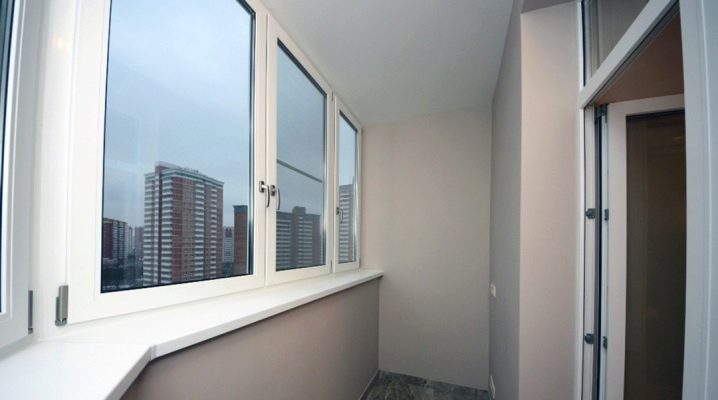
Finishing the balcony and loggia with plasterboard
Residents of high-rise buildings strive to profitably use the entire area of the apartment, and therefore think about how to equip a balcony. It can be turned into a study, a workshop, or just a relaxation area. However, you need to know the intricacies of finishing in this room, since the temperature on the balcony is very unstable, high humidity, and this requires a special material for finishing.
We will tell in this article how to sheathe a loggia with drywall. Experts recommend this building material for cladding, since drywall has an attractive appearance and high performance. But most importantly, it is easy to install it yourself for painting, plaster or wallpaper. How to do this, we will tell you in the article.
Advantages and disadvantages
Finishing the balcony with plasterboard will not harm either humans or the environment. We are talking about an absolutely harmless composite material, which includes gypsum and durable cardboard. It is great for cladding inside a cold loggia. Among other advantages of GCR, a number of characteristics are distinguished.
-
Good sound insulation, which allows it to be used not only as a finishing material, but also for a space partition.
-
Keeps you warm. A good level of drywall insulation allows you to do without additional insulation.
-
It makes it possible to hide communication pipes, wiring (this is done when installing the battens).
-
Ease and simplicity in work, which allows you to decorate the room yourself, without involving assistants. And to form a sheet of the desired size, it is cut with an ordinary locksmith's knife.
-
Flexible. Curvilinear configurations can be made from it, which diversifies the space, bringing showiness to the appearance of the room.
-
Fire resistant, does not emit toxins when burned.
One of the most important advantages of drywall is that with its help you can make the walls perfectly even, correct any flaw - all this is especially important when the walls are being prepared for painting. But there are also disadvantages that you need to be aware of when starting to work with drywall.
-
The material is fragile. This must be taken into account when transporting and installing sheets.
-
It absorbs moisture, and if the humidity is excessively high, the gypsum board sheets will quickly become unusable, a waterproofing layer will be needed.
-
Mold and mildew may appear on the plasterboard wall. To avoid this, you need to treat the surface with an antiseptic.
It must be understood that by sheathing the wall with plasterboard, you reduce the area of the room due to the frame, which is simply necessary for fastening the material.
Material selection
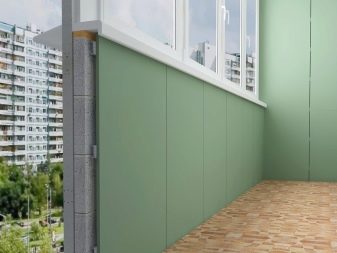
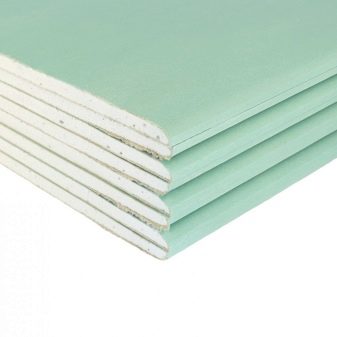
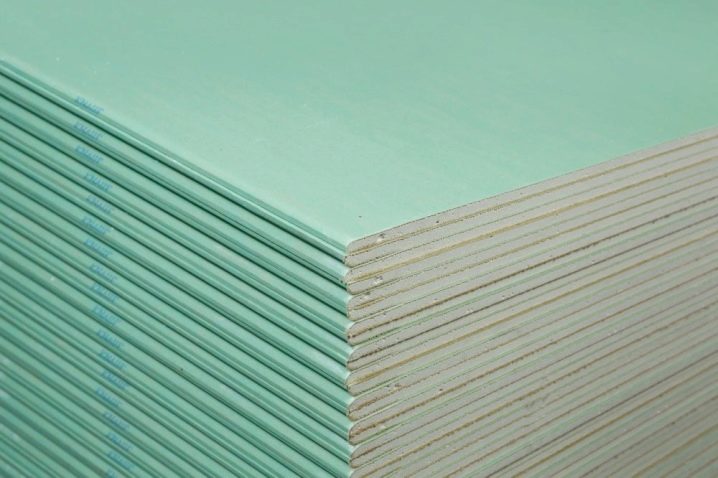
For the interior decoration of the balcony, you need to choose a special moisture-resistant drywall. This option is more resistant to a humid environment. In order not to deal with the deformation and destruction of the material, give preference only to high-quality goods, the reference point for this is the green color in the marking.
There are several types of drywall with different characteristics on the market.
-
GKL of standard type. This is the most common drywall, the sheets for this option are white or gray. They are used for covering a loggia, where there is average humidity, and there are no large temperature differences.
-
GKLV moisture resistant. The moisture resistance of this option is provided due to the presence of fungicidal and hydrophobic components in the composition. Where there is high humidity, this option is recommended for interior decoration.Look for sheets of green or turquoise, which are typical colors for moisture resistant drywall.
-
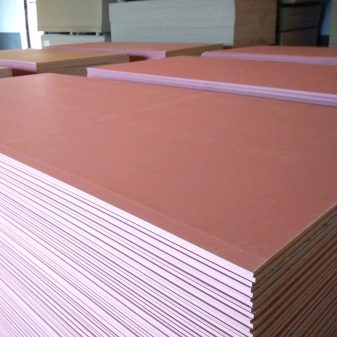
GKLO refractory. The composition includes fiberglass and special reinforcing elements. Made in red (sometimes pale pink), it is more applicable in offices and other places where there is a high risk of fire. The material can stay on fire for up to 20 minutes.
-
GKLVO is a hybrid of moisture resistance and fire resistance. These sheets are produced in red-green color. Experts recommend that when finishing with this option, you still need to carry out additional waterproofing.
-
GKLU reinforced. Light gray sheets are considered the most durable of all varieties. They are equipped with heavy-duty structures, the material provides a high level of sound insulation.
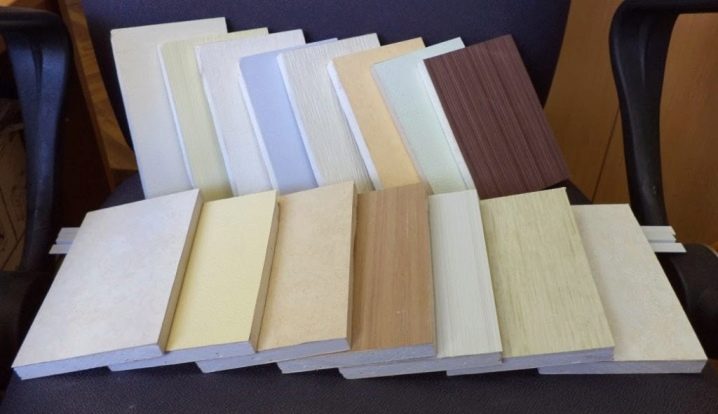
On the market there are also laminated (vinyl) gypsum plasterboard sheets that are covered with a plastic layer. Such material is convenient in that it does not need to be additionally painted or otherwise processed.
For arched work, there is a special arched drywall. It is very flexible and easy to work with in a wave-like design.
Drywall sheets vary in size and thickness.
It is better to decorate spacious balconies with overall pieces, and small sheets are suitable for finishing small balcony spaces.
Knowledge of the types of drywall will allow you to choose the right option for a balcony or loggia correctly, since not every type is suitable for this type of work. In order for the cladding in these places to last longer, they prefer moisture-resistant gypsum plasterboard sheets.
Required tools
In order not to be distracted later from the wall cladding work, prepare the necessary tools, improvised tools and other materials in advance. To work with drywall you will need:
-
knife (ordinary locksmith or with a trapezoidal blade, wallpaper is also suitable);
-
scissors for cutting metal;
-
grinder with discs for cutting metal and a hacksaw;
-
perforating device with a drill for concrete;
-
drill with drills for wood and metal;
-
stapler for installation work;
-
small hammer and ordinary hammer;
-
distance meter (tape measure);
-
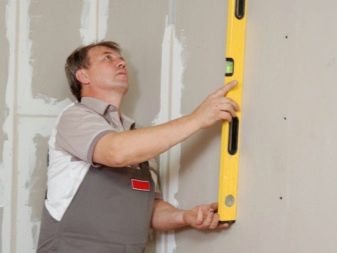
level meter (construction level of float type);
-
screwdrivers (it is better to have in a set) and a screwdriver;
-
film for steam and waterproofing works;
-
mineral wool, polyurethane foam or penoplex (other material for insulation is also possible);
-
polyurethane foam;
-
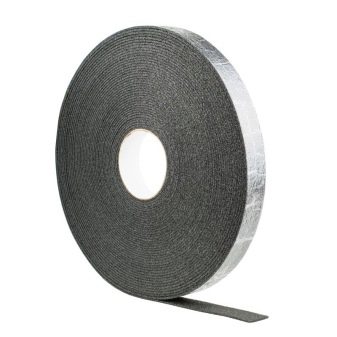
soundproof tape;
-
70 pieces of self-tapping screws for one plasterboard layer, dowels and screws, crosses;
-
brackets (perforated);
-
putty for joints.
Understand the number of profiles and guides, their number will depend on the area of the balcony.
How to prepare the surface?
Special attention must be paid to surface preparation, because the quality of the finish will depend on this and on the crate. Therefore, you need to perform all actions step by step, and do everything efficiently. Once the room is vacated, start by cleaning up old ceiling and wall trims.
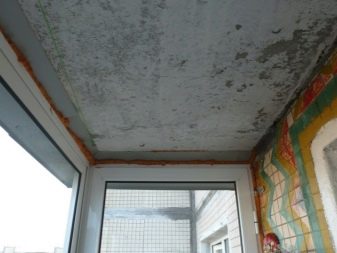
Such cleaning of the surface will reveal all the flaws and defects in the form of cracks, which must be repaired without fail. Small cracks are sealed with a sealant; in other cases, polyurethane foam will be needed. The place of the crack is cleaned, moistened, and then taken to "heal".
After cleaning and processing cracks and crevices, the surface of the walls and ceiling is wiped to get rid of dusty particles and dirt. The clean surface is primed with an antiseptic solution so that mold and mildew do not form on the walls and ceiling.
Markup
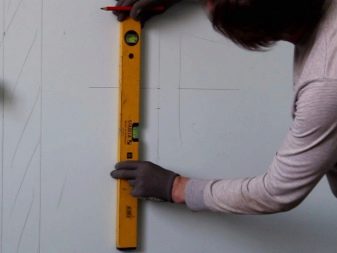
Before proceeding with the installation work on installing the frame, you need to mark the lines - a kind of landmark where to fix the guides. To do this, you need a regular pencil or paint cord.
The lines for the guides are indicated both on the ceiling space and at the bottom of the window sill - there will be a fixation of drywall.
Here's how to do it correctly in different parts:
-
the chopping cord is pulled from the surface of the walls at a distance, taking into account the thickness of the drywall, and a few more millimeters of stock are left;
-
they also indicate lines on the ceiling, act with a plumb line;
-
in the corner part they recede by half the width of the rack-mount profile.
All fixing points of the suspension structure are marked. The markup should be carried out taking into account that at least 3 lines for fixing the profile are necessary for one plasterboard sheet (taking into account that the step of fixing the vertical profile is 60 centimeters).
Main steps
The balcony can be sheathed with your own hands, observing all the stages of these works - in this case, the plasterboard sheathing will be neat and of high quality.
Lathing and insulation
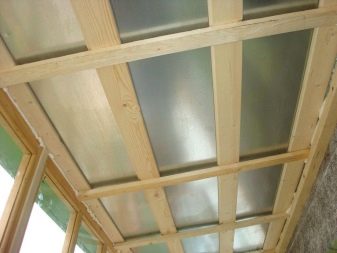
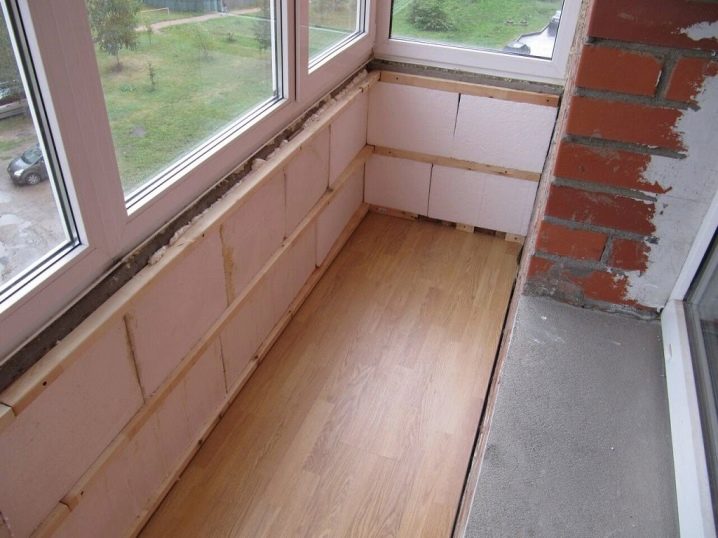
First, they take up the crate. The algorithm of actions of these works is as follows:
-
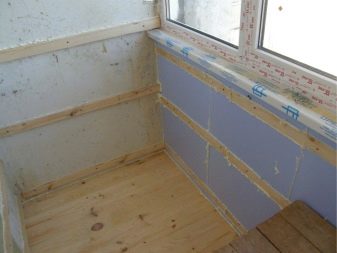
based on the measurements taken, wooden blocks are prepared;
-
holes are drilled with a perforator, and the frame of the sheathing is fixed with dowels;
-
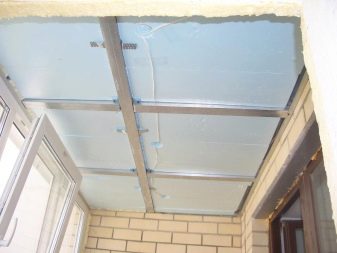
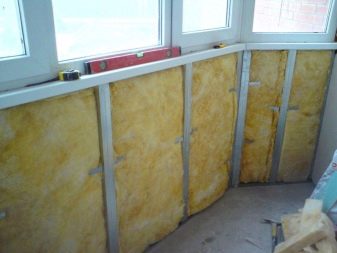
it's time to work with the insulation - to fix it (leave a margin of up to 3 cm), you need a construction stapler.
It is recommended to insulate the balcony with mineral wool, it is sold in rolls or as tiles (you can take other types of insulation). The pieces are cut in such a way that they can be easily pushed into the assembled lathing structure.
The insulation is fixed with special glue and disc dowels. A vapor barrier film is laid on it and fixed with a stapler. Vapor barrier is not required if a reflective base is used in the thermal insulation.
A warm room should not be finished with insulation. In this case, drywall can simply be glued to the prepared surface using special glue. Well, it is better to start the crate with a blank wall, then move the work on creating the frame around the windows.
To make the lathing on the ceiling, the profile is fixed with special suspensions, which, in turn, are held by fixing them with dowel-nails. To fix the profiles, you will need self-tapping screws with large caps.
Installation of sheets
Before installation work on installing drywall, put the sheets for acclimatization, that is, take them out to the balcony and leave them there for several days. Then proceed as follows:
-
take measurements, and prepare sheets for them;
-
on drywall, apply the markings according to the installation of the wooden profile;
-
fix the drywall on the ceiling using self-tapping screws;
-
fix the sheets in the same way to the wall;
-
when everything is sheathed, make a primer;
-
process each seam with construction tape;
-
putty the joints;
-
prime again;
-
let the skin dry.
Before the final design of the balcony, pay attention to the final work.
Finishing works
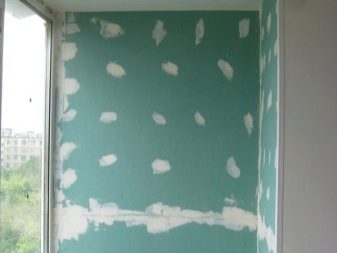
Putty is an important part of the finishing works on finishing the balcony with plasterboard. It is necessary to pay attention to the grooves from the screws, and carefully align these places. So that the surface is perfectly smooth, when the putty dries, it is sanded.
In the corner places, special metal or plastic imitators are used. The primer is important not only because it helps prevent mold and mildew formation, but also because this base will reduce your paint consumption when painting the surface.
If you decide to stick wallpaper on drywall, then less glue will go to the primed surface. If at the finish line you decide to paint the balcony, then this must be done with a water emulsion in several layers. Finishing can be done in the form of tiles or mosaics.
Plasterboarding a balcony may seem like a time-consuming job, but the process is quite doable.
The main thing is to follow the stages, prepare the necessary tools, and also choose the right type of material. Everything else, as they say, is a matter of technology - it is quite possible to cope without professional skills.
For finishing the loggia with plasterboard, see the video below.
