Finishing of balconies and loggias with eurolining
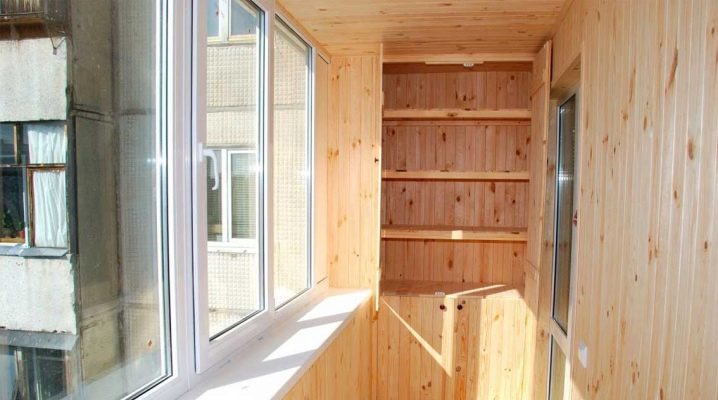
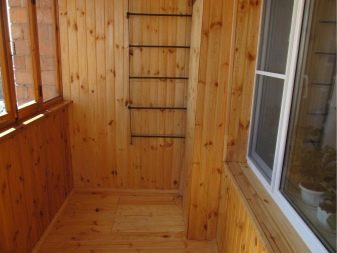
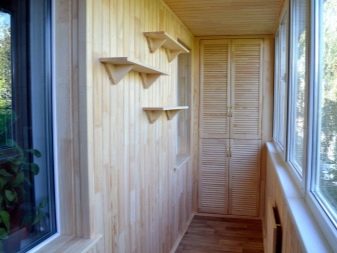
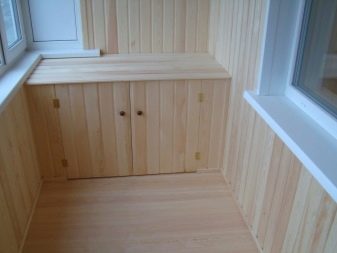
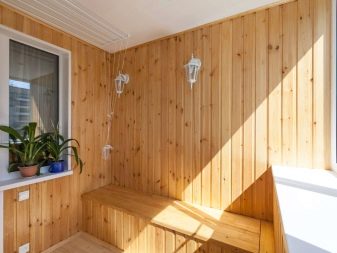
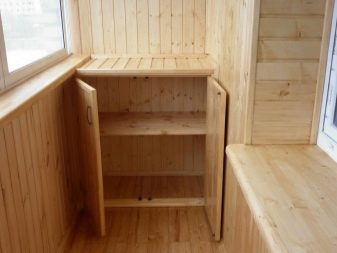
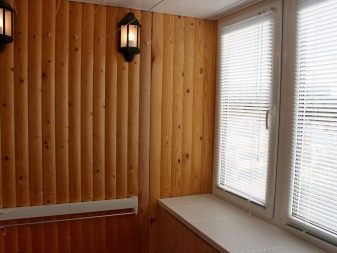
Probably every apartment owner wants to improve his balcony. In order to make it beautiful and comfortable, many prefer finishing with lining. Despite the affordable cost, this material is able to give the room a well-groomed and at the same time noble look.
Advantages and disadvantages
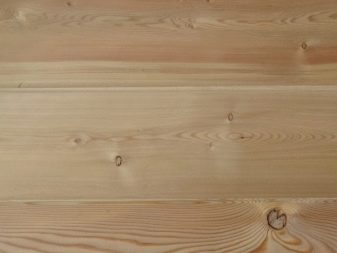
Wood has been and remains one of the most popular finishing materials. Lining is often used for interior decoration, in particular, balconies. This material is characterized by durability, safety, attractive appearance. Therefore, with its help, they produce the facing of the walls, doors and ceilings of the loggia.
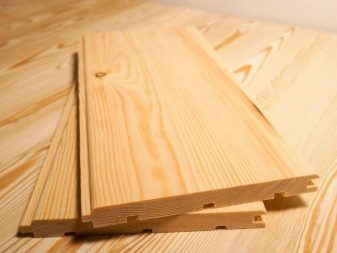
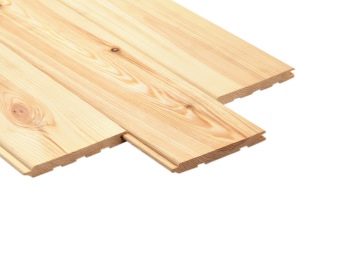
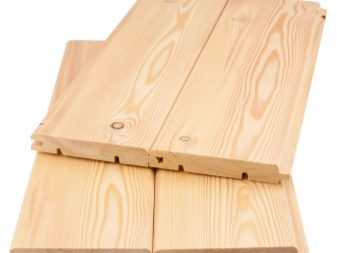
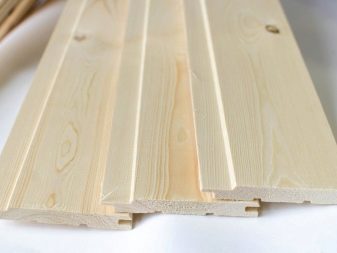
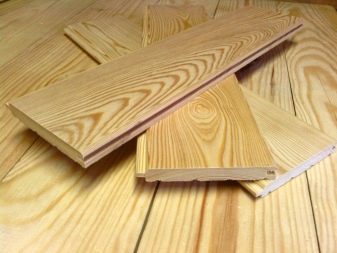
This material is made from natural wood, so it is classified as environmentally friendly. During processing, the lining is carefully sanded, grooves and grooves are formed on it.
Thanks to the fastening elements, the product is assembled into a solid surface that does not have gaps.
Here are the main advantages of lining.
-
Ecological cleanliness. In the case of finishing the loggia with this wood product, residents do not have to worry about the occurrence of allergic reactions.
-
The ability to pass air. The lining has the ability to regulate the humidity in the room, as well as let the air flow through itself. Thanks to this feature, the microclimate of the building is regulated.
-
High insulating performance. The wood is characterized by the function of thermal insulation, so being in the room will be as comfortable as possible.
-
Ease of installation. Anyone can sheathe a balcony with eurolining without outside help. Installation technology is similar to other cladding panels.
-
Versatility. The lining is used to solve various problems during the repair. It is suitable for wall cladding in living quarters, as well as on balconies and saunas. In addition, the material can be fixed to the ceiling. And also they are sheathed with the facade of outbuildings.
-
Repair suitability. The lining can be coated with almost any protective compound. Craftsmen often use varnishes, paints, stains.
The lining has a few minuses, but they are still present:
-
flammability;
-
moisture absorption with subsequent deformation;
-
the possibility of penetration of fungus and mold.
Eurolining selection criteria
Choosing eurolining, the consumer should pay attention to several points.
-
Dimensions. Euro lining has a thickness of 1.25 cm, and ordinary lining is 1.9 cm.
-
The protrusion of the lock should be 1 cm. Such an indicator will allow all the elements to hold tightly to each other, even with an increase in the level of humidity or temperature difference.
-
The presence of ventilation holes.
-
Humidity level. For euro lining, this figure is from 10 to 15%, for ordinary lining - 20%.
-
The class that can be - A, B, C and premium.
-
Wood. Lining is made from pine, spruce, larch, cedar, oak, linden, ash, black alder.
-
Profile. For euro lining, it can be as follows:
-
traditional with angular edges;
-
softline with rounded edges;
-
calm, which forms an almost imperceptible seam;
-
the landhouse has various patterns on the front side;
-
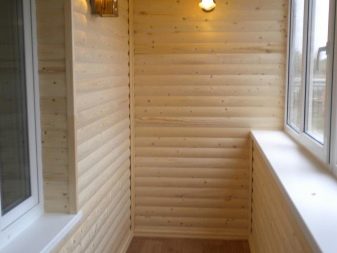
siding imitates a log;
-
double-sided lining without ventilation holes.
Material calculation
If you want to sheathe the loggia, you will need to correctly calculate the amount of material. To do this, it is worth measuring the room, then calculate the amount of material for the crate. The best option for the frame is a bar with a width of 5 cm and a thickness of 3 cm. The bars are fastened with a distance of 0.5-0.6 meters from each other. Taking into account the information described, you can calculate the required number of bars.
To calculate the required number of Euro lining, you will need to calculate the area of the surface to be treated. This is done by multiplying the height and length of the balcony. After clarifying this indicator, you can go to the building materials store.
Stages of panel mounting
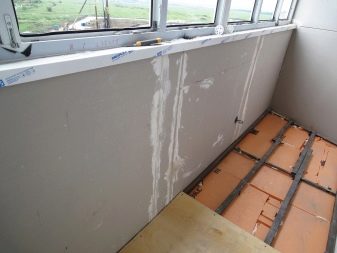
Before finishing the balcony with eurolining, you will need to prepare the surface, as well as the necessary equipment. The base does not have to have perfect evenness or attractiveness of appearance, since the euro lining will completely cover it.
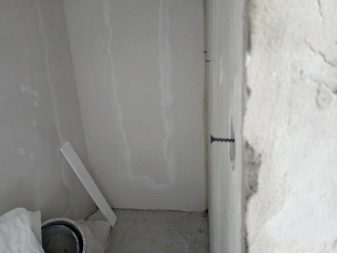
However, it is worth making sure that there are no cracks on the walls and ceiling of the loggia. If there are any, then they need to be repaired. In addition, the master should deal with the alignment of large irregularities and protrusions.
After the preparatory stage of finishing is completed, you can start installing the frame with your own hands.
In order to qualitatively sheathe a balcony with clapboard, you will need to prepare the following tools:
-
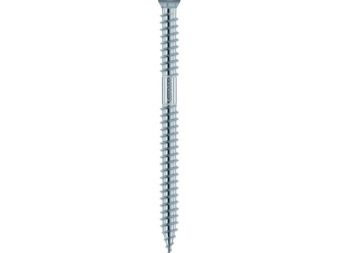
self-tapping screws for wood;
-
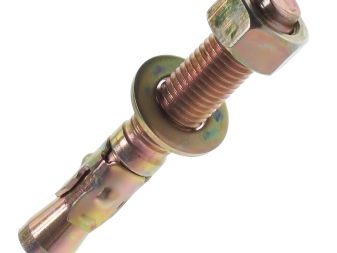
anchor hardware;
-
fastening brackets;
-
level;
-
hacksaw for wood;
-
drill.
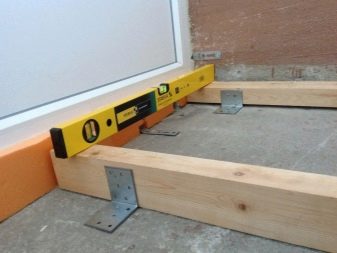
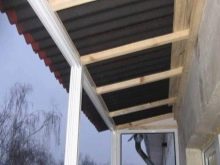
Beginning the fastening of the bars is from the bottom up. Initially, the supporting main beam should be fixed. To this end, it is worth drilling holes at a certain level to fix the mounting brackets. The line is set strictly in accordance with the level so that the fixed beam lies as flat as possible.
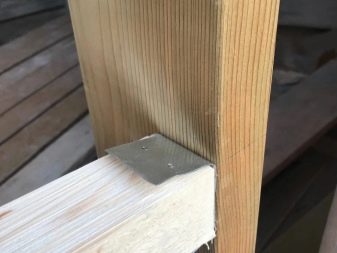
The distance between the staples should be about 70 cm. This distance is sufficient for the fastening strength. The staples are fixed in a vertical position with self-tapping screws, after which their ends are bent, and the bars are inserted into them. If the walls at the loggia are flat, then the installation of the timber can be carried out without brackets, but directly to the wall.
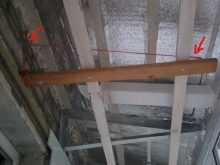
After fixing the lower main bar, you can do the upper one. The first step is to mount the carrier, and after it the intermediate ones. The fixing procedure is the same as described above, however the position of the fixture must be determined in relation to the vertical line. When the bars are securely fixed and level, you can start working with the intermediate ones. The distance between the upper and lower bars can be 0.5 meters.
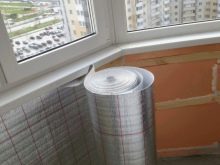
After the master finishes working on the frame, you can start insulating the loggia. For this important and responsible process, you can use sheet polystyrene or expanded polystyrene. The material must be placed between the blocks and secured with fasteners. At the end of the installation, the space will need to be filled with foam, the expansion coefficient of which should not be large.
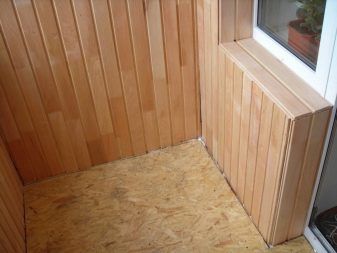
The final stage in the repair of the balcony is the cladding of the room. Before proceeding to the procedure, the lining should be cut in accordance with the dimensions. When deciding on the size of the pieces of material, it is worth remembering that it should not rest against the floor and ceiling. You need to fix the lining freely, leaving small gaps, so it will not lose its shape.
Fixing the boards is carried out with nails 2-3 cm. They are driven in at a slight angle, slightly dipping the cap. Observing the above step-by-step instructions, you can sheathe the loggia yourself, without spending a lot of time and effort.
Processing and painting
Since natural wood can deteriorate under the influence of negative environmental factors, the master should know how to cover the balcony from the lining inside so that it delights with its appearance for a long time. To prevent premature deterioration of the material, it is required to use varnish, paint or tonic. To achieve the best result, you can use several substances in turn.
To paint the lining, you can use one of the listed types of paint.
-
Oil. The substance is perfectly absorbed into the base without closing the wood pores. Such paint will not only make the surface more beautiful, but also protect the tree from negative influences.
-
Alkyd, which guarantees moisture resistance, density, elasticity of the coating. Over time, it will not crack.
-
Facade. Such paints are often used for outdoor work.
Thanks to the use of varnish, it is possible to preserve the wood structure of the Euro lining and protect it from external influences. For the treatment of the balcony, aqualac, alkyd solution, polyurethane agent, acrylic varnish can be used. According to experts, the balconies that are lined with clapboard need impregnation, as it prevents the surface from igniting and stops the development of microorganisms in it. For impregnation, craftsmen use wood stain or wax-based preparations.
Instructions for finishing with eurolining in the video below.
