Features of the wooden floor on the balcony and its installation
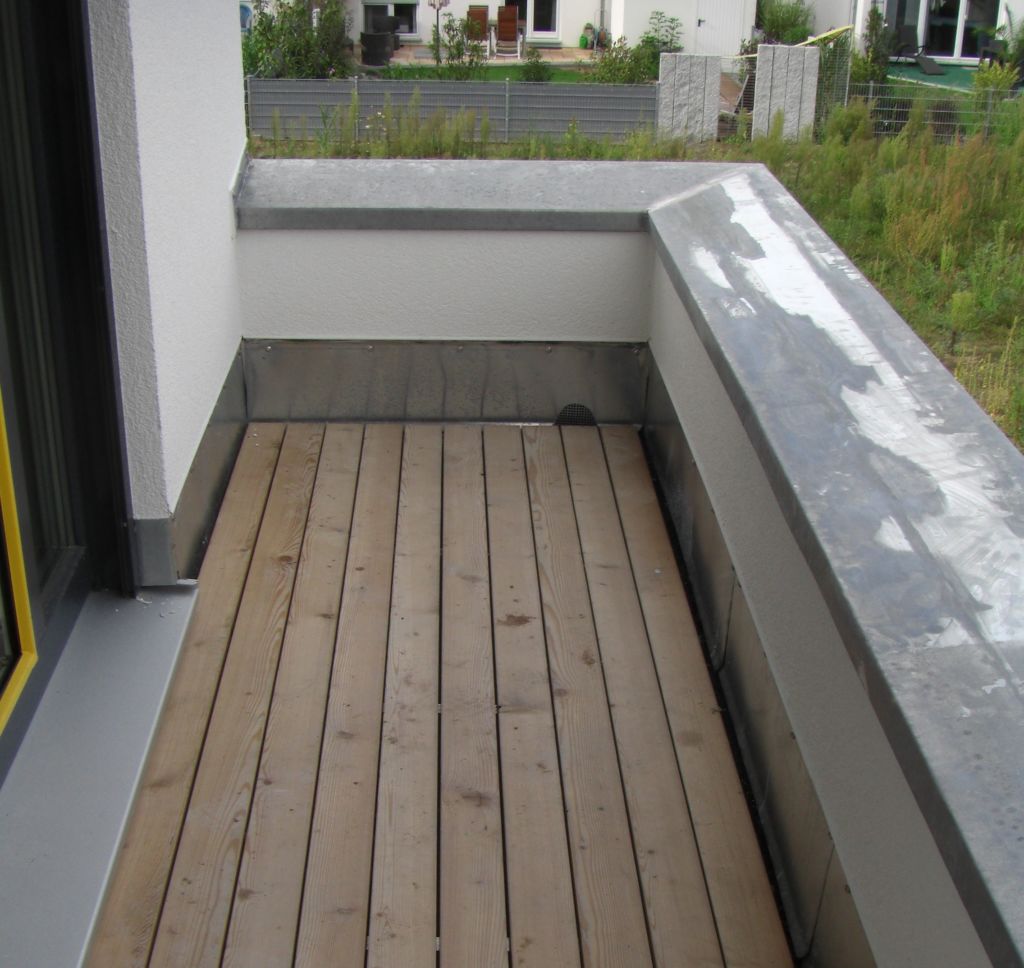
If the balcony has already been glazed, then it's time to think about flooring. The floor should be beautiful and functional. Experts give their own recommendations for the best flooring, advising to make a floor from wood. You can also lay the wood flooring on the floor on your own. However, correct installation and additional protection against moisture are of particular importance.

Advantages and disadvantages
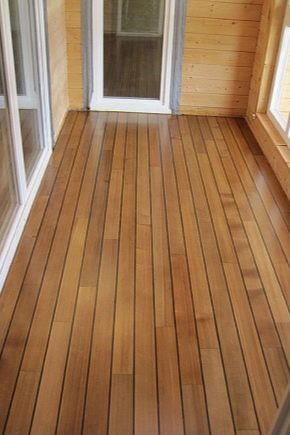
Wood has long been used in construction. The material is not only environmentally friendly, but also perfectly keeps warm. Moreover, there is a huge selection of interesting options for wood flooring. If you put the floor of wood correctly, then the coating will be as even as possible.
Pros of wood floors:
- a perfectly flat surface can be achieved even if the floorboards are laid on old concrete slabs;
- ease of fixing and processing wood floorboards;
- strength, long service life, as well as a relatively small load on the slab of the balcony or loggia;
- beauty and naturalness of the material.
Experts recommend plank flooring if there is a large height difference between the floor of the room and the balcony. With the help of a lag, you can slightly raise the level of the balcony floor. Even if the balcony base is curved, the floor will be flat.
Although plank floorboards have many advantages, they also have some disadvantages:
- wood will always remain a flammable material;
- wood is a material of natural origin, so insects or moisture can spoil wood;
- moisture can cause wood to deform or rot.
However, almost all of these problems are solved with the help of special formulations. There are many wipes and means to protect wood from moisture, flammability and even from insect attacks. Most modern paints and varnishes perfectly protect boards from moisture, and also increase the "life" of the natural material.
How to prepare the foundation?
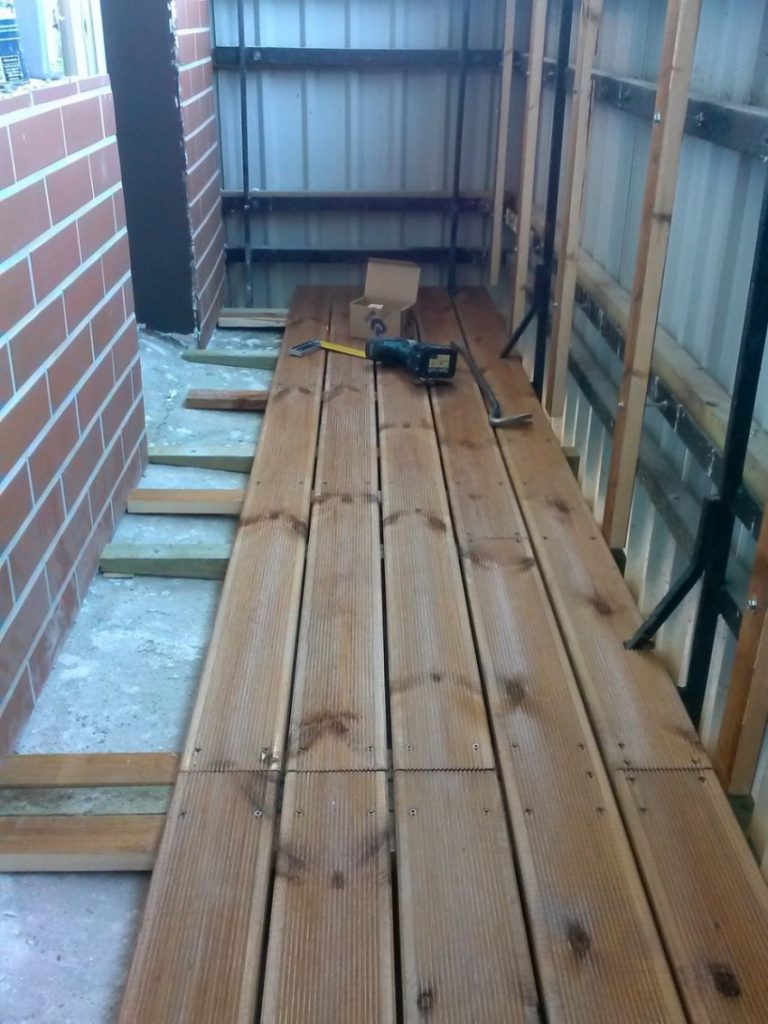
If you have already dealt with construction, then a set of necessary tools will be at hand. To lay the plank floor with your own hands, you need to stock up on special means for processing wood. You will also need the boards themselves, as well as timber logs. Although you can buy wood that has already been treated with special substances. The construction process begins with the cleaning of the territory. Garbage must be removed from the balcony, the deteriorated cement screed must be removed. Surfaces will also need to be cleaned.
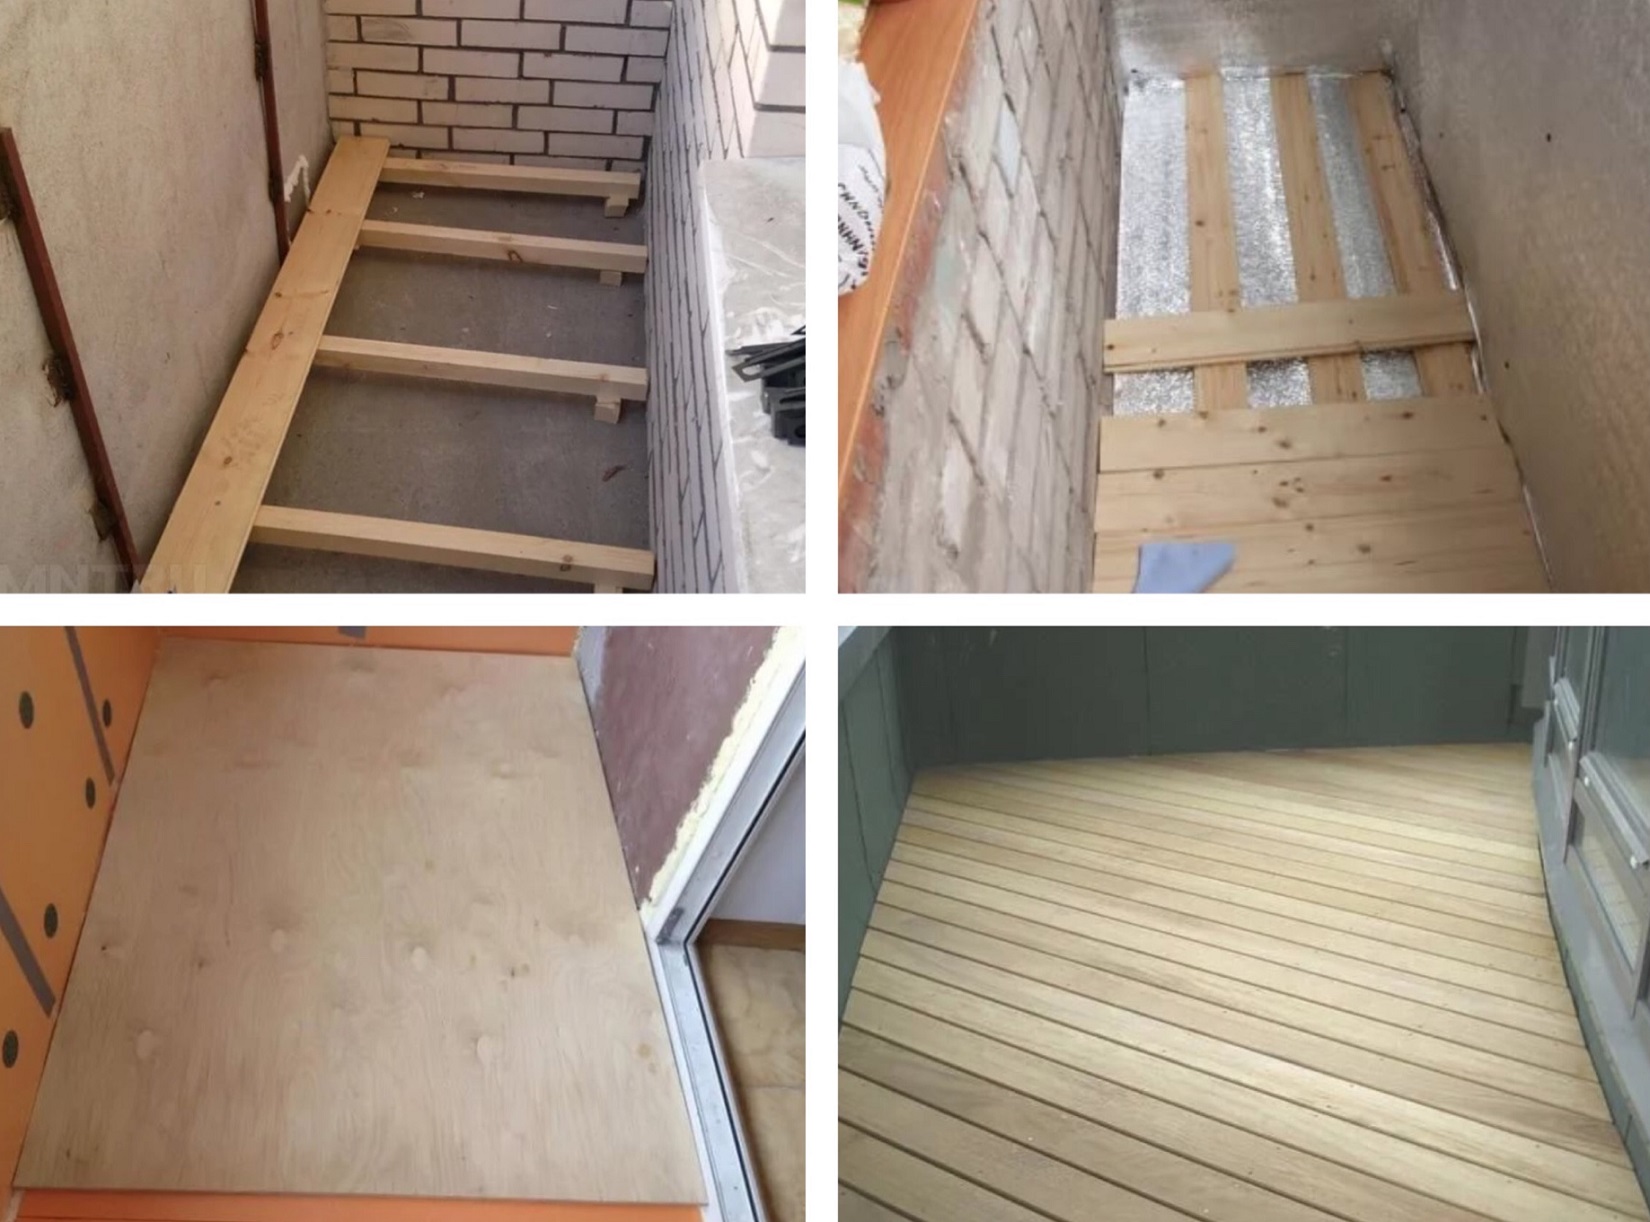
A step-by-step instruction for performing work looks something like this.
- First comes the laying of waterproofing.
- Then on the surface you can lay logs that need to be fixed.
- The floor is insulated.
- Then you can install the floorboards.
- Final finishing of wooden floors.
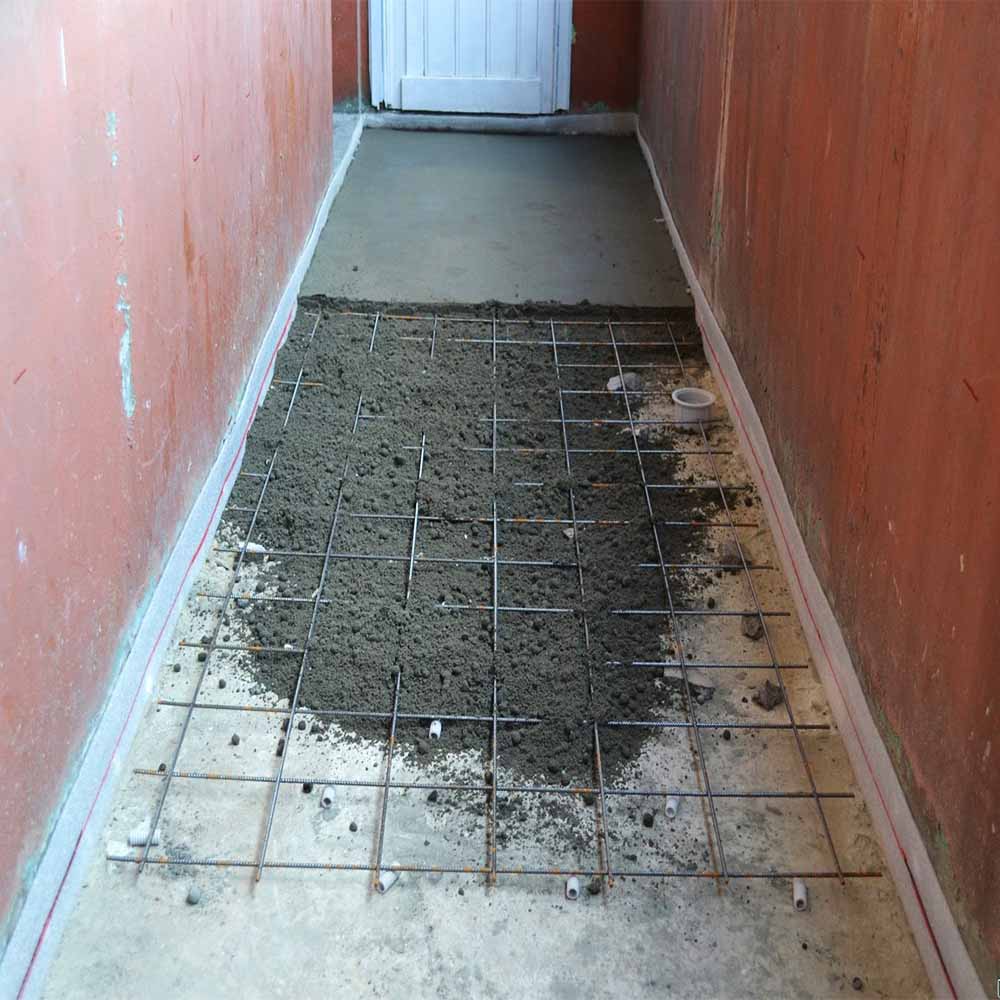
If you do not need to make a new cement screed, then the gap between the wall of the house and the base of the balcony can be filled with mastic with waterproofing properties. Then, formwork must be built around the entire perimeter. When marking, you need to remember about the beacons that are attached along the wall.
Thanks to the beacons, you can create the most even surface. After laying the cement mortar, namely on the second day after this procedure, the beacons can be removed.
The solution is poured into the voids. The finished screed should dry thoroughly, this may take two weeks.
Tools and materials
Experts call the best logs hardwood beams (oak is ideal). Metal structures give too much weight, which is very undesirable for a balcony slab. Of course, you can use metal materials, but this option cannot be considered optimal.

The lightest and most practical is the plank flooring. Often the boards are already impregnated with protective equipment and have special connecting grooves. The floorboards are already leveled, you won't need to do this yourself.
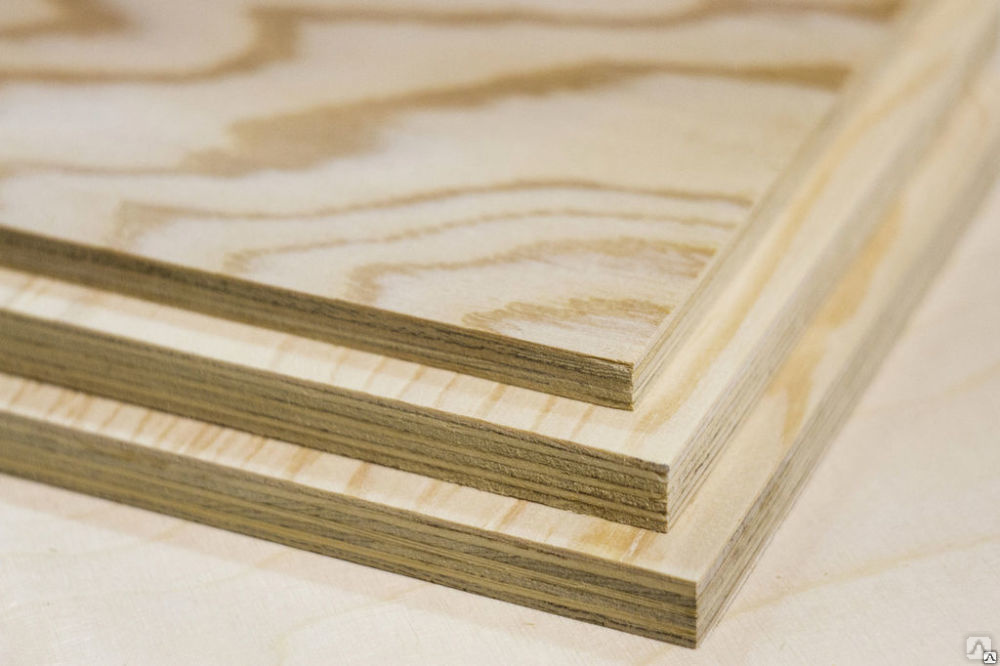
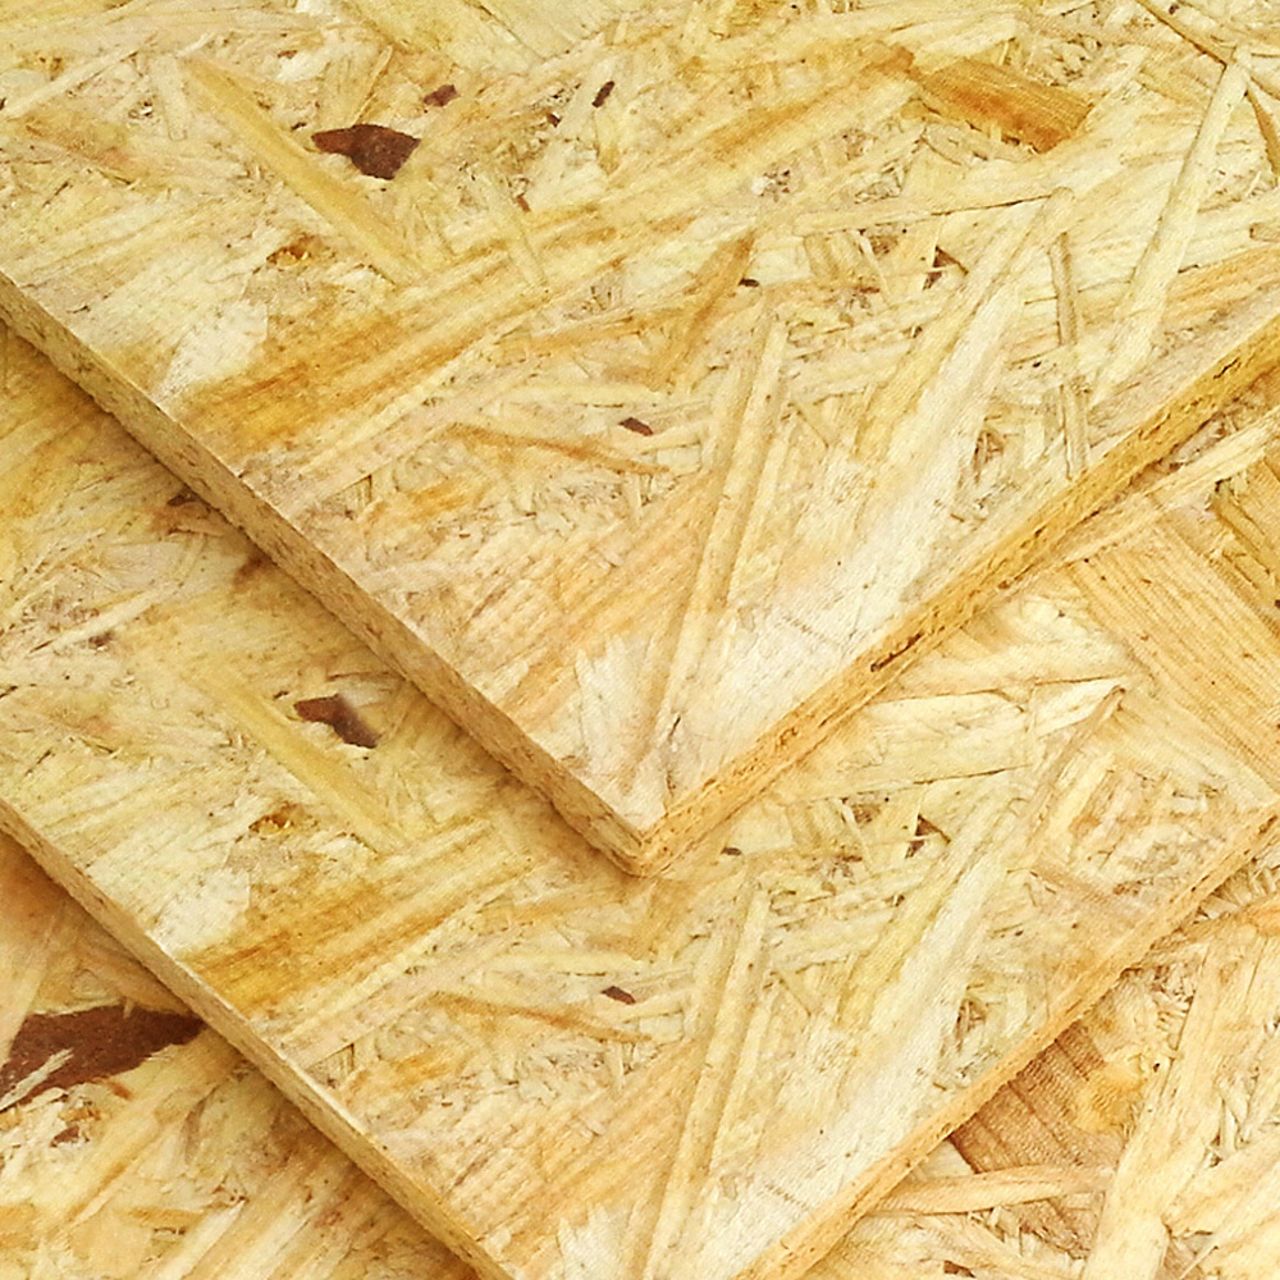
Edged boards will require additional sanding. You can purchase already polished copies that are aligned on all sides, individual boards are already tightly adjacent to each other. A more budgetary option is considered to be plywood sheets or OSV (pressed plates).
Styrofoam, foam sheets or mineral wool are perfect for thermal insulation. You can also use other materials that keep you warm.
For independent wooden flooring, you will need tools:
- construction stapler;
- screwdriver and drill;
- hacksaw or jigsaw;
- long level;
- hammer and knife required for cutting insulation.
Installation steps
To prevent mold or mildew from appearing on the balcony, you need to isolate the room from moisture and dampness.
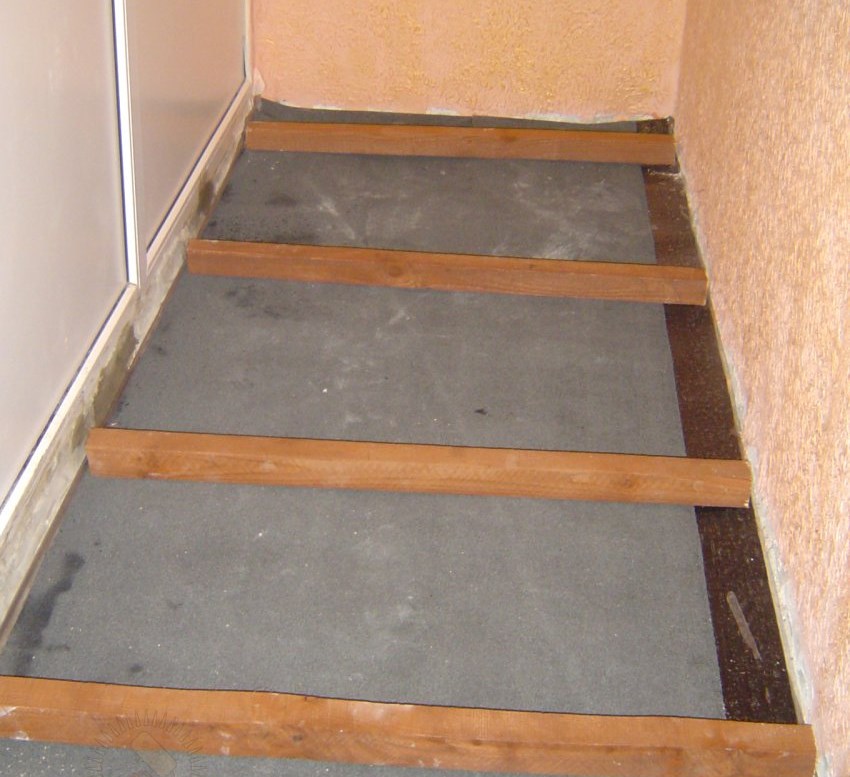
Waterproofing
You can carry out waterproofing yourself:
- all slots and grooves must be sealed;
- you need to lay one layer of a special film with waterproofing properties;
- the second layer of waterproofing material should cover the slab after the insulation.
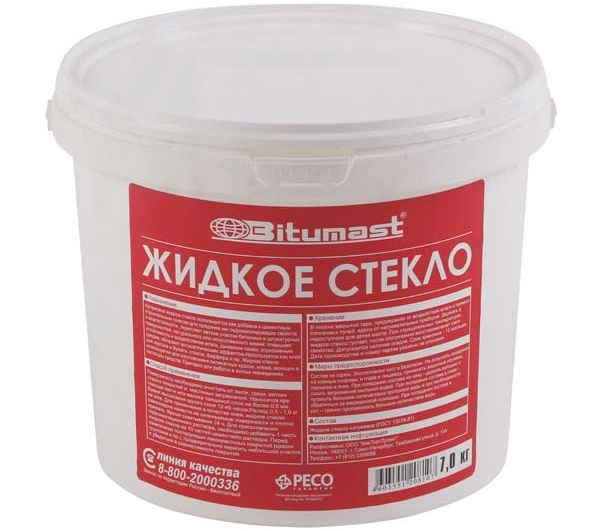
Experts recommend insulating surfaces with polyethylene film. Foil-clad polyethylene is quite suitable for the same purposes. The hydro-barrier layer must be overlapped (about 15 cm). The edges are pasted over with tape. Also, insulation can be carried out using liquid rubber or liquid glass.
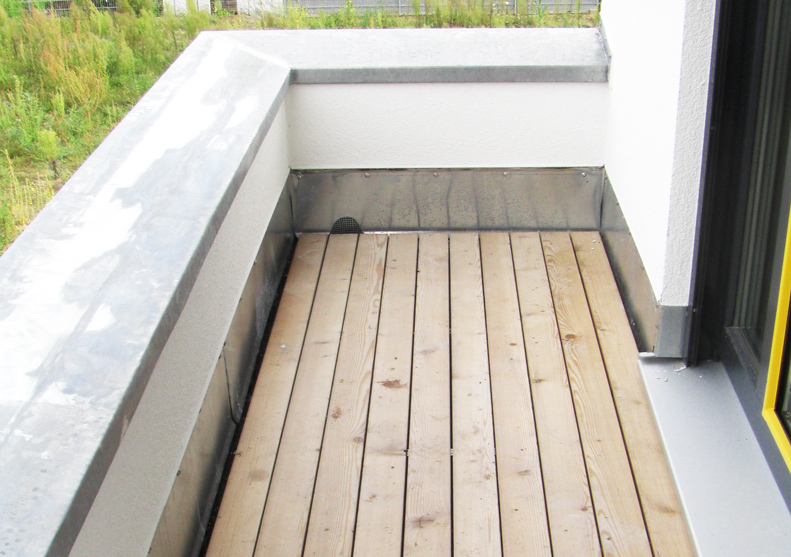
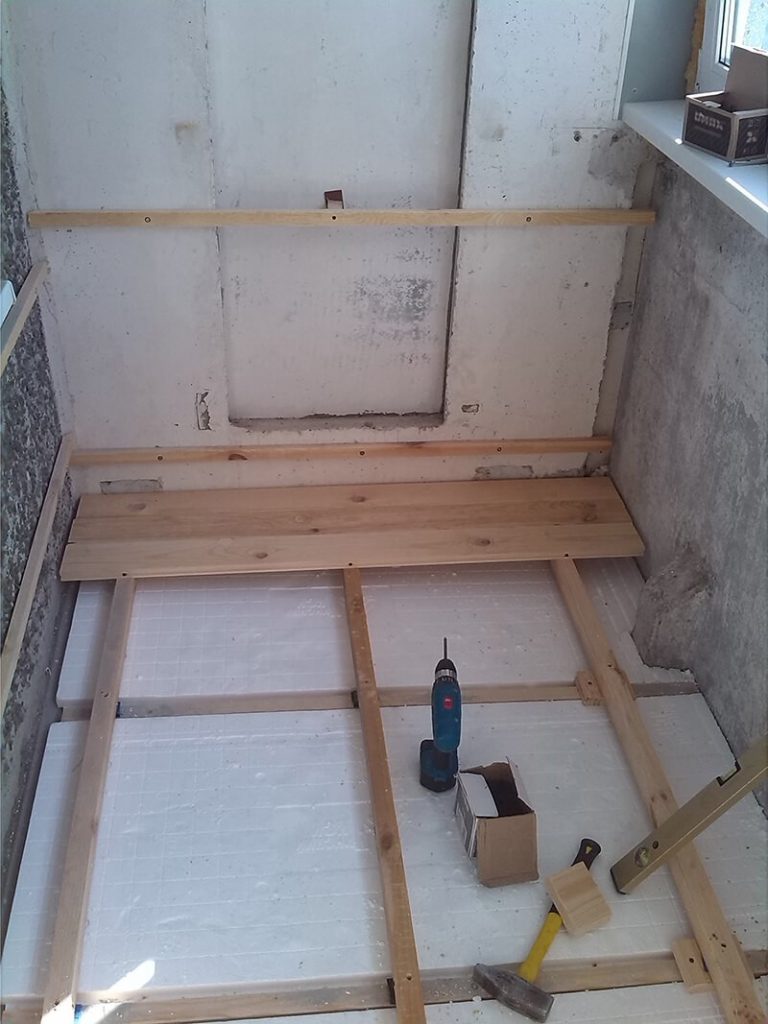
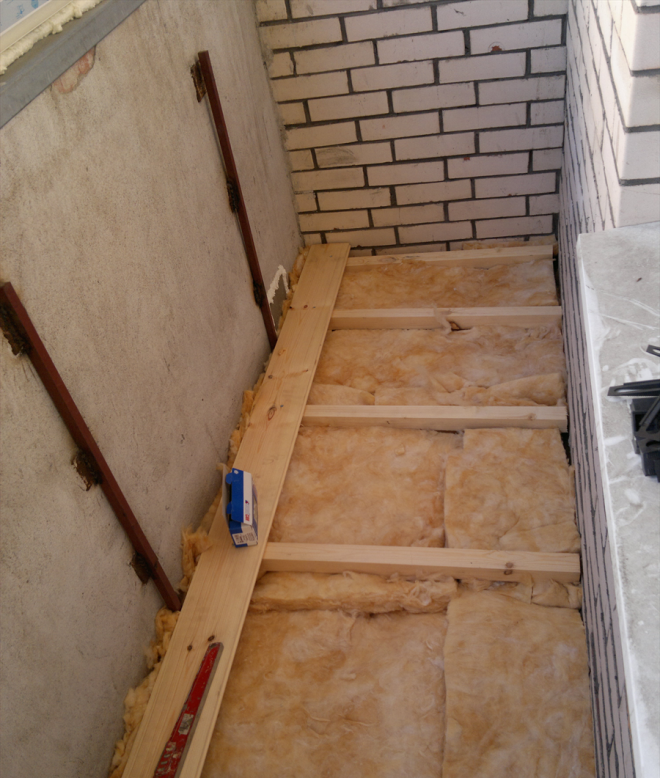
Installation lag
Sometimes the option of laying the boards on the screed is acceptable. However, it is best to lay the flooring on logs. This is both safer, and insulates the balcony, and eliminates differences in height. Installing lags is an extremely responsible process, because the horizontality of the base depends on it.
Installation requires the use of three beams with a special section. The bars must dry well before starting installation.
Having everything you need, you can go to work.
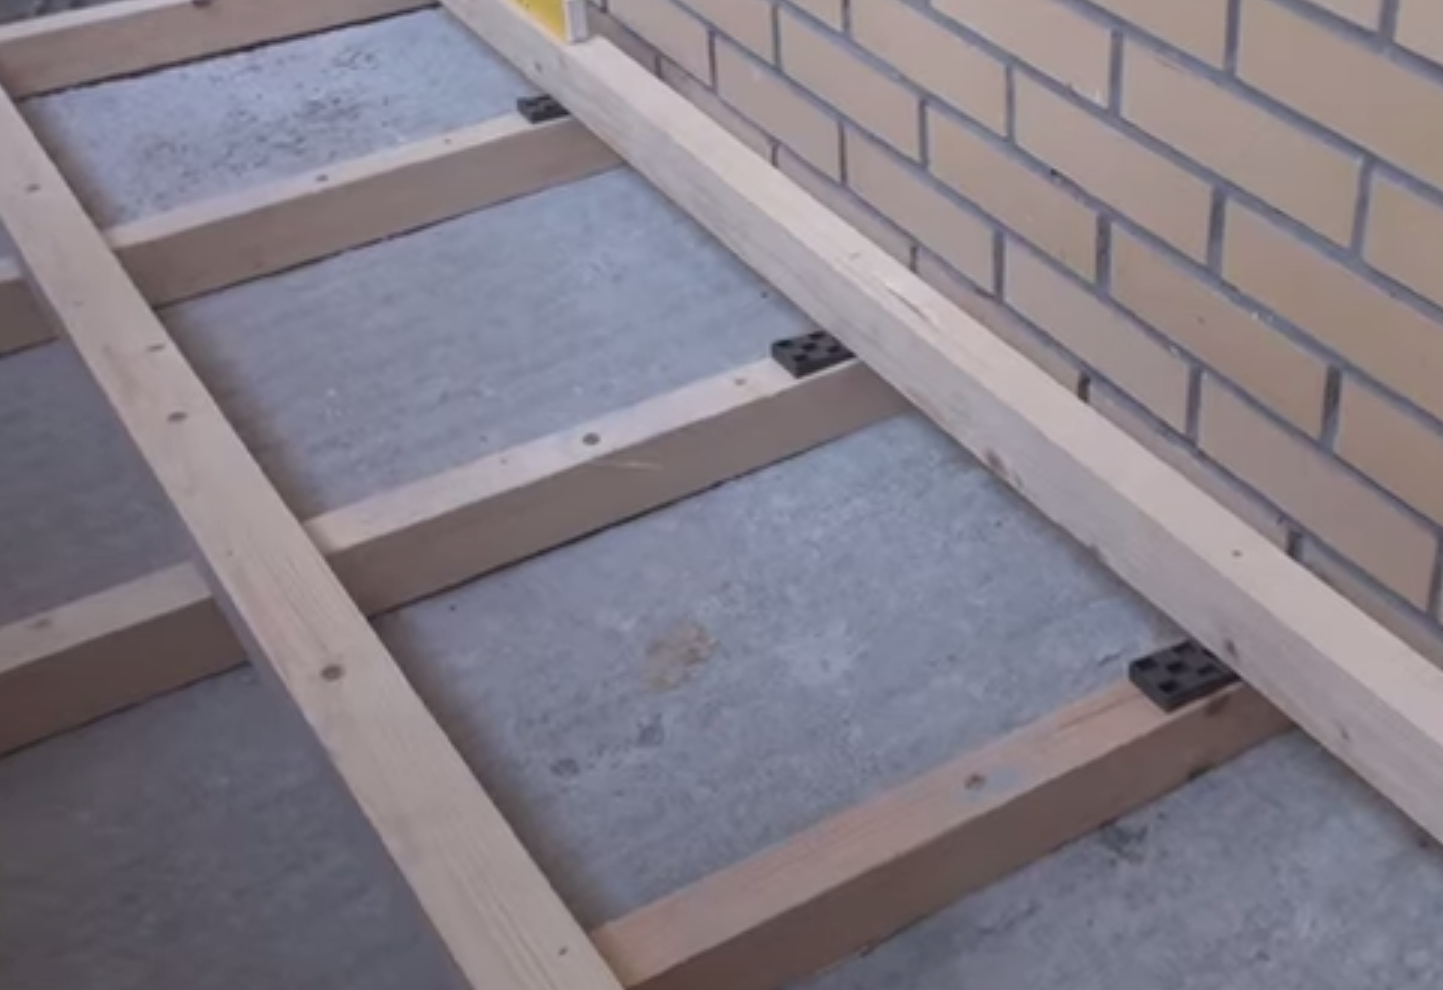
- We lay two beams along the length of the balcony (along the edge of the wall and along the edge of the balcony itself).
- We measure the gaps between the lags, after which we cut the bars according to the resulting length (the bars are needed to lay the crossbars between the beams).
- The lathing is attached to the structure using self-tapping screws and metal corners.
- We constantly use the level. The spacer can be plastic or plywood.
- We fix the frame and base with dowels.

When fastening the lag, it is necessary to flash the gasket with self-tapping screws. The gap between the transverse segments should be at least 50-80 cm. A distance of 5 cm should be maintained from the transverse beam and the wall. Experts recommend taking into account the floor height when calculating the height of the lathing. If the parameters do not match, there may be a difference between the height of the balcony.

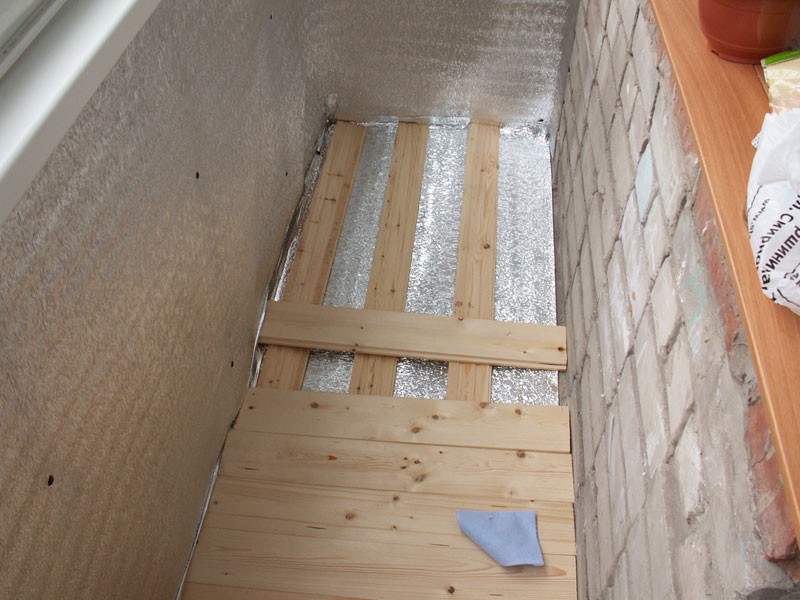
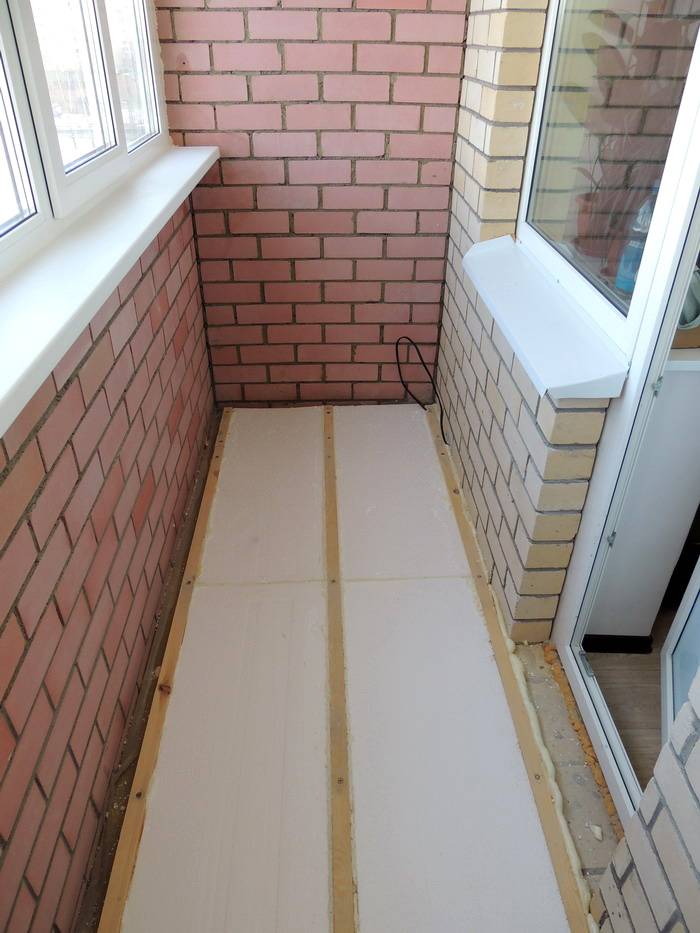
Warming
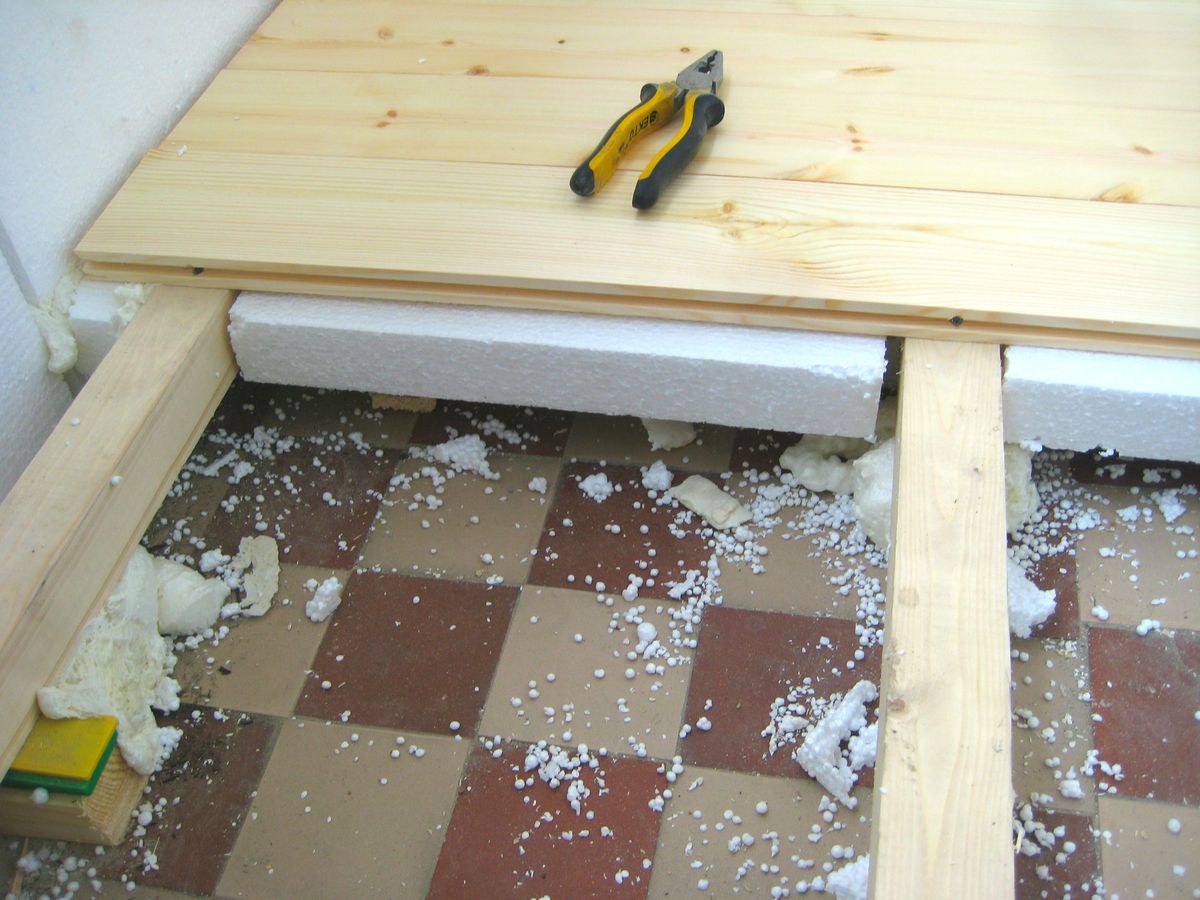
To eliminate the threat of floor freezing, you need to insulate the surfaces well. This is especially important if the balcony on the floor below has no glazing and cold air flows freely under the base of the slab. If the arrangement of a warm floor is not planned, then the following are suitable as good insulation:
- polystyrene foam blocks or rigid sheets of perlite cement mortar;
- sawdust or similar filling;
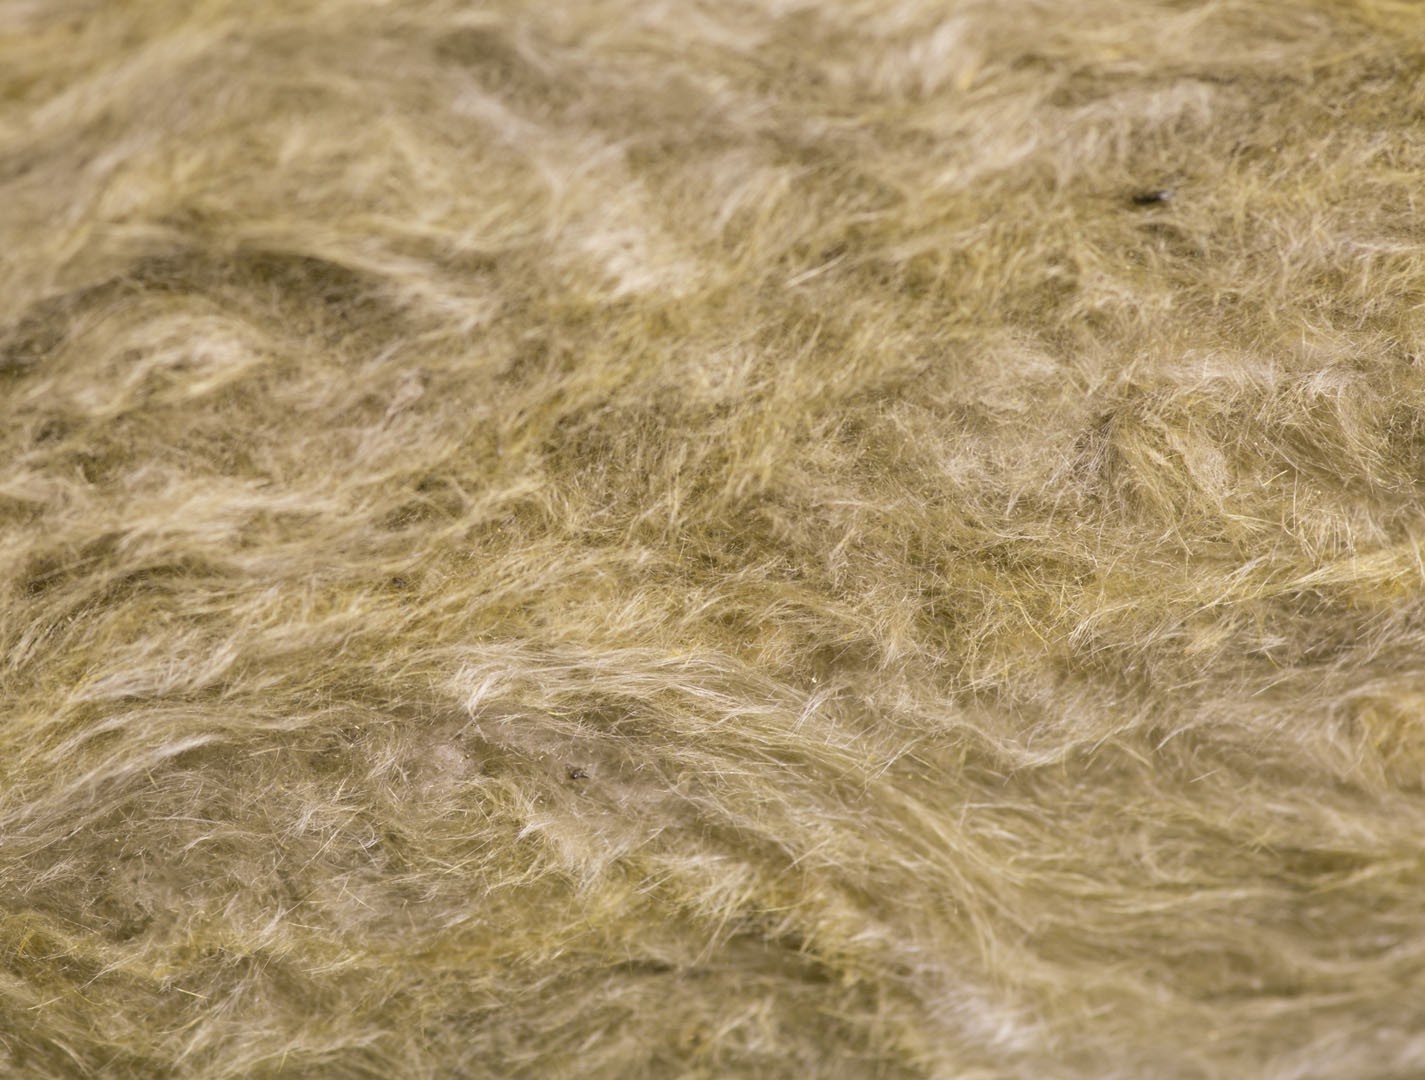
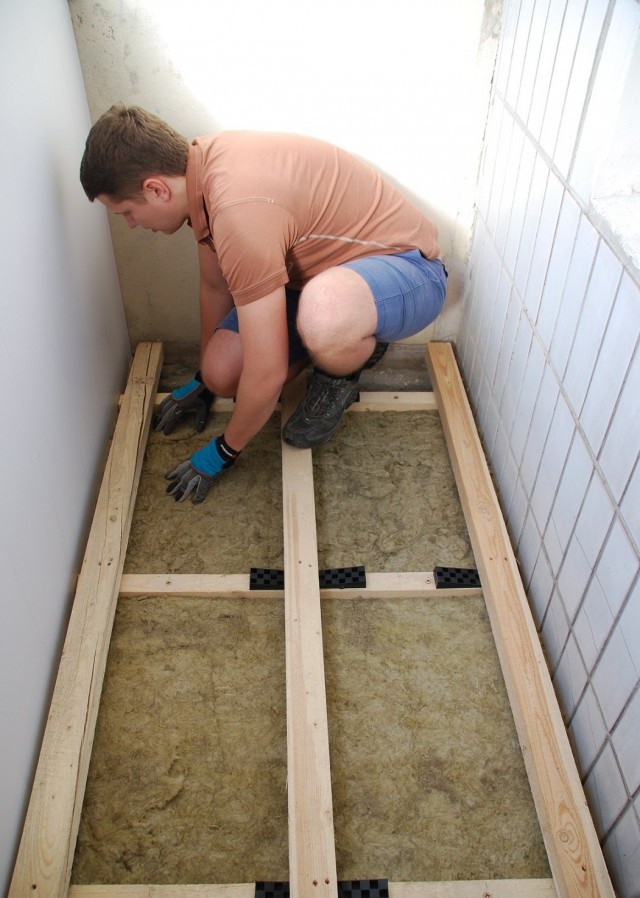
- mineral wool-based insulation (most often produced in the form of rolls).
An important aspect is the same thickness of the bars and insulation material. The insulation must be cut into strips in the shape of a rectangle.Insulation tapes should correspond to the gaps between the lags (for a snug fit, an allowance of several sentiments is allowed).
Before covering the insulation, it is necessary to lay insulation on the concrete base. It is laid with an overlap of 25-20 cm on the wall. If the insulating material is loose, then it is poured into the gaps between the logs. Then you need to tamp the material, the layer should eventually turn out to be even. If necessary, you can always add more bulk insulation.
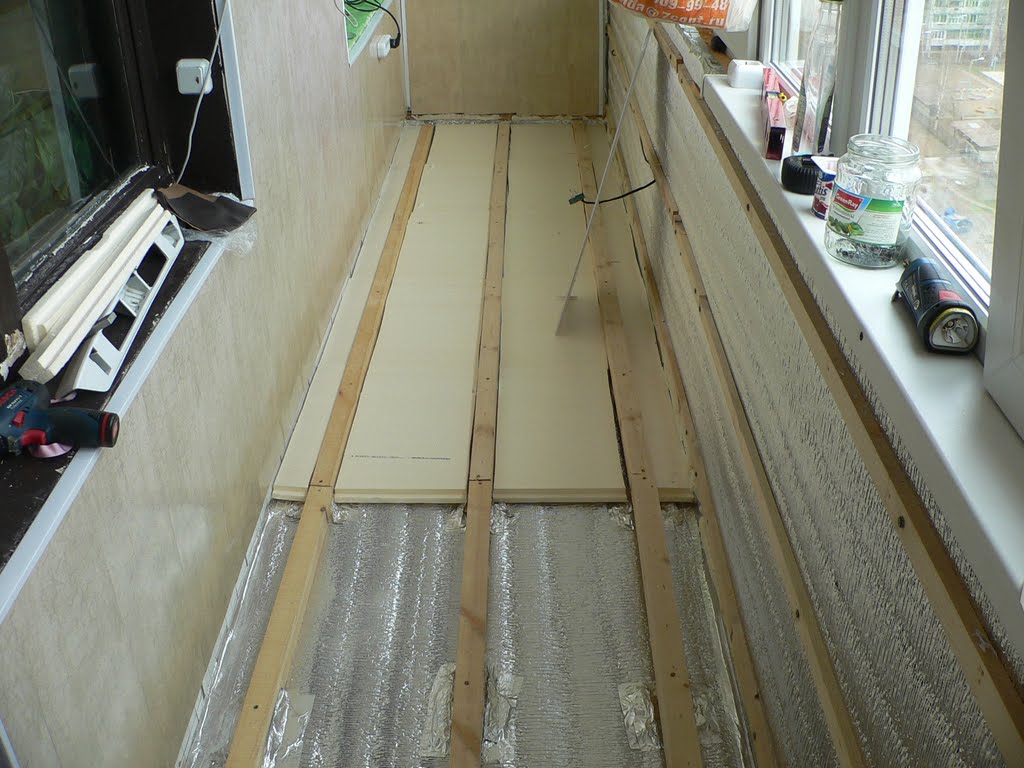
If mineral wool is used as a heater, then a material with a vapor barrier effect is laid on top. This is to prevent condensation.
It is simply pointless to insulate a balcony that has no glazing. The surfaces will be open and not protected from rain or snow, moisture will easily penetrate into the layers of insulation and will accumulate there. The material can begin to deteriorate, and after it the wooden floor will begin to deteriorate.
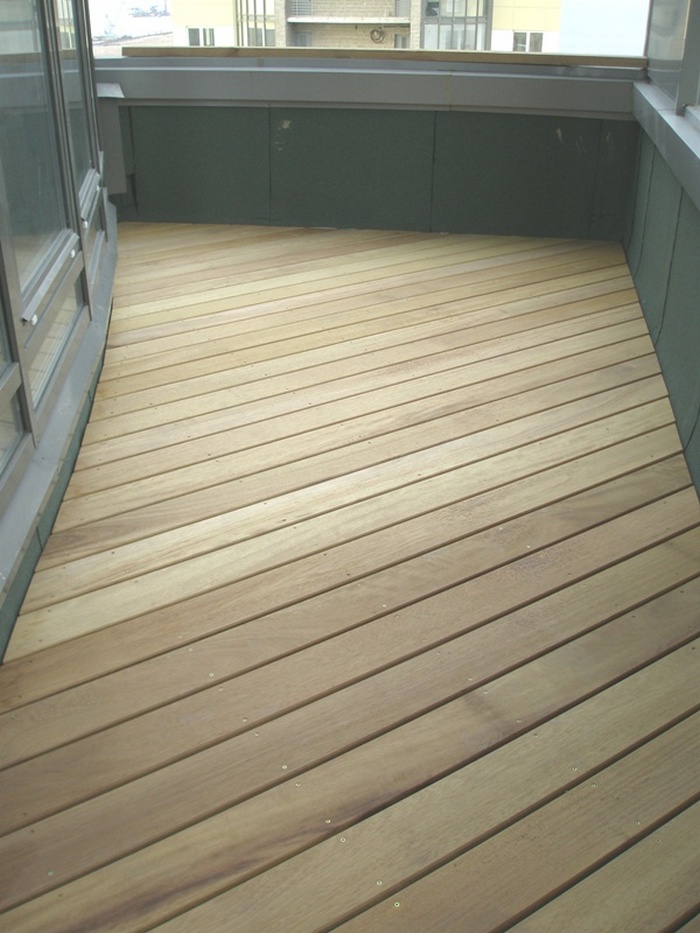
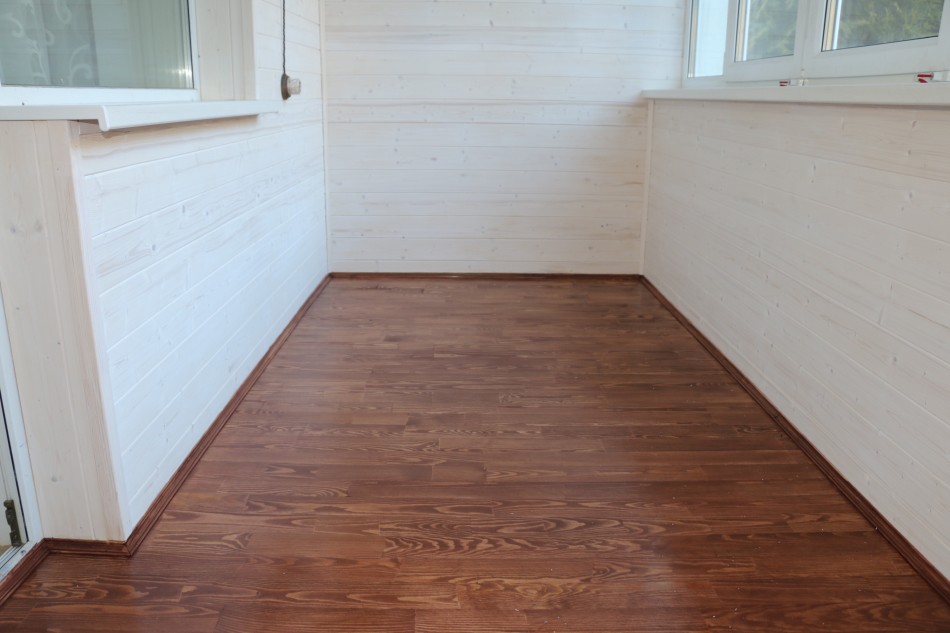
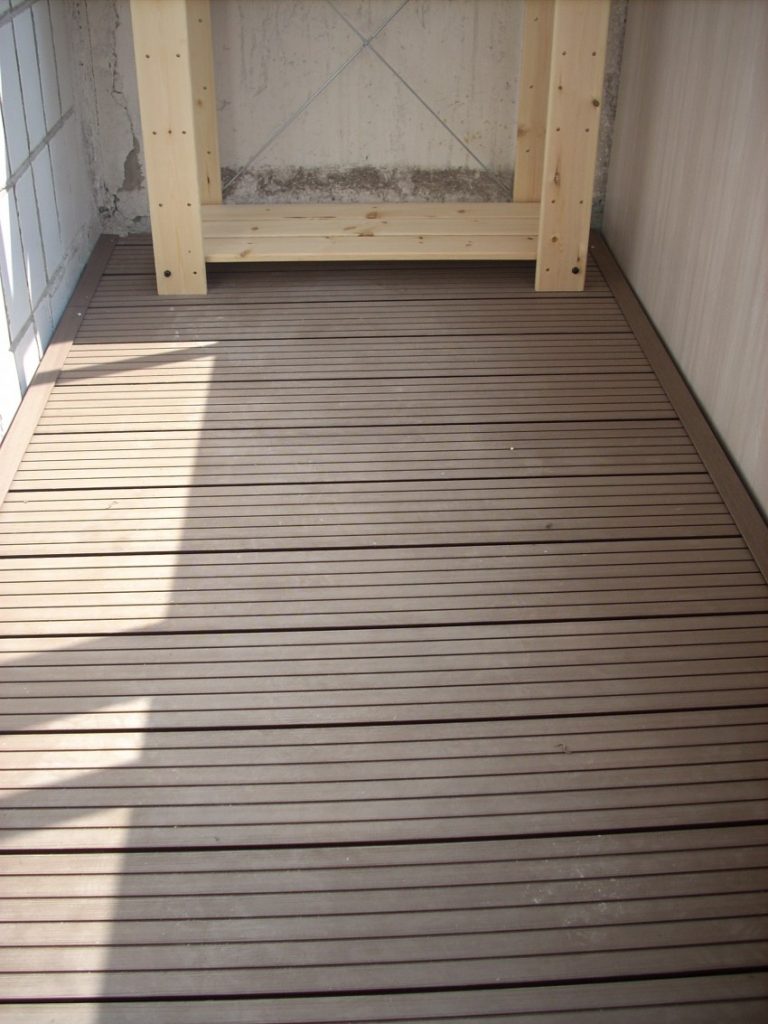
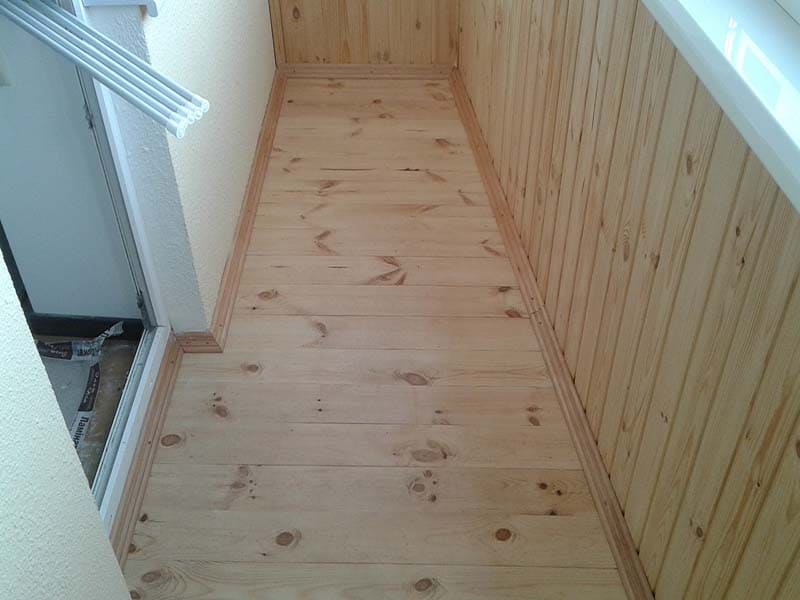
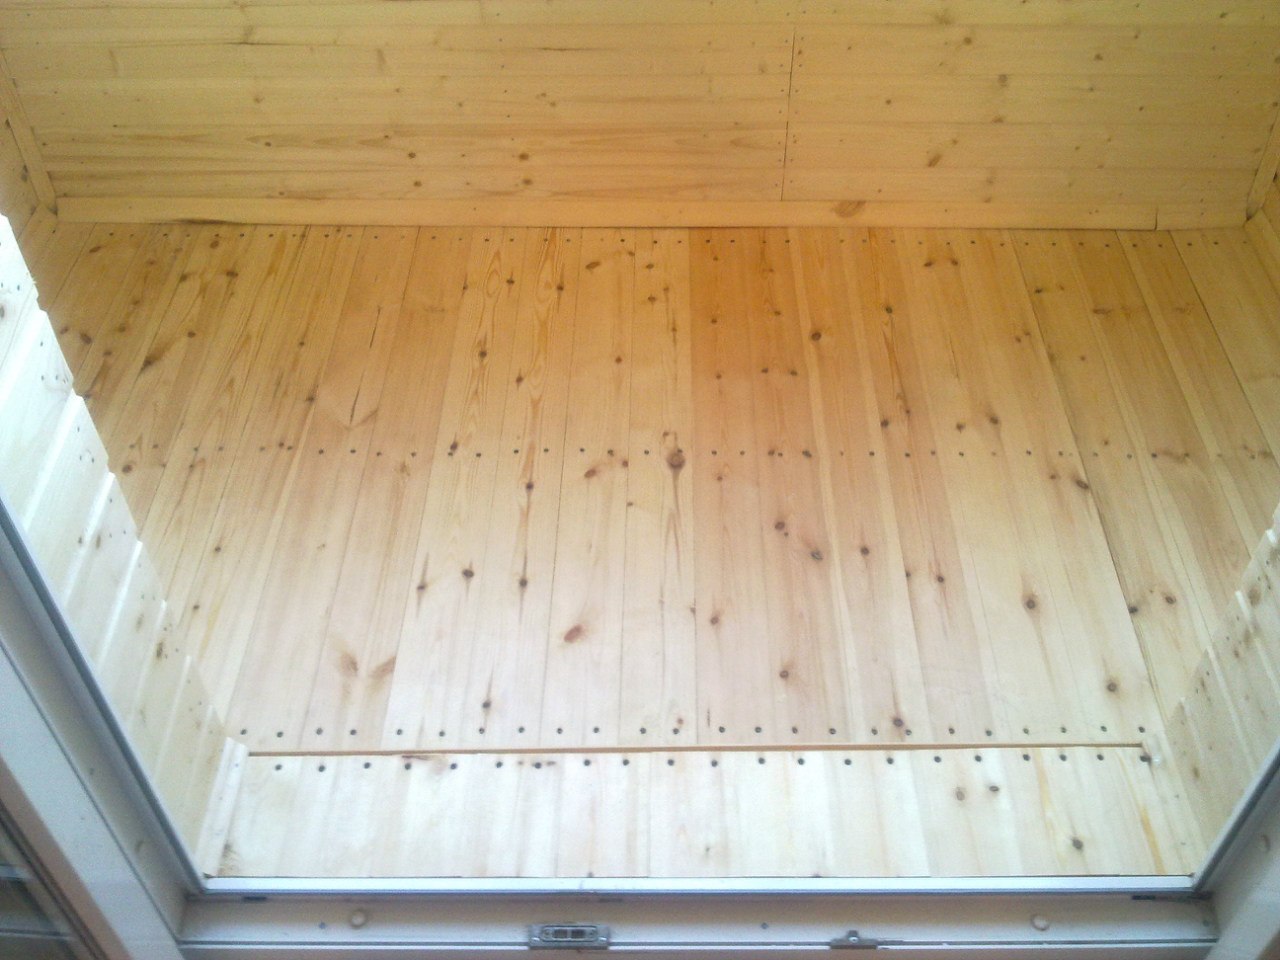
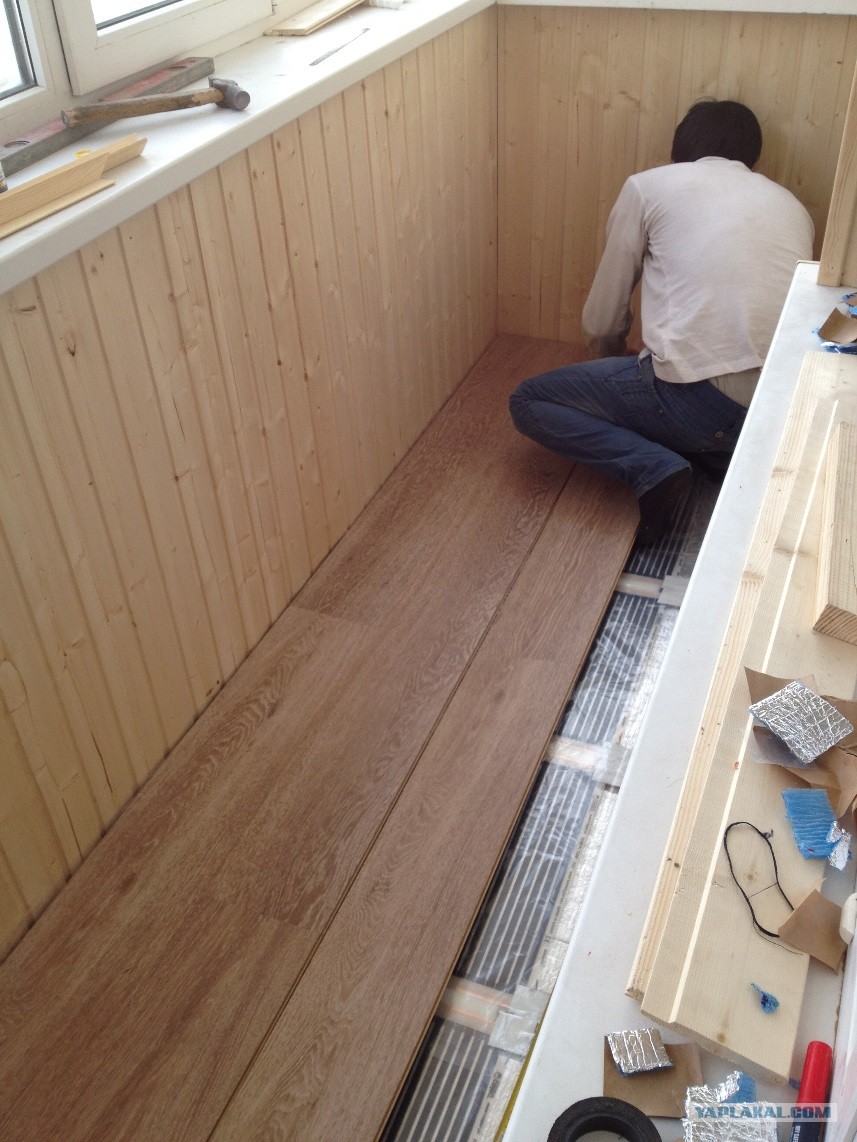
Laying the cover
Modern floorboards already have special fasteners, so even a beginner can handle their installation. This is very simple and quick to do. It is recommended to start work in the direction from the wall. When the very first boards in the structure are installed, it is necessary to pre-cut their fasteners. The boards themselves are laid perpendicular to the wall.
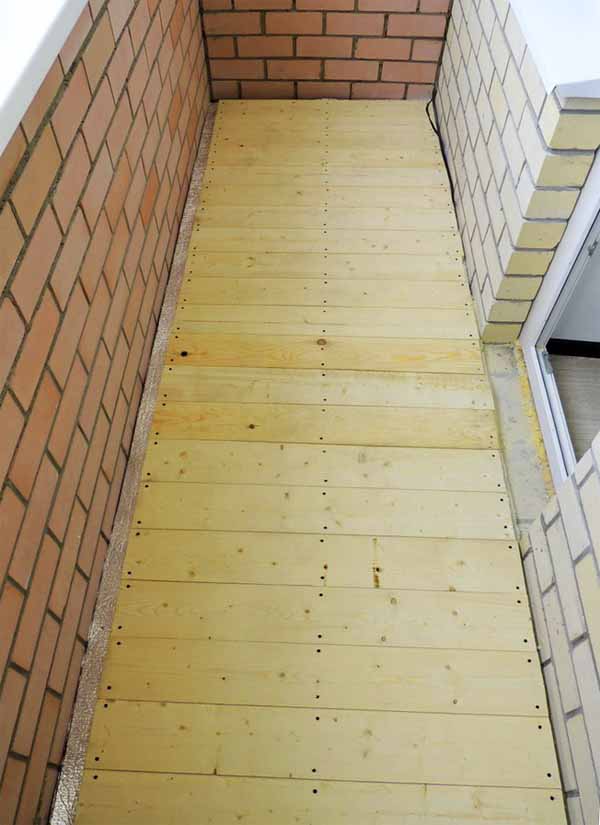
Experts call an important aspect the presence of an indent of 1 or 1.5 cm. You need to make sure that there is such an indent at the very beginning, before attaching the boards to the logs. The three edges of the first floorboard must not touch the walls. Small gap is allowed (up to 15 mm). Self-tapping screws are screwed at a slight angle (45 degrees).
The algorithm for laying the coatings is as follows.
- At a short distance (the width of the board is taken into account or a slightly larger area), an additional rail is installed. An auxiliary element is attached using self-tapping screws.
- Laying the boards with maximum adhesion is simple: the connecting element of the first board is inserted into the groove of the second.
- To provide additional fit between the planks, several wedges can be driven between the second piece of wood and the batten.
- The entire floor is installed in the same way. Additionally, you can fix each board by screwing self-tapping screws into each board into the groove. It is recommended to do this at a slight angle.
- The first board and the last one must be fixed longitudinally. To do this, the boards are screwed to the logs with self-tapping screws.
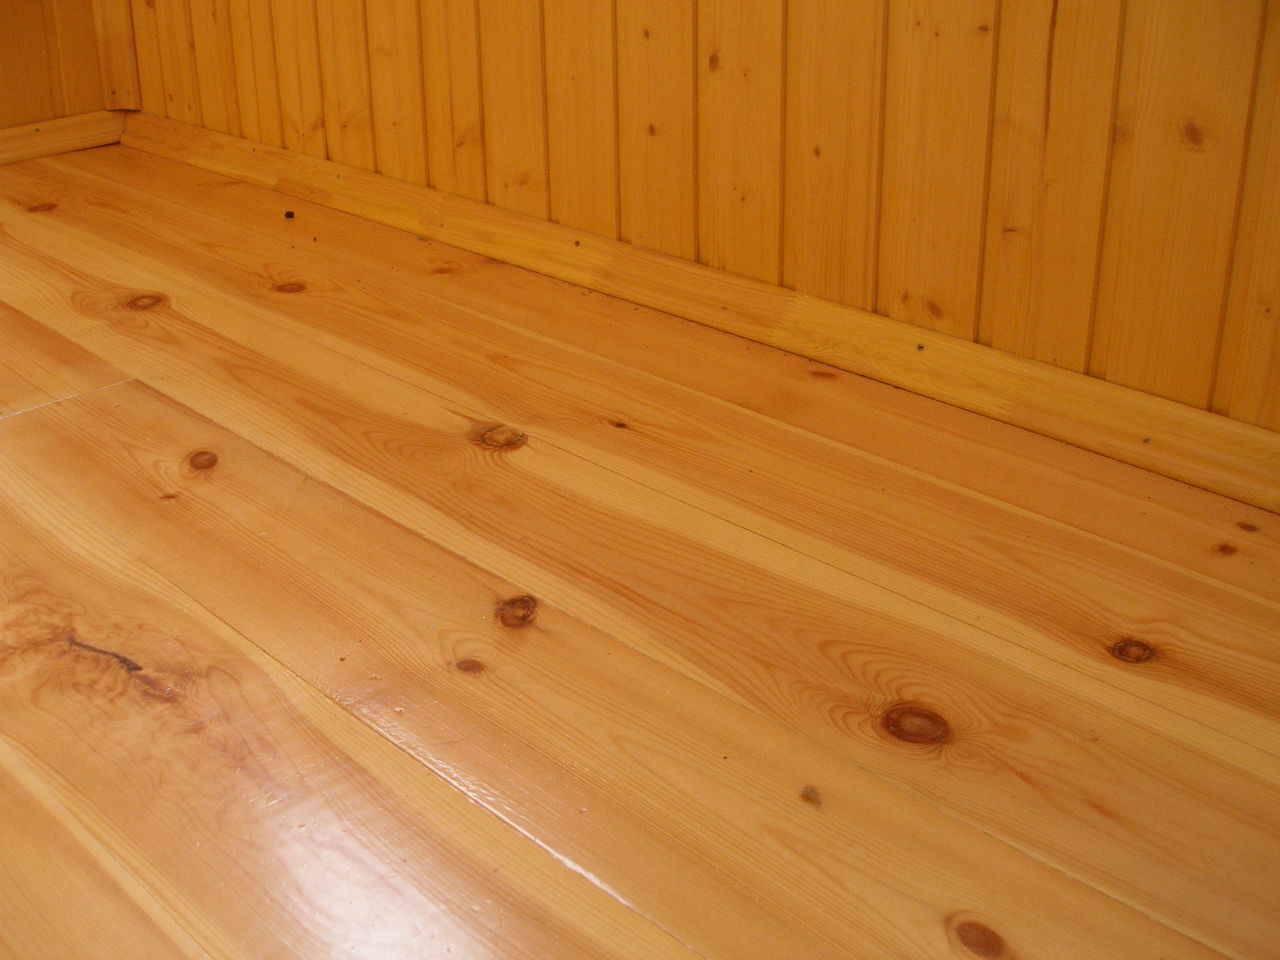
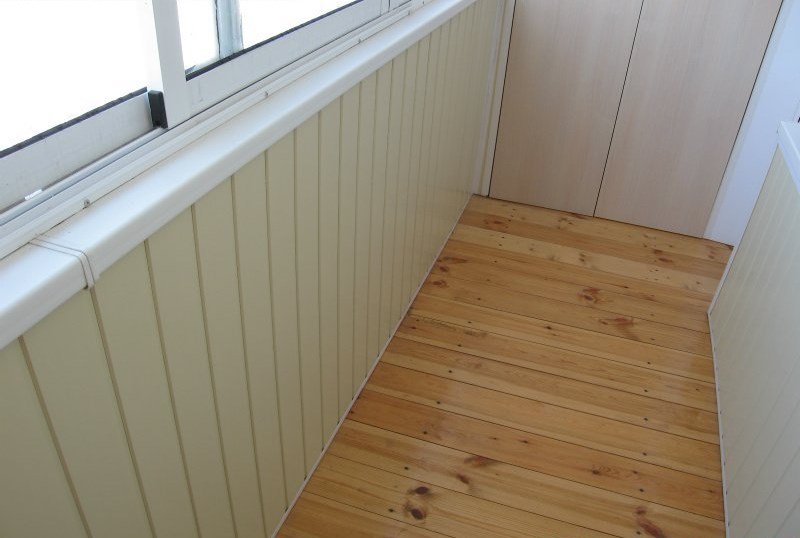
How to process?
Parts of the wooden floor, like the beams already fixed to the floor, require impregnation with an antiseptic. With special care, you need to walk the antiseptic along the seamy side of the wooden elements, lingering on the seamy side of the ends. This is important because after installation it will no longer be possible to process the end elements.
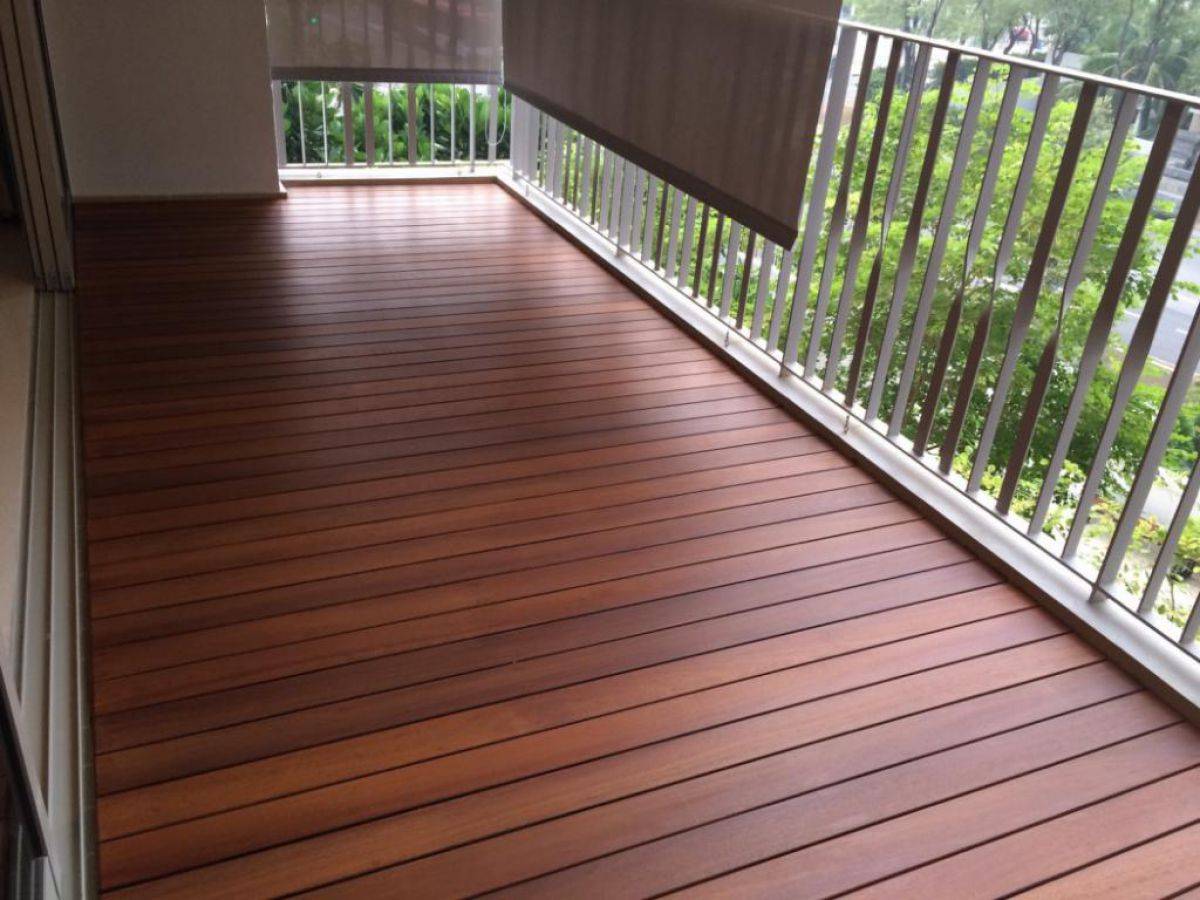
When the installation of the wooden flooring is completed, you can lay the skirting boards in the gaps between the wall and the structure. Experts recommend varnishing the surfaces before final finishing. You can also paint wooden boards, which will give the structure additional moisture resistance.
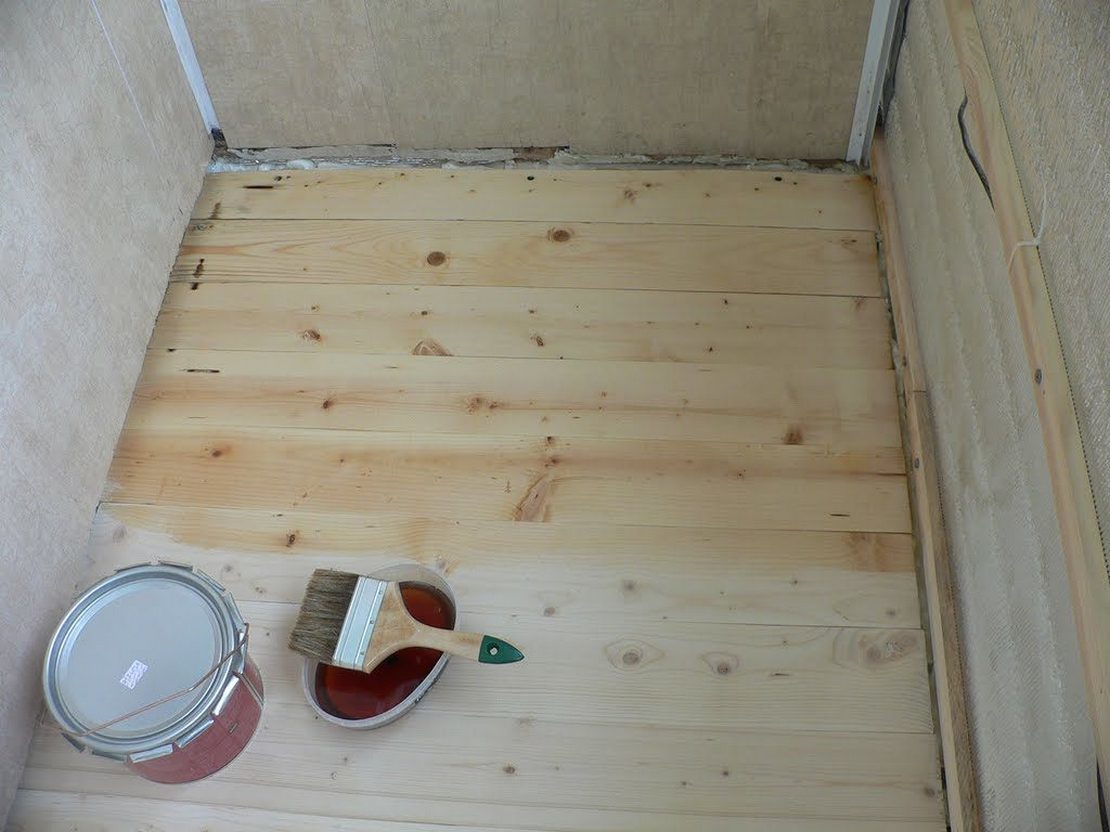
It is advisable to paint the wooden elements in several layers. You do not have to wait for the previous layer of paint to dry completely and apply it on a not yet dry surface.

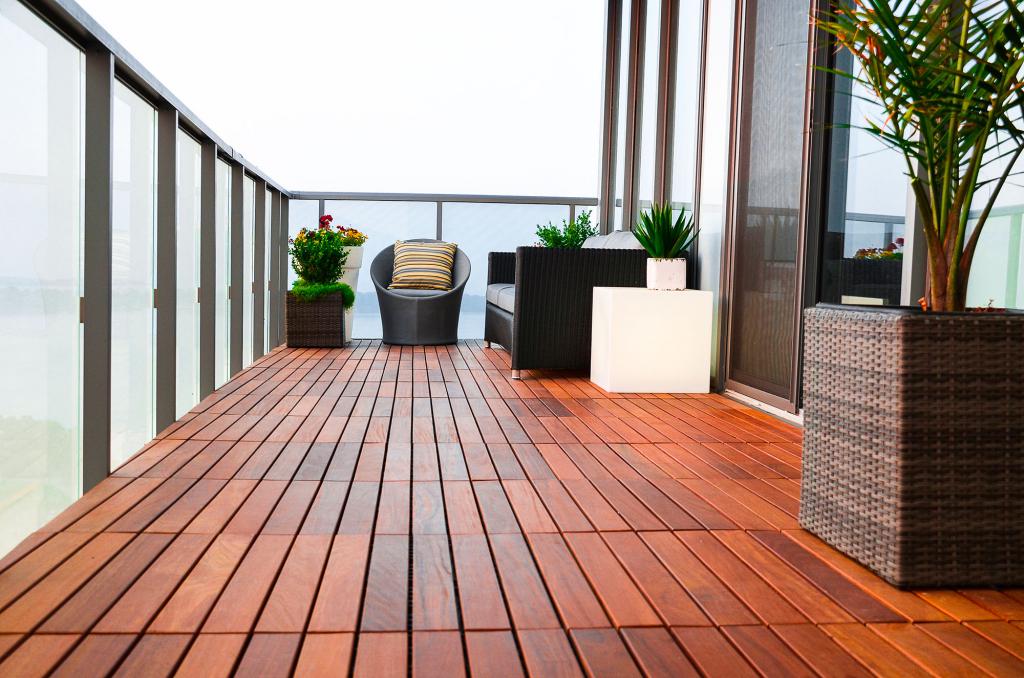
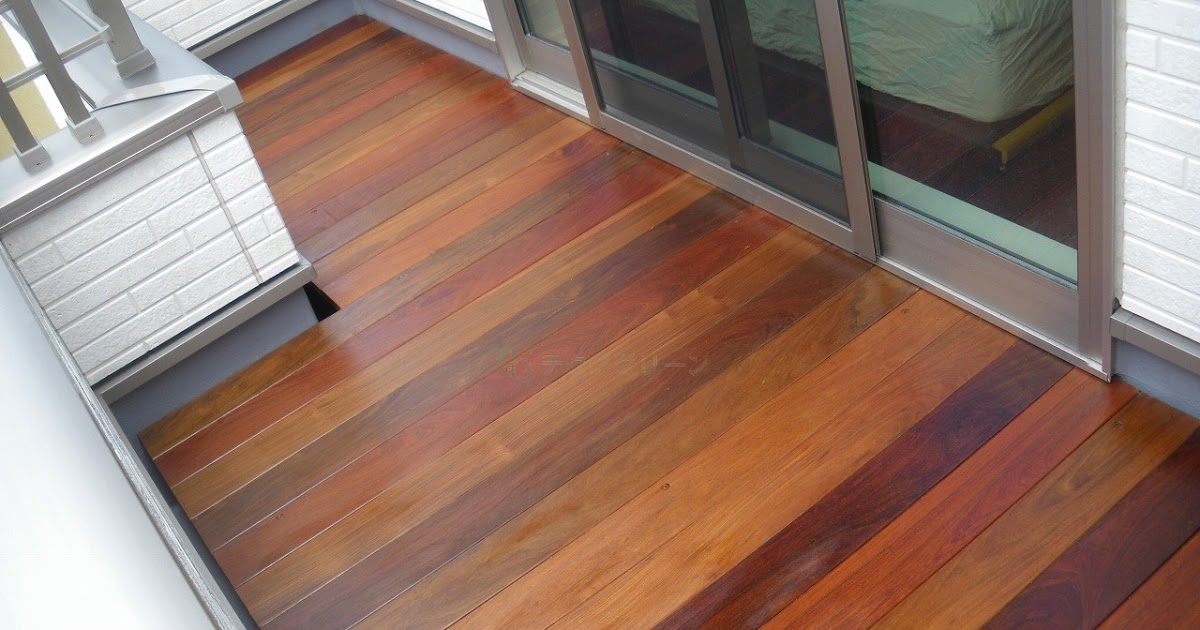
Finishing
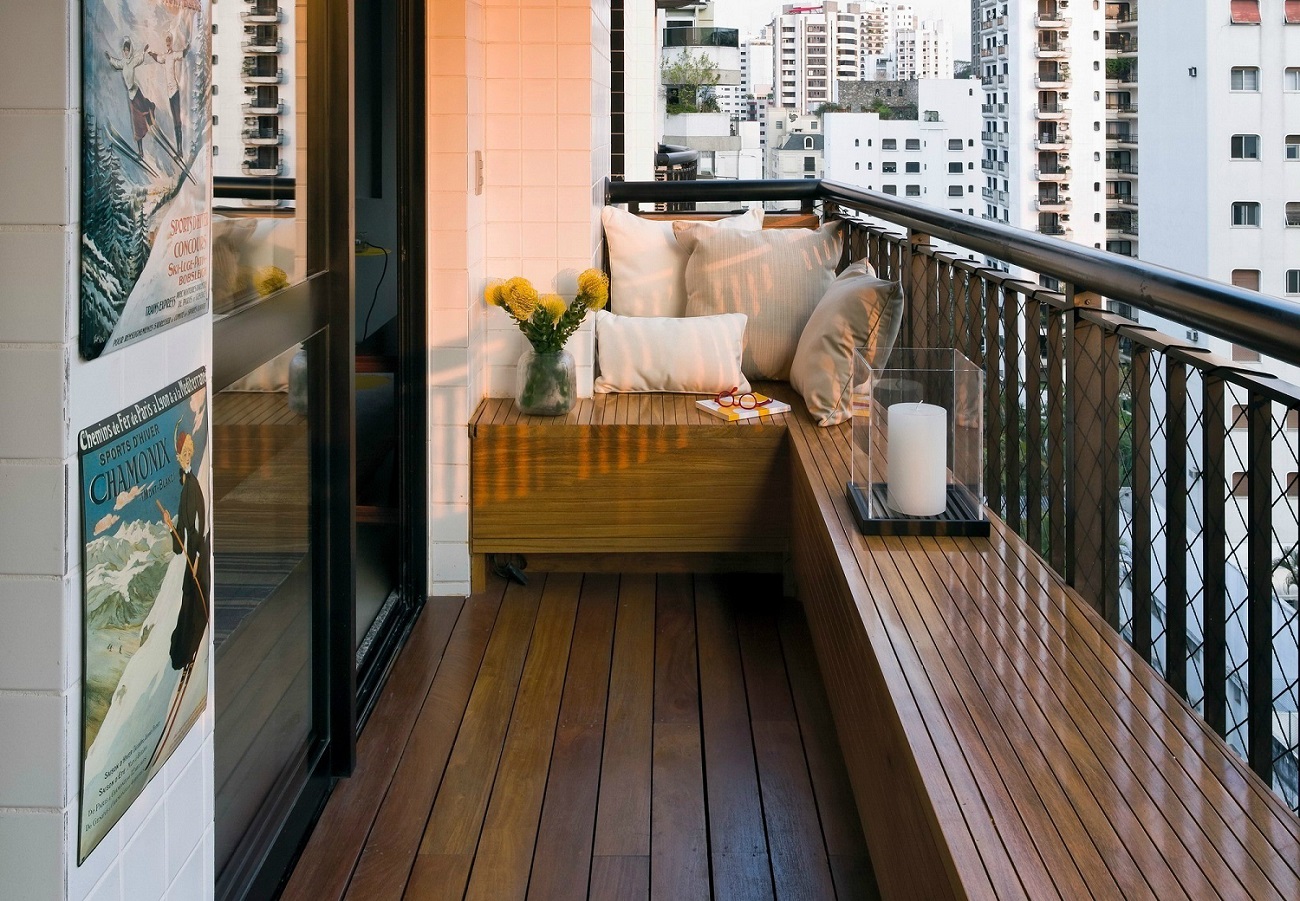
The assembled and painted structure can be used for its intended purpose. However, in order to extend the lifespan of wood flooring, it is important to consider which materials are suitable for the final flooring. The following materials are perfect:
- facing plates (there are options with different patterns, and the material is easy to clean);
- parquet or laminate flooring allows you to extend the flooring in the room to the very balcony;
- carpet or linoleum (it will be very pleasant to walk barefoot on such floors);
- terrace board (the material tolerates temperature changes well and is moisture resistant).
You can do without additional coverage. Painting and varnishing will be enough, you can choose any tone.
Secrets of laying a wooden floor on a balcony in the video below.


