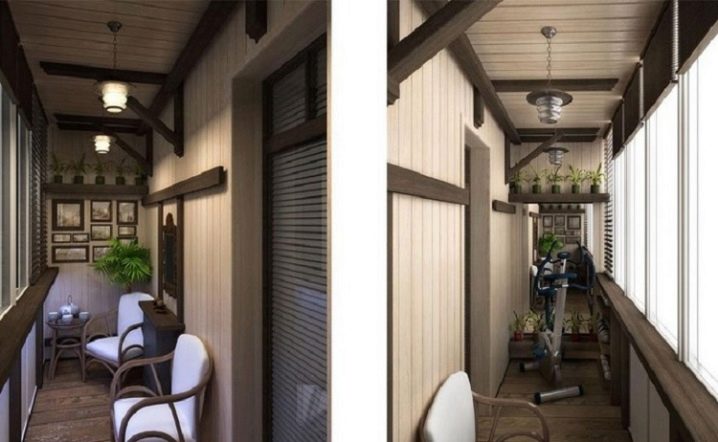
Decorating the balcony and loggia with wood
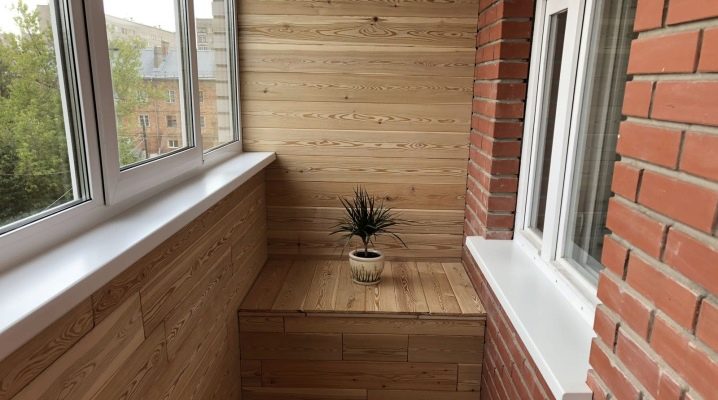
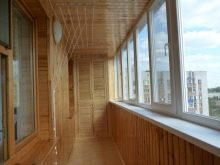
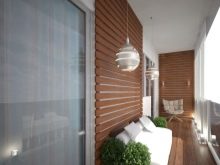
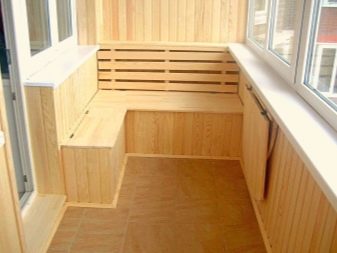
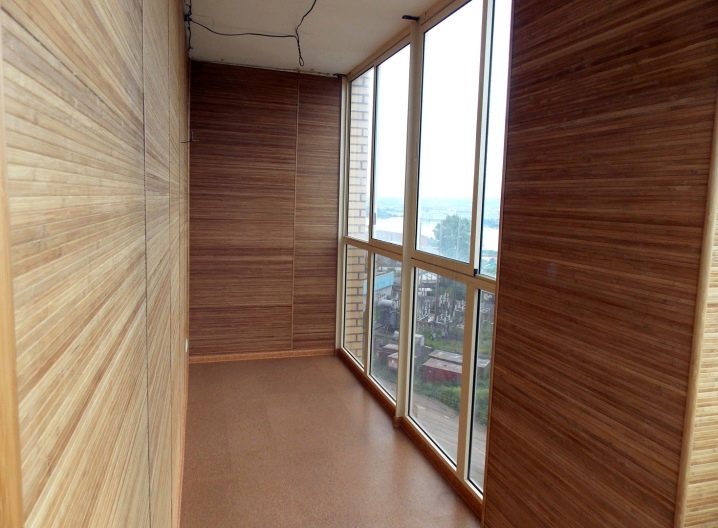
The use of a balcony or loggia as a full-fledged room, a small room has become a sure trend. If it is insulated, the functionality of this corner becomes much higher. And if finished with high quality, here you can equip a recreation area, a reading room, an office. One of the most solid and comfortable finishes is wood.
Advantages and disadvantages
Wood trim has its pros and cons, which for each person line up in their own chain of pros and cons.
Advantages of wood:
-
eco-friendly material, visually flawless;
-
associated with home comfort and warmth;
-
a huge number of design options;
-
optimal material for finishing living quarters;
-
the financial aspect can be found for each request;
-
with proper installation and processing, it will last a long time;
-
suitable for both lovers of conservative solutions and those who like originality.
Disadvantages of the material:
-
under the influence of moisture and temperature extremes, the wood finish can deform;
-
additional funds are required for impregnation with an antiseptic and a decorative layer.
Obviously, there are fewer drawbacks to wood trim, and inside a loggia or balcony this material is often used, actively, following proven design scenarios or, conversely, resorting to interesting author's findings.
Recently, a special emphasis has been placed on wood as the main finishing material, since PVC panels and other not so environmentally friendly options seem irrelevant.
And the tree, on the contrary, has more and more different "faces". For example, a balcony space with painted clapboard will look fresh and very stylish. From discreet, cozy gray to life-affirming emerald, there are a variety of paint options. But an ordinary space with a small footage changes completely with a new design.
And also the general image of the apartment speaks in favor of the tree. If natural material is vividly represented there, such a continuation will be consonant on the balcony. The sustained mood, the concept of environmental friendliness and naturalness, traced in the housing as a whole, add harmony to it.
Choice of materials
The material must be prepared for the fact that the merciless ultraviolet will test it for strength. Therefore, you need to pay attention to the indicators of thermal conductivity of ultraviolet radiation of 0.3 W / m * K. The increased thermal conductivity is used as a source of cooling or heating.
Dark shades of wood, naturally, will warm up faster, but inside a small balcony they will look like its visual destroyers - the space will narrow even more.
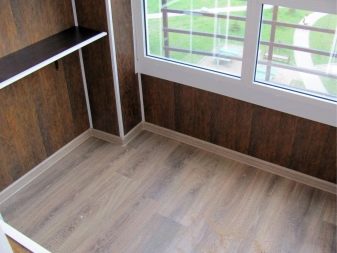
But for finishing the floor, a dark color is quite suitable.
And also the choice of material is based on:
-
moisture resistance of wood and its resistance to temperature extremes;
-
price category;
-
organic combination with objects that will be on the balcony.
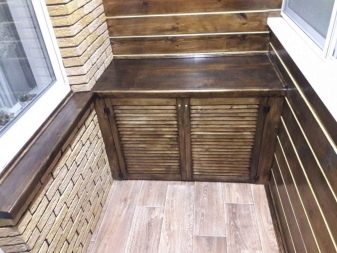
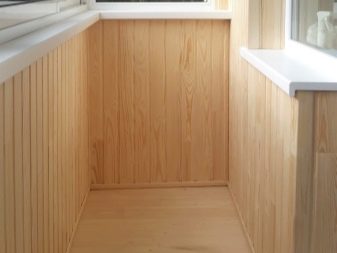
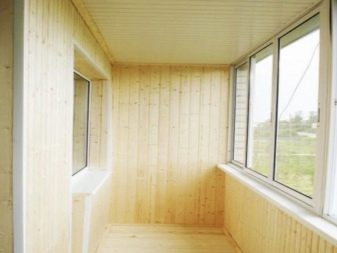
The most demanded balcony material is lining and euro lining. They are easy to process, will not add surprises during installation, and are also versatile. The ceiling trimmed with clapboard looks no worse than the walls, which it was decided to sheathe with the same material. She also sheathed cabinets and shelves. The availability of the material is also appealing. The lining is better dried, equipped with condensate drainage grooves, does not rot. If you do not violate the rules of operation, the next repair will have to be done in 20 years, not earlier.
For those who want something simpler, MDF panels can be recommended, this will save the budget, but the quality will suffer somewhat. MDF is durable and moisture resistant, not afraid of temperature fluctuations, has a large card of colors and shades.
But this material is not so environmentally friendly, when sawing it generates a lot of dust, and it weighs more than wood panels.
But there are also wood-based panels, which are not so rarely used on insulated balconies. In high humidity, such material will suffer, which will be manifested by swelling. Moreover, such a finish is considered one of the cheapest, and many people like it visually. And the installation of wood-based panels with your own hands will not cause difficulties.
Plating technology
Consider how the sheathing process will look like, using the example of a lining. This is the most rewarding and demanded material that does not reduce its quality for the sake of cost.
Warming and insulation
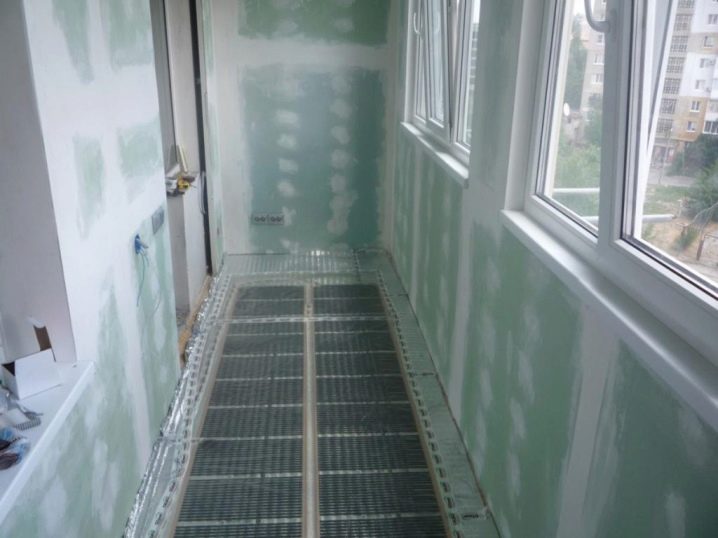
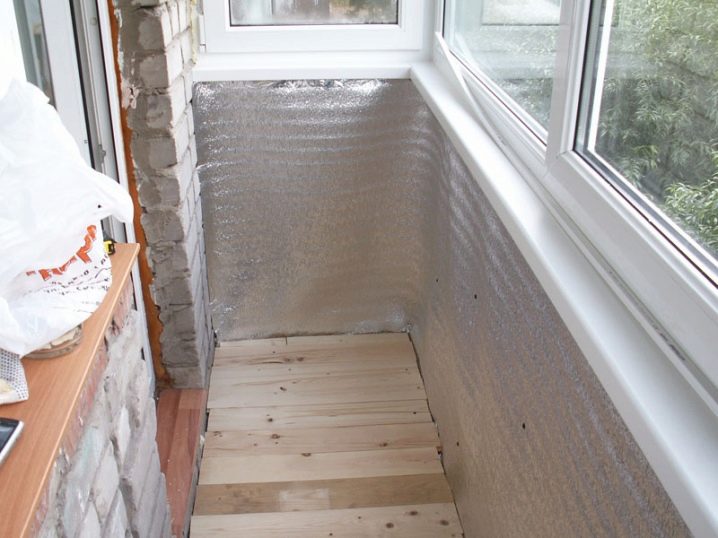
First, the balcony must be prepared for installation - to clean the floors from the old finishing layer, and then examine the condition of the walls. If there are large gaps, chips or cracks, they must be filled with polyurethane foam or even cement mortar. The level will help to assess the degree of unevenness in the floors. If there are noticeable depressions, they can be leveled with putty or plaster, and the protrusions can be knocked down with a hammer or ax. After that, it is imperative to walk over the surface with a layer of antiseptic, which will help to avoid mold and mildew.
The cheapest insulation will be polystyrene. It is produced in slabs and has good thermal conductivity. But with respect to loads, this is a rather vulnerable material that crumples.
True, under the clapboard it still does not matter much. The material has a more significant disadvantage: it is unnatural and even somewhat toxic. But for the manifestation of toxicity, conditions are also needed, which in most cases are excluded, that is, the material will be harmful only when the balcony is burning.
An alternative to foam is mineral wool, and this is already a material of natural nature, although chemical compounds are added to it in production. If you want to protect yourself, you need to use basalt quilted mats. The thermal insulation properties of the material are pleasing, it is easy to work with it, the only thing is that the material is hygroscopic.
Alternatively, you can use extruded polystyrene foam, foamed polyethylene foam or foamed glass. The last insulation is natural, does not burn and does not emit harmful substances, is a frost-resistant material that is well cut and attached to the foam.
Lathing
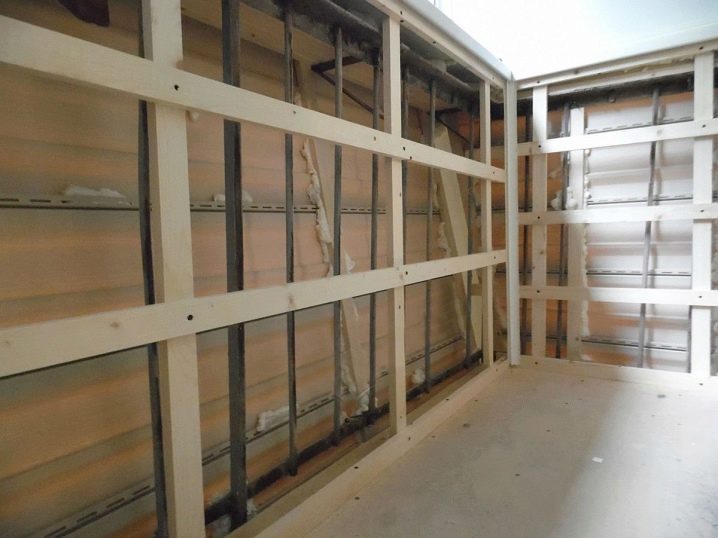
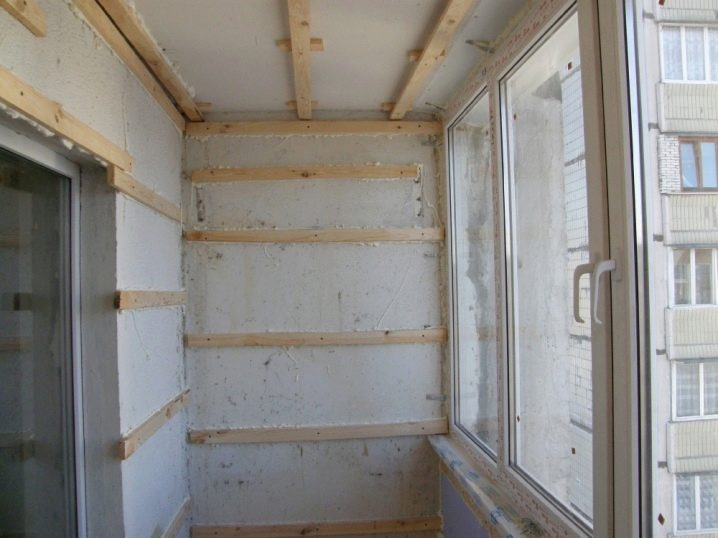
Balcony cladding begins with the formation of a frame. The crate is usually made of timber, since this is the most affordable and inexpensive option.
The section will depend on the thickness of the selected insulation. The beam should be of such a size that a gap of 2 cm remains above the surface of the insulation.
This gap is necessary to maintain normal humidity levels.
Let's consider what to do next.
-
If the timber of the required size is expensive, savings are also possible - for the lathing, a block of insulation thickness is used, which is mounted between the guides. A counter-lattice of 2- or 1.5-centimeter strips is stuffed on top. This will form the desired gap.
-
Sheathed with clapboard both vertically and horizontally. If the sheathing is vertical, the sheathing is therefore horizontal. But if the frame has a counter batten, the strips are mounted vertically. Still, the option of vertical cladding of a balcony with clapboard is much more common. The installation of the lathing starts from the bar under the window - it is set horizontally, the level checks its position in two planes.
-
If it is obvious that the wall is uneven, wooden or plywood linings are placed in the desired areas. The lathing is attached to the dowels.
-
The planks are stuffed along the perimeter of the walls and ceiling with an indent from the corners of 3 cm. Along the perimeter of the openings of the windows and doors, too. Next comes the fixing of intermediate bars, from plank to plank - 5 cm. The frame will be solid for walls and ceiling.
It remains only to cut the lining boards, to make them a little shorter than the required length in order to compensate for the natural change in size with increasing temperature and humidity.
Fastening the lining
You can fix the lining with self-tapping screws or nails. In the case of using nails, elements with a small head are needed, that is, finishing nails.
If self-tapping screws are taken, it is better to stay on light ones. We need screws for wood.
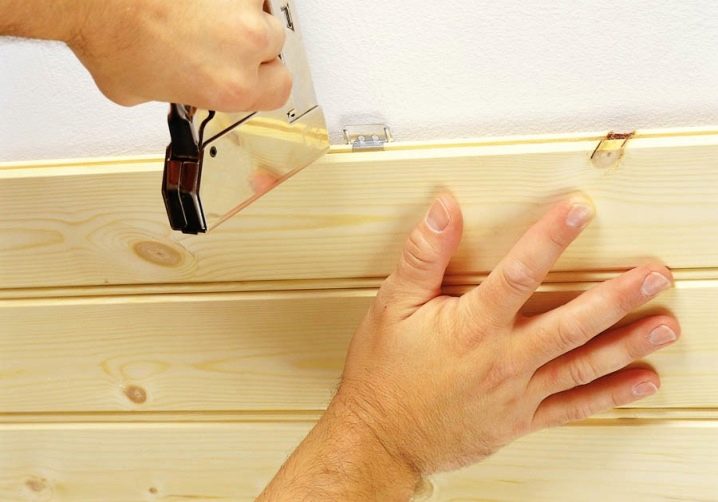
And you can also fasten it with staples using a construction stapler - by the way, this method is probably the fastest, and even more reliable. But braces will be required those that have a long sharpened leg, T-shaped ones are also suitable.
Here's how to mount the lining.
-
The first plank is usually placed in the most difficult corner. It is placed with a spike in the corner, controlling the level of the accuracy of the installation. Nailed into the front surface with a centimeter indent from the edge. In order not to split the wood, a hole is made with a thin drill. Then - a self-tapping screw or a nail.
-
On the opposite side (where the groove is), the lining is fixed with self-tapping screws, nails or staples that go into the spike at an angle of 45 degrees. The mount will be hidden, because it is closed by the next board.
-
There is another option - mounting plates or clamps. If the thorn is long, they promise to hold well. For example, this number will definitely pass with the euro lining. Kleimers seem to be put on a thorn.
-
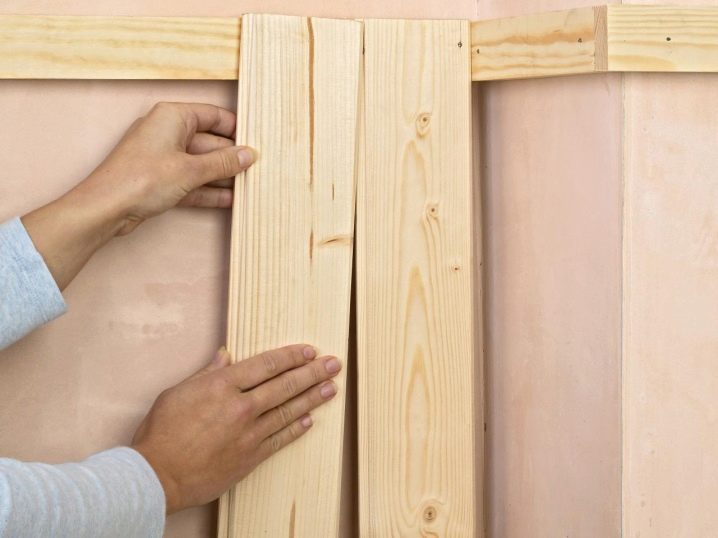
The first board is attached to each batten of the crate, but the next ones are alternating, that is, according to a checkerboard pattern. The second board goes into the tenon of the first. If it does not fit tightly enough, it can be knocked out with a piece of wood and a hammer. You need to knock on a piece, not on the lining.
-
When the spike is driven into the groove, you need to check if the bar has become vertical. If there are problems, a correction is made. And this is how the whole casing is assembled without changing the scheme. It happens that the last plank has to be cut in width.
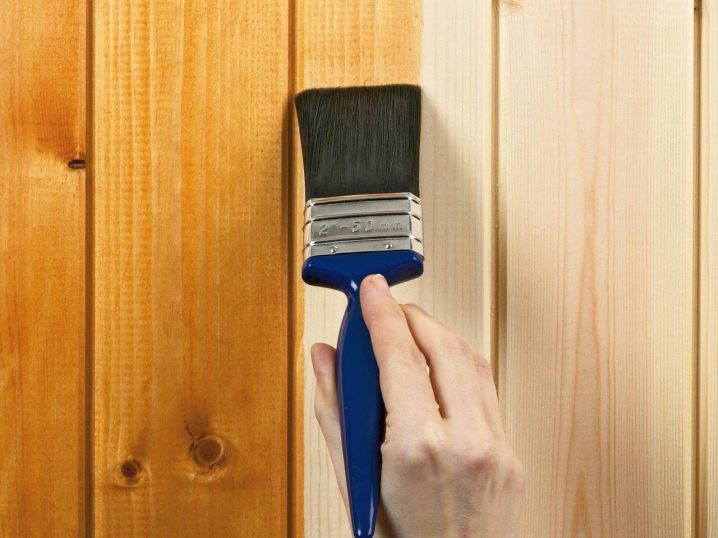
Further, after sheathing, the lining is finished with an antiseptic, first of all. It can be a tinting option, which is presented in several interesting shades.
You can use both stain and any varnish for interior work.
You can, as already mentioned at the beginning, paint the lining, and this solution is often the most suitable for a complete renovation of the balcony space.
Beautiful examples
How exactly the balcony changes after finishing with wood will be most fully told (and shown) by photo examples. In this collection there are different design options, in different styles, but with an equally successful outcome.
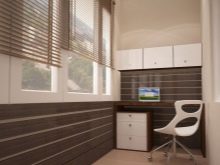
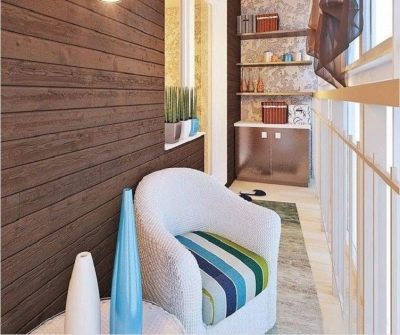
- If the loggia is long, and you don't want to use light colors for various reasons, the floor and walls in the opposite scheme can become contrasting - the walls are darker, the floor is lighter. The result looks noble and does not create the illusion of gloominess of space.
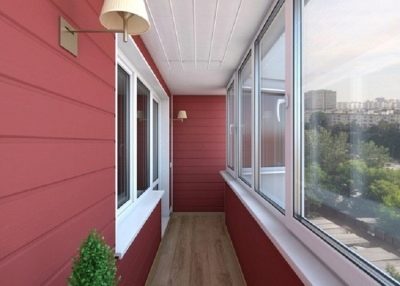
- This painted lining looks quite unexpected, but this example confirms that the color is sometimes so self-sufficient that other "special effects" in the interior are not needed.
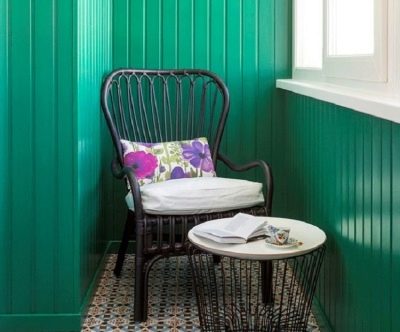
- Green, vertical, very nice lining, and in combination with this cute tile on the floor, create an incredibly cozy space. The best way to escape the facelessness of the balcony is this design.
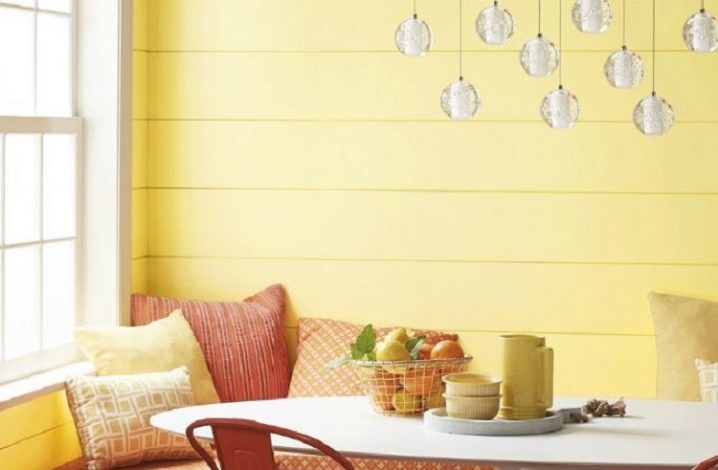
- And here's what it means to add sun to the interior. Yellow is one of the most cheerful colors, and it is rightly needed on balconies and loggias that face the shady side. A great option for the good old lining.
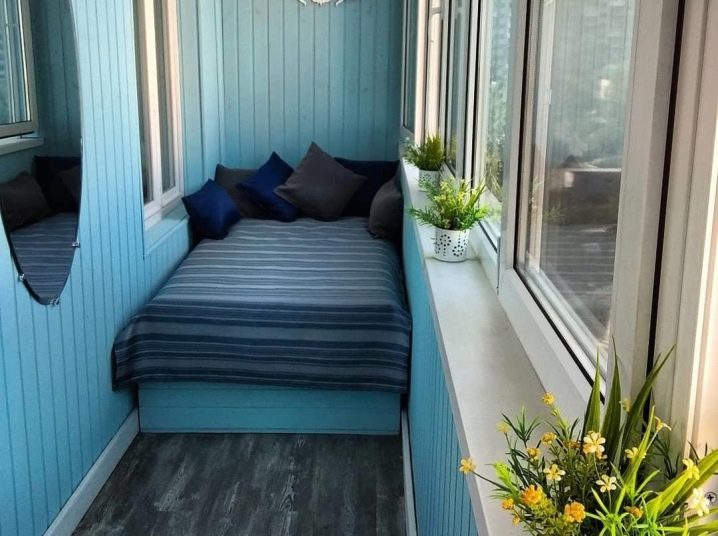
- Refreshing blue also has the right to burst into space and show what gentle seating areas modern balconies can become.
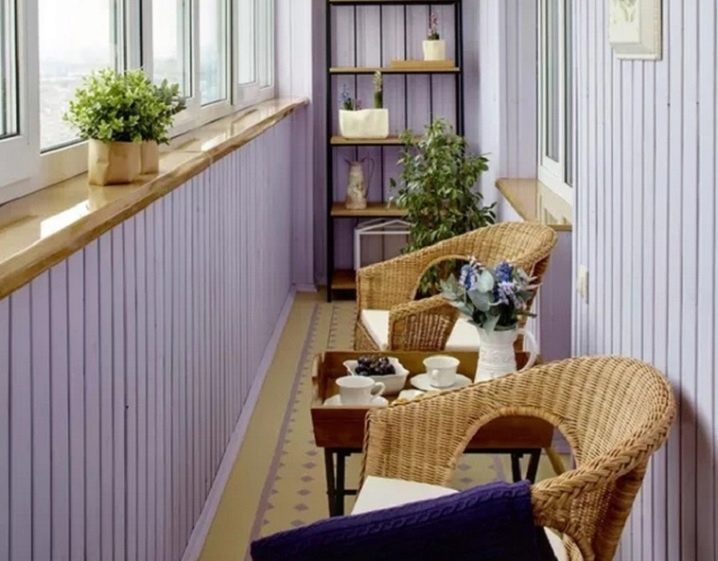
- In this case, the owners preferred a dull purple, and he perfectly settled down on a narrow balcony, immersing the space in his tenderness and relaxation. And this is all the same lining, and a completely typical balcony.
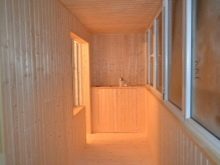
- If someone wants frosty whiteness, but with a feeling of home warmth, this is a good option. The lining lies vertically, and this slightly expands the space.
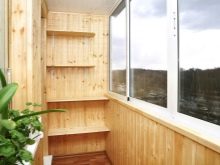
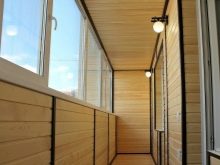
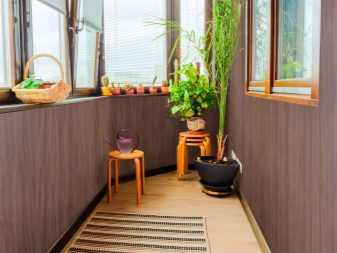
- Nevertheless, wood is true warmth and comfort, as well as the creation of an orderly, complete space. The balcony does not have to be large to please the eye. And finishing doesn't have to be expensive.
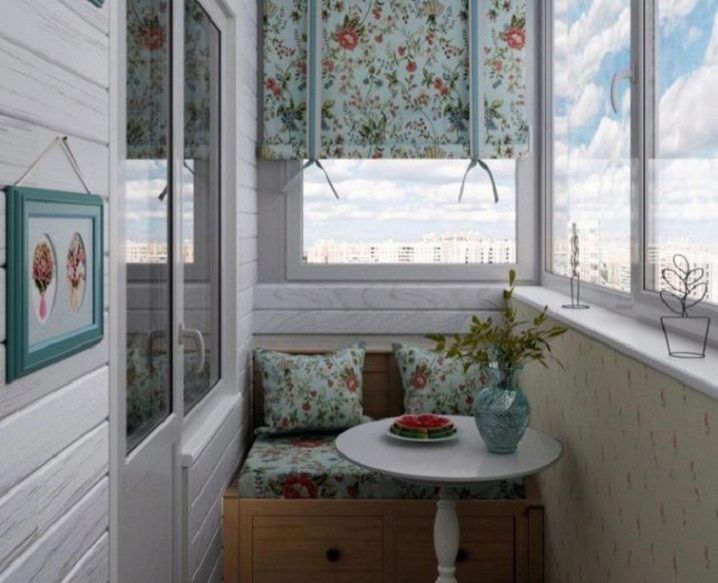
- Danish motives are clearly visible - an ideal place for get-togethers with a cup of coffee and heart-to-heart conversations.
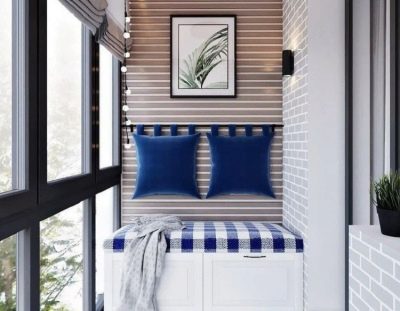
- After all, only one wall can be distinguished with a tree; the mix of materials also gives eye-pleasing combinations.
Success in the renovation!
How to make the interior decoration of the balcony with wood, see below.
