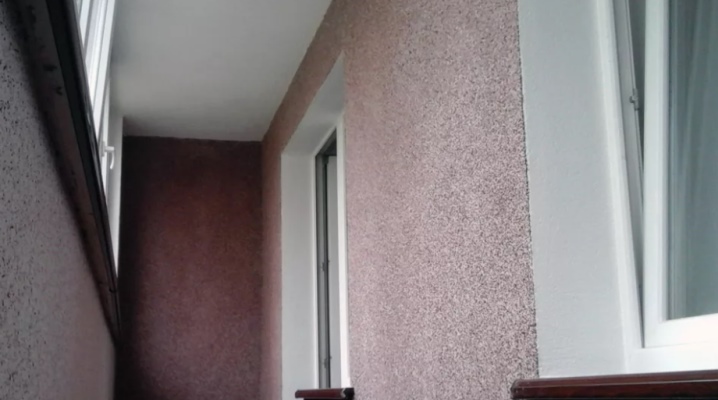
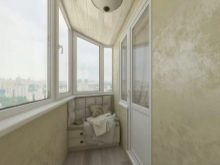
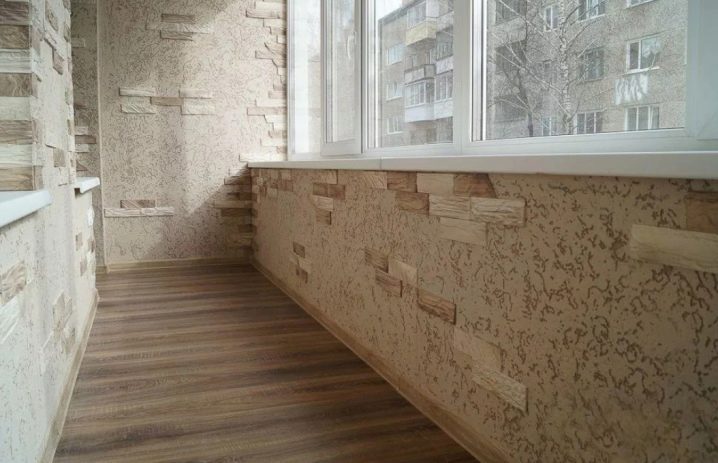
Finishing the balcony and loggia with decorative plaster
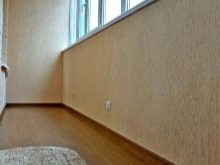
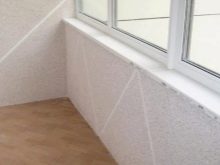
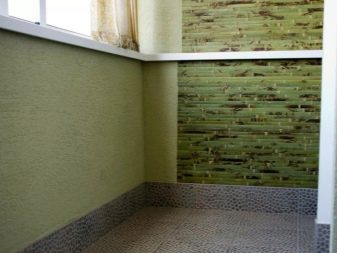
For finishing the balcony and loggia, you need to use materials that are resistant to temperature extremes, high humidity, and ultraviolet rays. Decorative plaster meets these requirements. It is distinguished by simple application, aesthetics, and resistance to various negative external influences. Decorating the balcony with decorative plaster has its own subtleties: they are related to the specifics of the room and depend on the type of mixture used.
Peculiarities
Mix for decorative finishing - a mass that includes synthetic and mineral binders, fillers and additives. After drying, such a coating reliably adheres to the base.
The main difference between decorative plaster and traditional plaster is its composition. Pigments, dust, stone chips are added to the materials for the finishing cladding. They are intended not only for leveling the surface, but also for decorating it.
At the same time, aesthetics will depend not so much on the type of mixture as on the artistic skill of the finisher and the techniques he uses.
Advantages and disadvantages
Decorative plaster is popular when facing balconies and loggias. It is in demand for its many benefits.
- The ability to use regardless of conditions. Plaster can be applied to walls on both heated and unheated balconies (it is important to choose the appropriate composition).
- Increase in thermal conductivity indicators, which is especially true for heated balconies that have been converted into offices, recreation areas. Plastered balcony provides high-quality soundproofing.
- Long-term preservation of external perfection (at least 10 years).
- A large assortment. Mixtures differ in composition, visual effect, price. There are materials for sale from economy to premium class.
- Providing natural air circulation and a favorable microclimate in the apartment.
- Good compatibility with other finishes: wood, stone, plastic panels.
- Abrasion resistant and any other types of mechanical damage.
- Household health safety. The coating does not emit harmful substances into the environment, even when heated.
Decorative plaster is not afraid of moisture, it is practical and resistant to all types of detergents: due to such features, it is easy to remove dust and other contaminants from its surface.
The disadvantages of the material include the complexity of application, especially if an inexperienced master gets down to business and chooses complex techniques and techniques. In order for the working mass and coating to have the properties declared by the manufacturer, it is important to observe the exact proportions when diluting the dry mixture.
Varieties
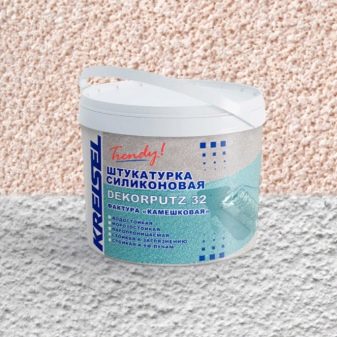
Decorative plasters are classified according to their composition. Depending on the constituent components, they are mineral, acrylic or silicone.
Mineral
Such materials are common in the domestic market. This is the cheapest cladding of all types. It does not burn, it is durable and has good performance. A significant drawback of mineral plaster is the fear of low temperatures. In the cold, cracks form on the coating, which spoils the aesthetics of the cladding.
Mineral compositions, in turn, can be of several types.
- Plaster. Their main advantages: easy shaping and distribution over the surface, the ability to create complex reliefs.They have good adhesion to most building materials. Gypsum coatings are hygroscopic - they absorb moisture, which can cause them to lose their strength. To increase the moisture resistance of the finish, it is recommended to apply special water-repellent compounds to its surface.
- Cement-sand. The most wear-resistant types of plasters. They are resistant to moisture, retain their integrity when repeatedly freezing and defrosting. They can be used both for leveling the base and as a finish.
- Calcareous. They are distinguished by good resistance to moisture, excellent air permeability, and have bactericidal properties (prevent the emergence and reproduction of fungus and mold).
Some manufacturers produce combined solutions, for example, cement-lime compositions or lime-gypsum.
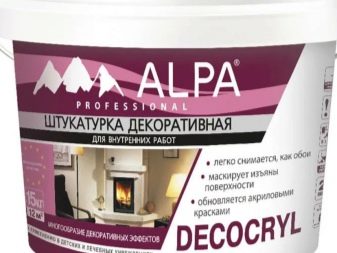
Acrylic
The main component of such materials, which determines the properties of the coating, is acrylic resin. This substance gives the cladding special strength and good moisture-repellent properties. The polymerized coating is not afraid of frost, temperature extremes, ultraviolet rays.
Acrylic mixtures are plastic, they are easily and economically distributed over wood, brick, concrete surfaces. Unlike mineral materials, acrylic-based materials are more expensive. However, they are better in quality and look more interesting indoors. The disadvantage is poor vapor permeability, due to which a fungus may appear on the surface of the cladding.
To avoid the formation of mold, you need to periodically treat the walls with antiseptic compounds.
Silicone
They are made on the basis of low molecular weight rubber or traditional silicone. These substances give the plaster additional elasticity, thanks to which any relief can be formed on the wall surface. This is one of the best types of coatings: it repels water, is not afraid of frost, temperature changes, and the sun. Silicone plasters serve for decades, maintaining a flawless appearance. The downside of the material is its high price tag.
Which plaster to choose?
For interior decoration, you can use coarse and low-relief plaster. The first type is suitable for beginners: coarse-relief mixtures easily fall on the surface, they mask minor flaws in the wall. The mixture can be laid in an even layer using the inventory at hand. When dry, the surface visually resembles an untreated stone. It is difficult to work with low-relief plasters: experience is indispensable here. With the help of a fine-grained mass, complex decorative elements can be created.
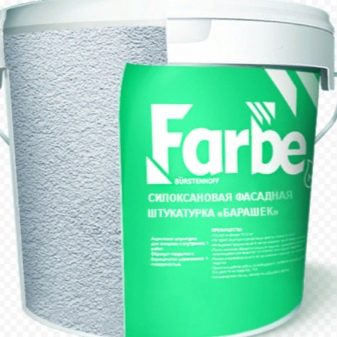
The plaster should be chosen depending on the type of room. For example, materials with any composition are suitable for heated balconies and loggias. If the room is not glazed, it is recommended to use silicone-based facade plasters: other types will not work, since they will quickly crack in the cold. For cold glazing, acrylic or silicone compounds can be used.
There are several types of plasters that are suitable for experienced craftsmen.
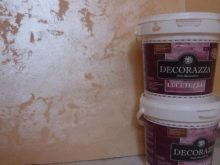
- Venetian. These are acrylic compounds, some of which contain pigment. They are a thick paste. Depending on the type, the plaster imitates paper, silk, marble.
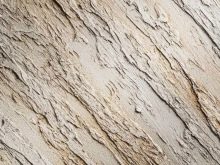
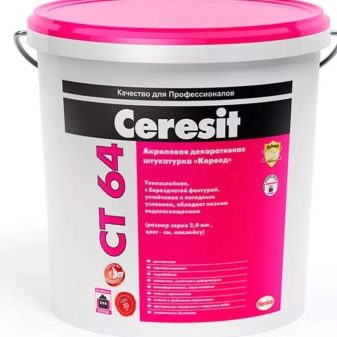
- Structural with mica or quartz content. When applying the compound to the wall, scratches or abrasions are formed. When working with structural materials, it is not necessary to level the base. The most popular plaster from this group is "bark beetle".
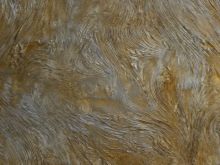
- Textured with organic fibers, marble or granite chips. Allows you to realistically simulate natural stone cladding. Thanks to textured plaster, you can get a coating that looks like natural wood, velor or leather.
- Flock with acrylic particles. Gives the surface a silky feel.In order for the cladding to retain its aesthetics as long as possible, it is recommended to cover it with a transparent protective varnish.
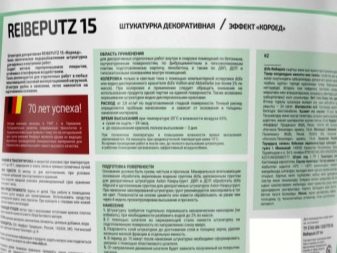
When choosing a plaster, you need to take into account its resistance to UV rays, the level of vapor and moisture permeability, the complexity of application and the durability of the coating. Manufacturers indicate this information on the packaging of the material.
Required tools
The finishing of the balcony must be approached responsibly, having prepared everything necessary in advance. Thanks to this approach, the master will have everything at hand during work - he will not have to break away from his work in order to spend time looking for the right tool.
To prepare the walls and the subsequent facing of the balcony, you will need the following:
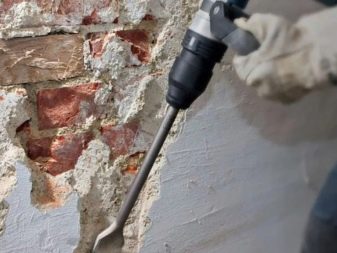
- hammer and sturdy construction trowel to remove old finishes;
- falcon - is a shield with a handle in the center to support and smooth out the plaster;
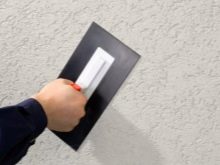
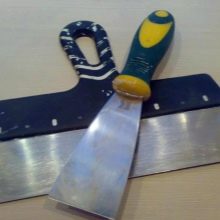
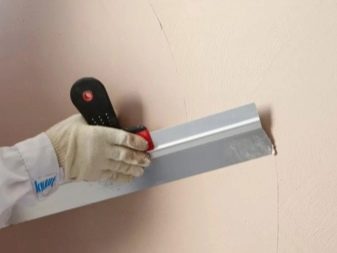
- large and small spatulas in the form of a trapezoid or rectangle - needed for applying, distributing and smoothing the working mass;
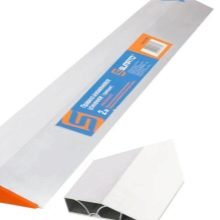
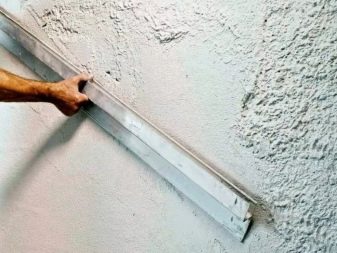
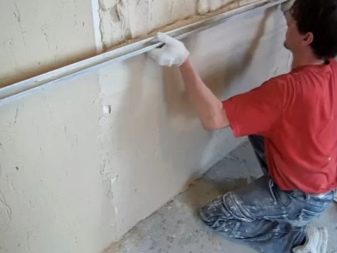
- rule (no more than 3 meters) - intended for correction and screed plaster layer;
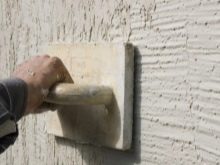
- graters to eliminate flaws and decorate the surface;
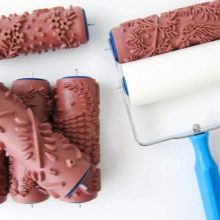
- rollers with patterns (can be replaced with plastic stencils) - also used for applying decor;
- construction bucket - necessary for faster application of the solution when performing a large amount of work.
The finisher may need brushes, a drill, a sponge, sandpaper, and construction gloves. When choosing a tool, you need to give preference to quality accessories.
Stages of work
Before finishing the room with their own hands, it is recommended that beginner finishers familiarize themselves with important information:
- work must be carried out in appropriate weather - the temperature in the room must not be lower than +5 degrees;
- on a sunny day, cover the windows to protect the walls from UV rays;
- rainfall is unacceptable (both during operation and 2-3 days after finishing).
The plastering process is lengthy and troublesome, it includes several steps. We will tell you in detail about each type of work.
Preparation
For decorative plaster to firmly "adhere" to the base, you need to properly prepare the surface. To do this, you need to do:
- cleaning a brick or concrete wall, ceiling from dirt and previous cladding;
- removal of grease stains with the help of special means (such contamination can "appear" on a new decorative layer, the repair will have to be redone);
- sealing cracks, crevices and other defects with putty or cement-sand mortar (for large crevices it is recommended to use a plaster mesh);
- laying of waterproofing in places where water accumulates;
- primer the base 2 times to increase adhesion.
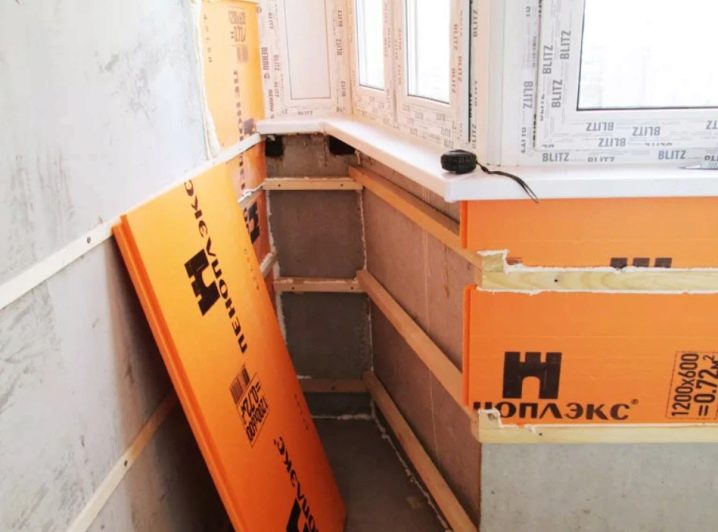
To protect window frames and door leaves from contamination with the working mixture, you need to paste over them with masking tape. For to make the room warmer, it is recommended to lay penoplex under the plaster. The slabs must be laid first on the ceiling, then on the wall under the window and lastly on the side partitions.
To fix the foam, you can use cement mortar, special glue, and for greater reliability, fix the plates with dowels (about 5-6 pieces per 1 m2).
Application of the composition
This step can only be started when the primer is completely dry. To prepare the plaster, you need to thoroughly mix the mixture with water in exact proportion to a homogeneous composition: for this, you can use a construction mixer or a drill with a special tip.
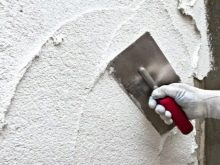
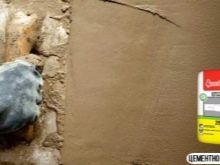
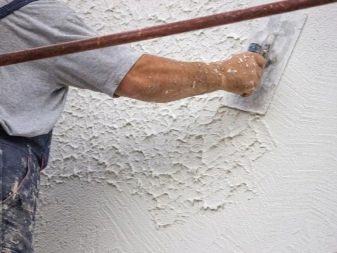
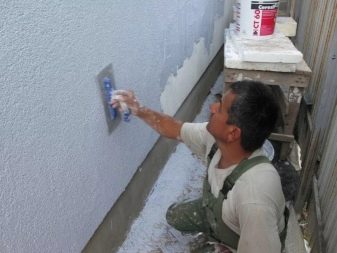
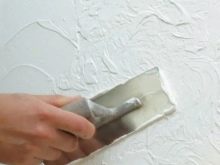
The prepared mass must be taken on a trowel and applied to a small area of the wall. The solution must be leveled so that the layer does not exceed 2 cm, and for some plasters - 1 cm (the manufacturer indicates the optimal thickness in the instructions). This can be done with a spatula or grater; it is convenient for someone to use the rule.
Stretching is one of the popular methods for applying plaster. To do this, use a trowel, keep it at an inclination of 60 degrees. After the solution "grasps" slightly, you need to wipe the surface with a float.
After completing the face layer, you need to start creating the relief. To do this, they resort to different design techniques:
- to imitate small stones, you need to make circular movements in one direction;
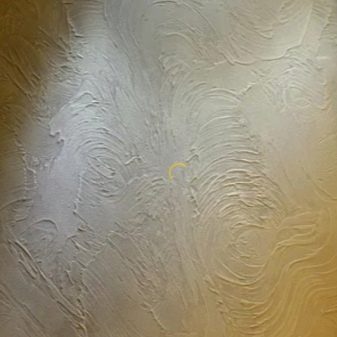
- to get the structure of "bark beetle", you need to make amplitude movements with a spatula in different directions;
- to get waves, the layers are rubbed using zigzag strokes;
- to obtain symmetrical and repeating patterns, you need to use rollers or stencils - they need to be carried over a damp surface.
If you use plaster with pebbles, you just need to wipe the solution smoothly - thanks to the filler, the texture will form itself.
Final
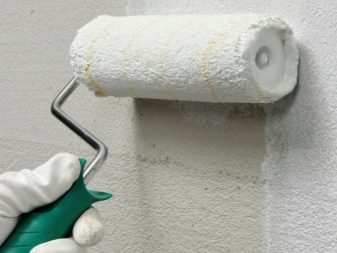
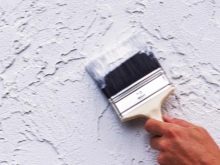
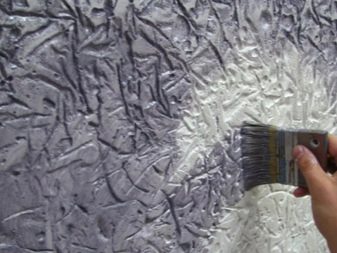
After the walls are dry (this will take at least 24 hours: the time depends on the air temperature, humidity), you can proceed to the final finishing decoration. If plaster was chosen for painting, you need to paint the walls using the optimal composition, spray gun, brush or roller. The paint must be applied in an even thin layer.
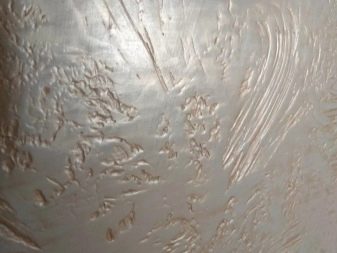
If the composition already contains pigment, you can give the surface a shine: for this, it should be varnished (some finishers use wax).
Follow-up care
The plastered surface does not need complex maintenance. The velvet look should be washed with a soft microfiber cloth and soapy water. Plaster with quartz additives is less demanding to maintain. A soft brush can be used to keep the veneer clean.
You got acquainted with the technique of finishing the balcony and loggia with decorative plaster with your own hands. Now you need to get down to business and make global changes to the interior of the room.
For finishing the balcony with decorative plaster, see below.
