All about storage boxes for vegetables on the balcony
The boxes for storing vegetables on the balcony are a real find for the owners of modest "Khrushchev" houses. From our article you will learn about the types of such vegetable stores, how to make them yourself and how to keep vegetables in a wooden chest in winter and summer.
Peculiarities
A storage box for vegetables on the balcony is indispensable for those who do not have a basement or cellar.
In it, potatoes and beets will not rot and freeze in winter cold.
And all thanks to the design features of the box. Such products have many advantages.
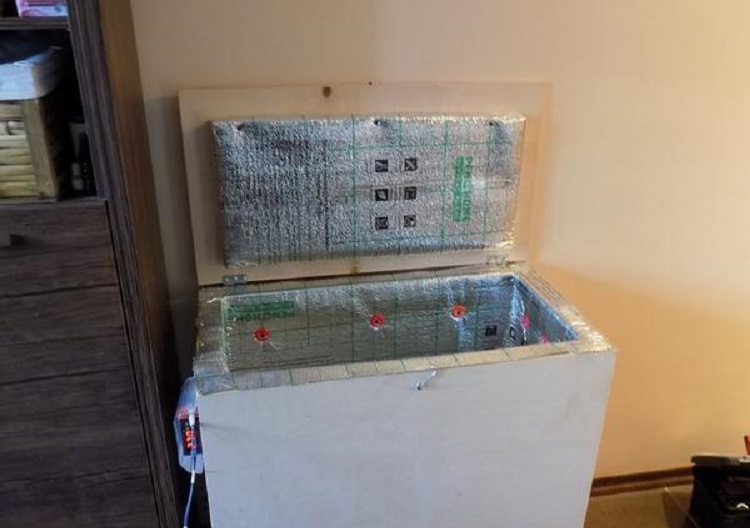
- The most important thing is that the walls are covered thermal insulation... Such a cabinet reliably insulates food from cold down to -30 ºС.
- Auto heating... Thanks to him, even in the most severe frosts, the temperature in the storage will be kept within plus 1-6 ºС.
- Simple construction. Each master will assemble a container for storing vegetables.
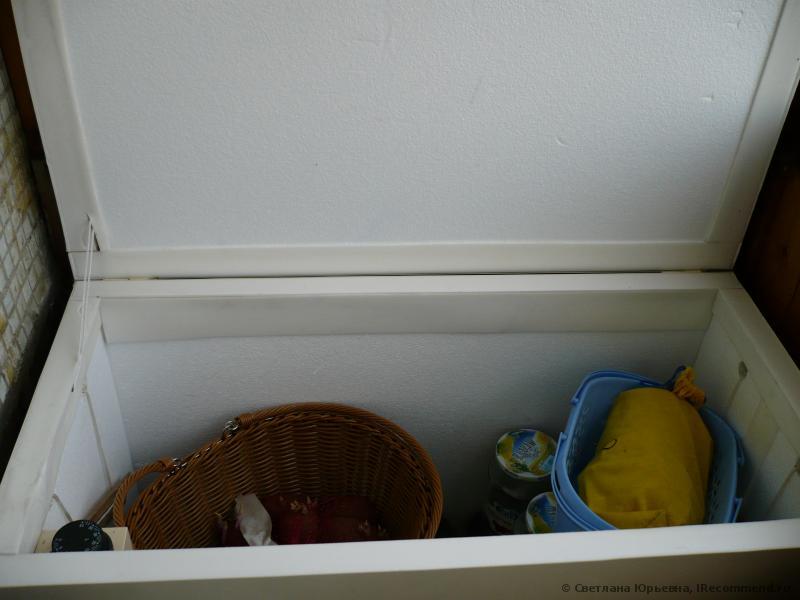
- Storage protected from harmful influences, such as moisture and temperature fluctuations. It will also hide problematic corners of the balcony. It can be used as a sofa or seat.
- This gives another plus - variety of sizes. You can collect a chest for both a narrow balcony and a spacious loggia. In this case, simple and cheap materials will be used.
- Hence the next advantage - low cost. In this case, it is not necessary to make a chest "from scratch", you can use an unnecessary bedside table or wardrobe.
However, the devices are not without drawbacks.
- The most unpleasant thing is the box turns out to be cumbersome. And nothing can be done about it. In harsh conditions, when the temperature drops to -25 ºС, the thickness of the insulation should be 10 cm. And when the winter is mild, and outside the window is not less than -15 ºС, the layer can be reduced to 5 cm. But all the same, thermal insulation will "eat" a lot of free space ... The problem can be reduced if the balcony is well insulated and a powerful heater is installed.
- If the thermo box is heated, then it must be connected to the network. To do this, you will have to lay wiring on the loggia, install a protected outlet. However, an outlet may be needed not only for a vegetable store.
- Although the energy consumption is small, you have to pay for it. For example, a 70 W heater will spend 50 kW per month (70 W * 24 h * 30 days), and over the winter - 150 kW. And this is not the most powerful option.
But if you add a thermal relay, then the heating will periodically turn off.
All these costs are offset by the fact that you always have a source of vitamins at your fingertips. It is enough to open the lid and select the desired product.
And there is no need to go to the store and buy goods at inflated prices when it is “out of season”.
Therefore, a balcony cabinet should definitely be considered for purchase.
Species overview
The simplest models are a box whose walls are covered with isolation... They do not have a heating source, they are only suitable for insulated loggias. And winters should be mild.
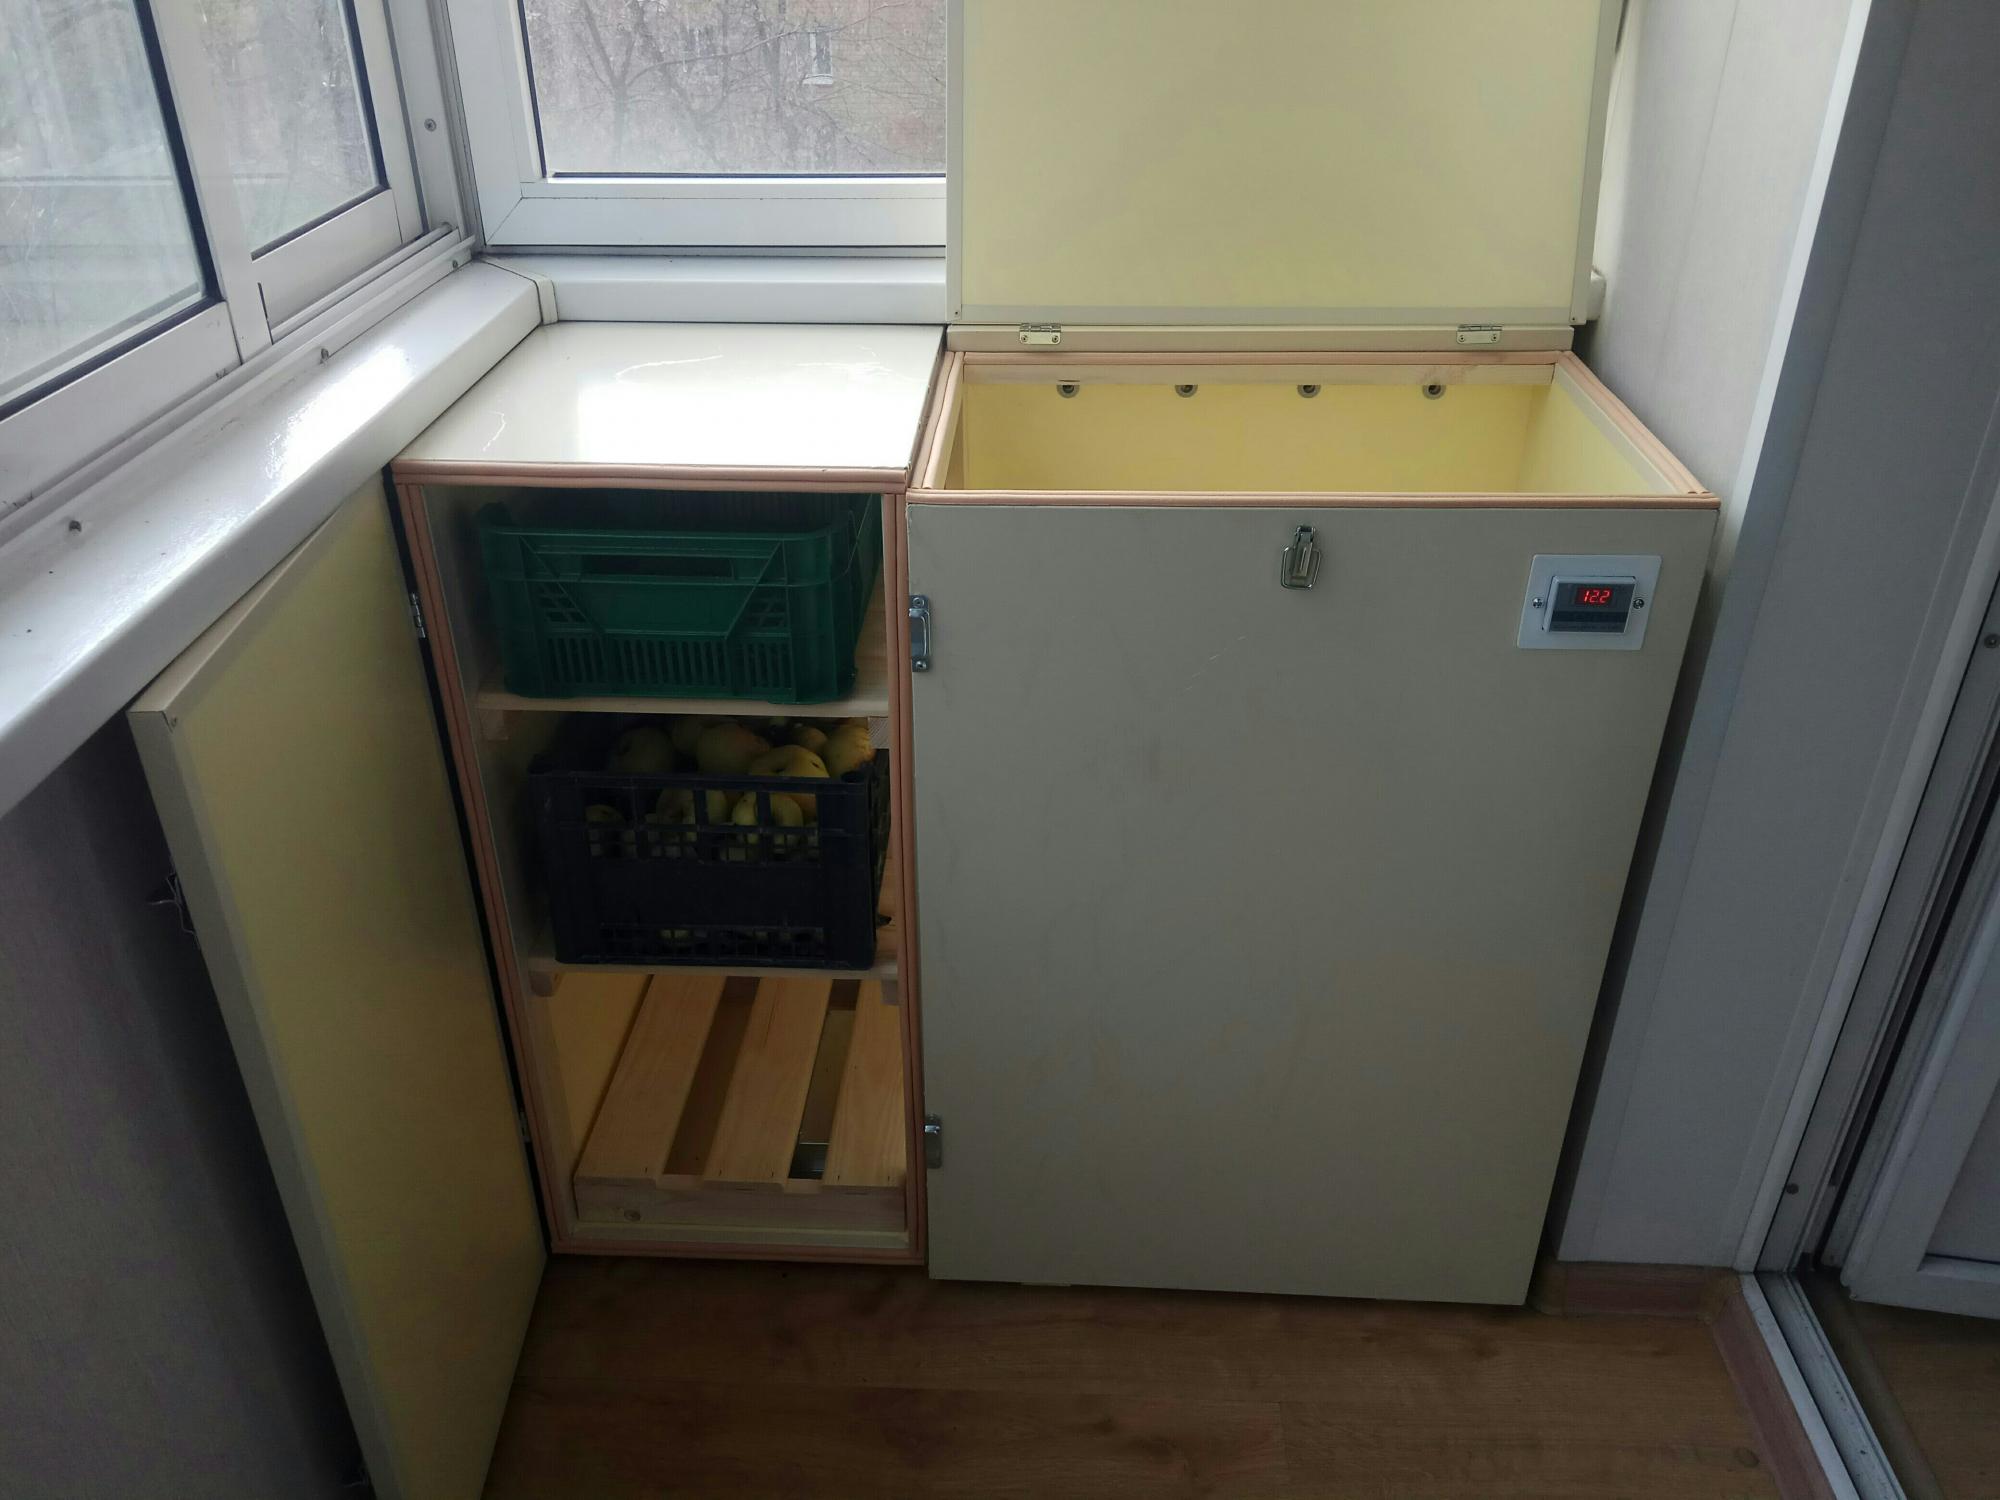
In most cases, a heat source is needed that will automatically maintain a temperature of 1-6 ° C. A thermometer is used to control it. Such devices preserve food better, therefore they are more common.
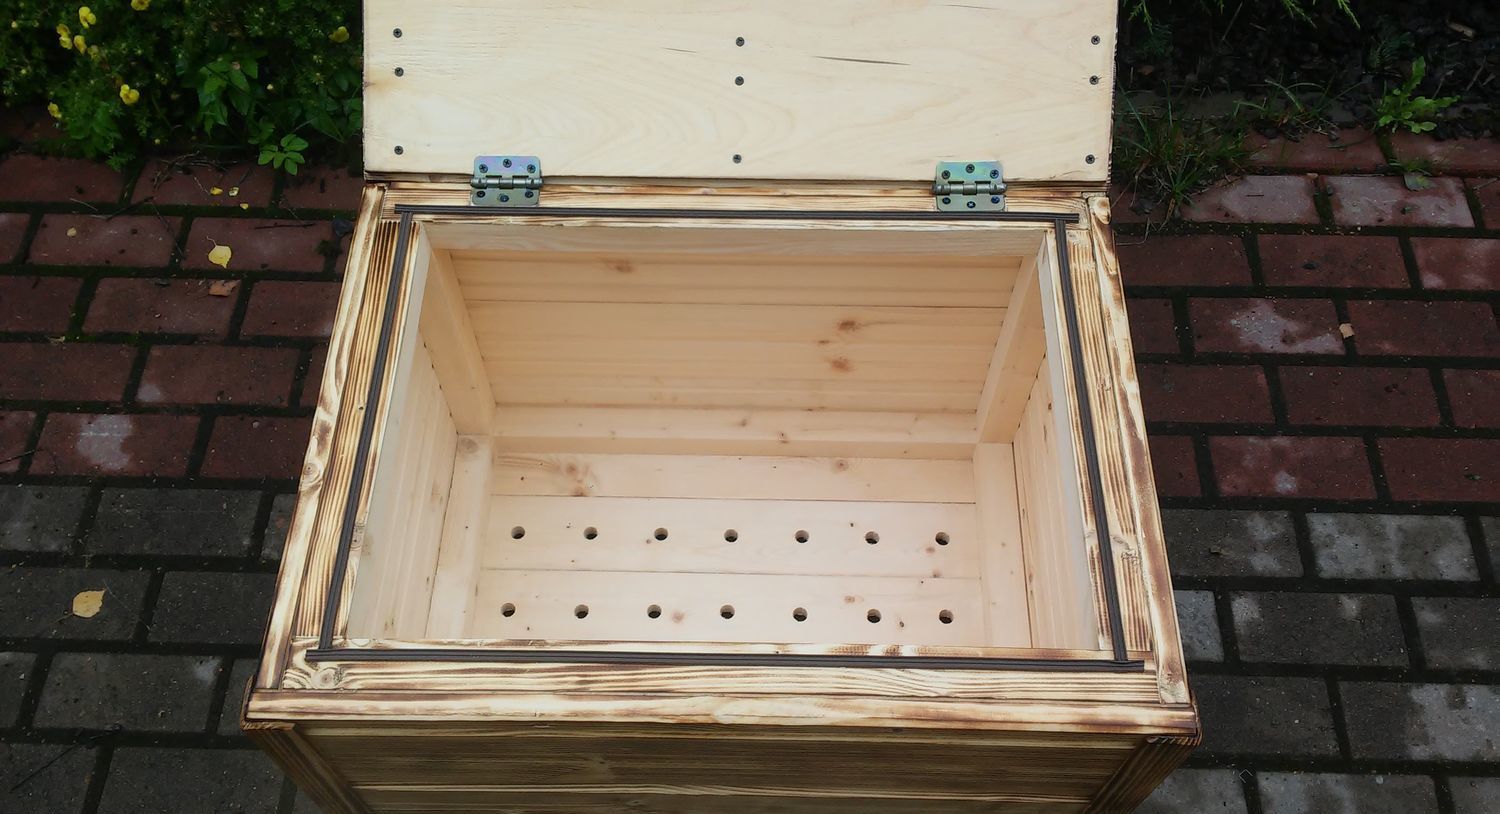
For storing food, in addition to heating, you need ventilation... Therefore, special holes are made in the walls of the ovens. And to increase the air flow, a fan is built into the cabinet.

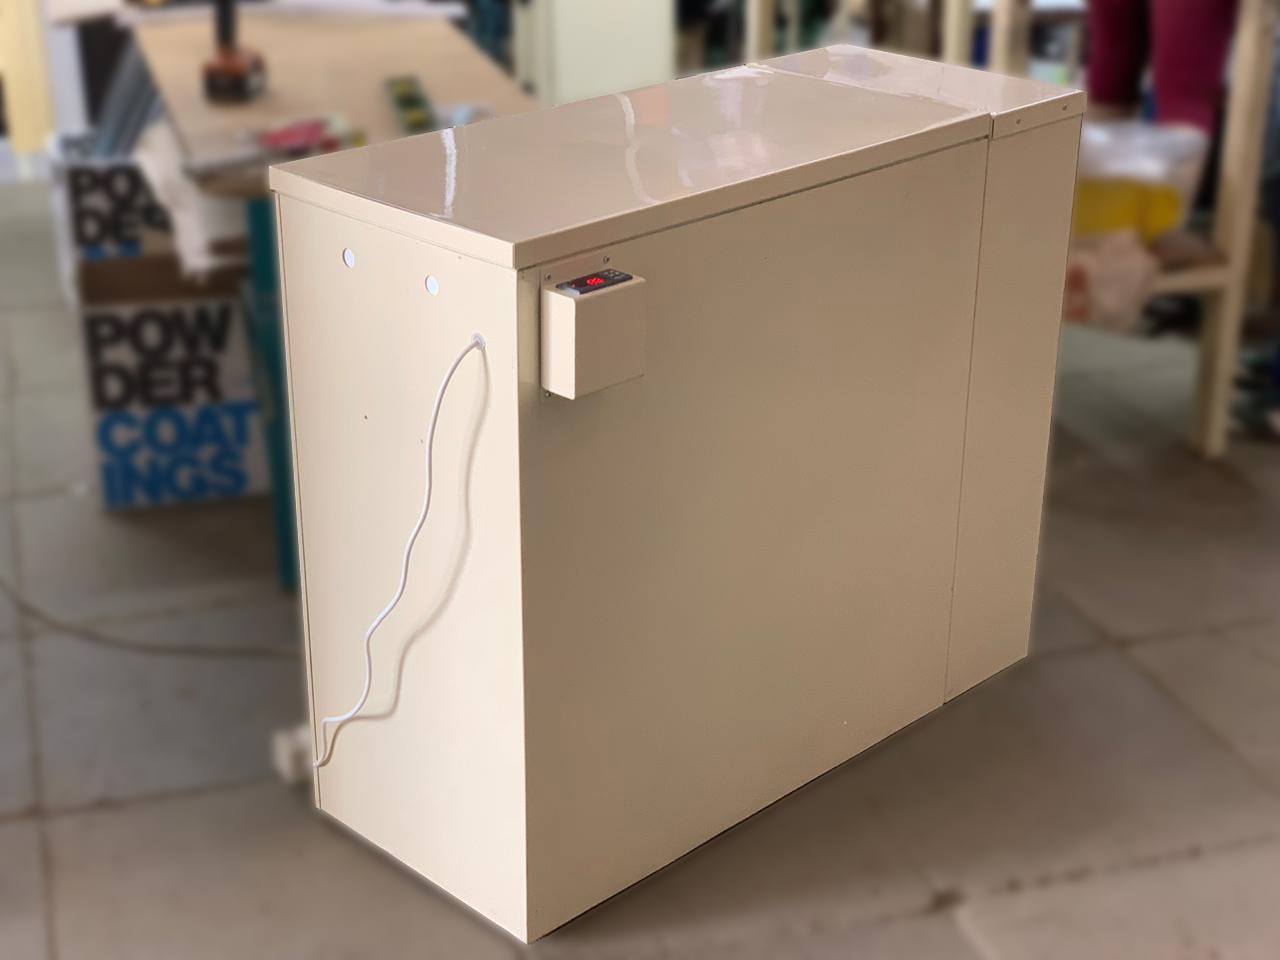
Serial isothermal containers for vegetables automatically maintain the set temperature. Here are two good models.
- Cellar 2. Its internal volume is 160 liters, it warms up from +3 to +10 ºС at an air temperature outside the window up to -40 ºС. The device will automatically turn on if the chamber cools down to +2 ºС.There is ventilation, and the set includes a partition that separates different types of vegetables. The device costs around 7,000 rubles.
- Cellar 3. Its internal volume is slightly larger - 200 liters. The rest of the characteristics are the same. And the price does not differ much.
Most of the storage facilities are classic rectangular.
Usually they are placed under the windowsill, where they do not take up much space. But they do not always fit in tight spaces.
Therefore, there are other types of boxes.
A special variety is observed among homemade designs.


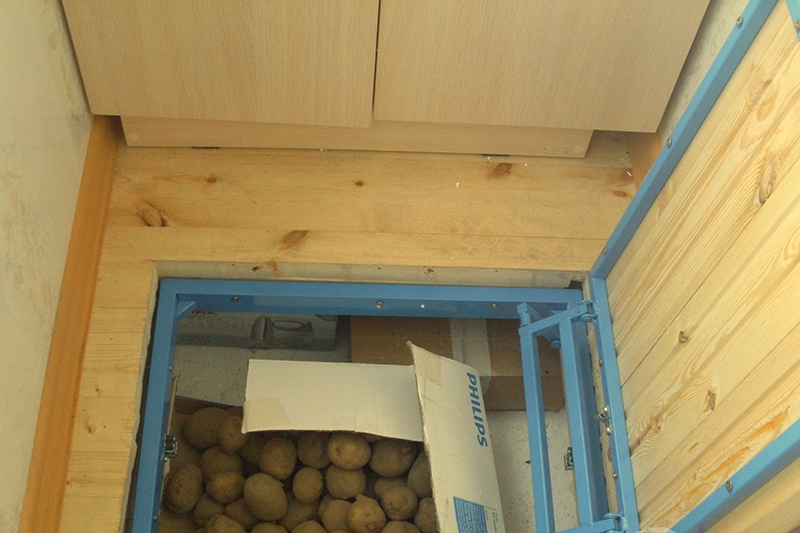
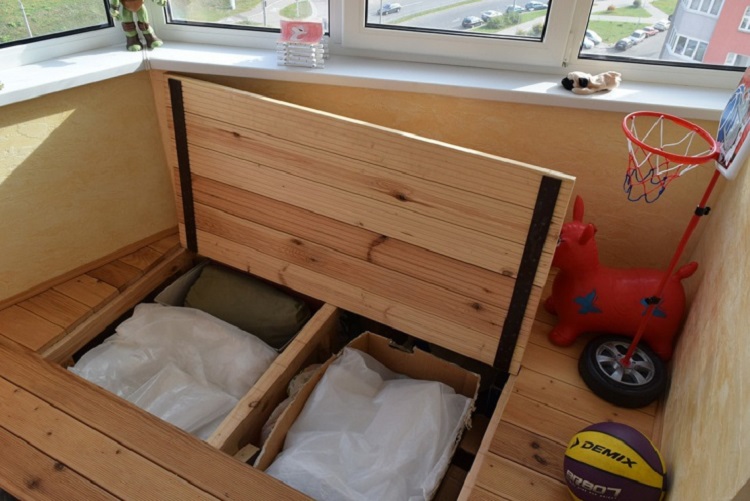
Podiums
Occupy the entire available area of the loggia... Food is stored between the balcony floor and the podium deck and is removed through the lid. The flooring can withstand the mass of people and furniture that stands on the loggia.
Advantage - the vegetable box does not occupy a useful area, and the volume is created due to the height of the podium... The design is completely hidden and unobtrusive.
There are more disadvantages. It is difficult to make such a box, it will take a lot of material. Due to the increase in the total height of the floor, a threshold is obtained at the transition to the loggia. Careless people can fall. And if the platform is high, then you will additionally have to make a step.
It can be inconvenient to get food through the lid. And the handle should be recessed so that the legs do not cling to it.
Nevertheless, the podium is the best option for small balconies when other types of boxes are difficult to place.
But if there is a place, then it is easier to establish the classic type.
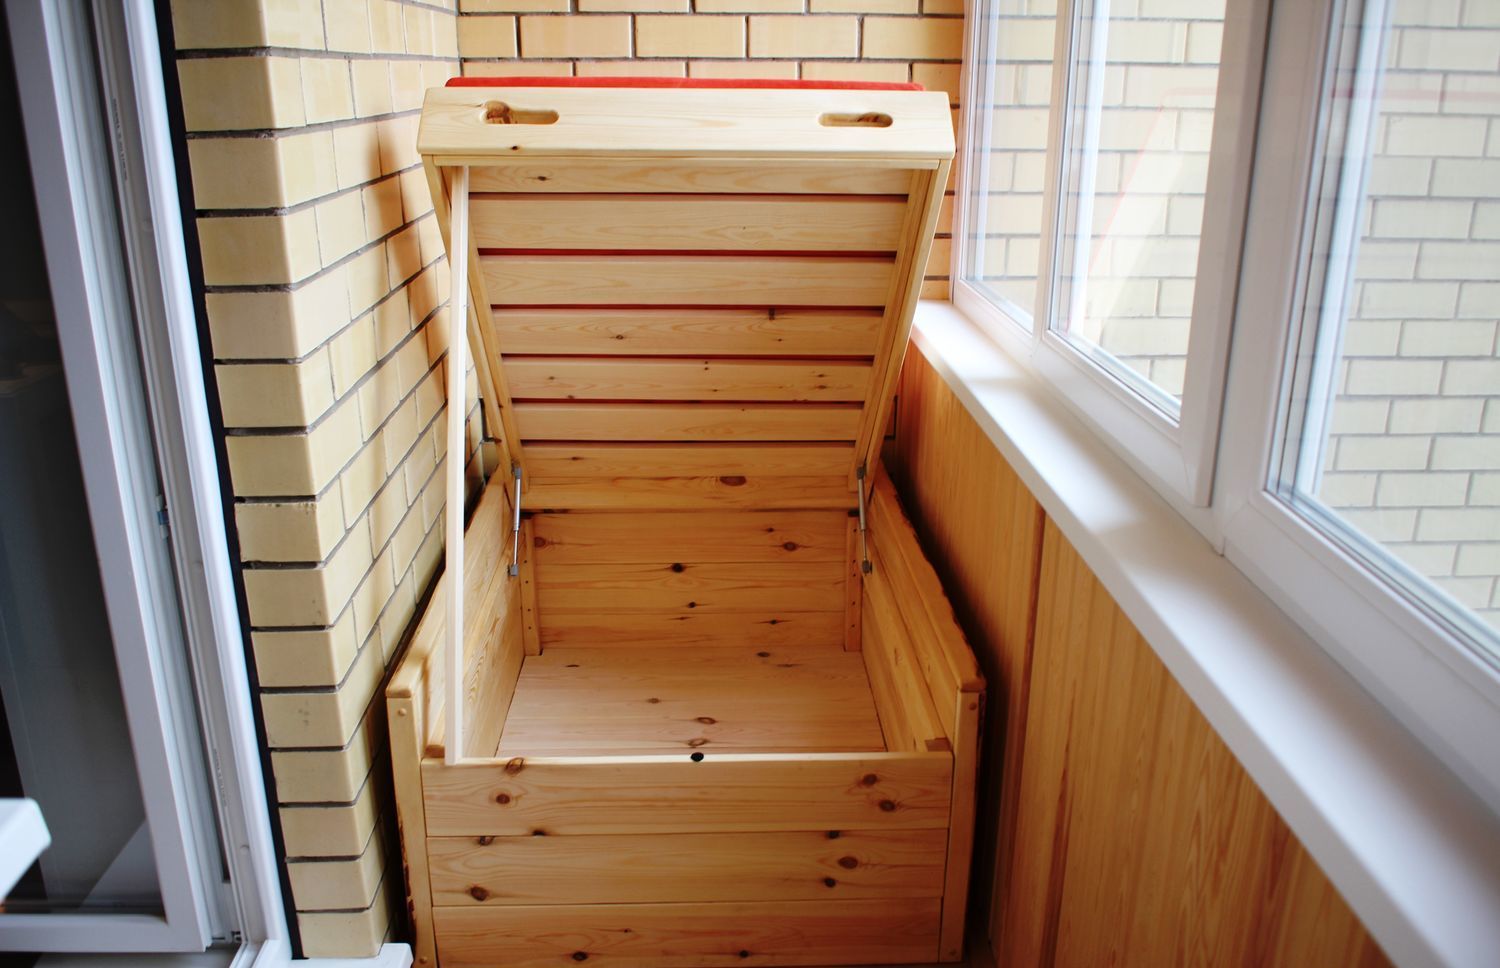
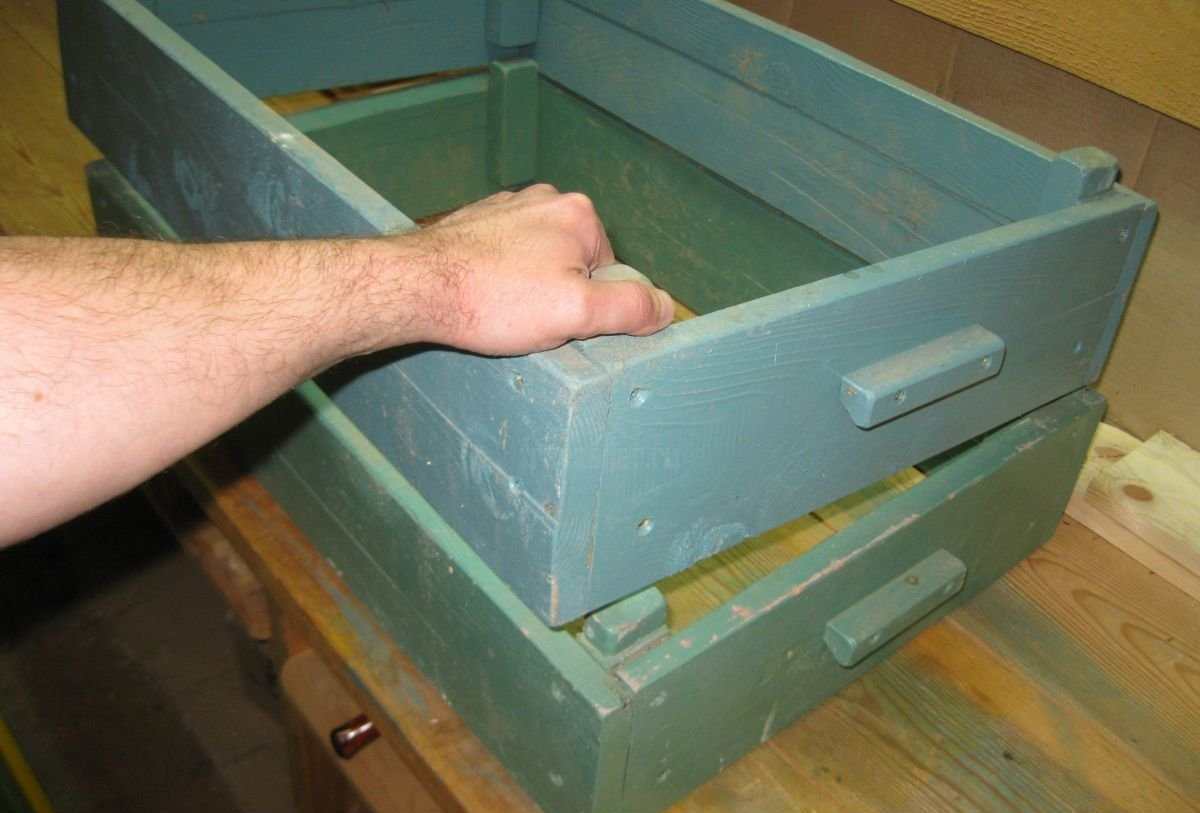
Rectangular drawers with lid
They are simple in design and do not require large manufacturing costs. They are usually low, up to 100 cm high.
The disadvantage is that the products are not very convenient to load and take out.
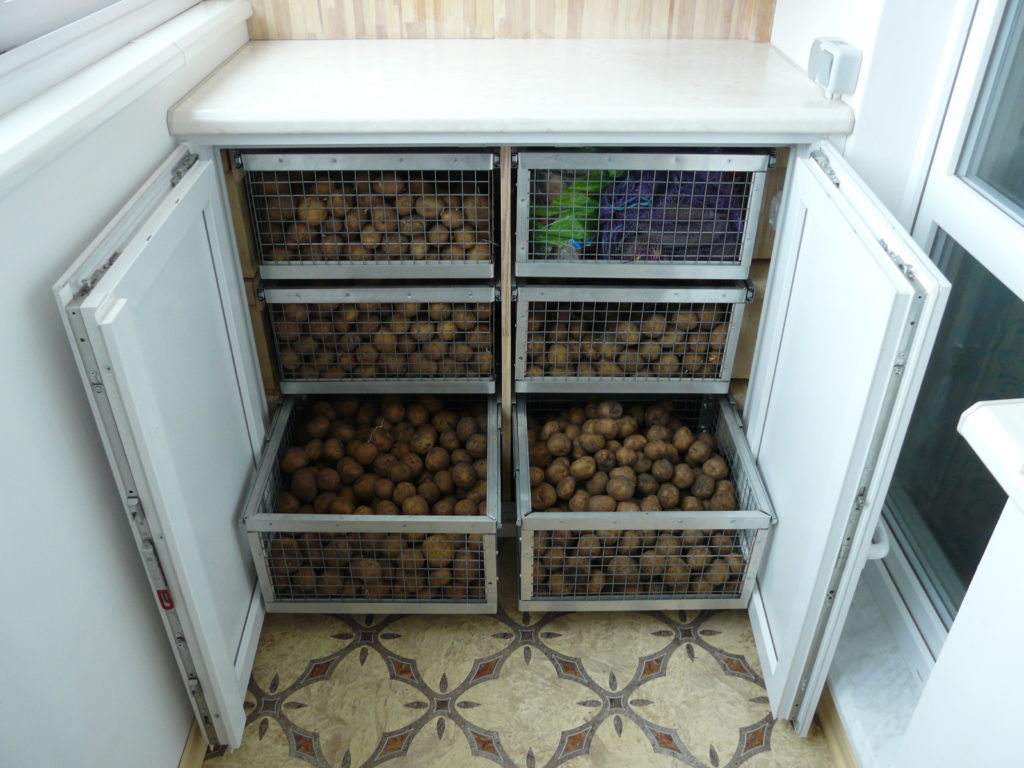
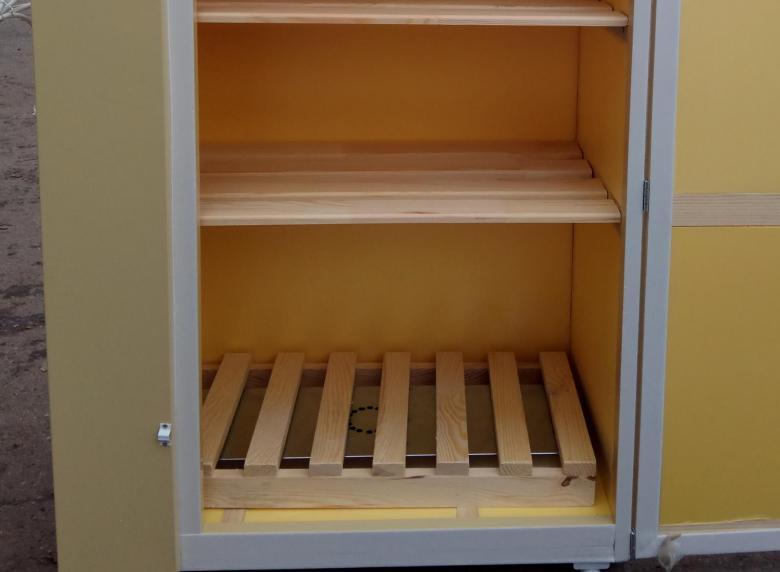
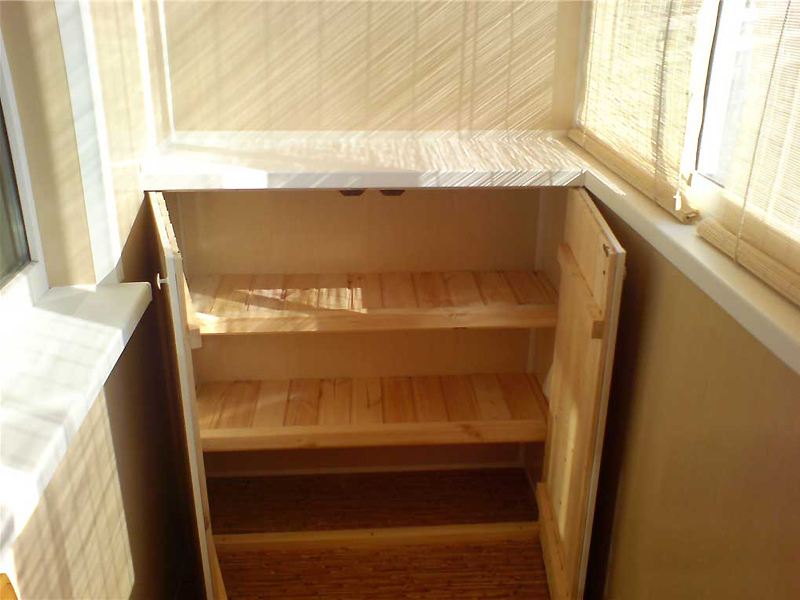
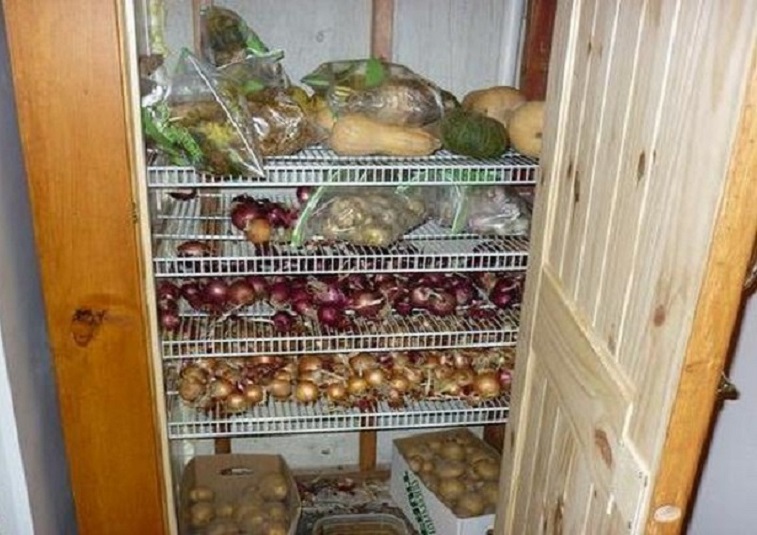
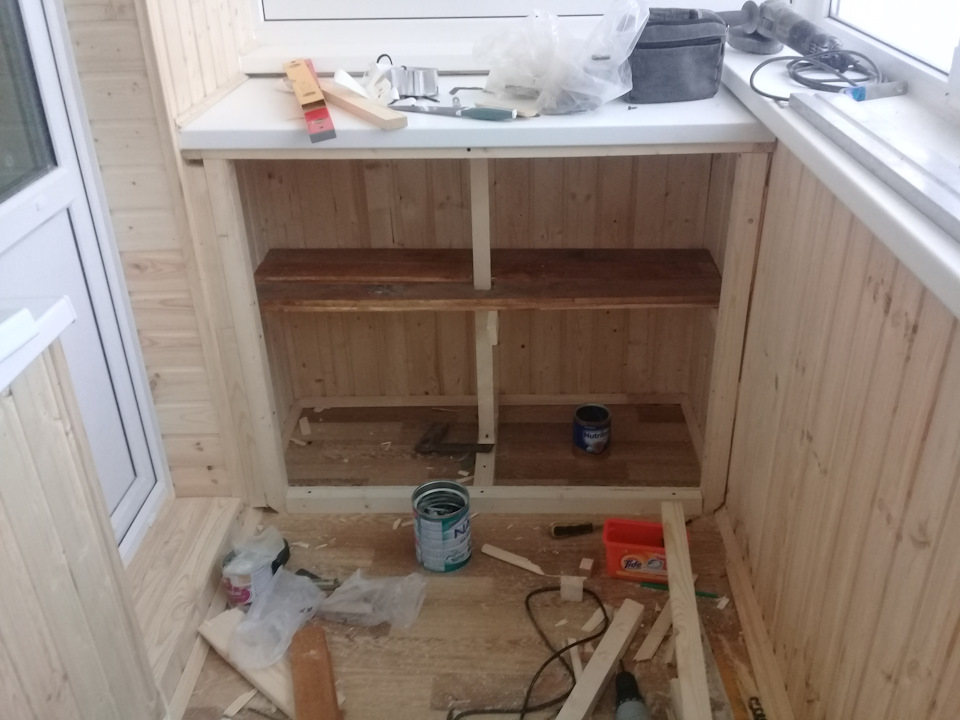
Cabinets with doors
They are low, up to the size of the windowsill. And there are high, under the ceiling. These will hold more reserves.
These models are the most comfortable... They have more shelves and drawers, so food can be sorted. The heating element is located at the bottom, and the warm air heats up the entire contents well.
Thermo boxes are able to keep food throughout the winter. And if you do not have such a device, then make it yourself.
How to do it yourself?
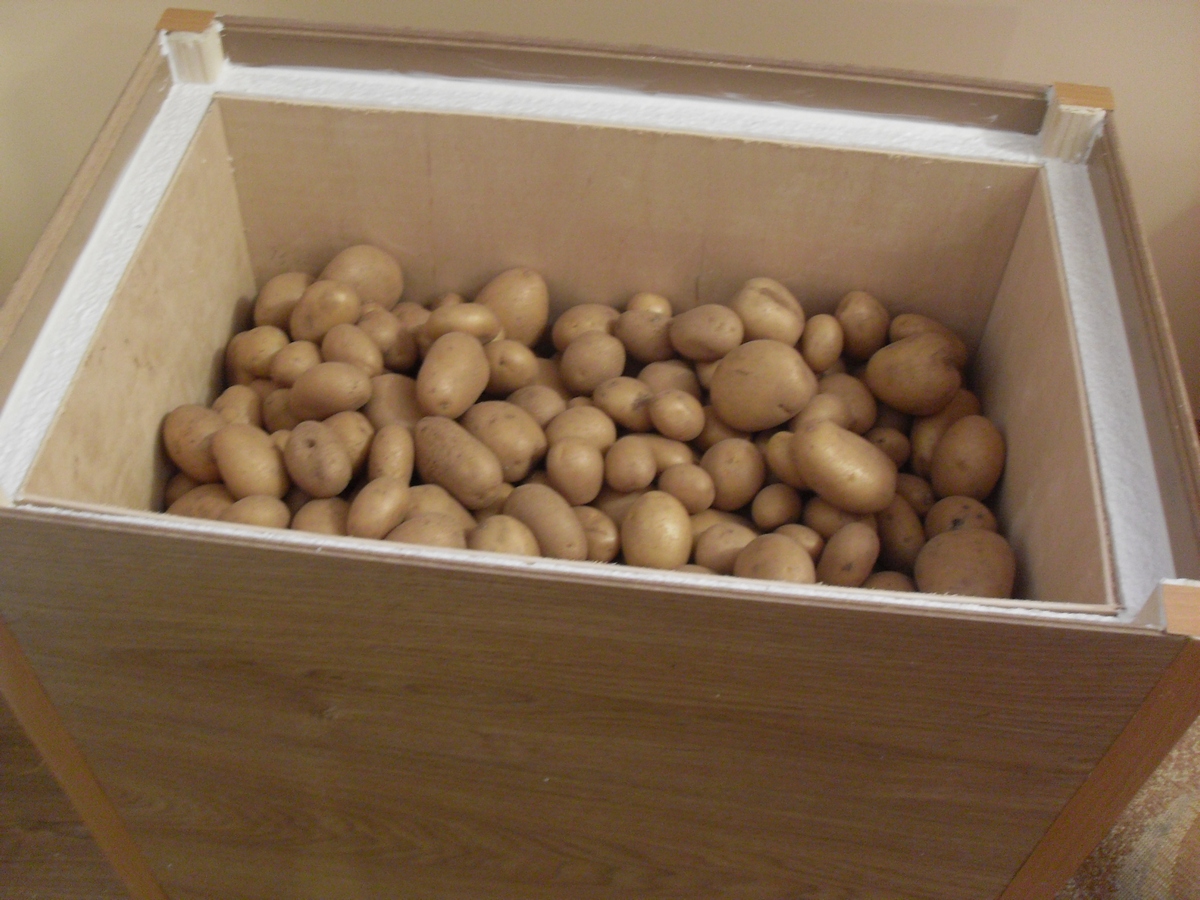
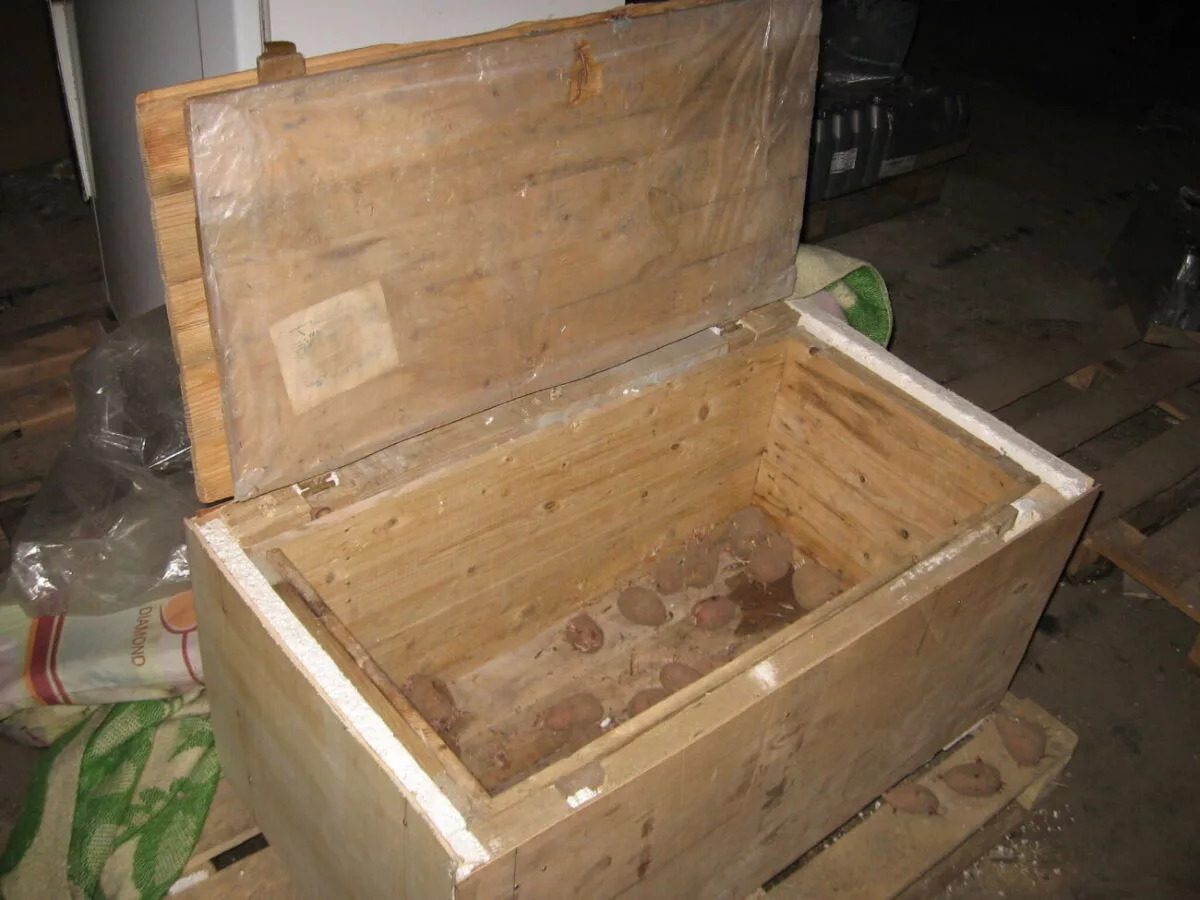
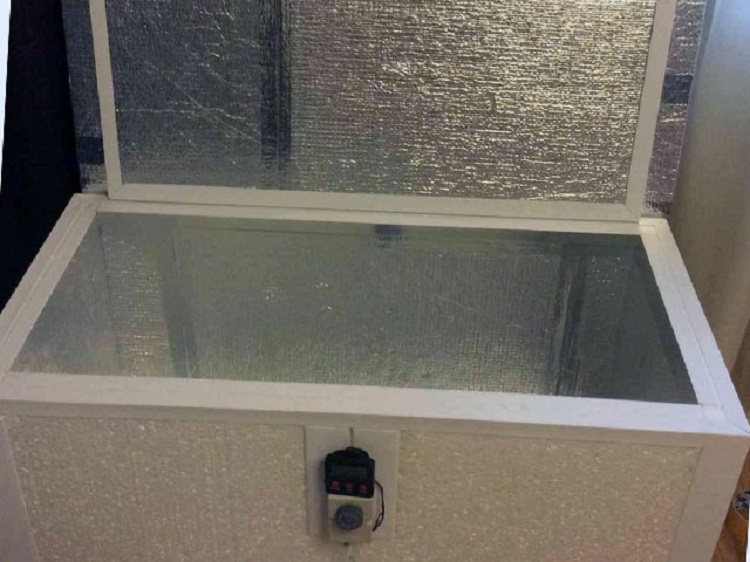
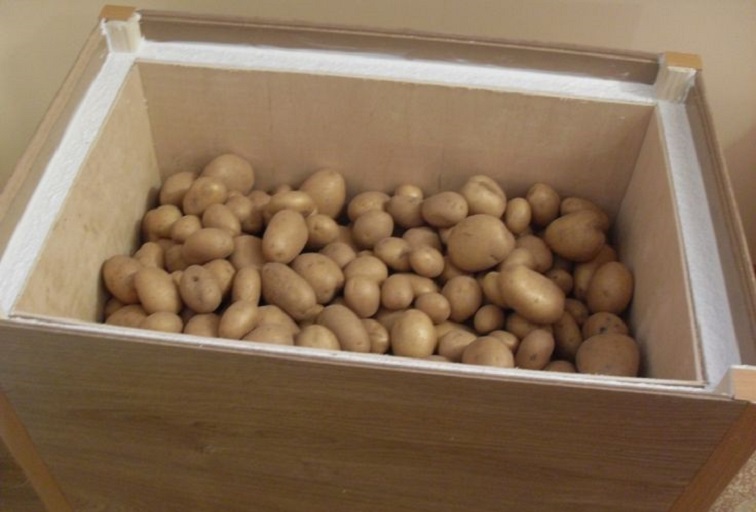
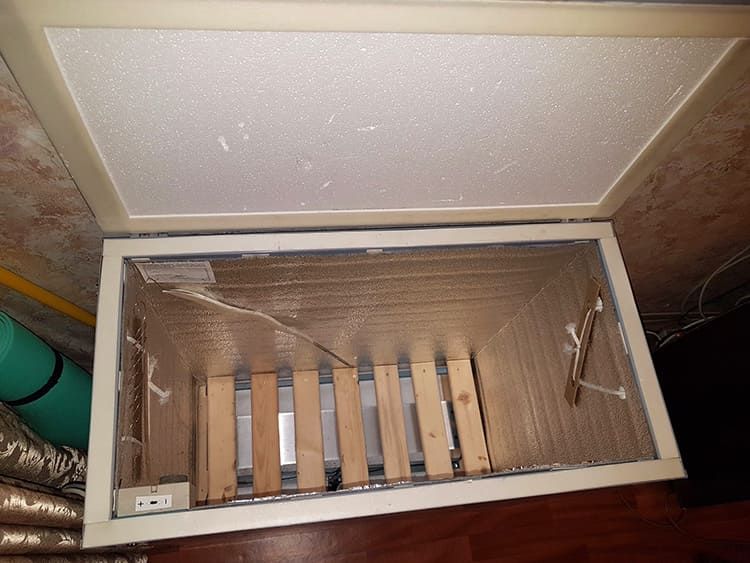
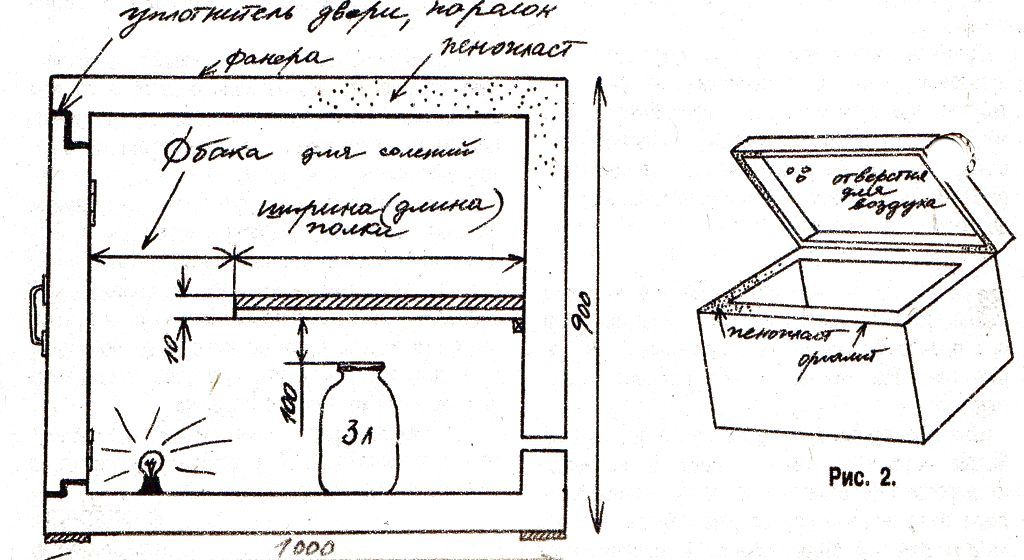
The vegetable store has a simple design. This is a wooden box with double walls, the gap between which is filled with insulation. The heater can be an incandescent lamp or heating mat.
You can assemble such a device from an old bedside table, if it is well insulated. But if it is not there, then it will not be difficult to assemble the container from scratch.
Tools and materials
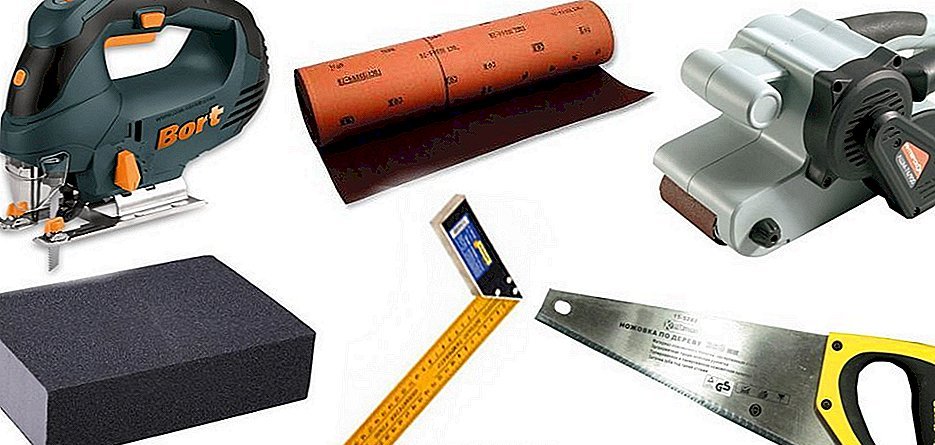
From the tools you will need the following:
- pencil, tape measure - to prepare the drawing;
- saw, jigsaw;
- sandpaper;
- a knife to cut the insulation;
- screwdriver, drill or screwdriver;
- paint brushes;
- vacuum cleaner.
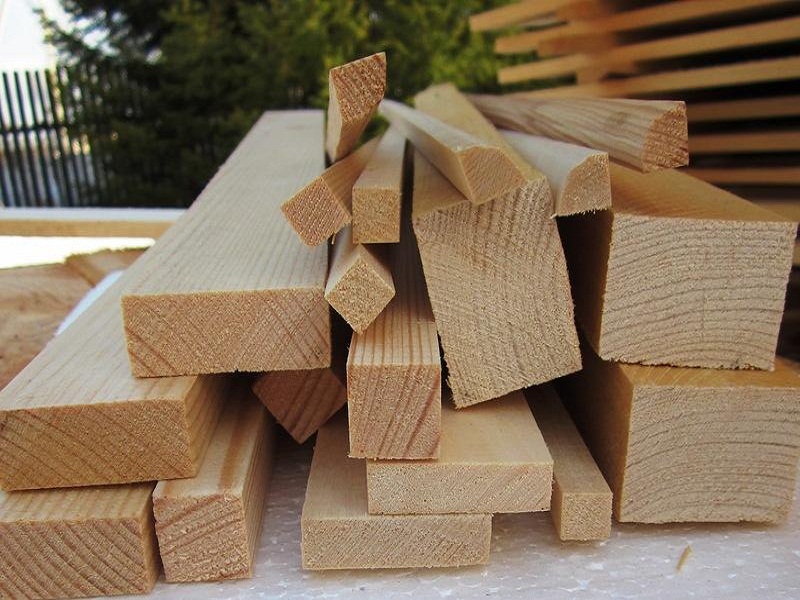
The construction uses the simplest materials:
- bars and thick boards are needed to create a frame;
- lining, chipboard, plywood, thin boards or fiberboard will serve as decoration;
- insulation can be anything - fiberglass, mineral wool, polystyrene, budget solutions are also suitable - old blankets, wood sawdust;
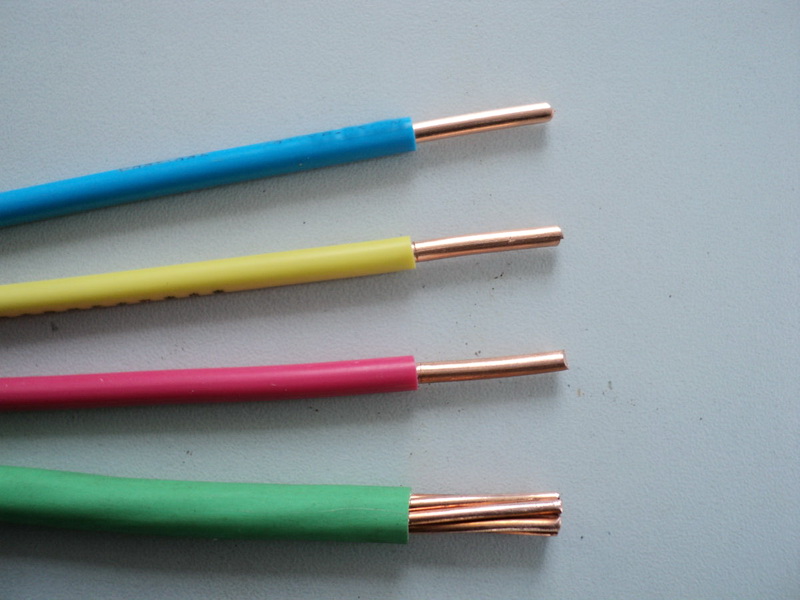
- electrical wires with a cross section of 1-1.5 mm²;
- furniture hinges;
- primer, fire resistant paint.
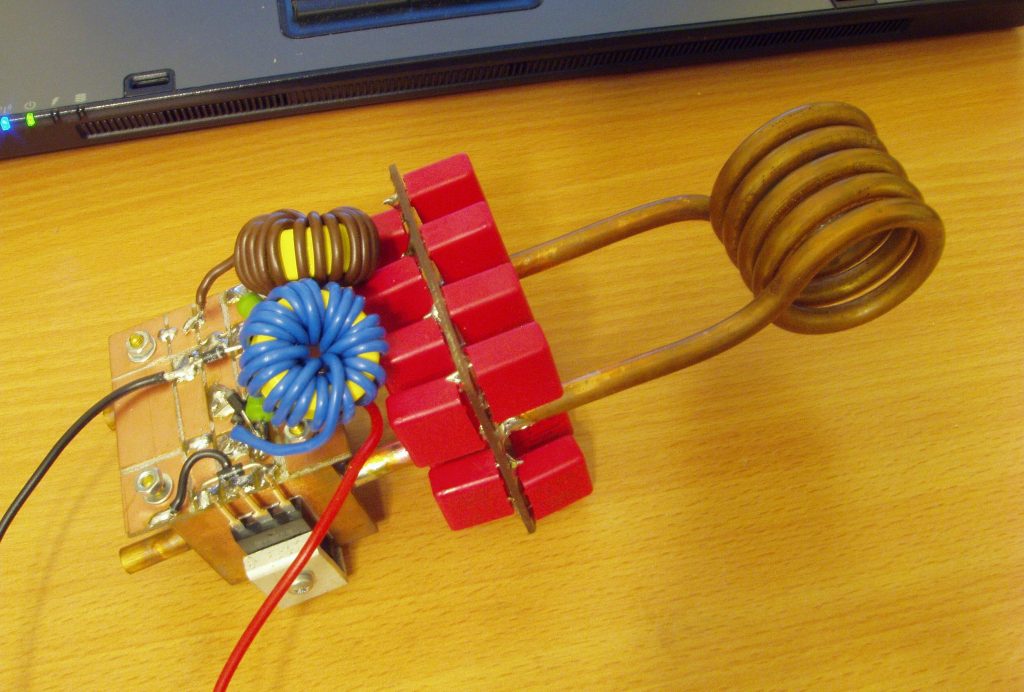
A separate device is a heater. Available solution - incandescent lamps. For heating a large cabinet, 2 pieces of 60 W each are enough.
Lamp holders must be ceramic. In which case they will not melt.
Resistor with the same power dissipation... Its resistance is 700 - 1000 Ohm, and it connects directly to the 220 V network. The advantage is that all the energy is spent on heating, there is no loss for lighting.
For good warm-up, it is better to use not one powerful source, but several weaker ones. They need to be connected in series (the same current will pass through them, and they will heat up evenly).
Heating mats - the simplest solution... They come ready-made and immediately plug into an outlet. Choose high quality expensive models, as cheap ones can catch on fire.
The heater definitely needs protection - metal casings that can be made from tin, sheet steel and even aluminum cans. The mesh is less suitable, because dust and dirt from unwashed products through the cells can get onto the heater. In the worst case, it will cause a fire.
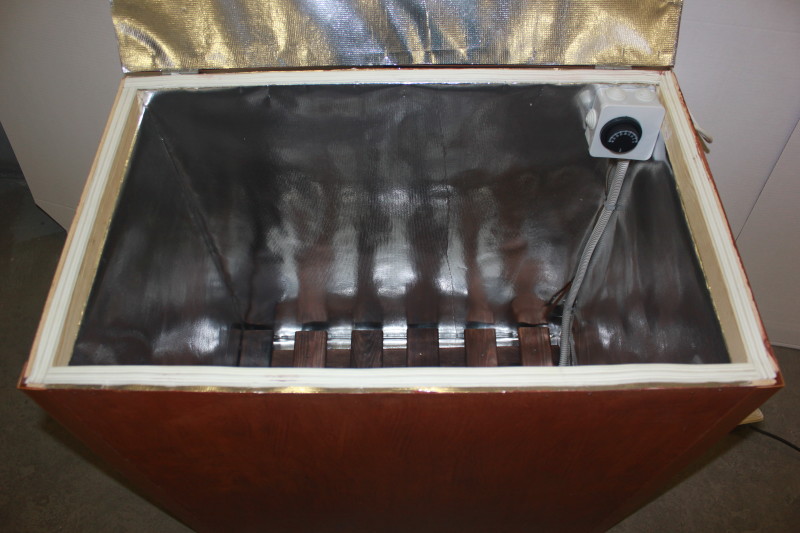
To automatically turn off the heater, you need a temperature switch. For example, the Iskra-300-B thermostat. To install it, place the probe with the sensor inside the cabinet, and connect the input contacts of the heater to the relay output.
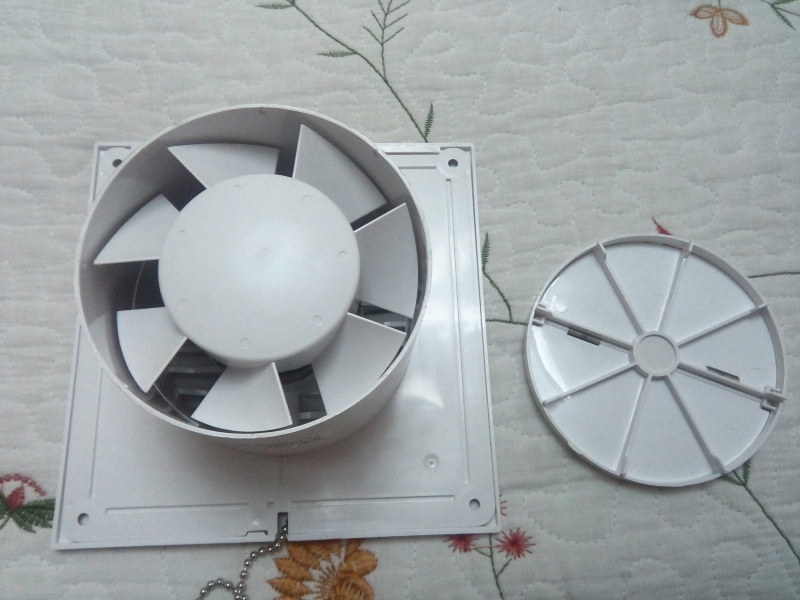
And to improve air circulation, you need a fan, which can be removed from an old kitchen hood or purchased separately. Just make sure that its voltage matches the mains... Otherwise, you will have to install a transformer, assemble an electrical circuit. However, the small fan can be powered via a USB adapter.

If you are using incandescent bulbs, place them so that they can be easily replaced. Then you don't have to get out all the products to replace the light bulb.
When all the materials are prepared, you can proceed to the assembly.
Manufacturing steps
The most important thing is to carefully measure the available space and prepare a drawing. Then get to work.
Important! Observe safety precautions.
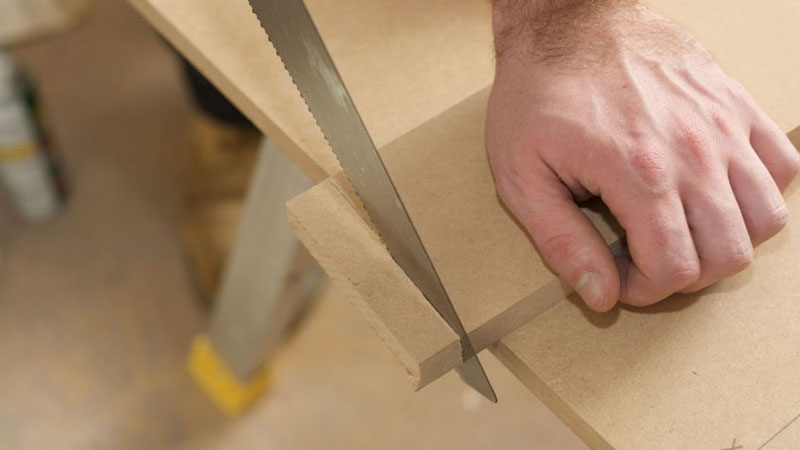
- Cut the planks and plywood into pieces of the correct size. Leave an allowance of 0.5-1 mm for processing the ends, which then finish with sandpaper.
- Assemble the frame from the bars. Use steel corners and self-tapping screws.
- Place the inner walls of plywood.
- Install the heater. Don't forget to protect it.
- Secure the insulation. It can be glued to the walls with mounting glue or PVA.
- Install the outer walls.
- Use the same technology to make a cover or doors. Drill holes in them for ventilation.
- Paint the item with fire resistant paint.
- Attach a padded seat if desired.
The vegetable box is ready.
Tips for storing vegetables
Our tips will help you keep food in your apartment well.
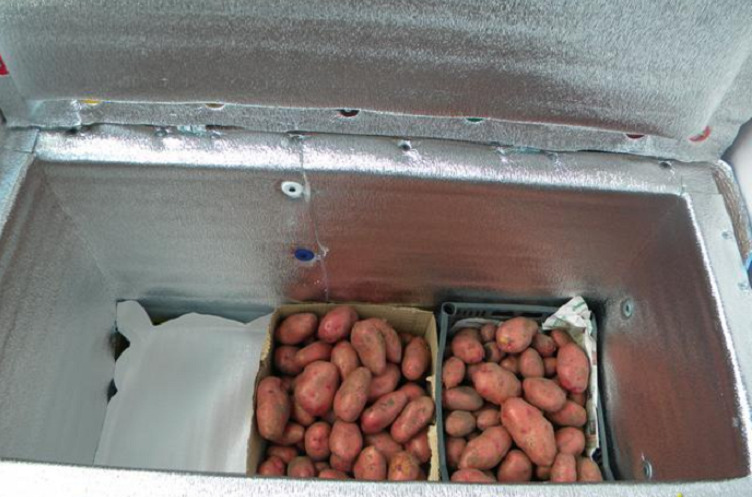
- Potato keep in winter at a temperature of plus 1-5 ºС and a relative humidity of 80-90%. It is better to store it in wooden boxes or cloth bags, as it will quickly deteriorate in plastic bags. If there are no boxes, then it can be stored in bulk. The layer height should not exceed 100 cm.
- Carrot stored under the same conditions. It is advisable to sprinkle it with sand. You need to cut off the tops from it, but it is better to leave 1.5-2 cm of the tail.
- Cabbage you need to provide enhanced ventilation. Do not cut the outer leaves, they will protect the vegetable from wilting.
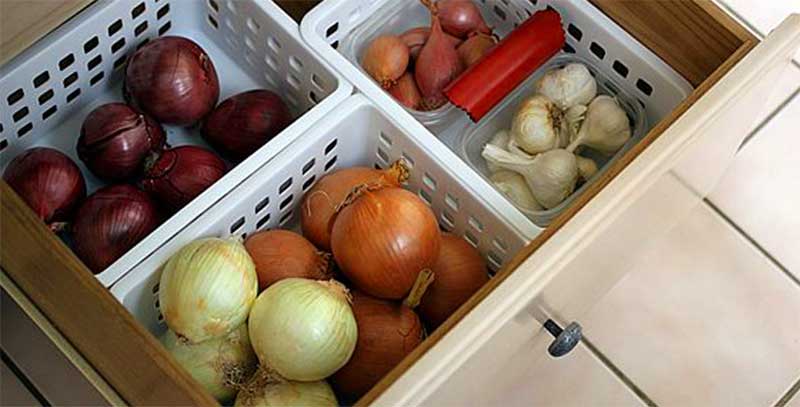
- Onion and garlic dry before storing. It is best not to keep them together as garlic needs higher moisture than onions.
- Zucchini, radishes and beets unpretentious to storage conditions.
You can keep food in the box not only in winter, but also in summer. To do this, increase the supply of fresh air. Install multiple fans and widen the vents, or just leave the doors open.
For the storage box for vegetables on the balcony, see below.


