Everything about corner wardrobes for the balcony and loggia
Corner cabinets for the balcony and loggia not only look beautiful, but are also characterized by a wide range of functions. From our article you will find out what types of corner cabinets are, what materials are made of, where it is better to place them and how to make such furniture with your own hands.
Peculiarities
A well-furnished loggia will not only serve as a great place to relax, but will also help to place things in the apartment. You can hide a lot of everything you need in corner cabinets on the balcony:
- down jackets, jackets and other outerwear;
- bedding, suitcases;
- wardrobe items: sweaters, pants and much more;
- summer and winter footwear for seasonal storage;
- building materials, paints, solvents;
- canned food in case of an epidemic.
Things will be reliably protected from dust, sun and other harmful influences. And most importantly, they will not take up extra space in the apartment.
This is especially true for the close "Khrushchev".
You cannot put a standard cabinet on the balcony - it will take up too much space, or it will not fit at all. But special corner options are ideal for loggias, since they have a number of features.
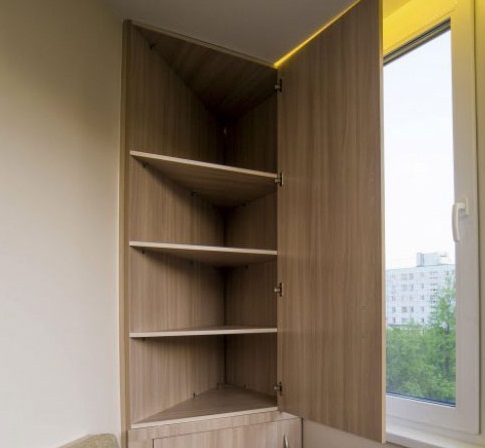
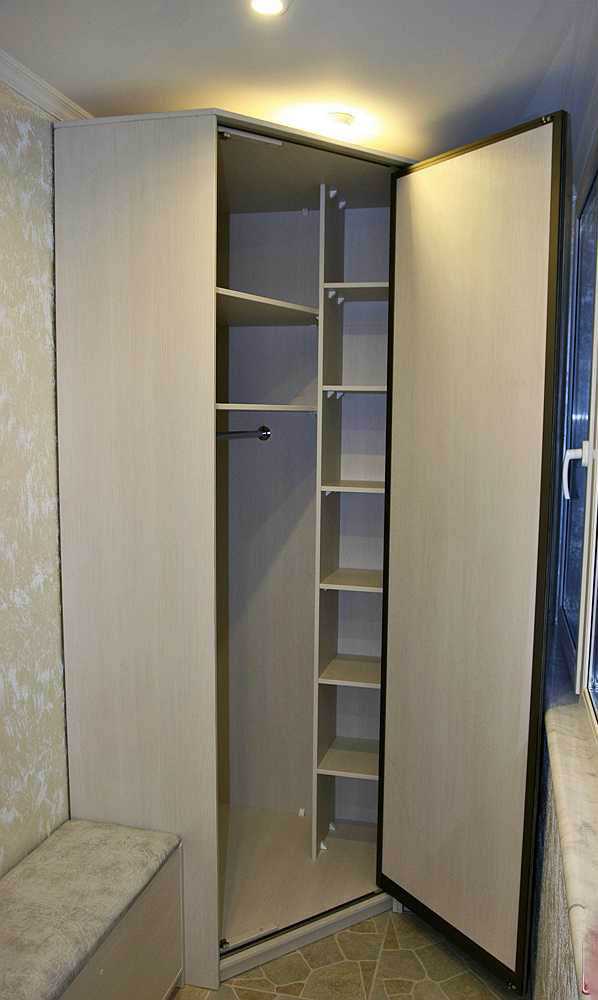
- Spaciousness... All the necessary items can be placed on shelves, drawers and niches. And thanks to the non-standard design, even such bulky items as skis and ironing boards will fit into the cabinet.
- Beautiful decoration of the balcony. The furniture does not stand out against the general background, but complements the interior decoration of the loggia. It also helps hide the corners. This is useful if the finish is not perfect.
- Non-standard shapes and sizes... The wardrobe does not take up much space on narrow balconies and is suitable for balconies of any layout.
The locker will protect things from temperature extremes that occur in unheated loggias.
It will visually align the protruding corners of the space, add comfort and style to the balcony. And thanks to the wide range of products, everyone will find the perfect model.
Variety of species
The lockers will fit into any interior. With their help, you can create any style: from eco-to steampunk. You can pick up furniture of various shapes, sizes, designs.
By form
Furniture is divided into several types according to its shape.
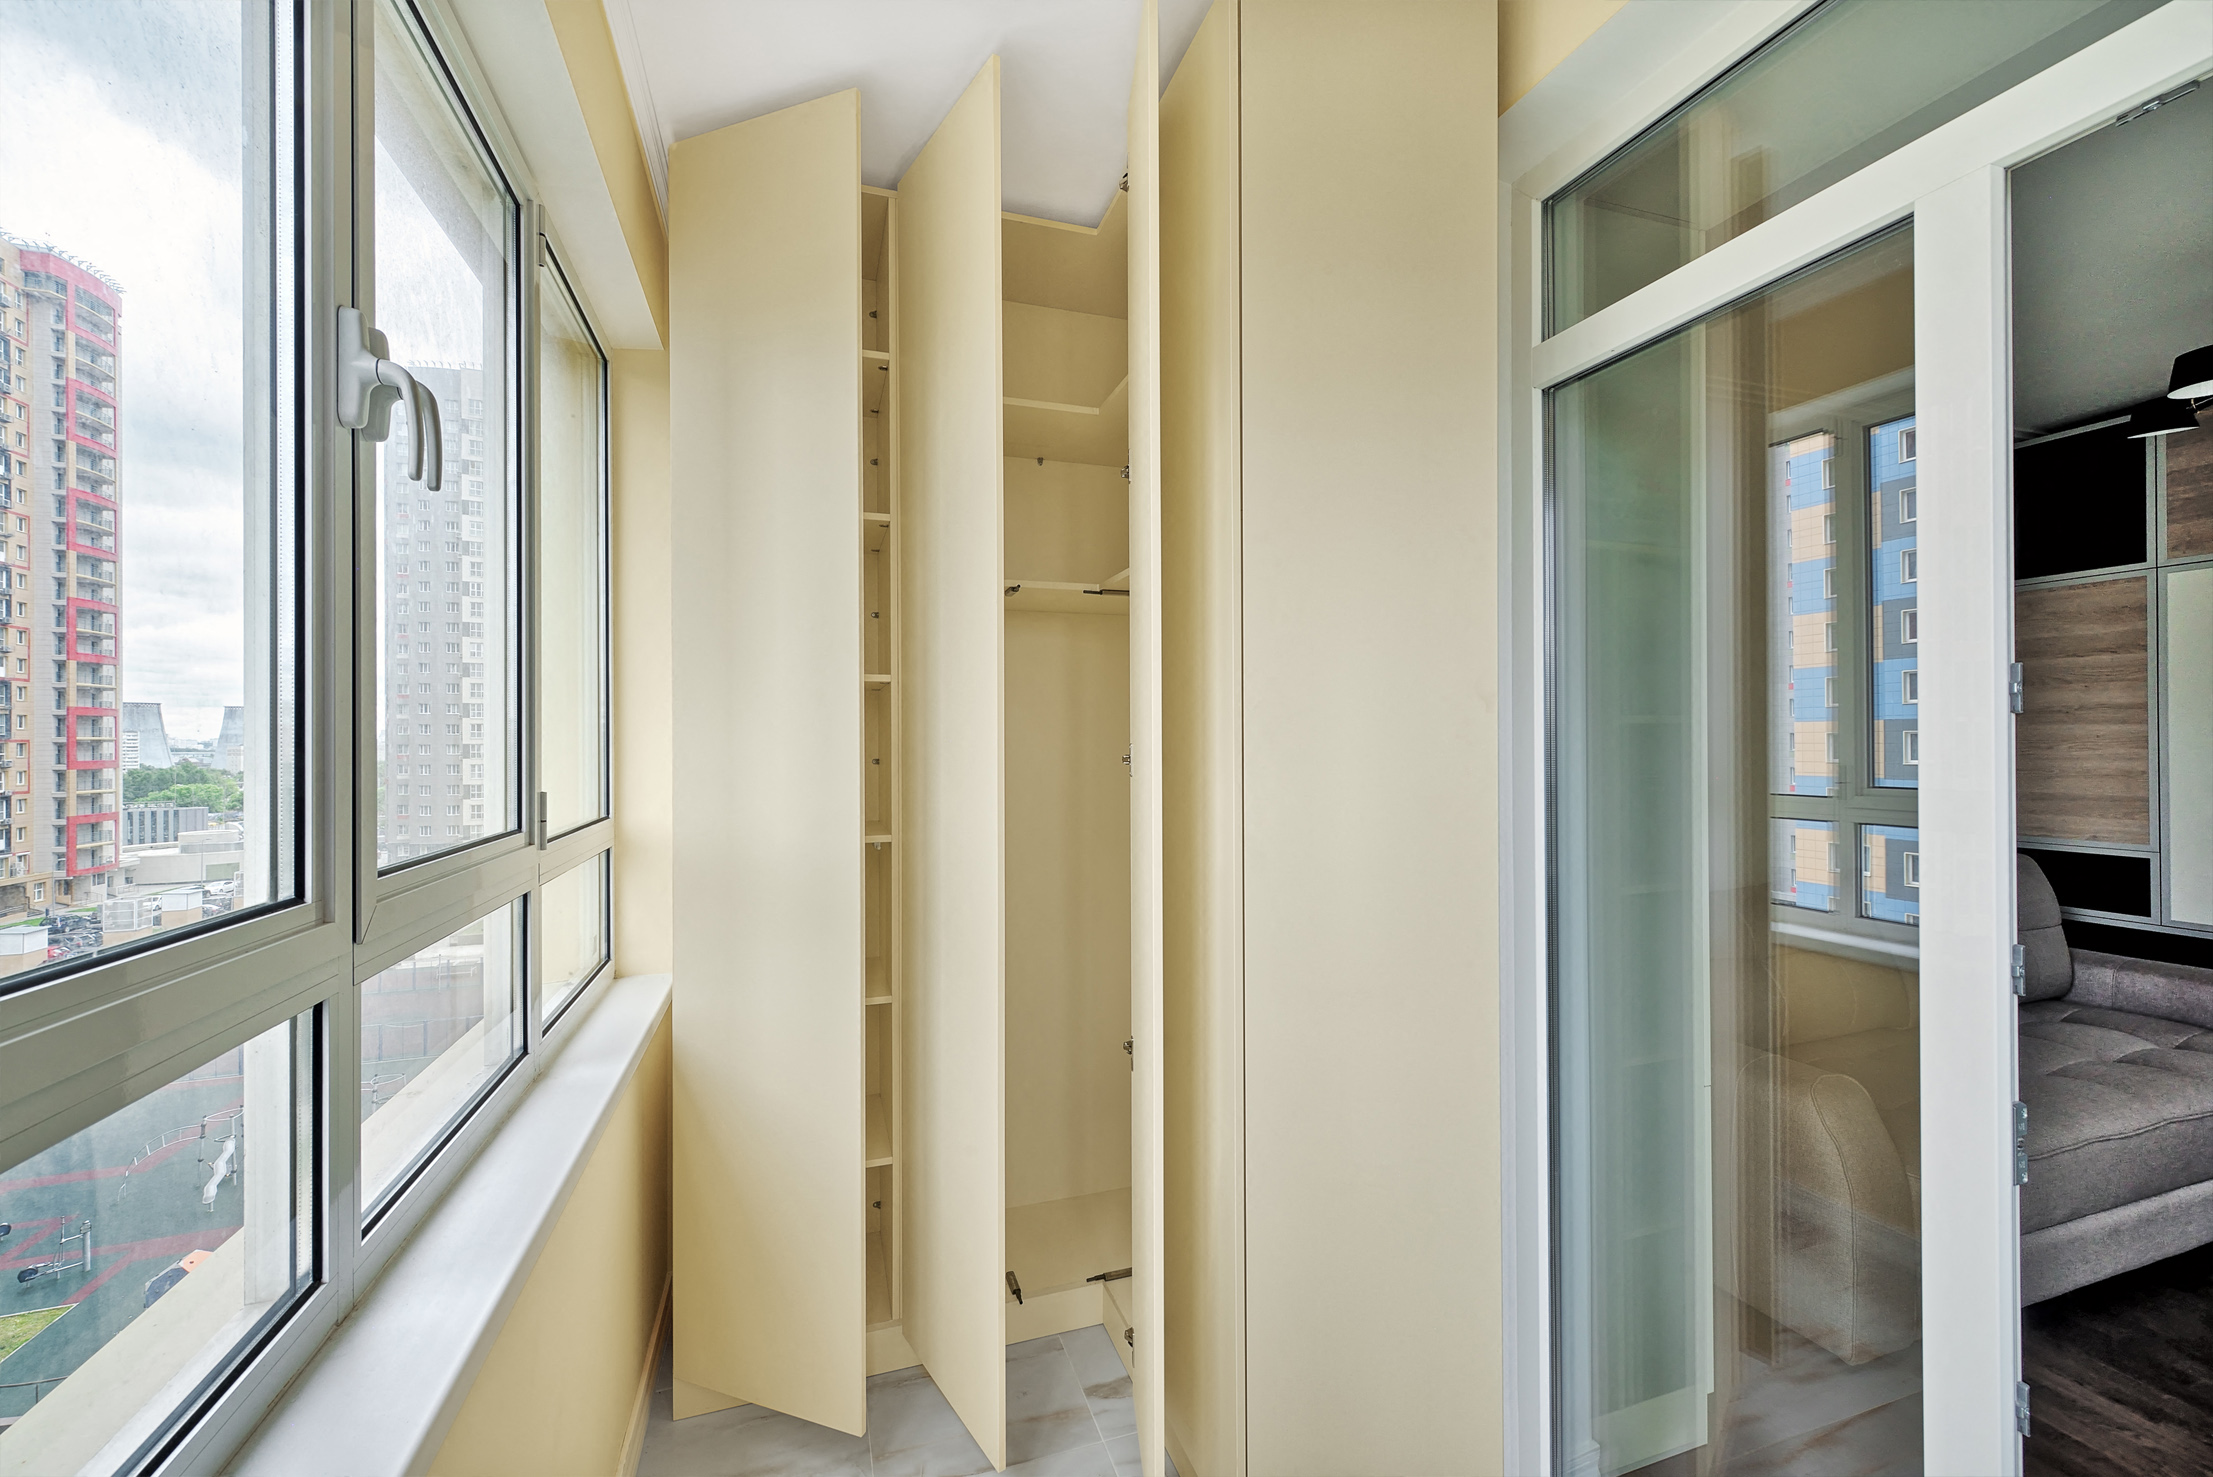
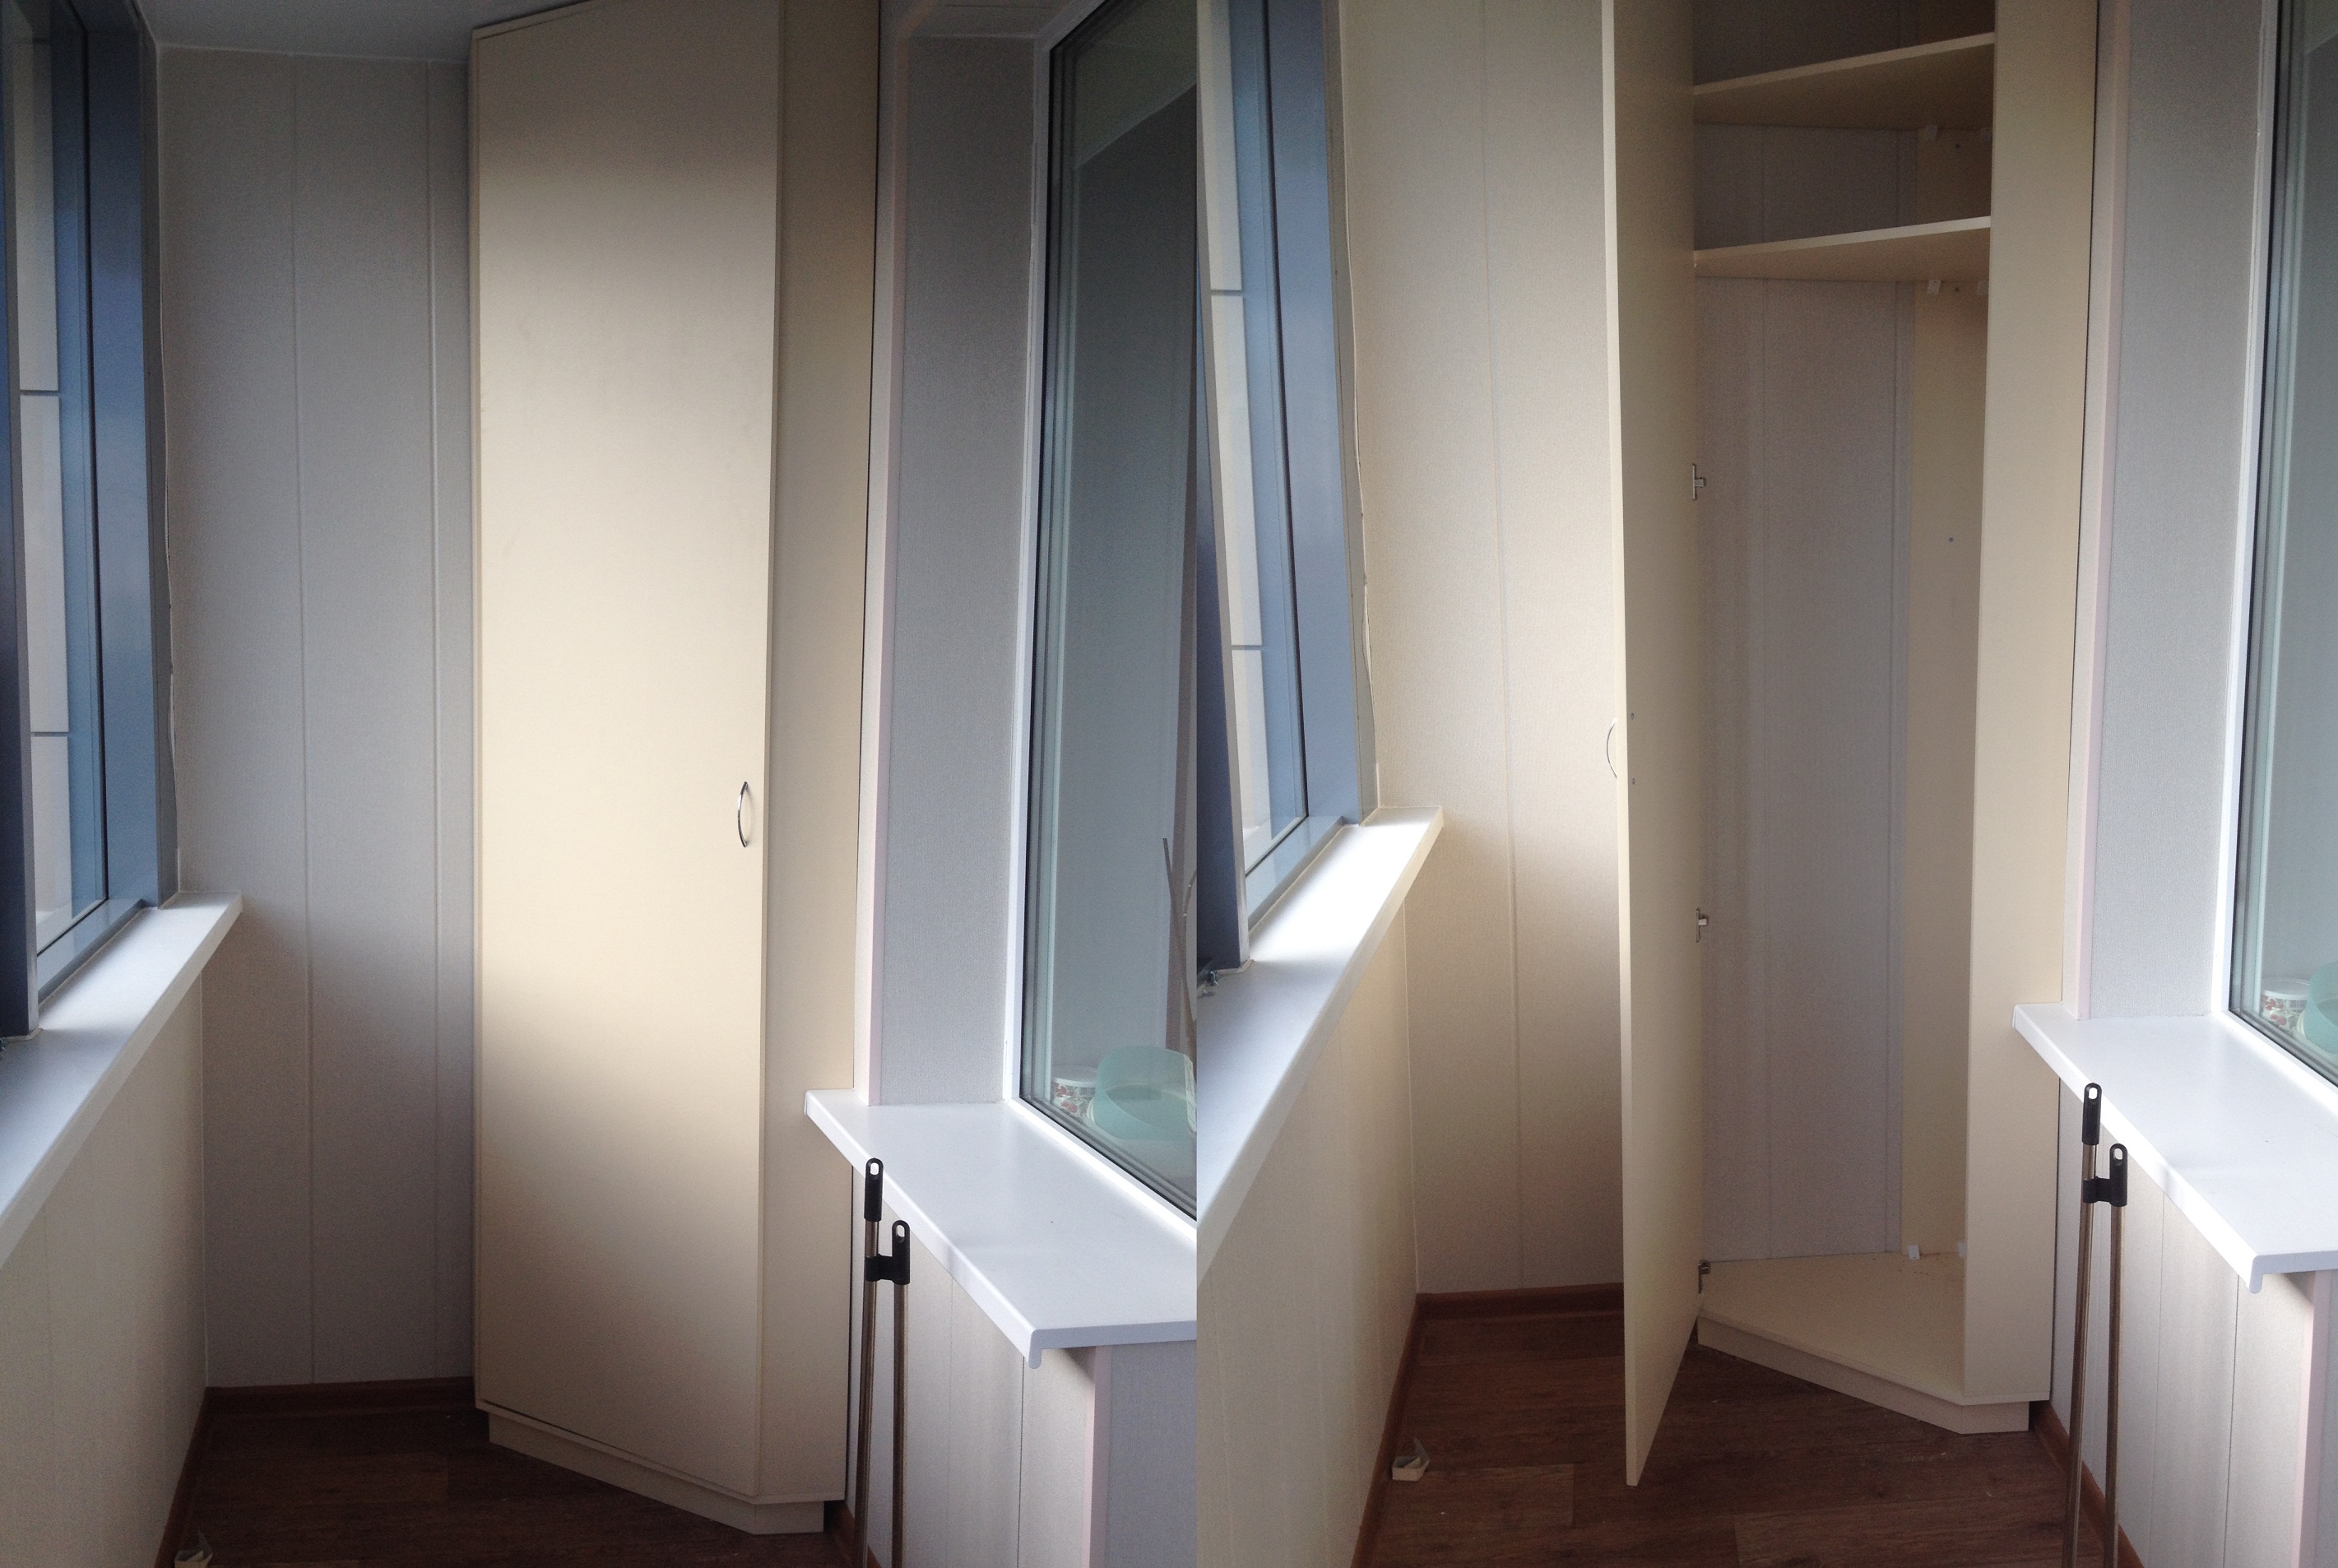
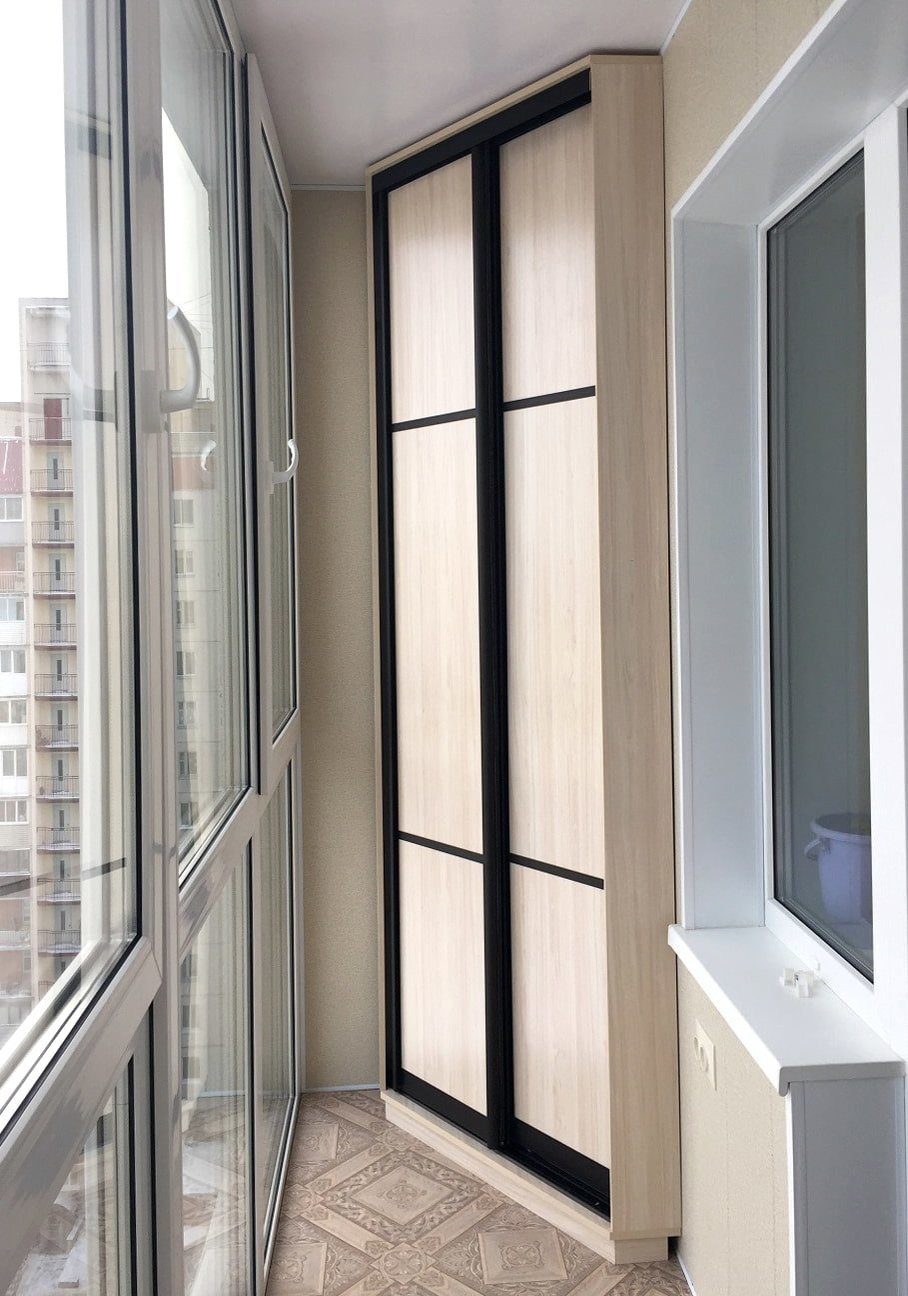
- Built-in rectangular... Tall models reach the ceiling, they can accommodate everything you need. And the low ones are placed under the windowsills. They do not take up much space, do not block the sunlight. Thanks to the solid color, the cabinets are completely invisible in the room. And if there is a large horizontal pattern on them, then the room will visually expand. Such furniture looks better on the sides of the balcony.
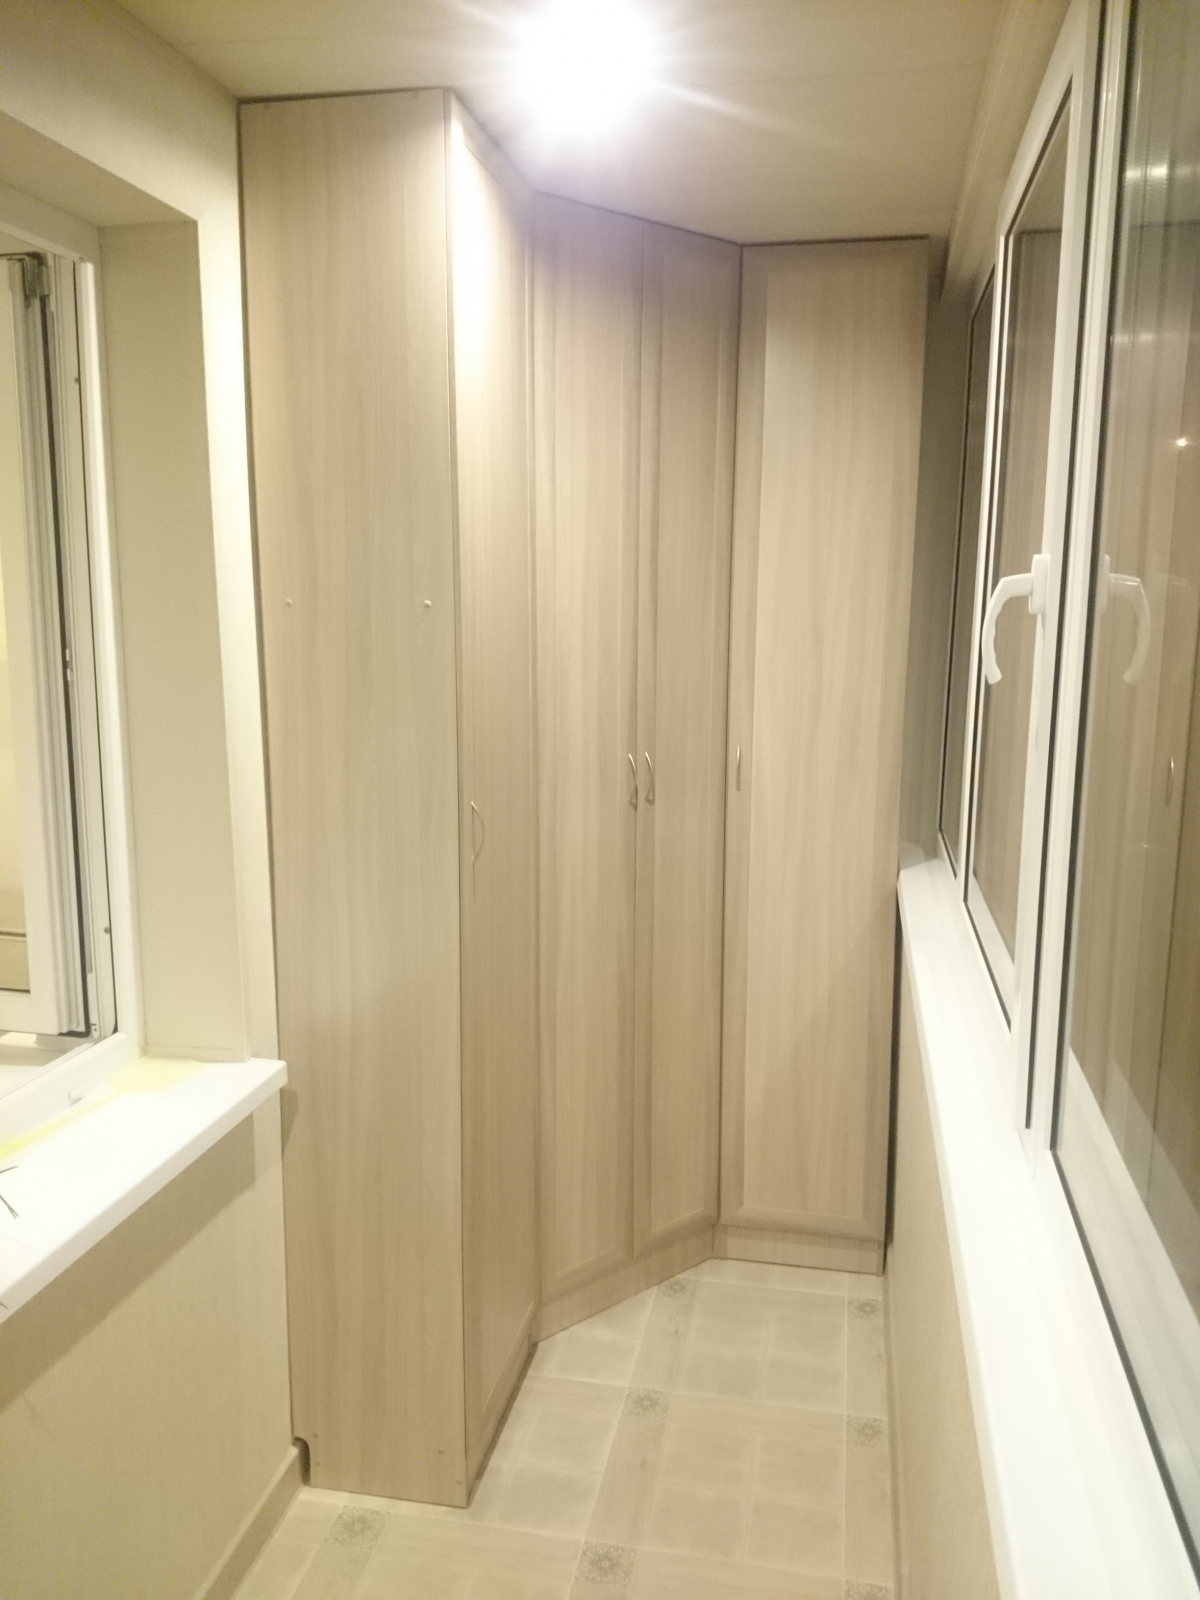
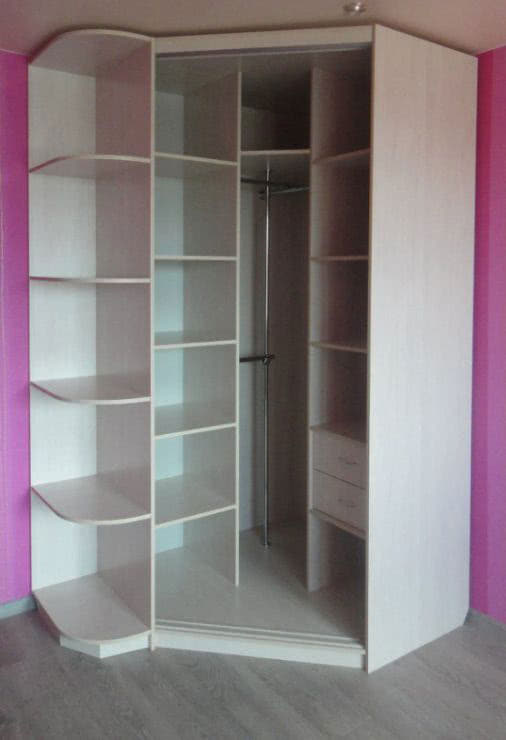
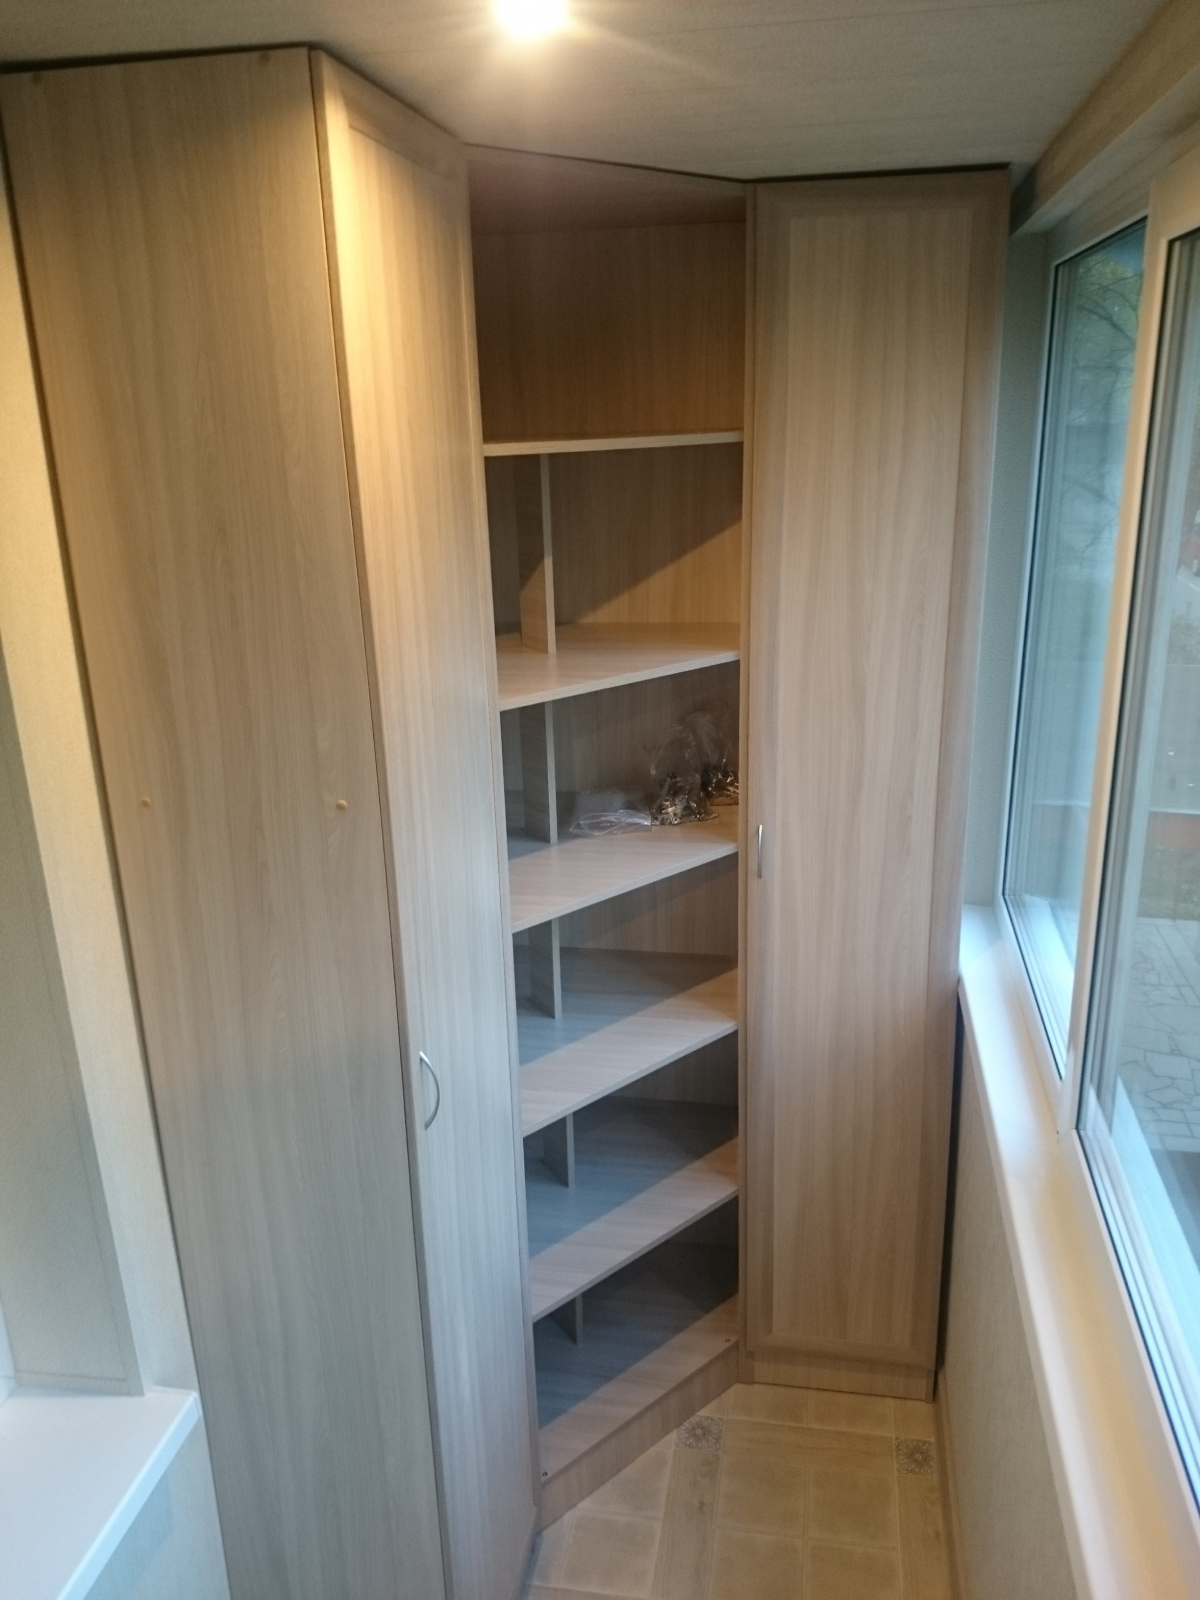
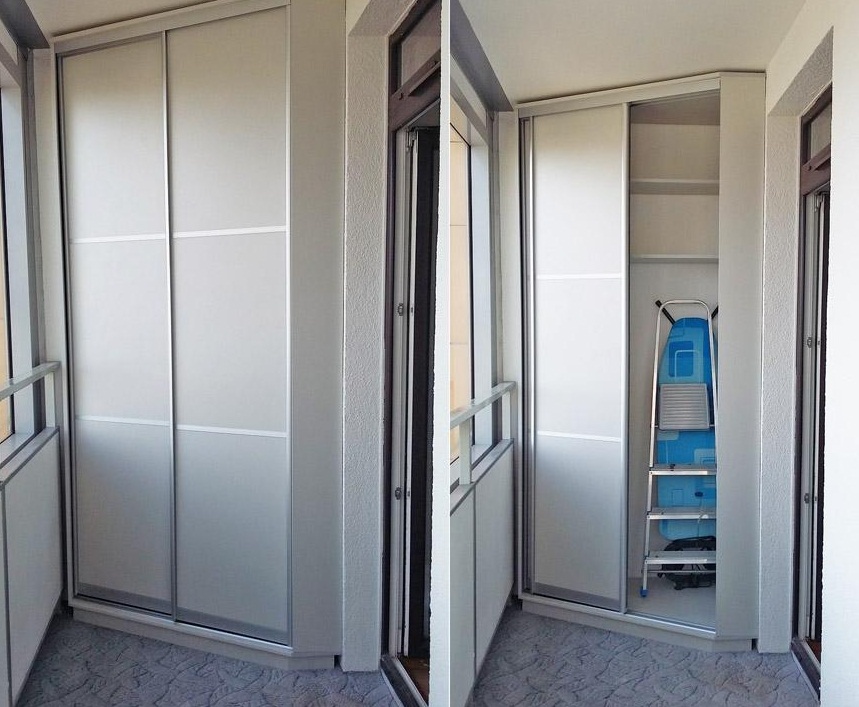
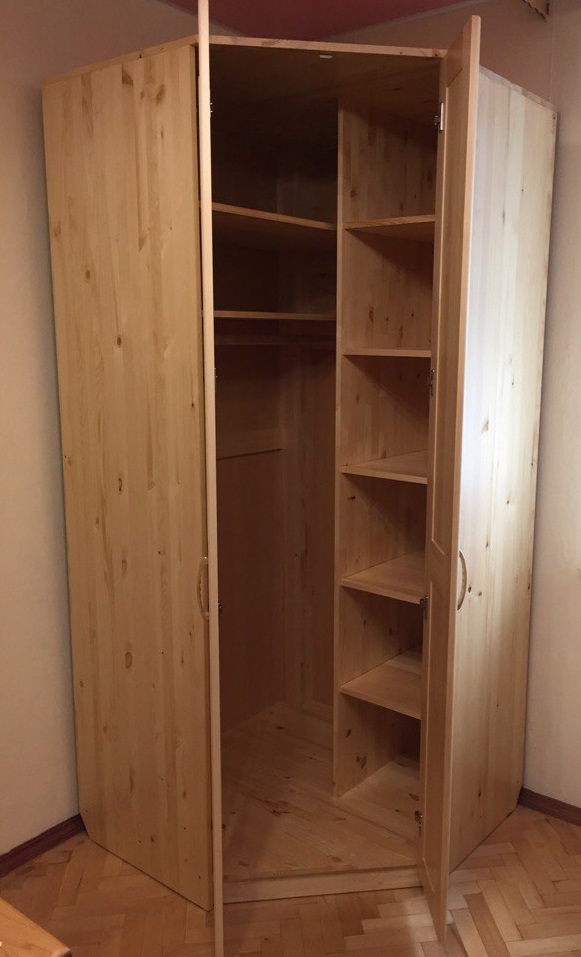
- Oblique... Triangular models are suitable for small balconies. They will smooth out the sharp corners of the loggia and make the room more comfortable. These cabinets are considered multifunctional. They have a lot of shelves, drawers, niches and sections, including pull-out ones. There is often a bar that you can hang your clothes on. Such models are in harmony with any style of the apartment and help to divide the room into zones.
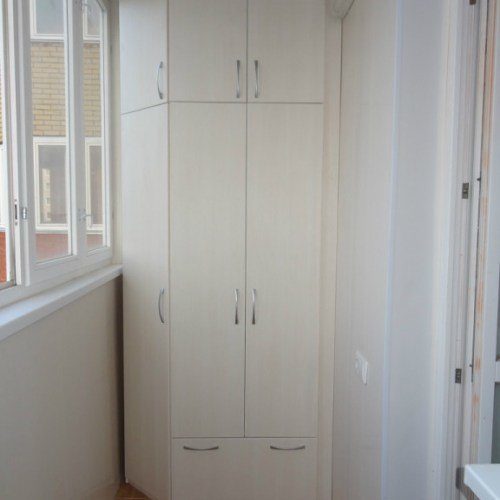
- In the form of the letter "G"... Due to the right angles and clear shape, they are suitable for elongated loggias. True, in a compact room they will look cumbersome. But they can accommodate more things. The assembly of such furniture may require the services of a specialist.
The space on the balcony is very limited, and this forces us to look for non-standard design solutions. Therefore, lockers are also completely unusual in shape.
- Trapezoid... Such models are similar to triangular, but have more capacity.
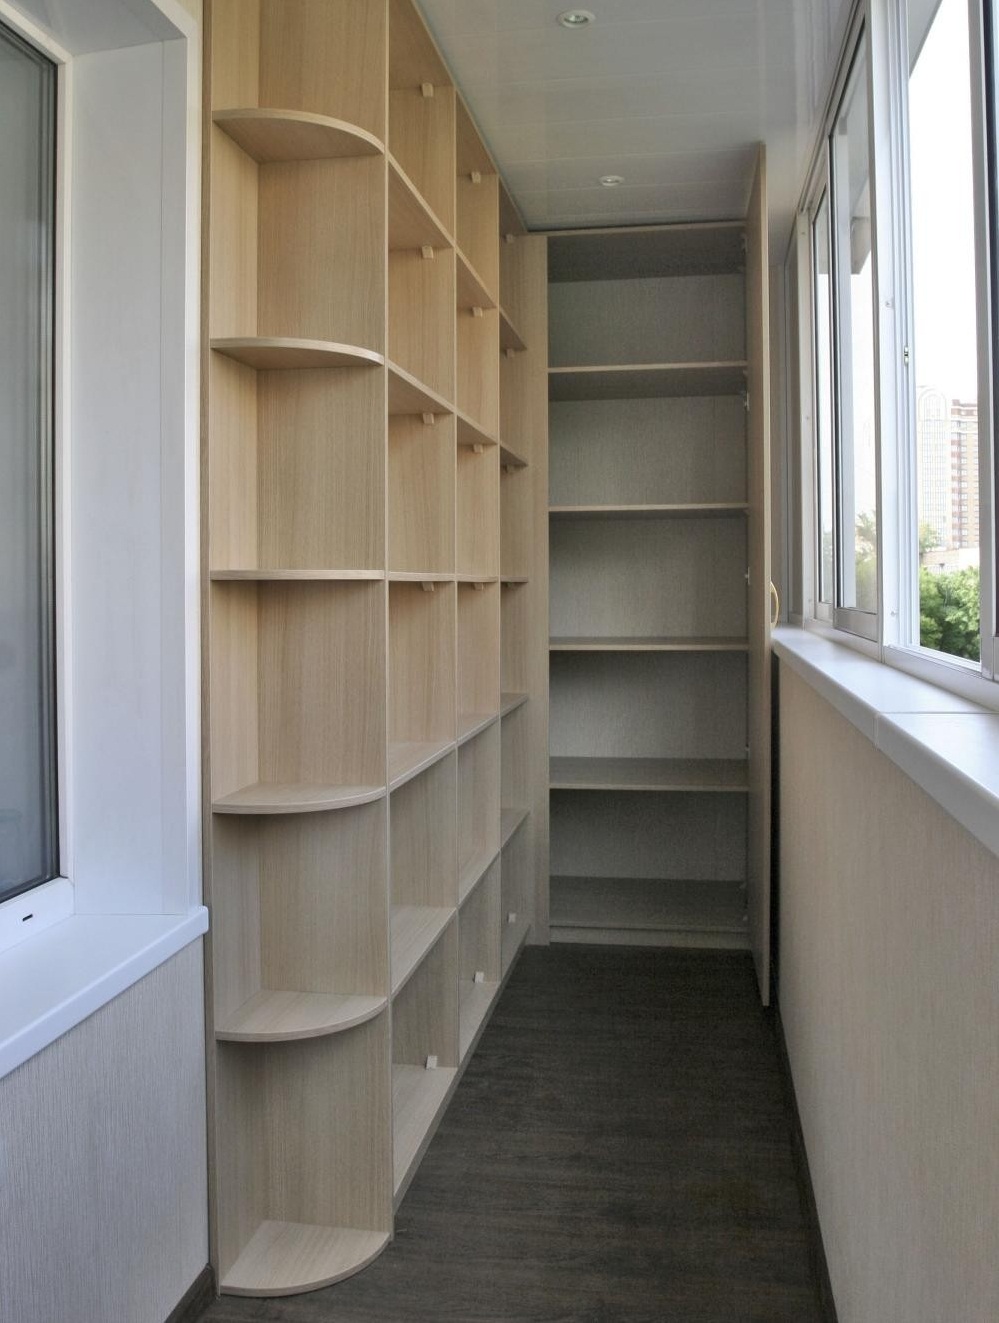
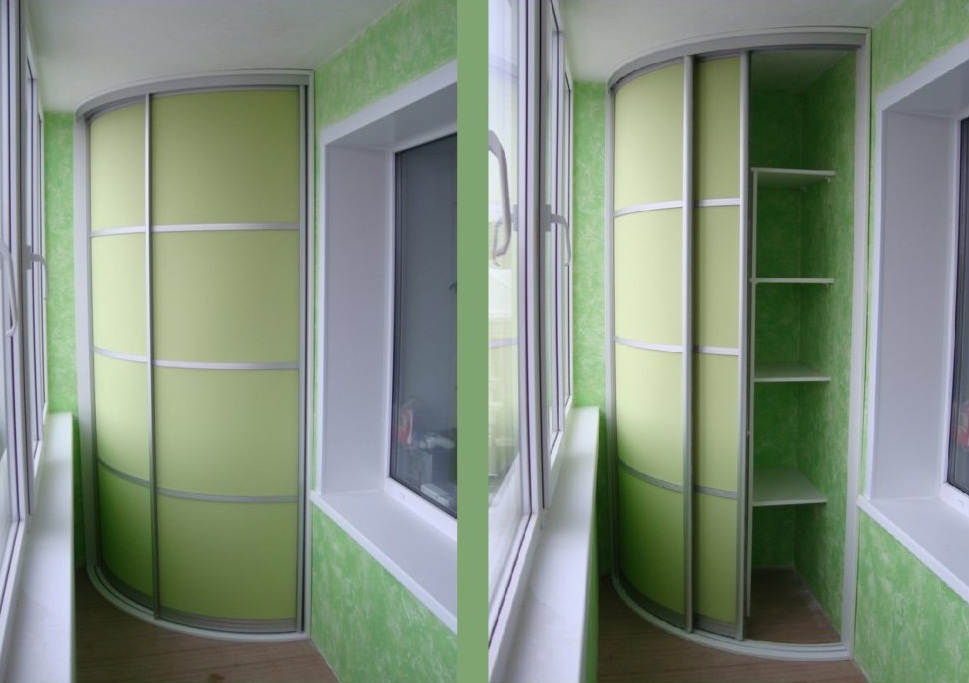
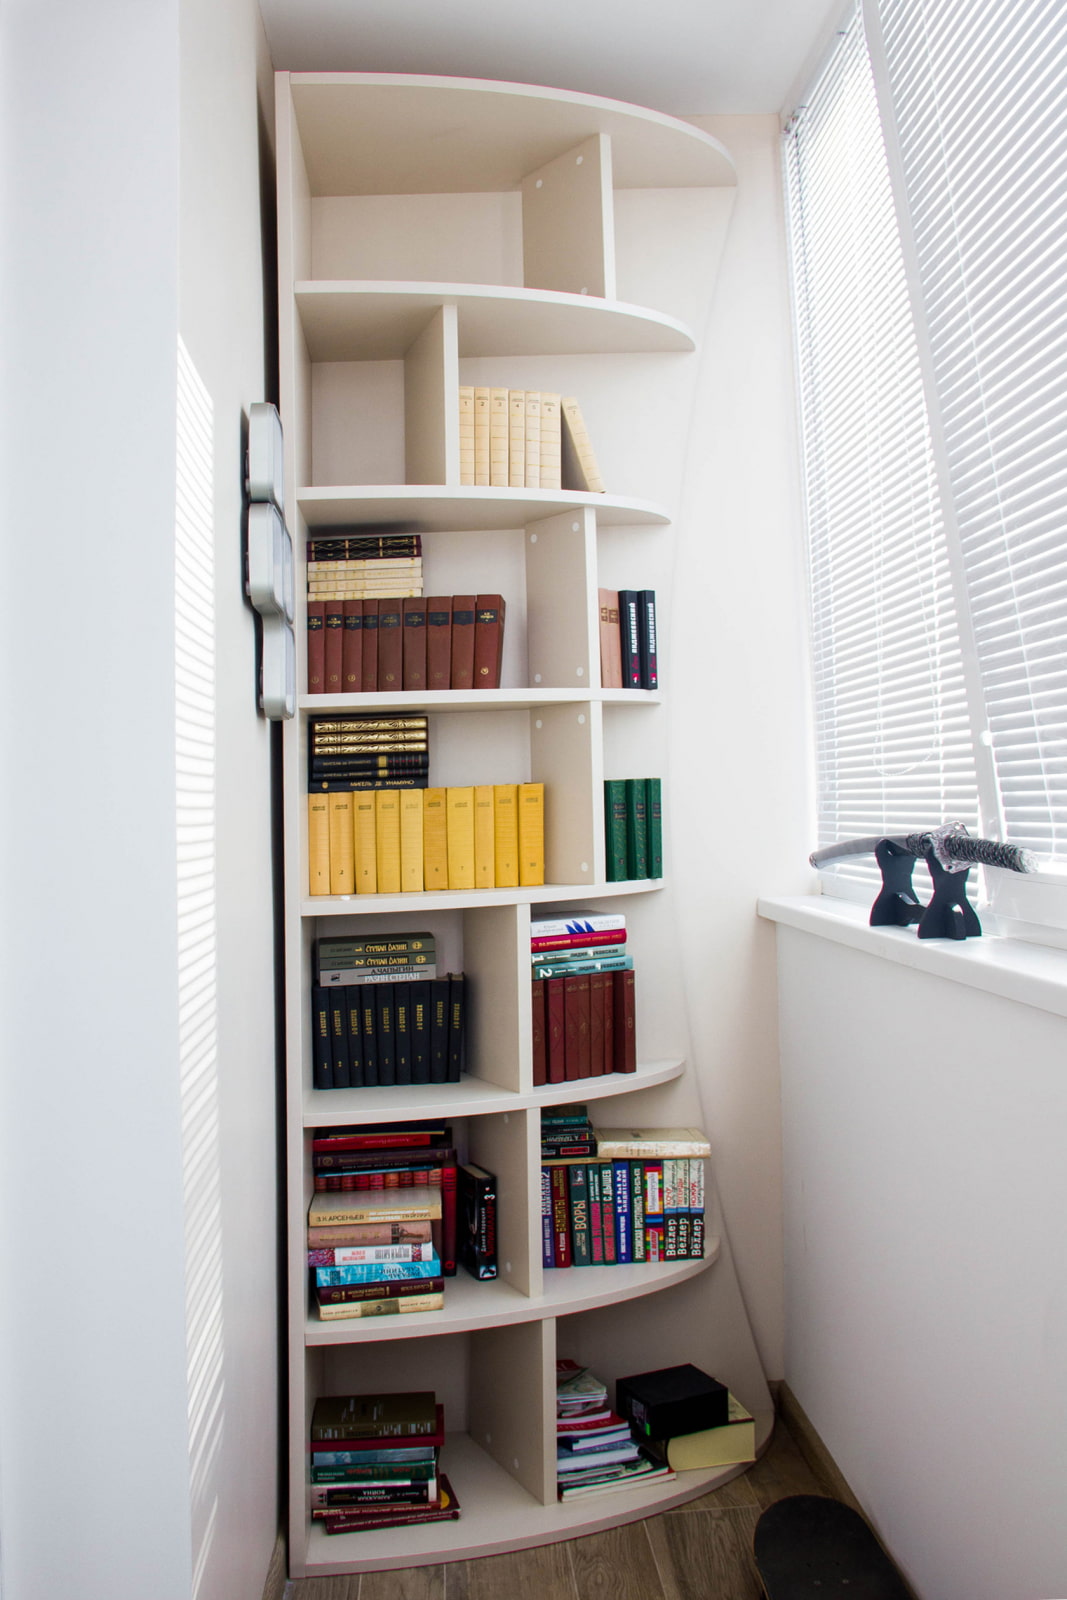
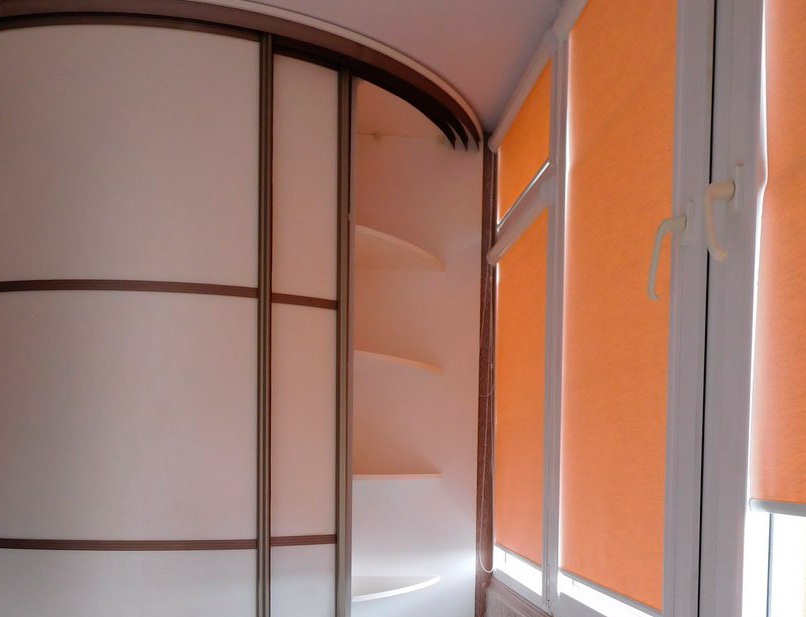
- Radius... They look ideal in semicircular loggias, but they are also suitable for ordinary balconies.
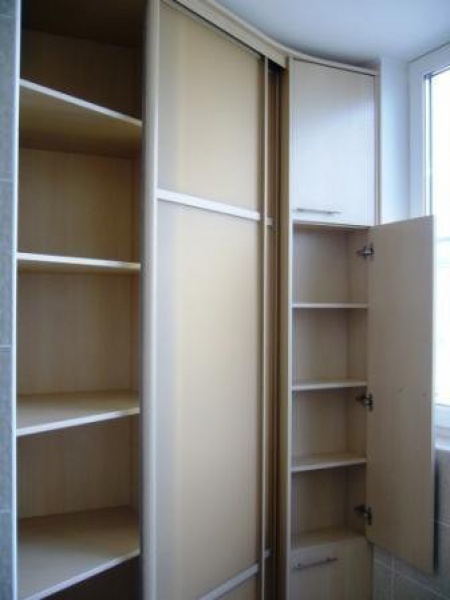
Cabinets are open, semi-closed and closed.
- Open take up less space and the content is visually accessible. Such models are not suitable for long-term storage - things can deteriorate from ultraviolet radiation, and they need to be laid beautifully.
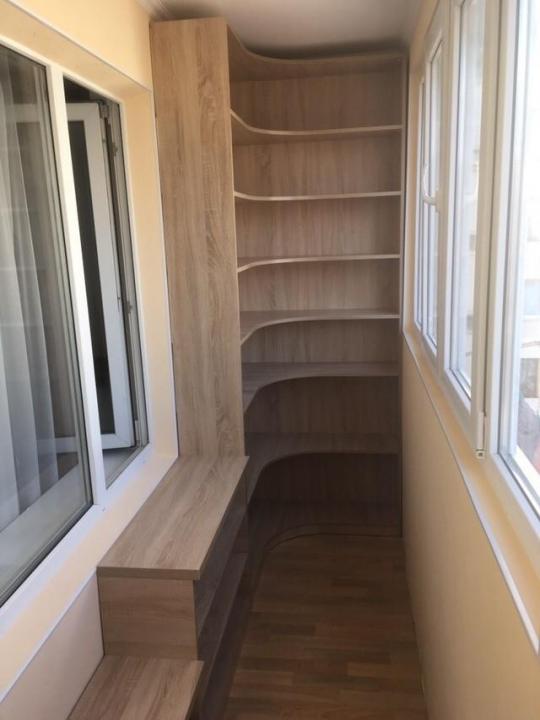
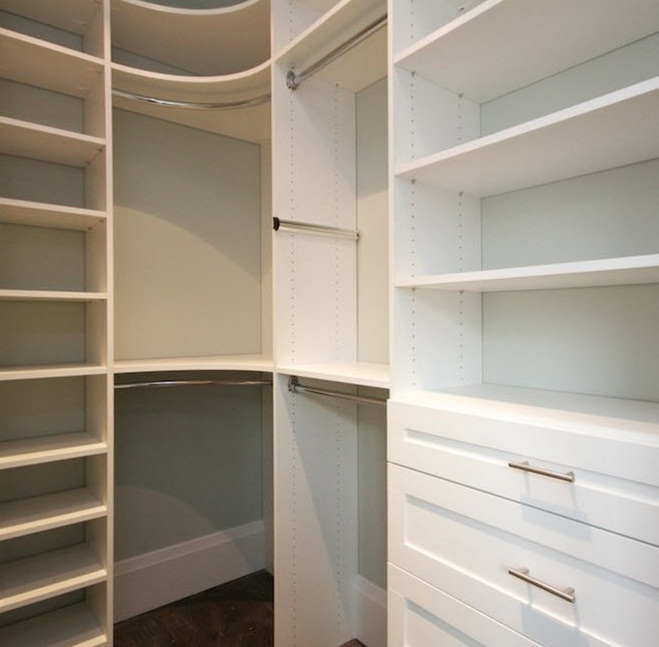
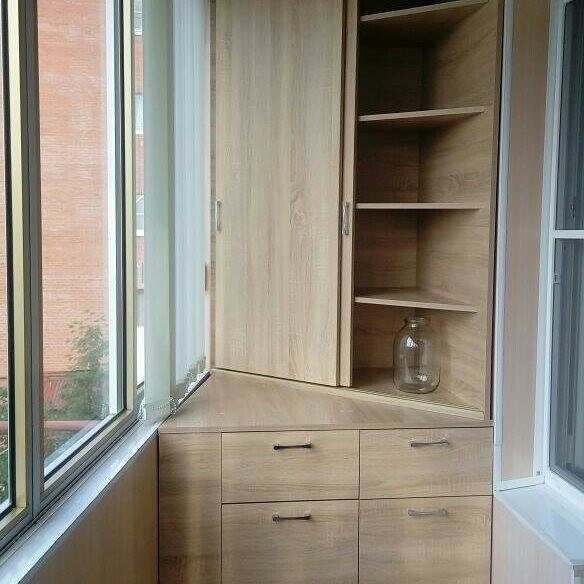
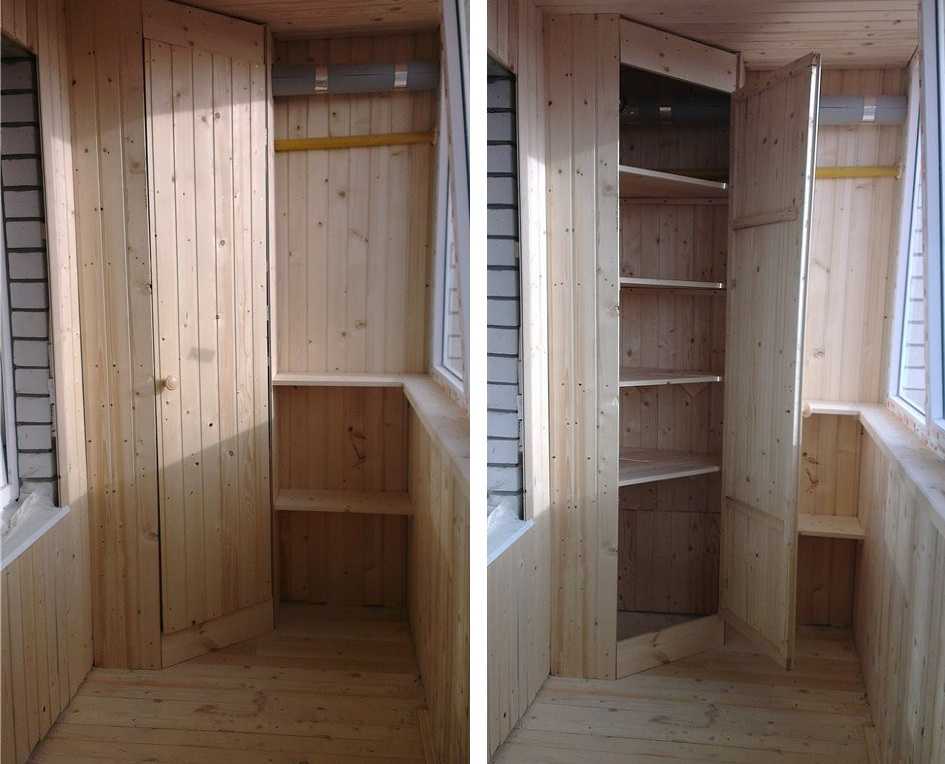
- Semi-closed... Their lower compartments are closed with doors, and the upper ones are made in the form of shelves.
- Closed... The doors securely cover the contents of the cabinet. Such models combine functionality and style, they are the most common. When placing such furniture, consider if there is enough room to open the doors.
By opening method
According to the method of opening the doors, furniture is also divided into several types.
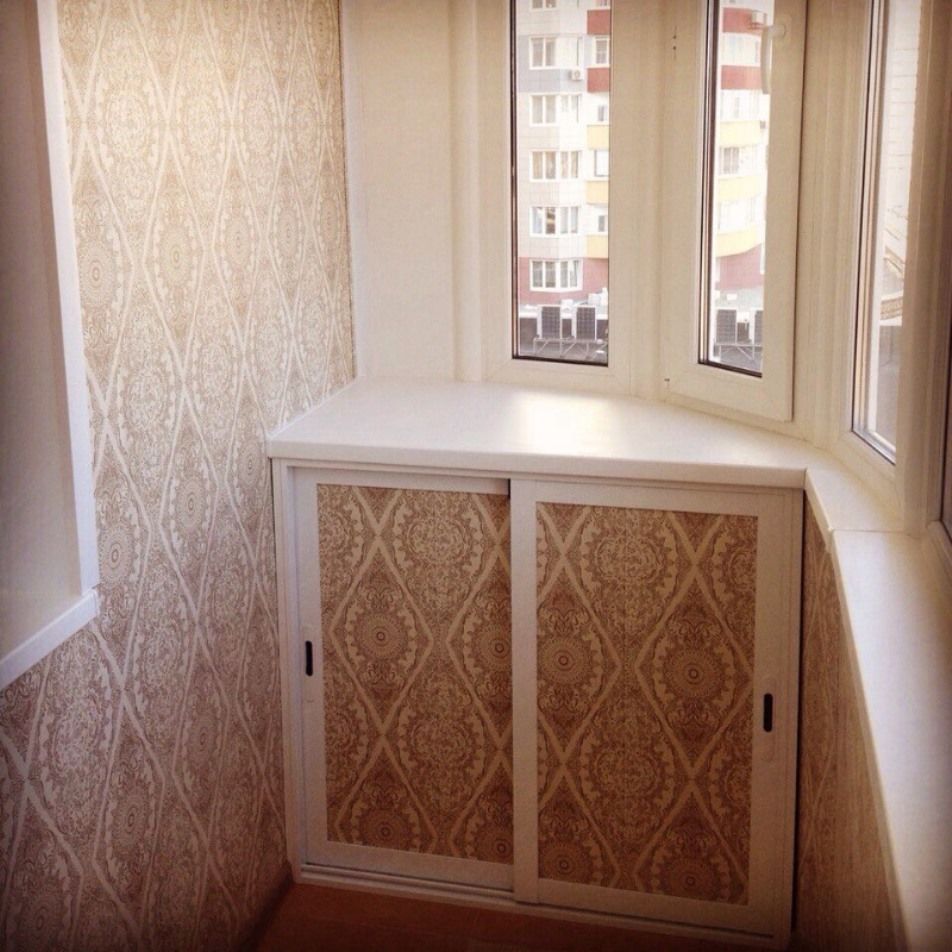
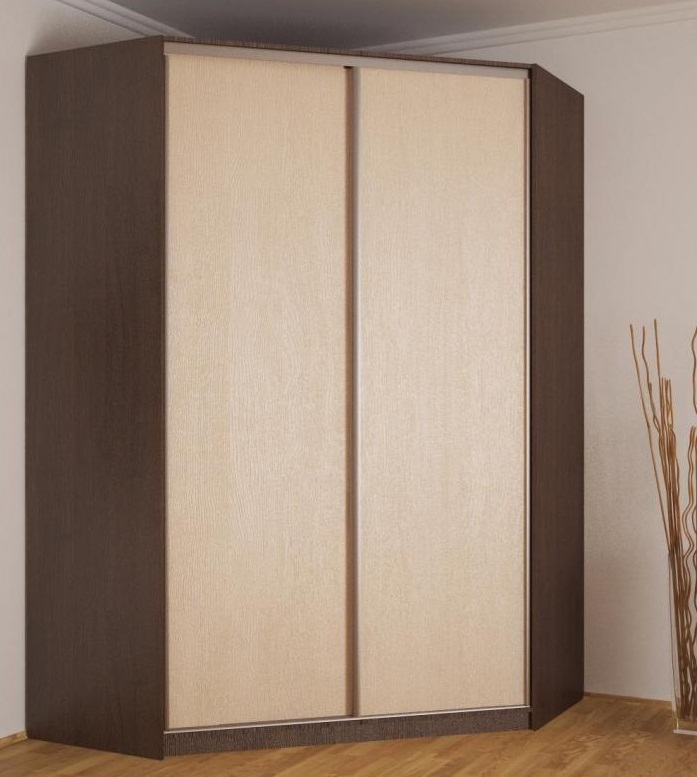
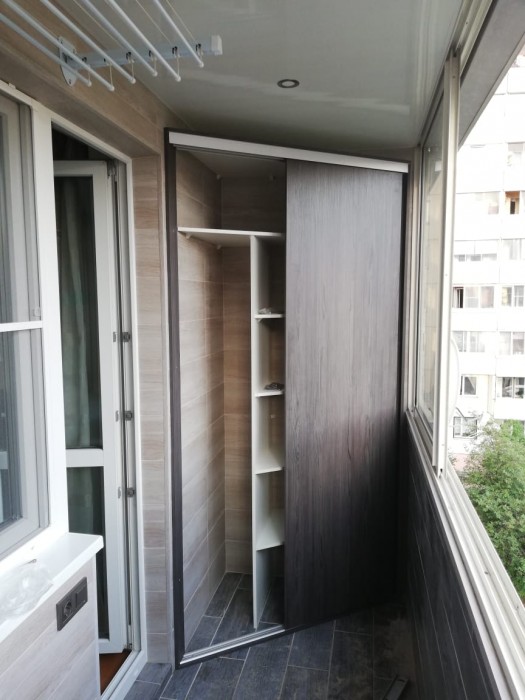
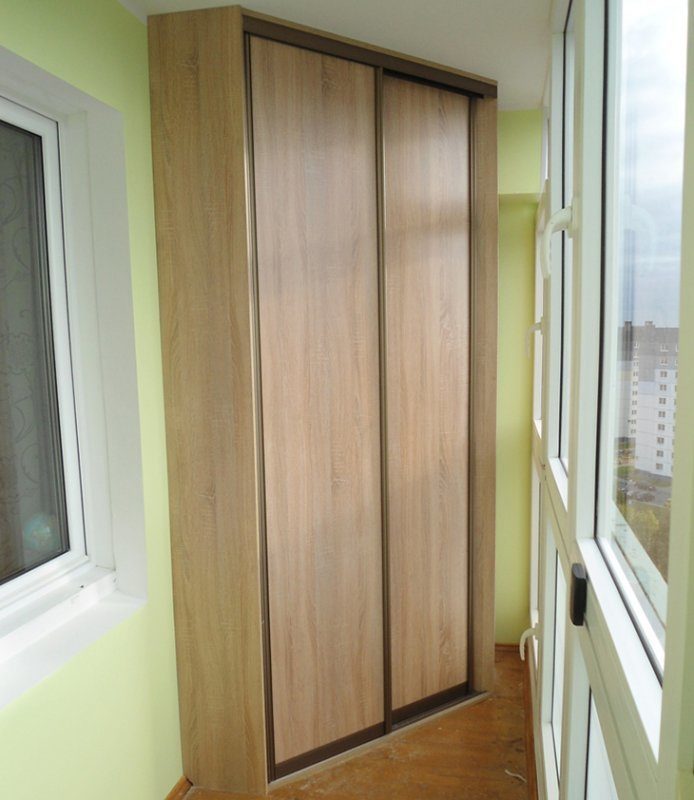
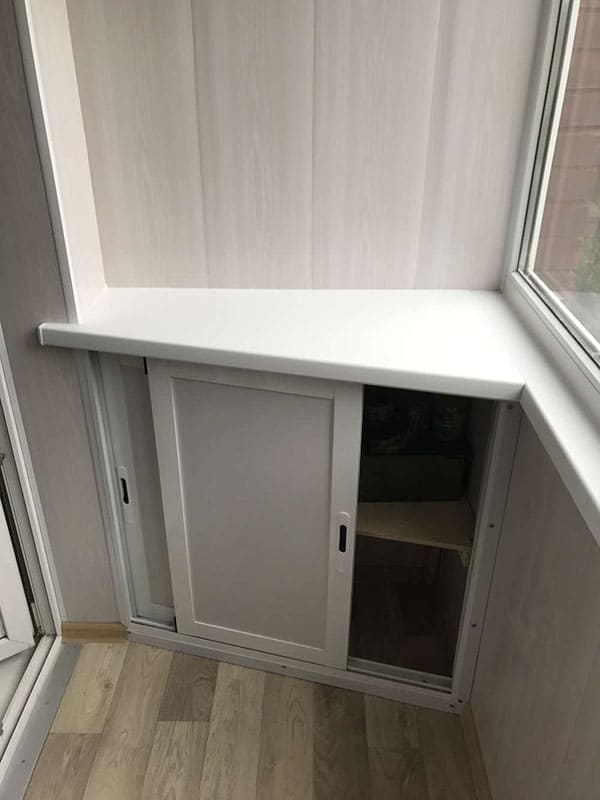
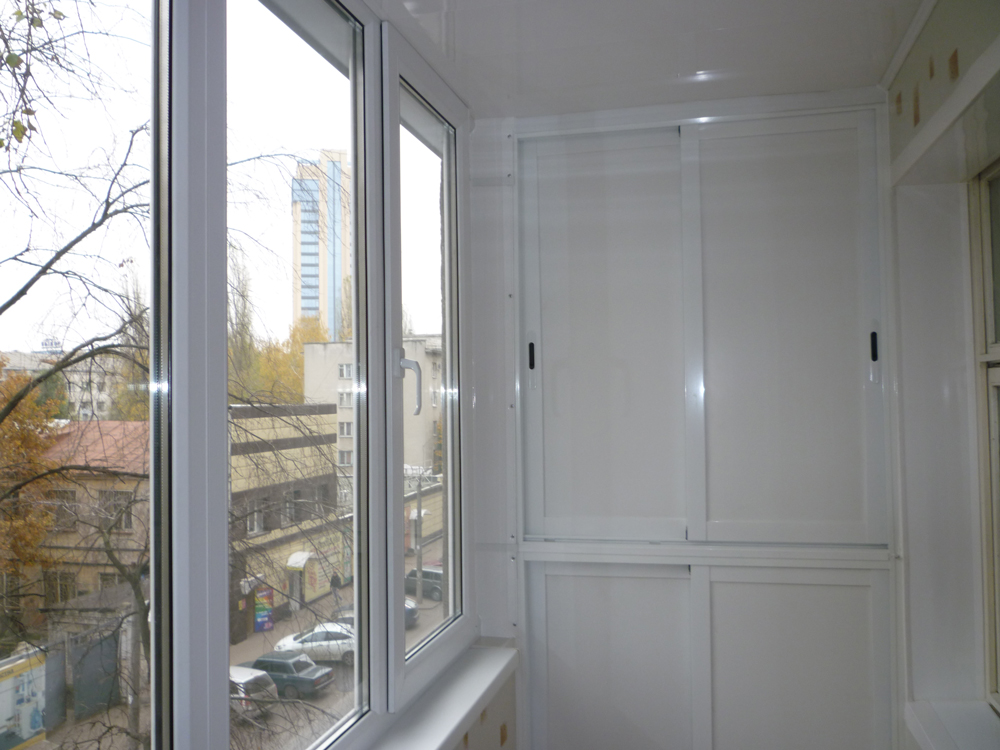
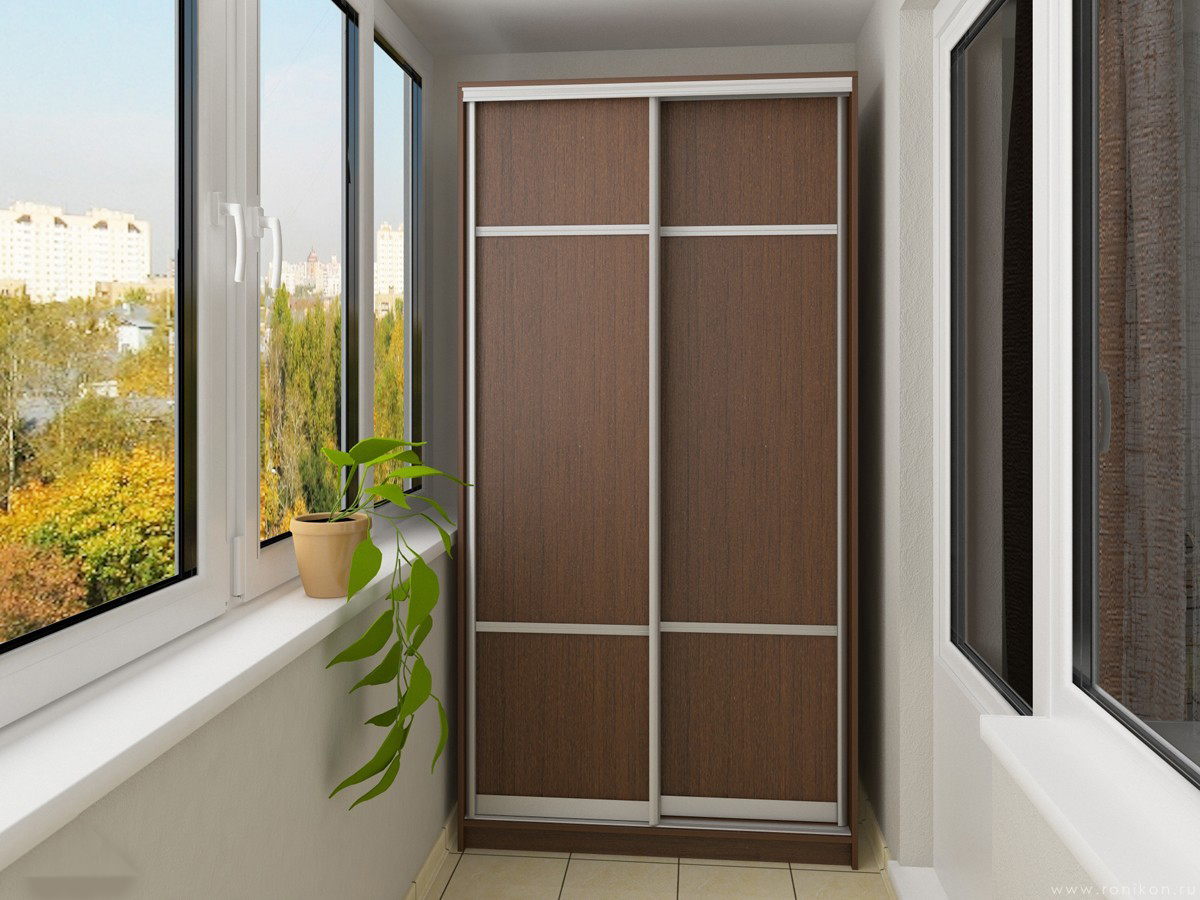
- Cabinets with sliding doors considered the best for small spaces. Their doors slide to the sides along the guides. Such a system does not require extra space, but it has some drawbacks. The closet opens only halfway, so getting things out can be inconvenient. Yes, and you cannot store large objects in it, since they may not crawl through the doors.
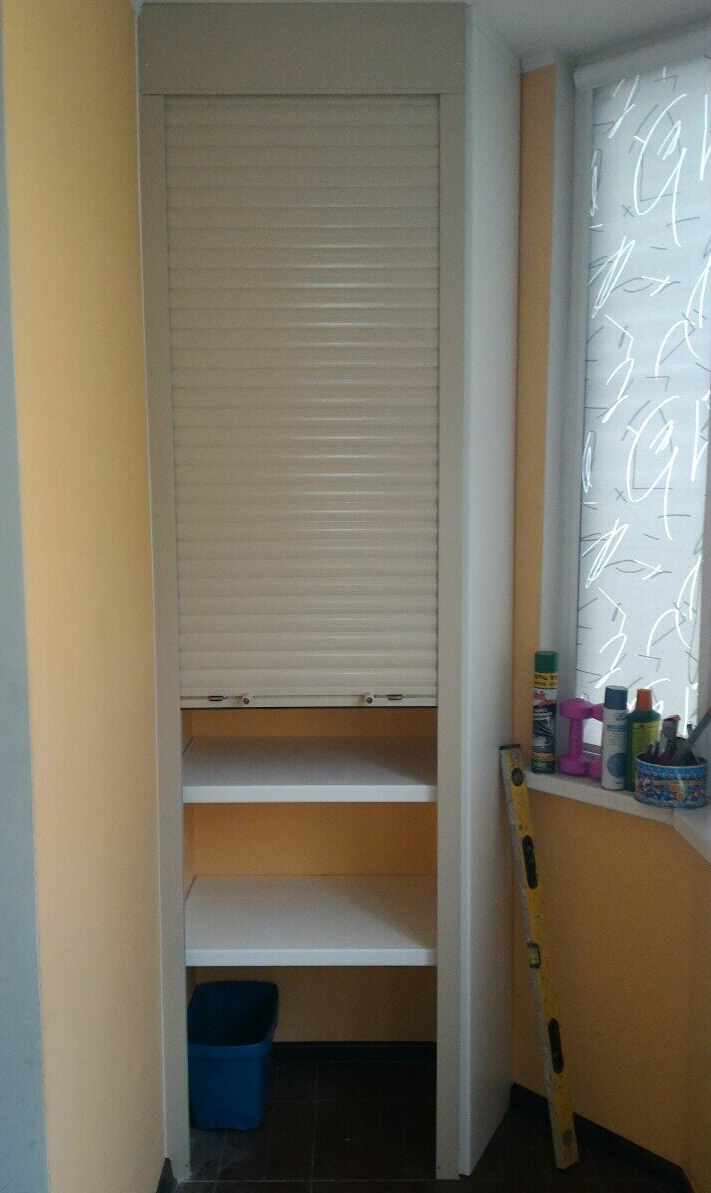
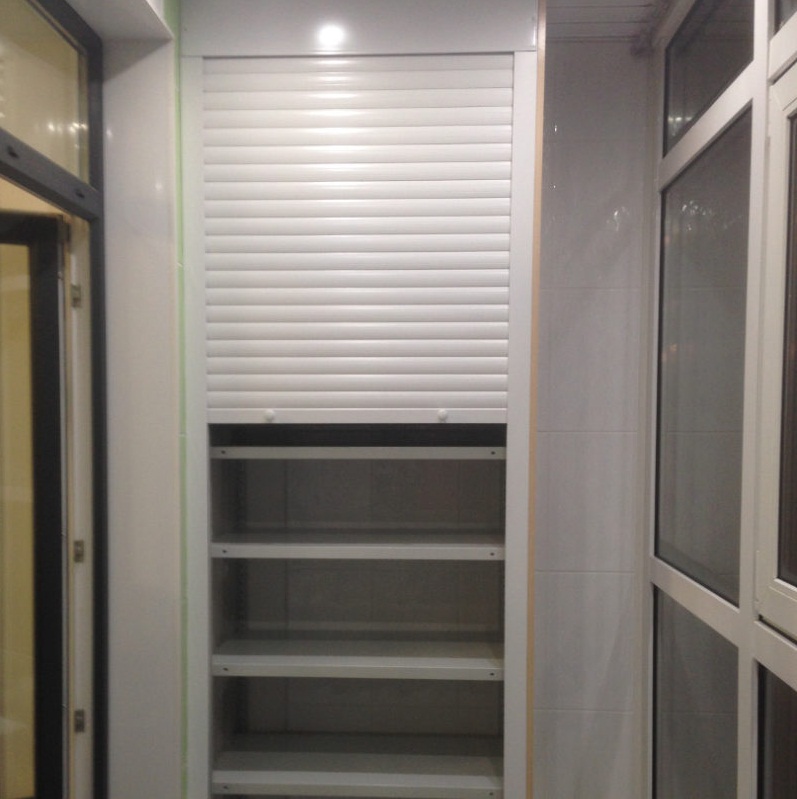
- By the lockers with roller shutters there are no such drawbacks, and they are best suited for small loggias. Although not everyone will like the design like the storefront. And dust and moisture will be able to penetrate through the door, because it does not fit tightly. But the transverse stripes on the roller shutters visually expand the room and make it more spacious. Such a structure will last 10 years or more.
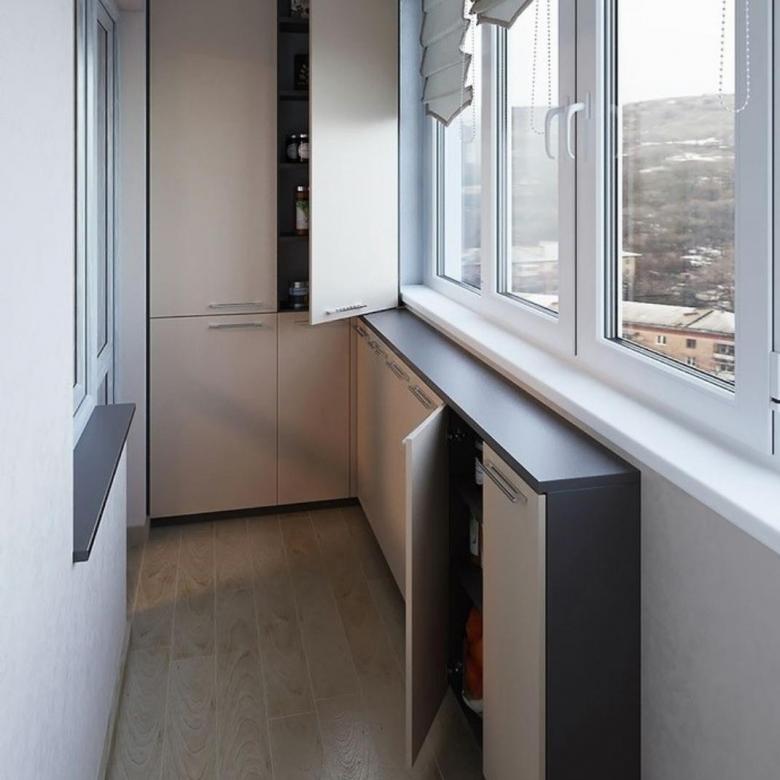
- Swinging doors and sliding drawers are a classic solution for cabinet furniture. They are practical and convenient, but require additional opening space.
Of course, all furniture must be reliable. Therefore, when buying, pay attention to the materials and workmanship.
Review of materials
Most of the furniture is made from slabs Chipboard. This material has a lot of advantages.
- High strength. Chipboards can withstand heavy loads, do not sag or crack.
- Resistance to external influences. Temperature changes, high humidity and sunlight will not affect the cabinet in any way.
- Long service life... The furniture will last 10, 15 years or more. But in which case it can be easily repaired.
- Nice appearance. Chipboard cabinets are painted in different colors and shades. And if desired, they can be repainted or covered with colored film.
- Affordable price. With all the positive qualities, the material is inexpensive.
Due to the ease of processing, chipboard is widely used in the independent manufacture of furniture.
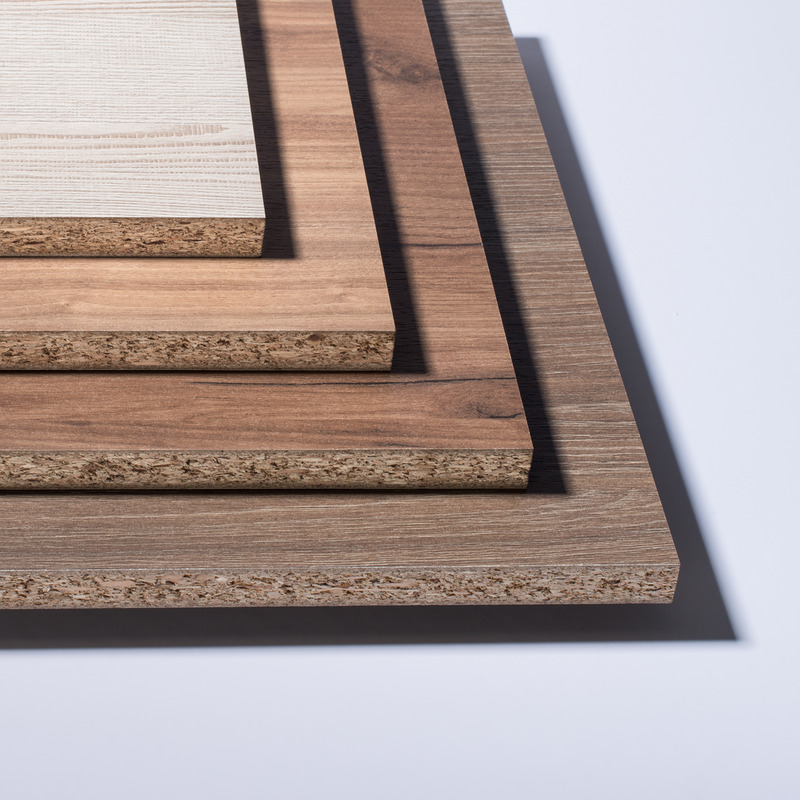
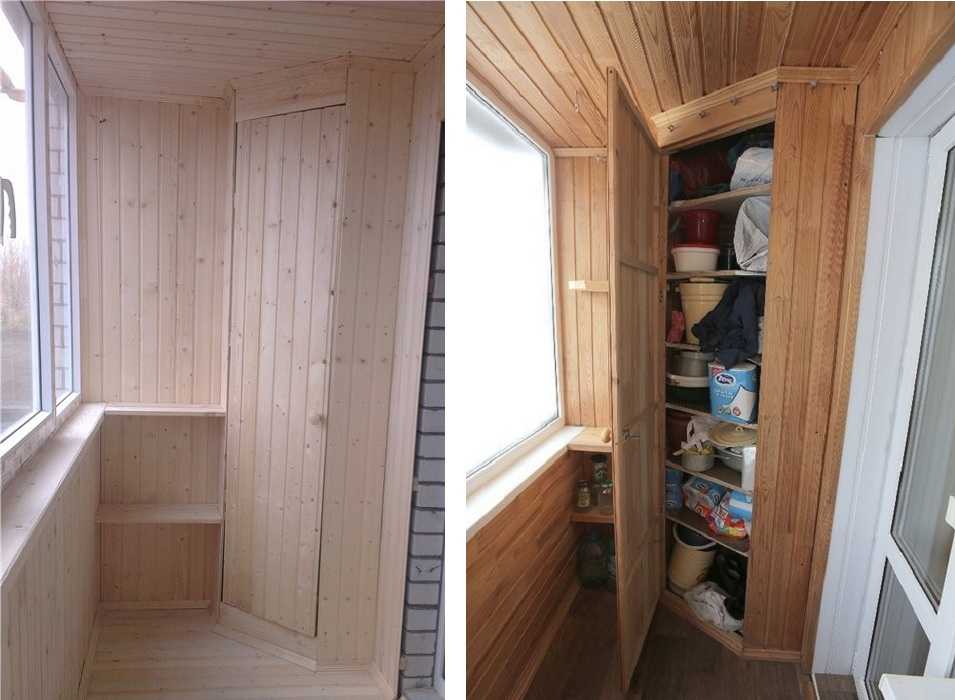
To create an eco-style, a wardrobe made of natural wood. He has a lot of positive qualities..
- Nice appearance. The texture of the wood forms exquisite patterns, which are covered with a transparent varnish for protective purposes. Paint is rarely used during processing.
- Long service life. The varnish protects the wood from harmful influences, and the cabinet will stand for decades.
- Health safety... Environmental friendliness is the traditional advantage of wood over chipboard and plastic. However, all modern materials are harmless to people.
The disadvantage of wood models is the high price. But a wooden cabinet will emphasize the status of the owners.
But if practicality is more important to you, then take a closer look at metal-plastic.
Cabinets based on an aluminum frame with a plastic finish have a number of advantages.
- Persistence... They are not afraid of moisture and temperature changes.
- Strength... The structure will withstand 40 kg of load or more.
- Acceptable cost.
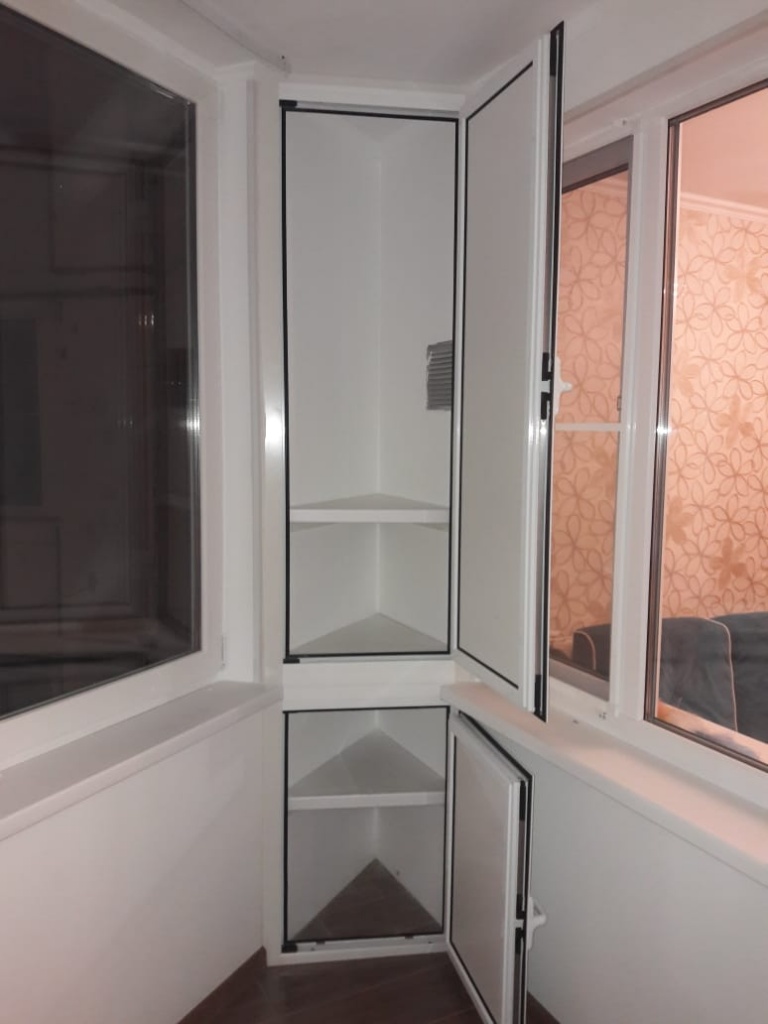
The main problem is that plastic does not tolerate sunlight well. If this does not affect the functions in any way, then outwardly the plastic will turn yellow. Therefore, such cabinets sometimes need to be painted or covered with foil.
To check the quality of the material, pay attention to the smell. Furniture should not smell like chemicals, glue and varnish.
Responsible manufacturers supply finished products that do not need to be dried.But keep in mind that after 3 minutes in the store, unpleasant odors are not felt.
Well, when you find the perfect cabinet, you can safely proceed to the installation. But first, a few rules.
Accommodation rules
The main thing is that the furniture is convenient to use. Therefore, choose a cabinet that you can reach without problems. And in order to correctly place it, use our advice.
- It is advisable to place the cabinet in a place that is rarely used. A good option is between a window and a door near the wall.
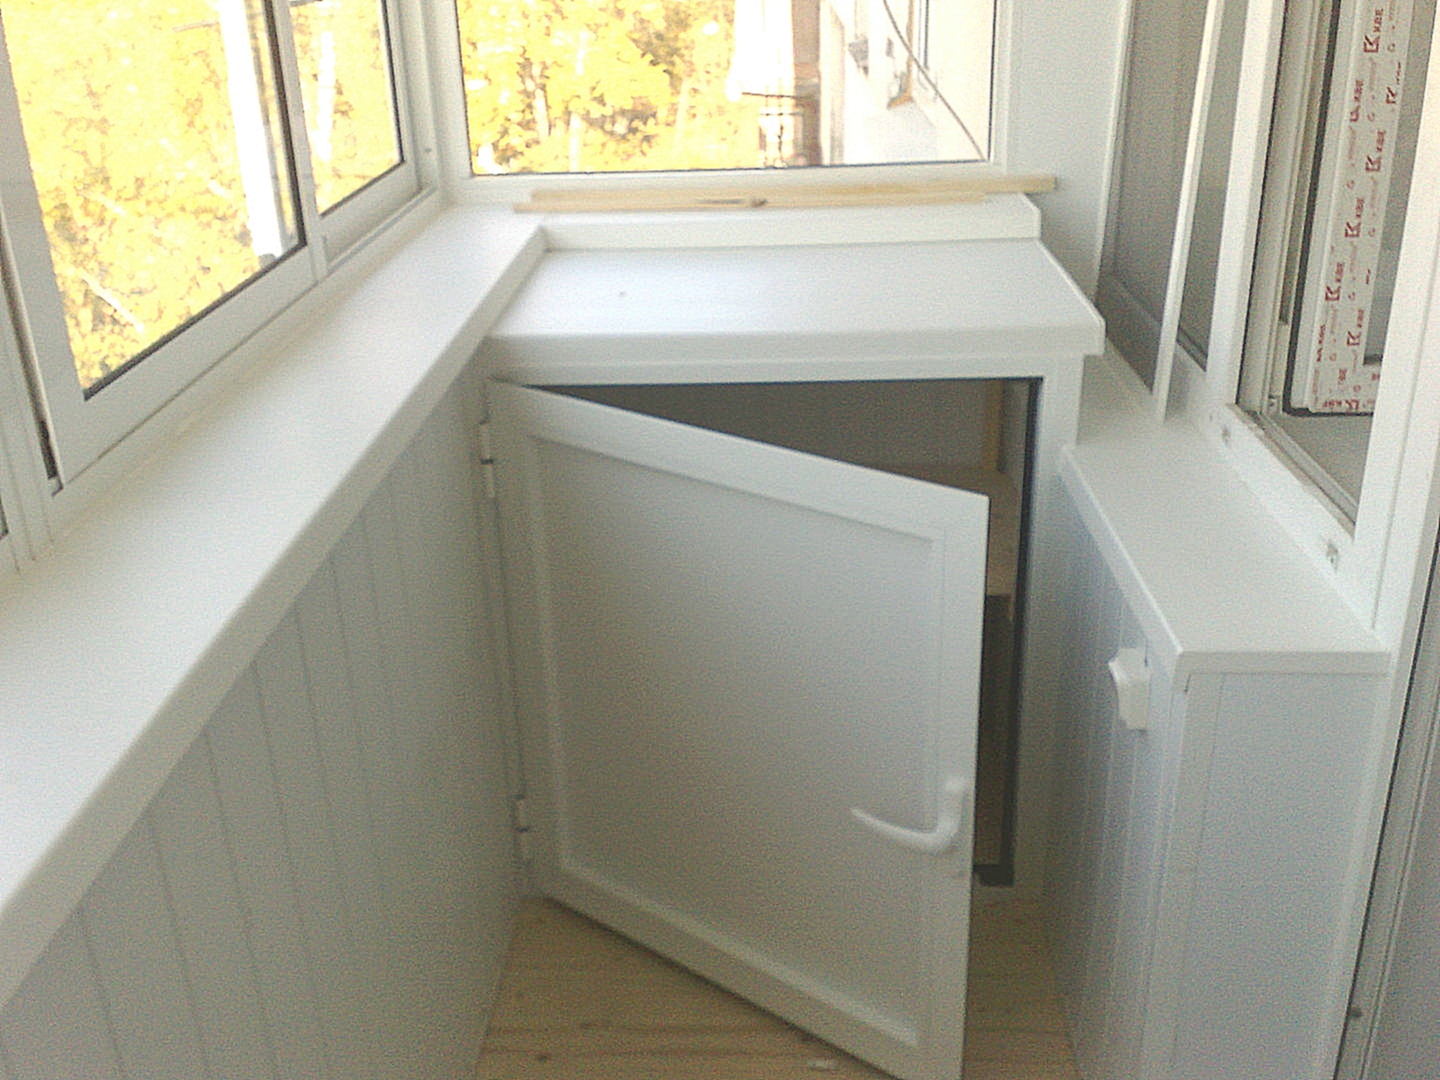
- Low cabinet can be installed under a wide window sill.
- If the loggia has panoramic glass, then semicircular and triangular models are suitable for you.
- For narrow loggias choose a wardrobe that has roller shutters or drawers instead of doors. They create transverse stripes that visually expand the space.
- You can also achieve this effect if hang a mirror on the door.
- Make sure the cabinet is level. To do this, use a building level, a program on a smartphone or a saucer of water. Place the meter on a shelf and make sure there is no slope.
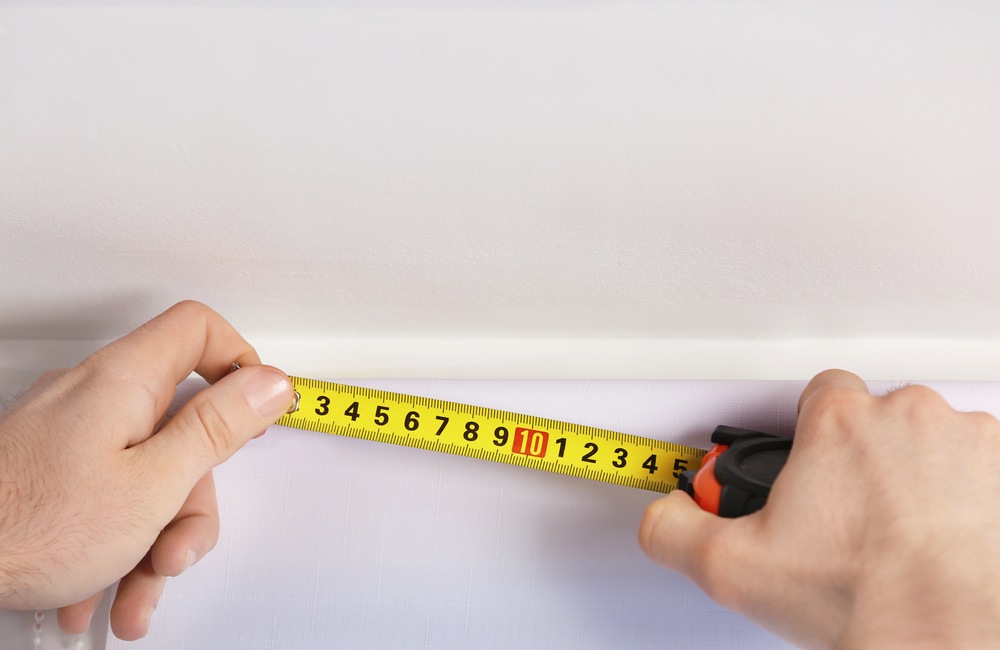
Before buying, it is imperative to measure the available space in order to easily place the purchased furniture. Or do it yourself.
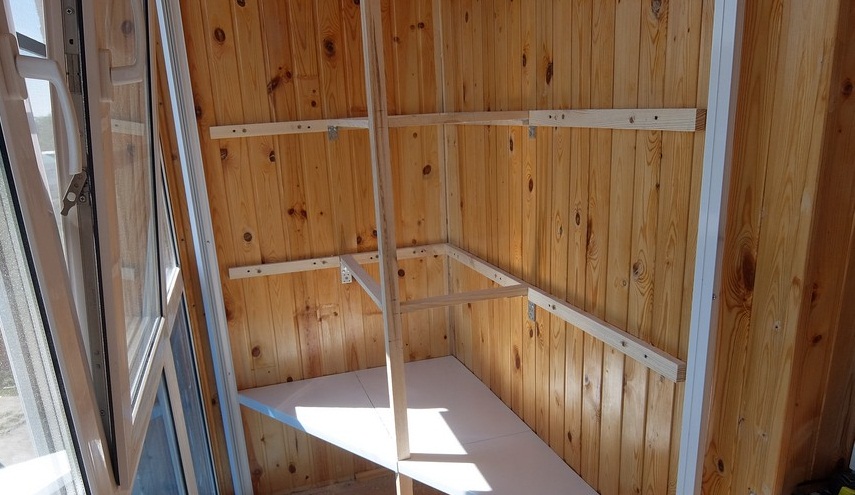
How to do it yourself
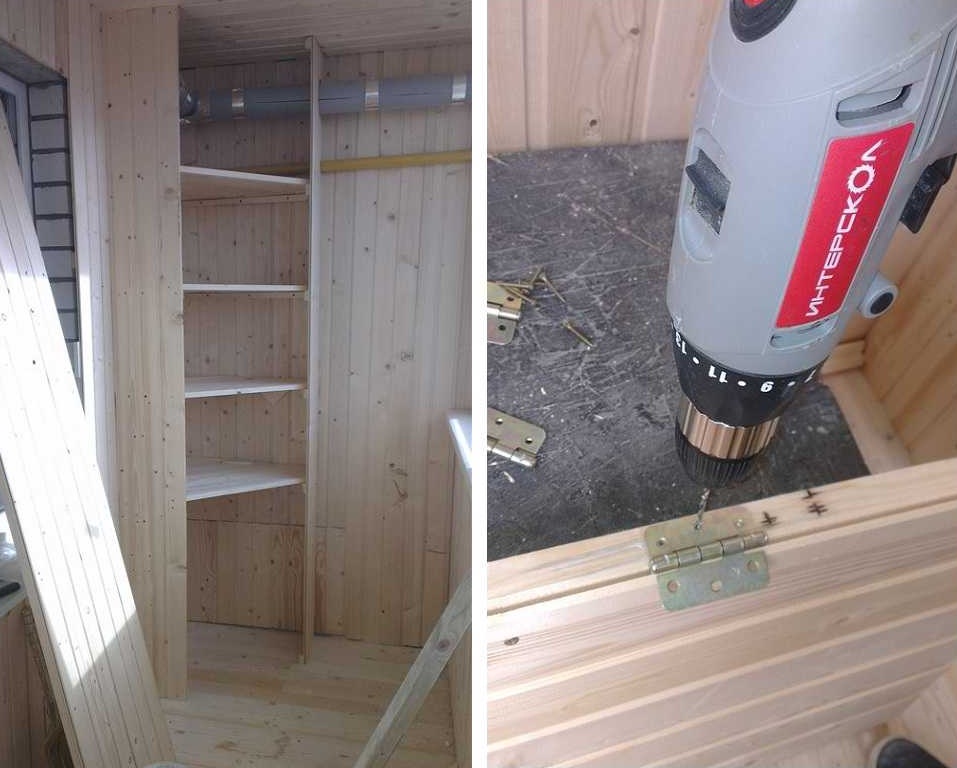
If you want something special, then the balcony cabinet can be made by hand. First, prepare your tools.
- Marker, pencil, tape measure, ruler - for marking. It is better to take a soft pencil: it draws well on wood and chipboard.
- Saw or jigsaw.
- Self-tapping screws, screwdriver or screwdriver.
- Sandpaper, sander or special sander.
- Brushes, primer, paint, varnish.
- Purchased items may be needed: legs, hinges, door guides.
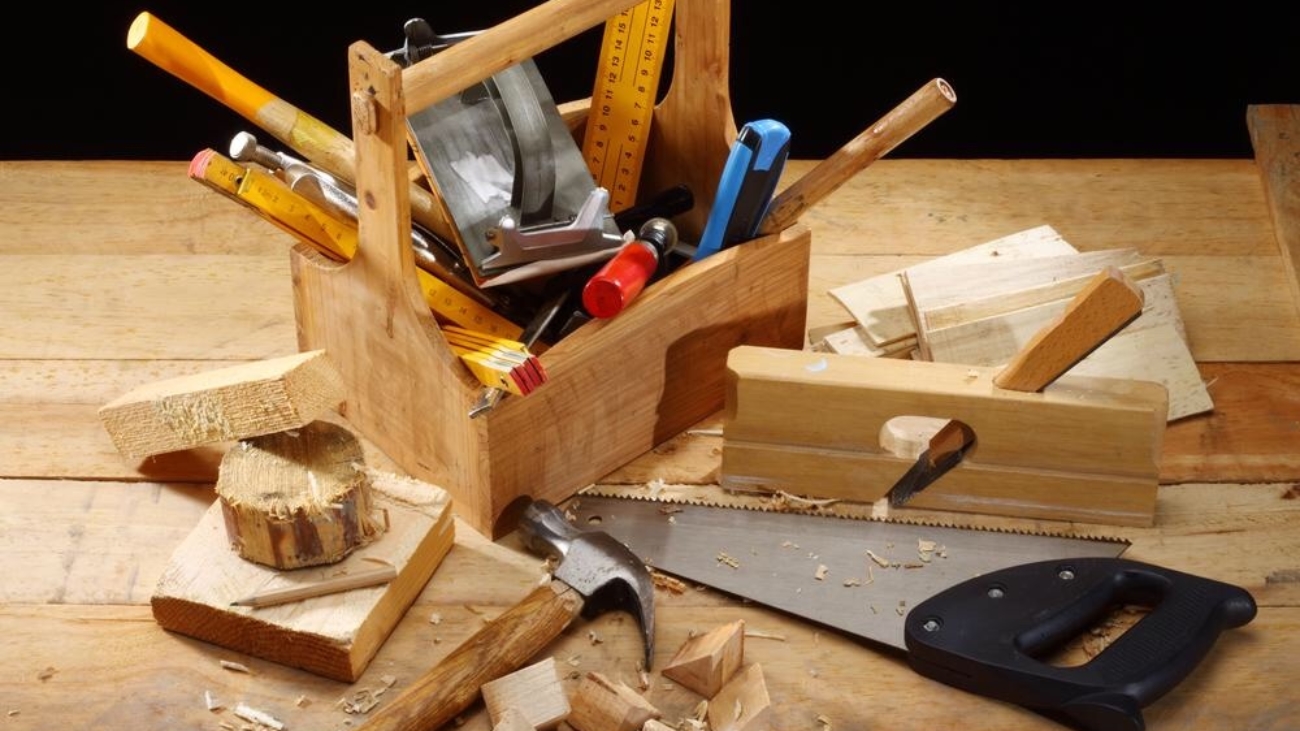
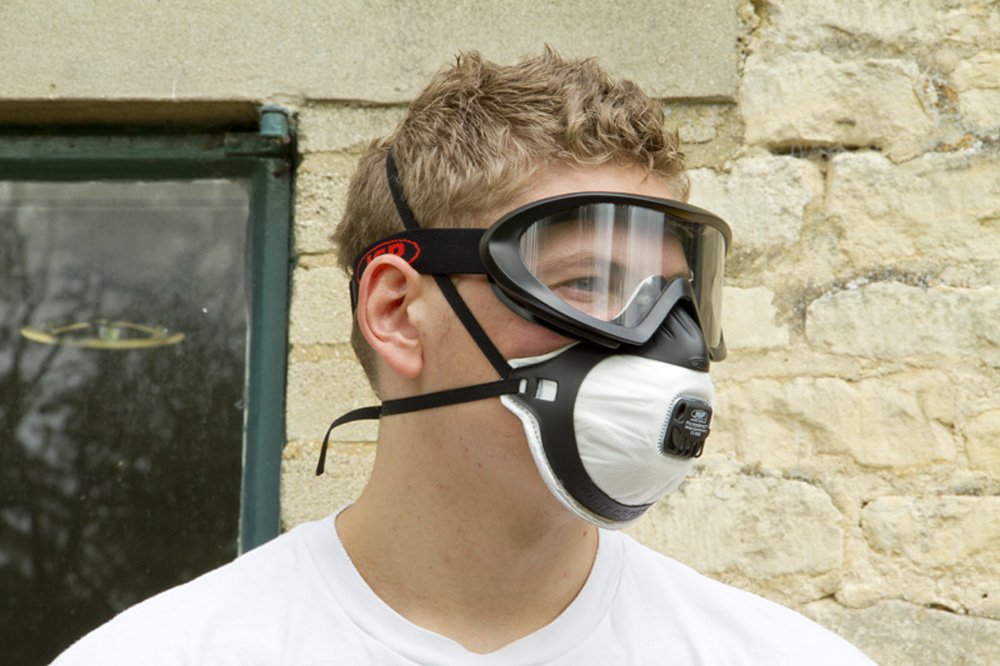
The required tools may vary. But goggles and a respirator are always needed. Do not forget the vacuum cleaner - a lot of dust is generated during operation.
Be sure to follow safety precautions.
Then go to work.
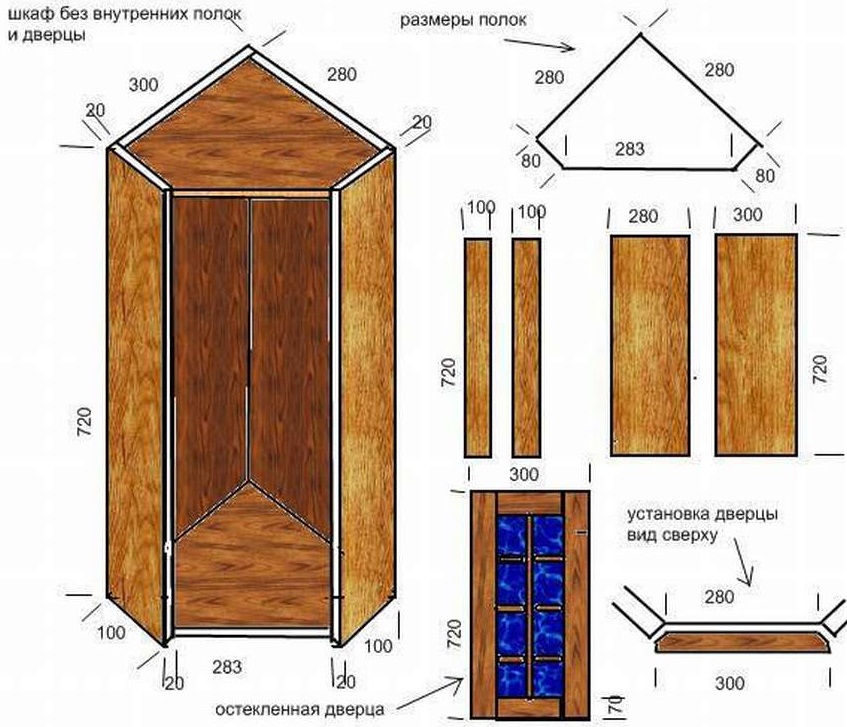
- The main tools of the master are pencil and tape measure... Measure the available space carefully, prepare the installation diagram. Look at the pictures to see if you like a solution and want to repeat it.
- Prepare a drawing based on measurements. The more detailed it is, the better. Mark all the elements on paper: door hinges, handles. Be sure to include the dimensions.
- Check the drawing carefully, preferably after some time... Chances are you will find errors.
When everything is ready, calculate the required amount of material. Then turn on your favorite music and get to work.
- Prepare materials. Sand the surfaces to make them smooth. Polish them if desired. Avoid cracking.
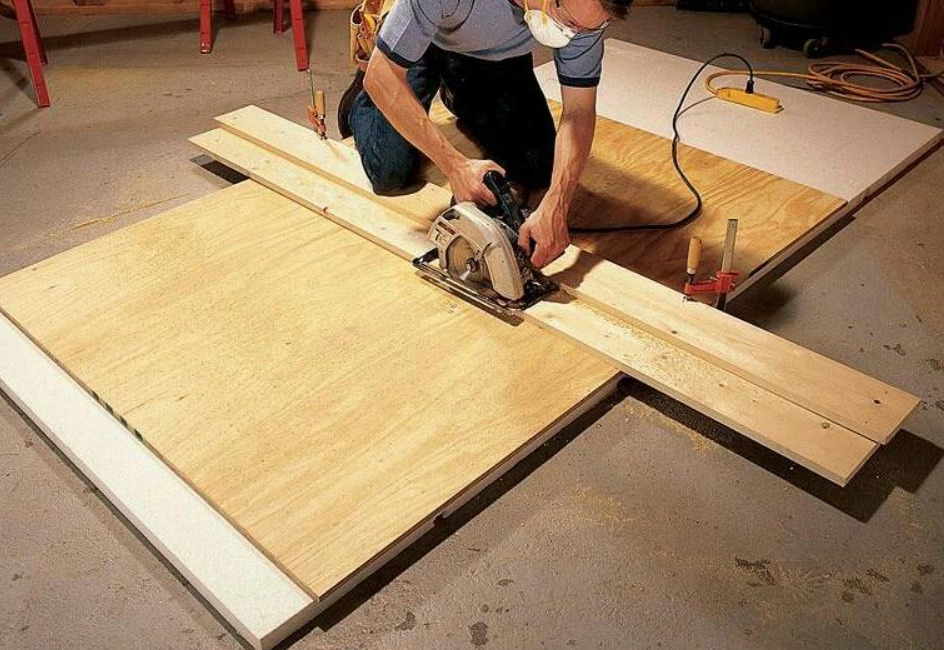
- Apply the markings. Be sure to leave a 1–2 mm allowance for end machining - or less if you are comfortable with the saw.
- Cut the boards or sheets of chipboard into pieces... Please note that a lot of dust is generated during operation.
- On each part, sand the cut with sandpaper. Remove sharp edges.
- Assemble the product. To fix the parts, use self-tapping screws or confirmations (furniture screws for a hexagon).
- Install the legs.
- Secure the doors with hinges or guides. Make sure they open smoothly.
- Cover the finished product with a primer, and then paint or varnish.
If you doubt your abilities, experts will come to the rescue.
Replace the new cabinet. Make sure it is stable. If it sways, place pieces of plywood, boards, or something similar under the legs. Do not forget to check the level position.
Examples in the interior
And to make the loggia look perfect, check out a few examples:
- The L-shaped wardrobe looks massive, but everything will fit in it;

- a wardrobe painted in the general color of the balcony is almost invisible;
- visually, the space will expand if you hang a mirror on the door;
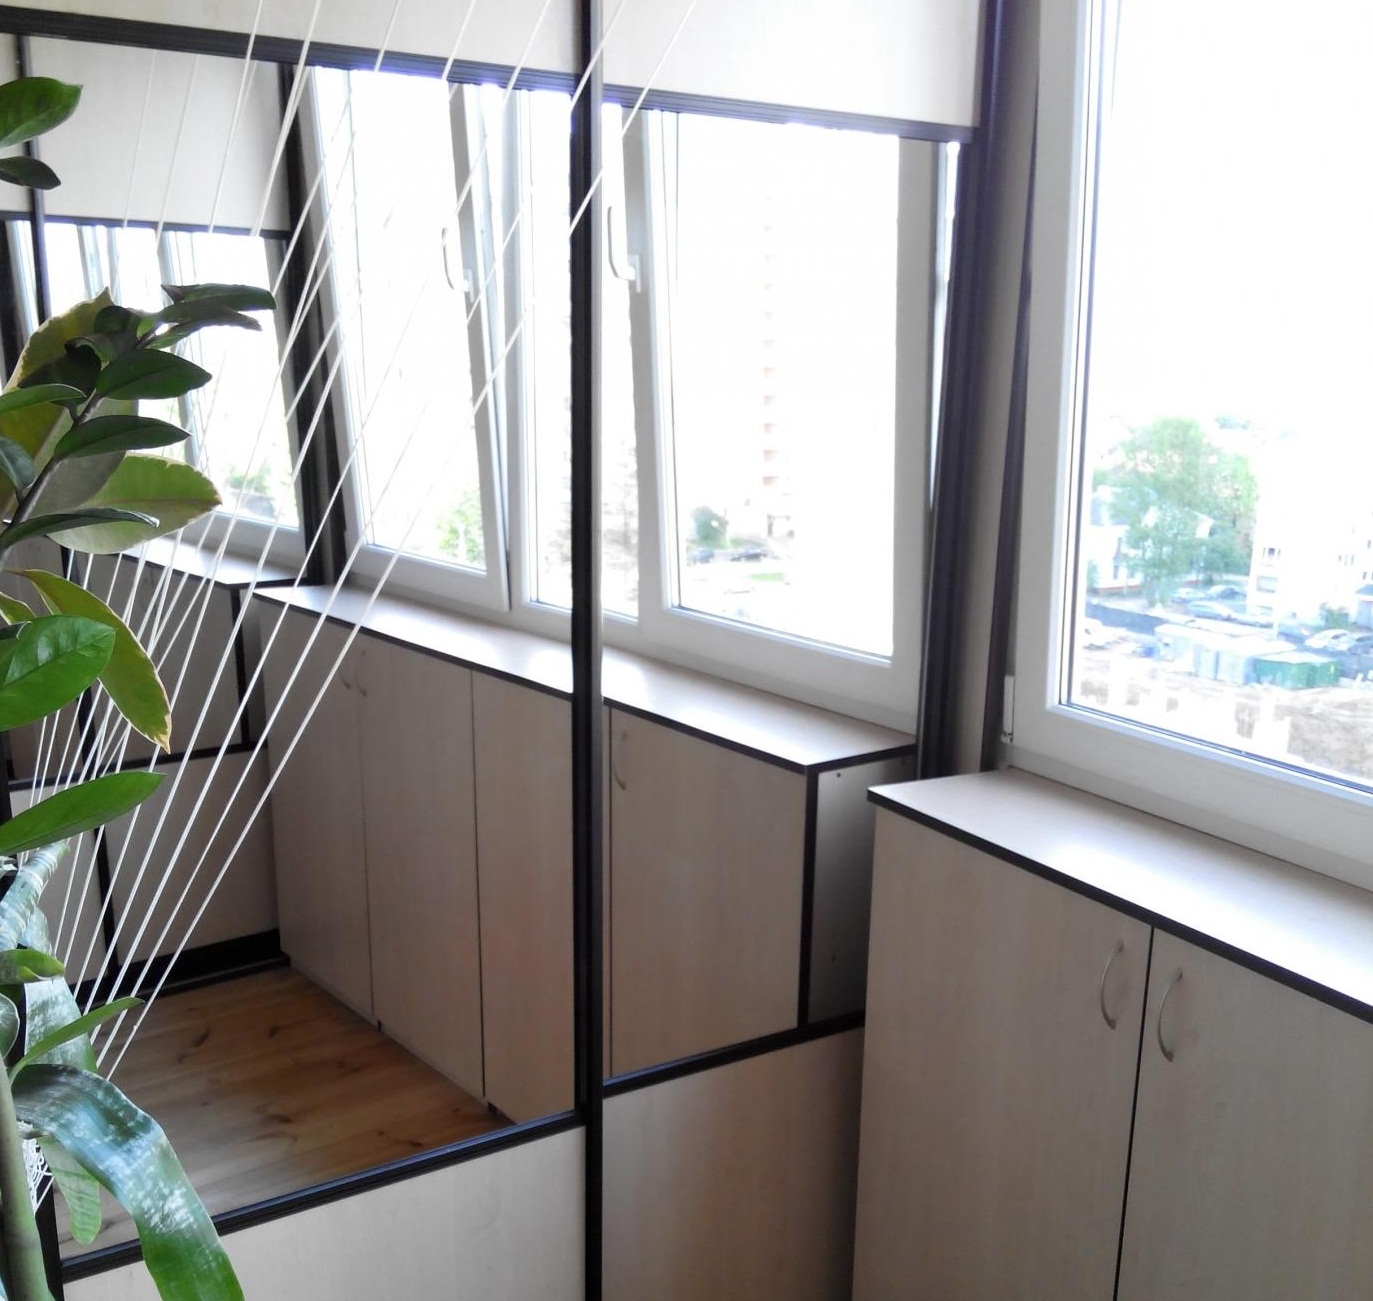
- a small cabinet will serve as a wonderful table;
- roller shutters - convenient and practical;
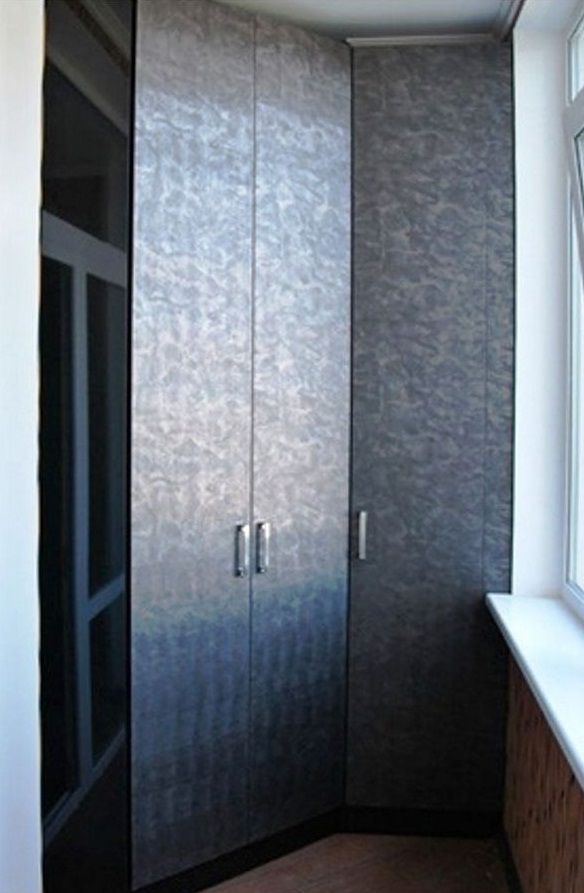
- dark furniture will add rigor and style.
You will see how to make a wardrobe on the balcony with your own hands in the next video.


