How to make a wardrobe for a balcony and a loggia with your own hands?
Abroad, residents of some countries furnished their houses and apartments in the minimalist style, making the cabinets as simplified as possible. In doing so, they threw unnecessary things into a landfill. Our fellow citizens have chosen a different path - they keep old objects and things in a closet on the balcony. Moreover, it is not necessary to buy this piece of furniture - you can make it with your own hands. You will find a description of this process in our article.
How to make a cabinet made of wood?
To prevent the balcony from becoming a messy warehouse of forgotten things, cabinets are not just equipped in the form of a multifunctional storage, but they are adapted to the available area and cubic capacity extremely effectively. Without cabinets, this warehouse will become just another garbage dump without any orderliness.
A built-in or ordinary wardrobe on a balcony or loggia is a worthy solution for craftsmen who prefer to assemble something as furniture on their own. The manufacture of such a cabinet is reduced to a simple one - installation of the supporting structure on legs or hanging fasteners. Shelves and doors are installed on it, in turn. The following materials are suitable:
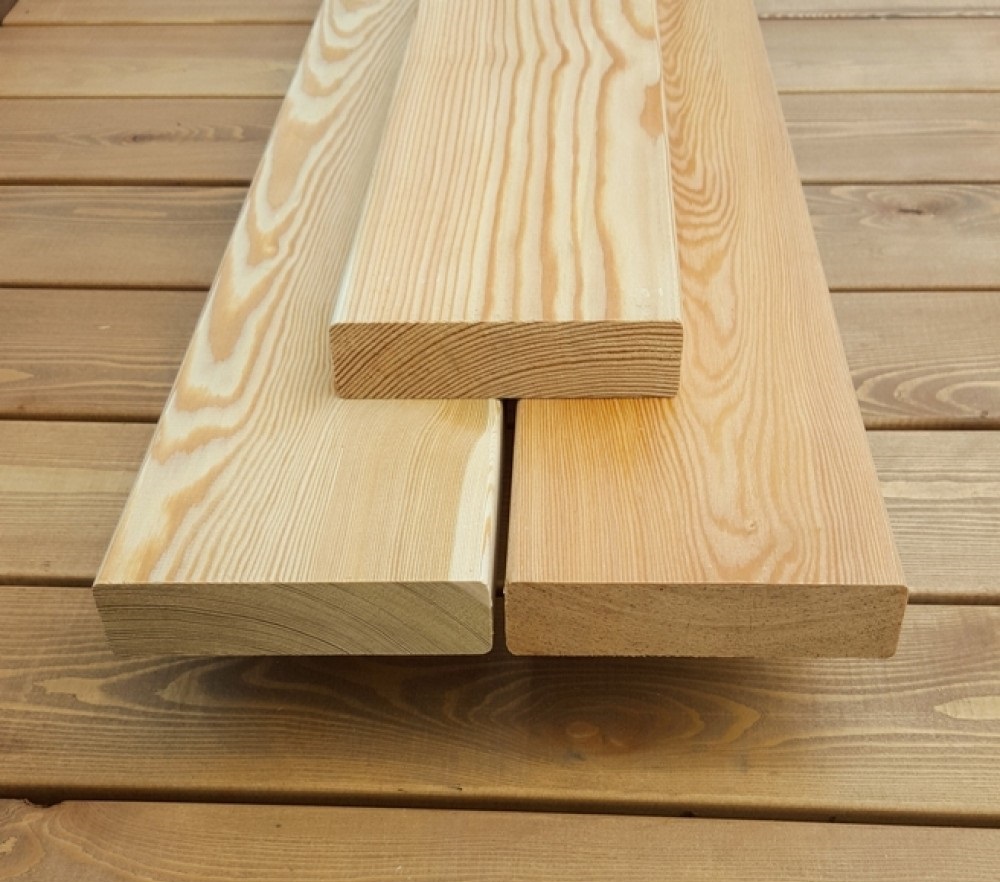
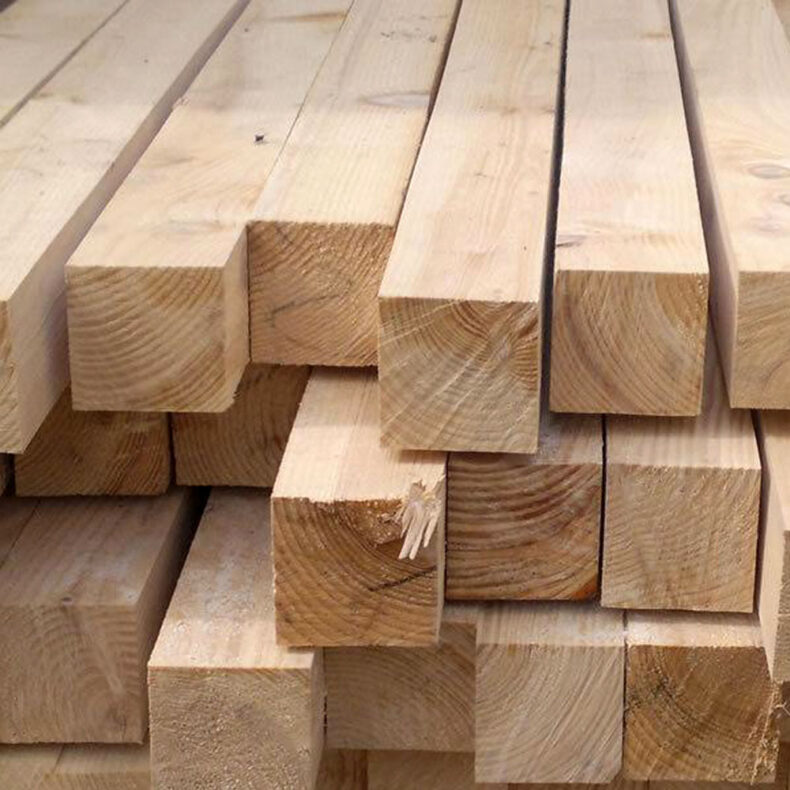
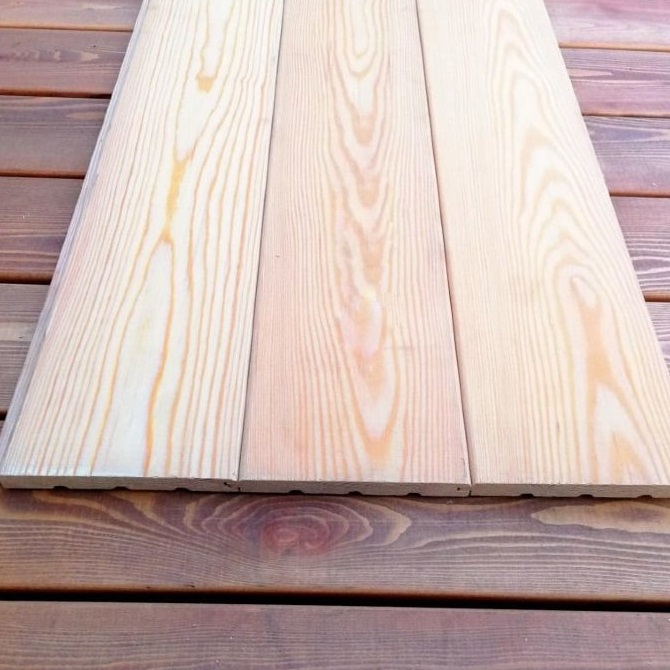
- boards, beams and slats of the required section that can withstand the maximum design load: it can be a timber 4 * 4 cm, plywood with a thickness of 12 mm or a board with a thickness of up to 2 cm;
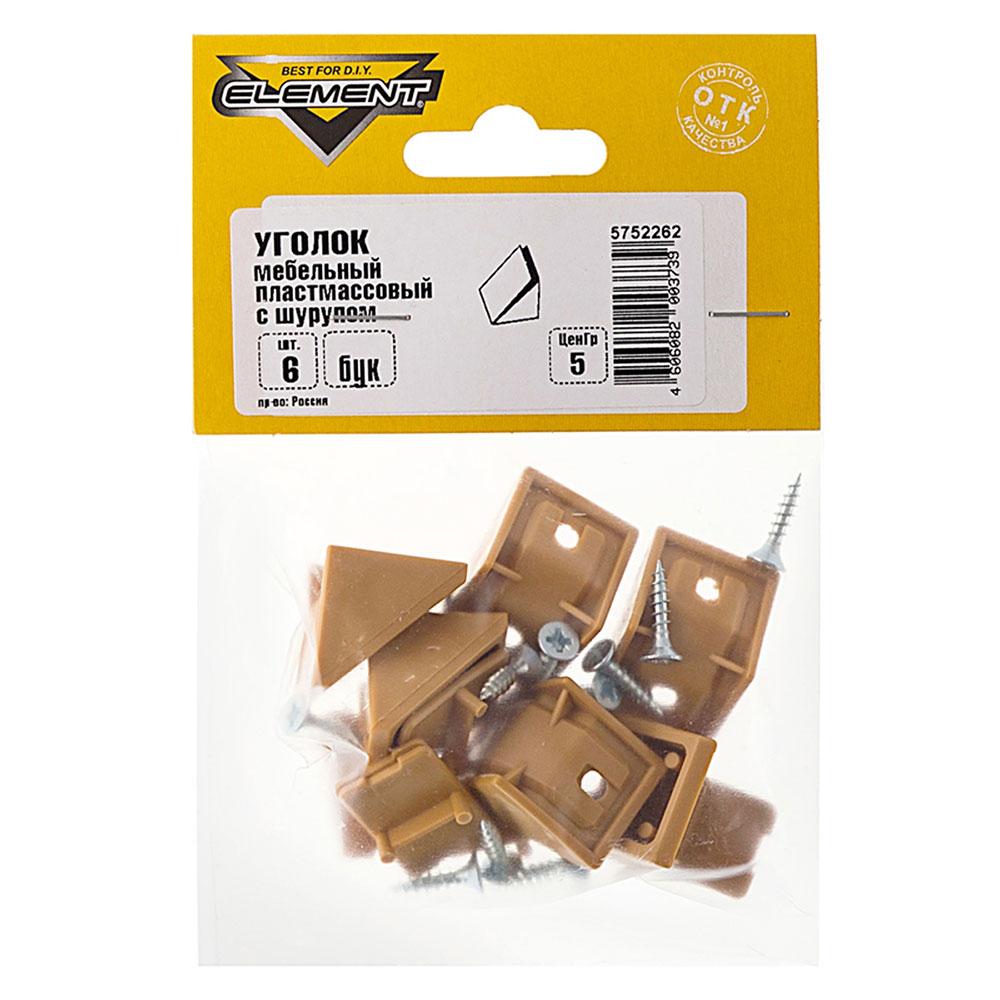
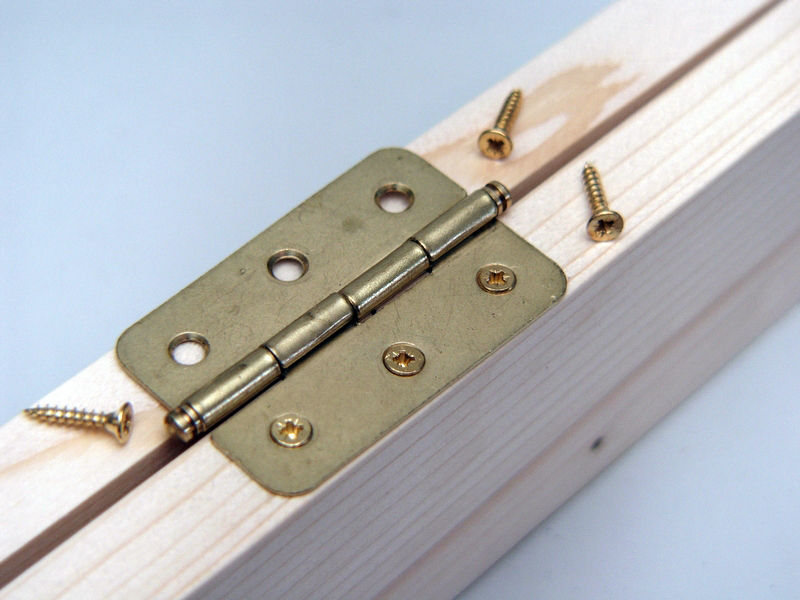
- fasteners: furniture corners, hinges, bolts with washers and nuts, self-tapping screws.
You may need a U- or W-shaped aluminum profile, rollers. If the cabinet is to be moved by the rolling method, then legs on wheels are needed - like those that are installed on stroller bags, only with a 20-fold or more safety margin (load). In the simplest case, furniture corners can be cut and turned with a saw and grinder using a steel corner profile or a professional pipe. A cabinet installed in places where moisture is still present (for example, pots with flower plants) is not recommended to be made on the basis of chipboard and fiberboard - sheets from small lumber can warp in one or several years. Of the tools you need:
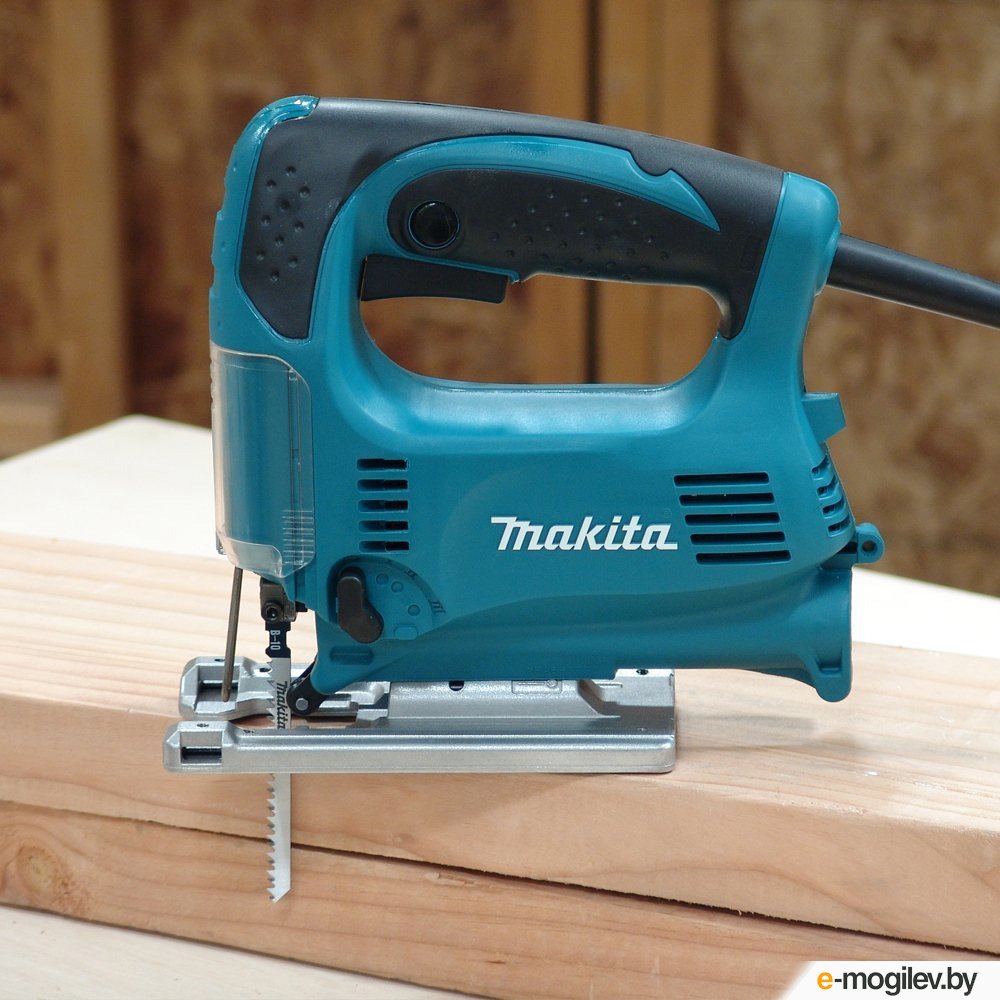
- jigsaw and saw blade (instead of a jigsaw, a circular saw is also suitable);
- electric drill with drills for metal;
- manual router and a set of cutters of different sizes;
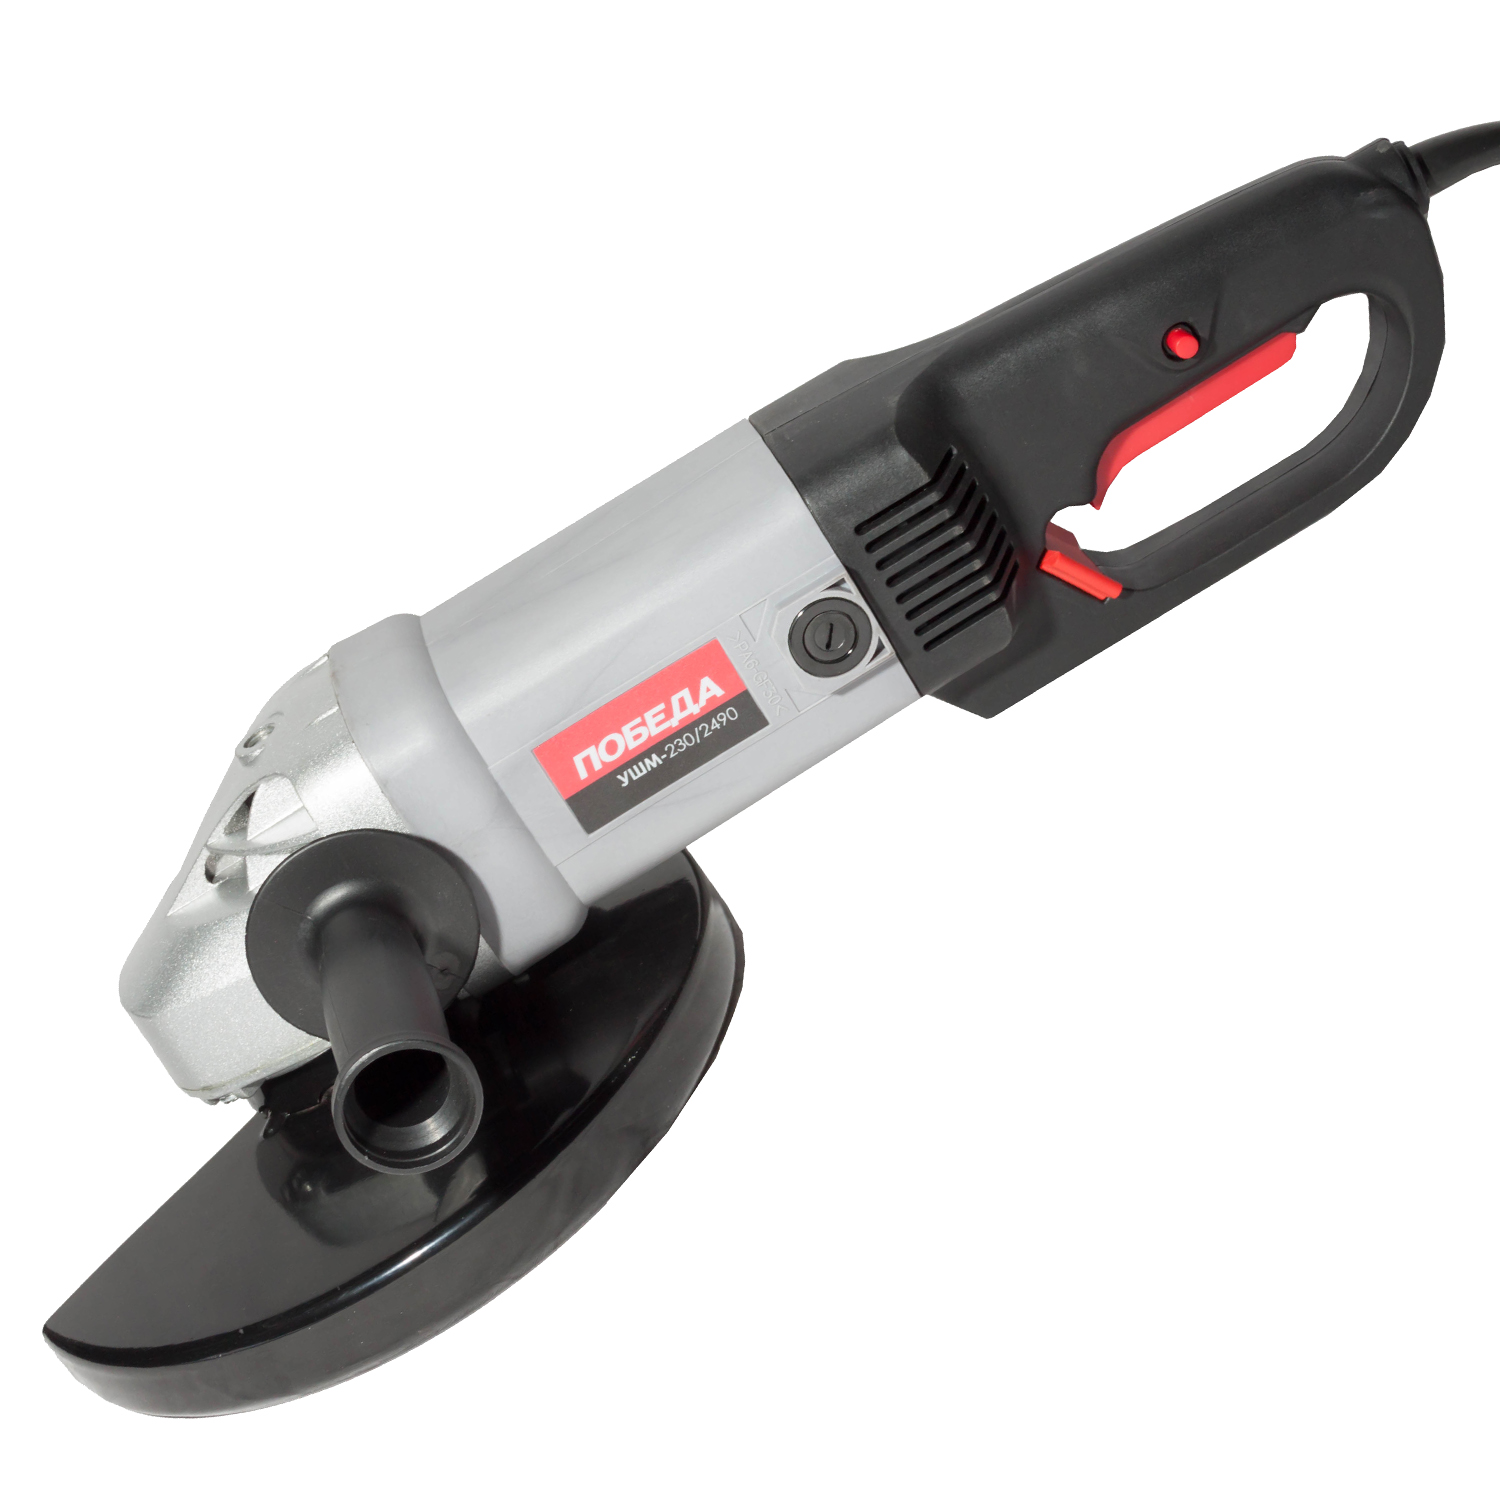
- angle grinder (grinder), grinding (for metal) and cutting (for wood) discs;
- screwdriver and cross bits for self-tapping screws 3, 4, 5 and 6 mm;
- hammer, pliers, chisel, a file (chisel) may also be required;
- construction level gauge (liquid-bubble or laser), plumb line, steel square, tape measure.

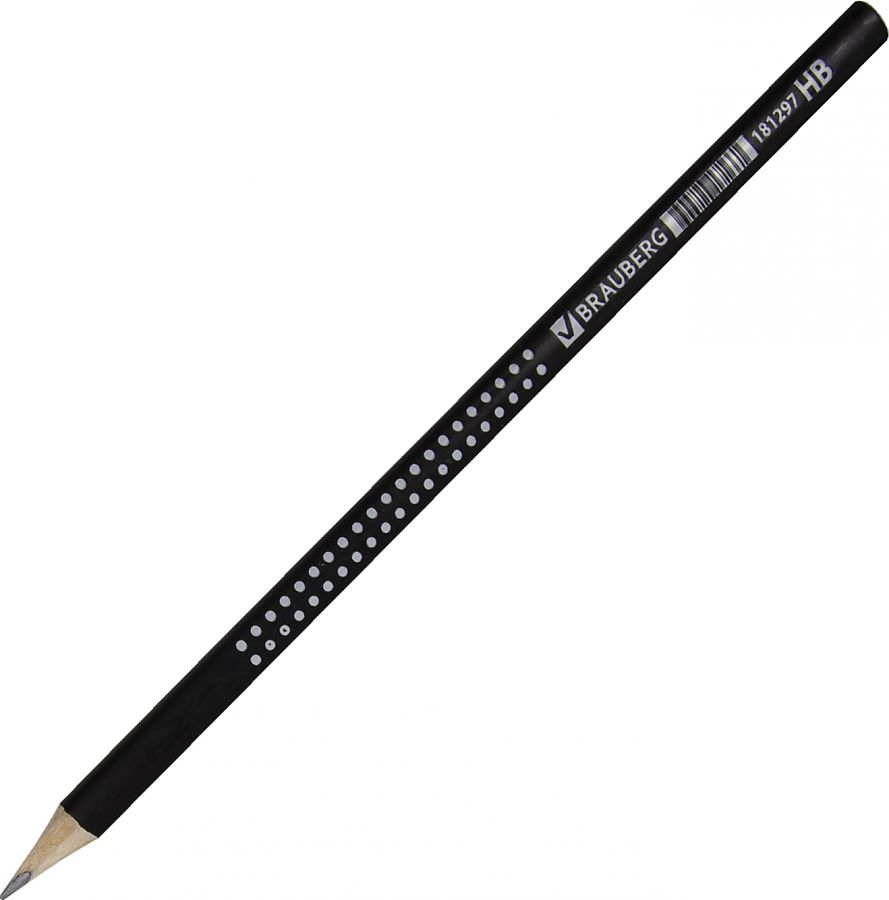
Use an oil-based marker or pencil to mark.
The cabinet structure is divided into two main components: frame (with shelves) and doors. In the presence of a side post, the cladding is also made.
Frame
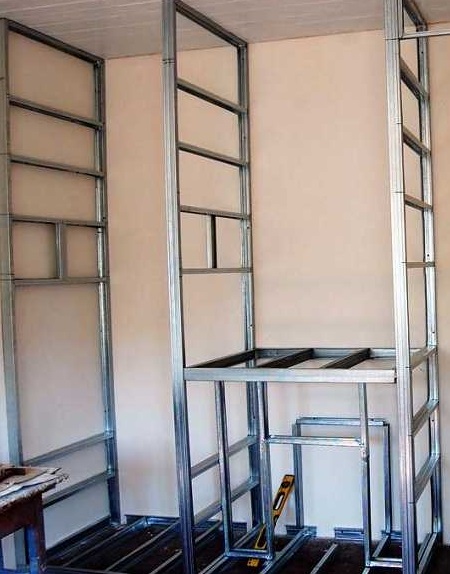
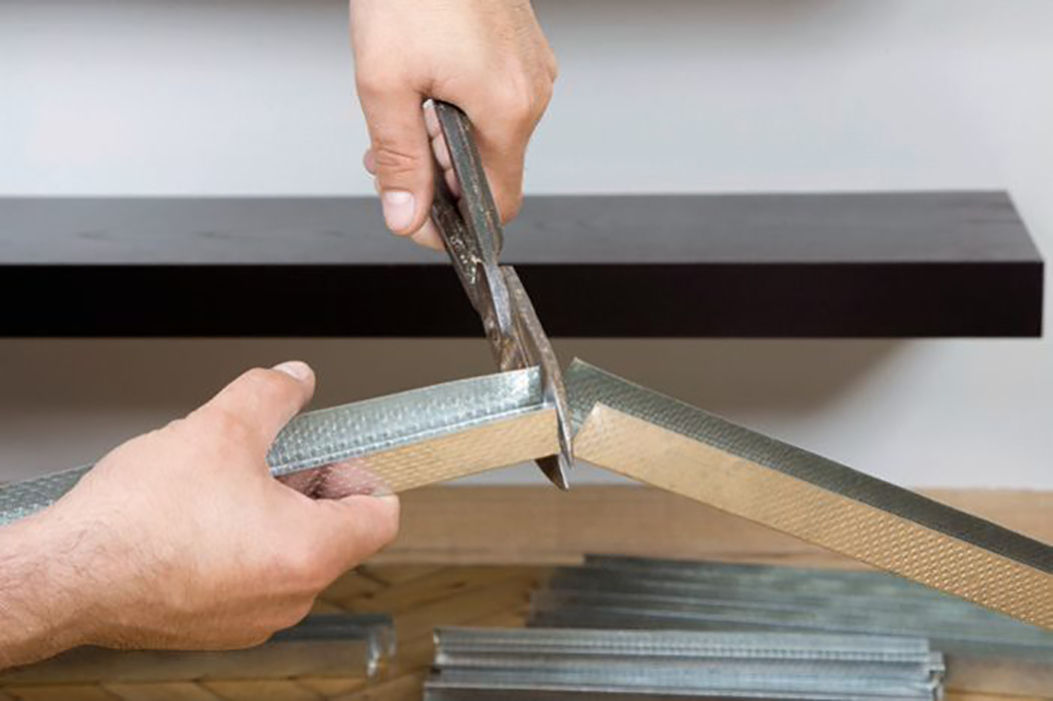
Cabinet racks are mainly made of timber with a cross section of no more than 5 * 5 cm. If the balcony is not heated, high humidity may be a problem for it. Beams, like any natural wood, will not be cheap. It makes sense to use a steel profile - steel will make the structure more compact with a smaller thickness, it will take up less space on the balcony.
The use of thin wall and false ceiling metal profiles - in combination with drywall - will lead to less stability of the cabinet under static and dynamic loads.
Shelves
Shelves are made from sheets of material. It is preferable to use thick (up to 20 mm) plywood, boards. Shelves designed for heavy, densely packed cargo are recommended to be made of solid wood. Shelves are installed in pre-prepared places - with the help of bars or corners and self-tapping screws. The walls of the cabinet can be drilled immediately with self-tapping screws - dowels are not recommended. To attach the shelves to the dowels, the frame is first completely assembled.
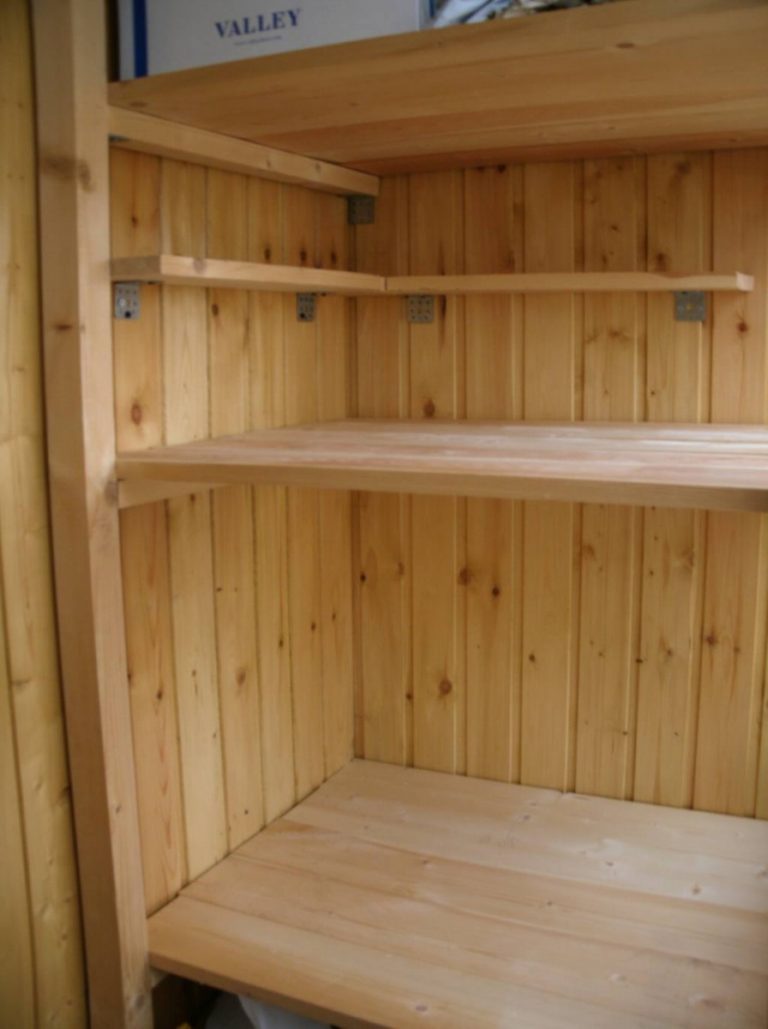
If rails and brackets are used for the shelves, the installed shelves can be easily placed in other, pre-drilled holes by disassembling and reassembling the fasteners. The notches for the shelves are sometimes made with a fixed pitch - in the form of cuts, from which the strip of wood that has become unnecessary is then removed.
Assembling shelves from cut pieces of board - using scraps, for example, left over after re-finishing (or finishing) floors. To preserve a presentable look, these pieces of wood are covered with a waterproof varnish, having previously impregnated them with an antiseptic and a compound that stops self-burning. If this is not done, then the wood will lose its attractive appearance under the influence of moisture and ultraviolet radiation.


Doors
For cabinets, swing and sliding doors are used. Sliding ones are mounted according to the type of construction for a "compartment" cabinet. A type of sliding door is roller shutters. Doors are made for the entire width of the cabinet - or for two or four interacting (or independent) segments. Swinging is considered an inexpensive solution. In addition to the door leaf and handles, hinges are required. The high cost of sliding doors is due to the presence of a system of rollers and guides - at least from above and below.
Roller shutters are produced as a single set - no additional components are needed for them.
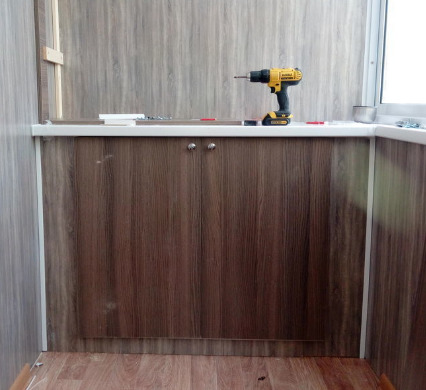
We make a compact version under the windowsill
The cabinet under the windowsill is a kind of storage compartment for small items. Its depth coincides with the width of the window sill protruding beyond the parapet wall (partition) separating the closed (glazed) balcony from the street space. This method is often used, for example, when arranging a bedroom on a balcony or loggia. This compartment is compact (maximum - 20 cm deep) and is definitely not suitable for storing large items that occupy an impressive (with sides of tens of centimeters) area. For clarity - its depth is comparable to the width of a standard brick - "one hundred and fifty". On such a shelf, you can put, for example, a tablet, smartphone or even a small laptop, but not shove, for example, a pillow or rolled blanket.
The cabinet under the windowsill can be suspended - it can be placed under it, not reaching, for example, half a meter to the floor. A full-size cabinet will take up the entire space - a vertical row - up to the floor. Its purpose is to maintain full visibility from the balcony, it will not block the view from the window. It is more optimal to make it from natural wood or metal structures (sheet steel or aluminum, corners and other metal profiles).
The back wall of the cabinet is a balcony partition or the outer wall of the loggia (under the window), to which the sides, top and bottom of the cabinet are attached by the corners with the help of dowels and self-tapping screws. The top is necessary, because if the window sill is plastic, the rest of the structure will not be attached to it: the box-cell structure of the window sill with a total thickness of up to a centimeter will not allow the use of long (more than a few millimeters) self-tapping screws. The fact is that the so-called self-tapping "bugs" will not hold the sidewalls, shelves and the bottom from the side of the window sill.
After completing the creation of the main (quadrangular) frame, strips for the shelves are installed. They are located parallel to each other, the ceiling and the floor of the cabinet at the same (or slightly arbitrary, at the owner's choice) distance. They are fixed with self-tapping screws or brackets installed with a construction stapler. The most reliable option is the connection using bolts and nuts, under which press and grooving washers are inserted. Bolts are also replaced with hairpin pieces: size - no more than M-6. Sections (cuttings) of the board, pre-processed and coated with impregnations and varnish / paint, are placed on top of the bolted strips.
For the manufacture of cabinet doors, a frame is preliminarily prepared - a quadrangular structure.
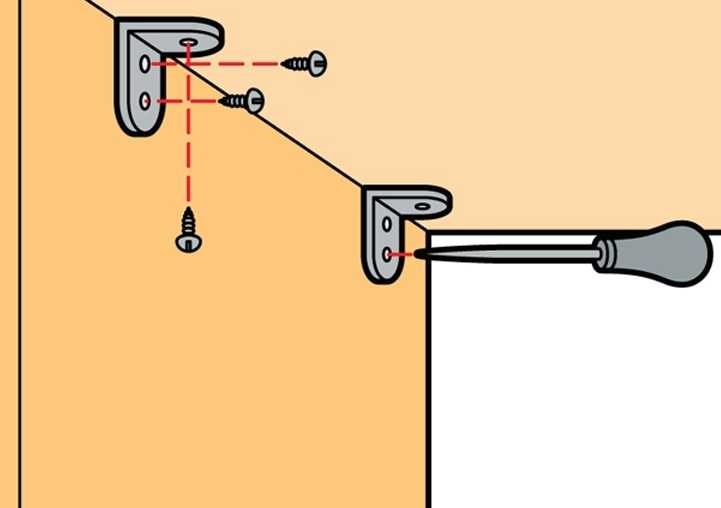
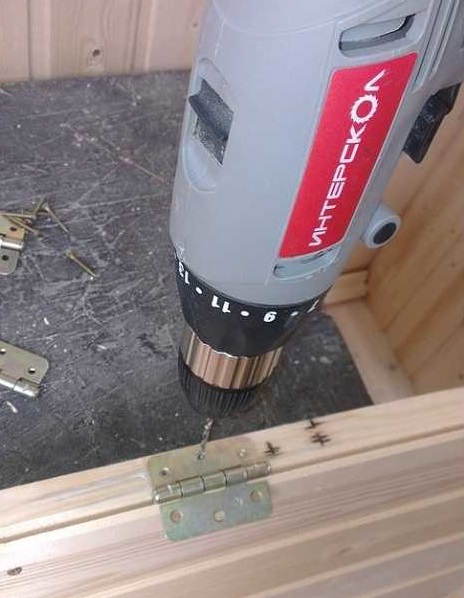
Sections of a bar or board are fastened with plates and corners using bolts and nuts. The resulting structure is sheathed with lining or plywood. Loops are installed on the longitudinal ribs. The finished doors are screwed by means of these hinges to the front ribs of the sidewalls of the cabinet using self-tapping screws or bolts. Before marking and securing, each door is leveled horizontally and vertically. A handle is screwed onto the door in a convenient place.
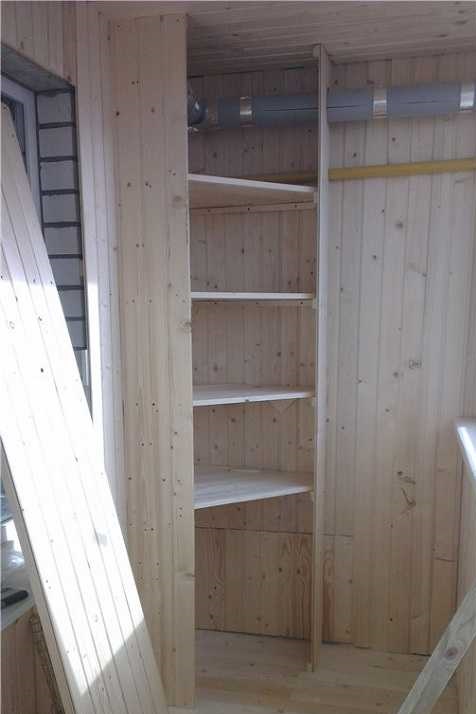
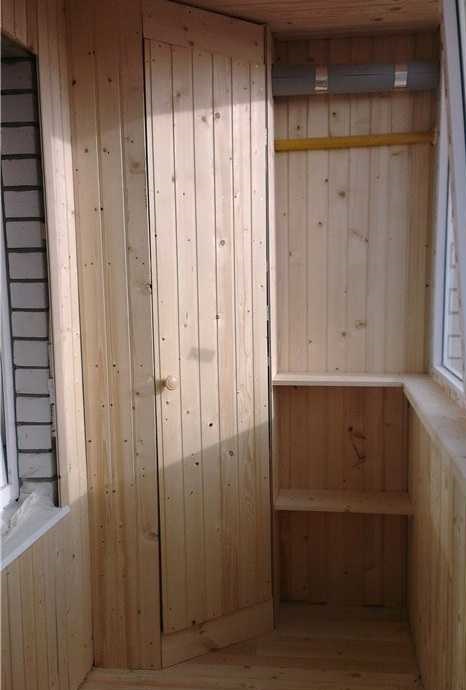
Step-by-step instructions for creating a corner cabinet
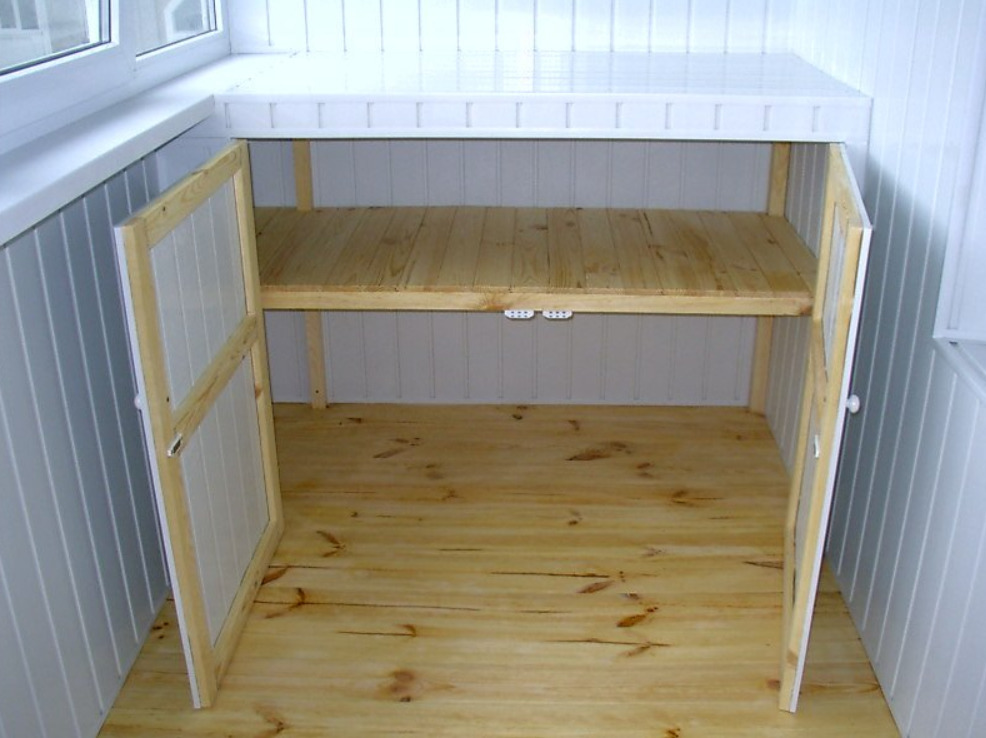
Lining is an easy-to-assemble and process wood material. They are sheathed with loggias and country houses from the inside. You can make a corner cabinet from the lining. Prepare a sketch or drawing. The manufacturing process for a corner cabinet consists of five steps.
- Mark and saw, after checking the drawing, the beam and the lining into its constituent elements.
- There is no need to mount the racks. Attach the bars to the ceiling and floor. On them - fix the side walls. The width of the walls is three lining boards for each.
- Attach the horizontal planks to the walls facing each other.
- Install shelves on them. For shelves, both a regular board or plywood and a lining cut to the shape of the cabinet are suitable.
- Assemble and hang the doors.
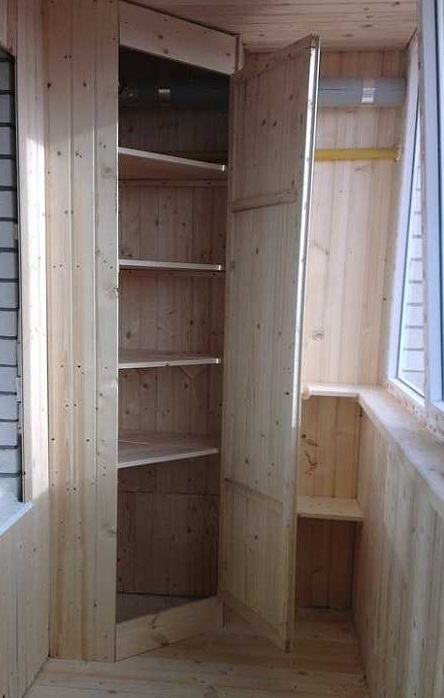
It is preferable to use swing doors. The fact is that this version of the cabinet is not universal - sliding doors in the open state will significantly go beyond its width.
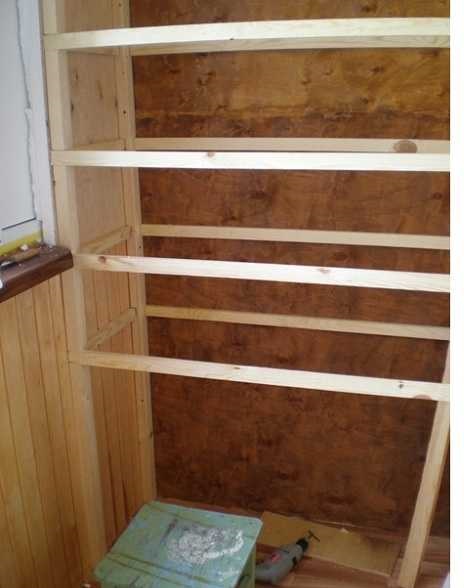
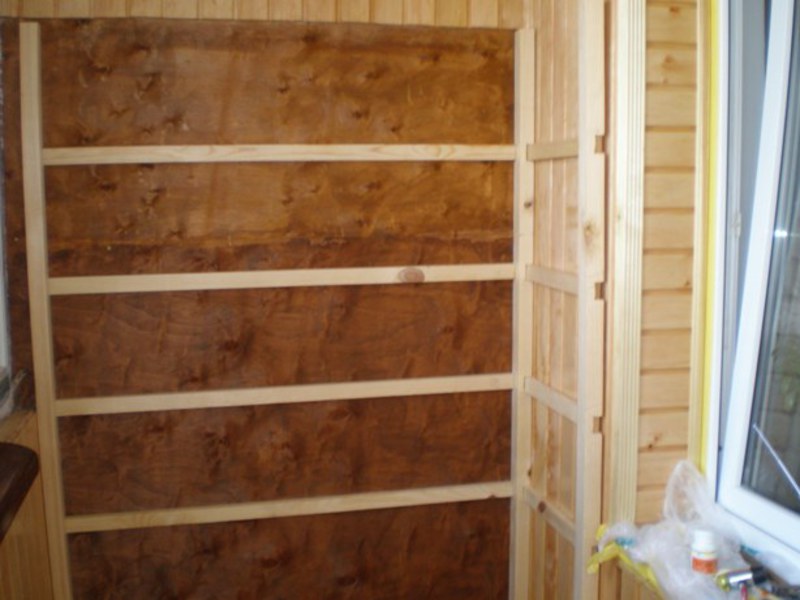
DIY built-in model
The built-in model on the balcony will be appropriate if a wooden niche with a mezzanine was previously allocated for similar shelves. A niche on the balcony is an attribute of "Khrushchev" or "Brezhnevka": in the late Soviet era, such a decision was widespread. You can build a cabinet with shelves under them using the previous tips, for example, on making a cabinet under the windowsill. The only requirement is to change the dimensions of the structure. Boards thicker than 20 mm may need to be used. Ready-made furniture boards may be required. To make a built-in wardrobe on the balcony, follow the steps below in the exact sequence.
- Prepare the space where the cabinet will be built in advance. So, update the plaster and covering of the wall or partition that is the back of the cabinet.
- Prepare a drawing or sketch of the future cabinet. Measure the dimensions of the space. Checking the obtained values, mark the furniture boards. Cut off the shields from excess wood strips that interfere with further installation.
- Glue decorative edging tape on the resulting cuts. The furniture edge used in the manufacture of the latter is suitable - this strip will give the cuts a neat look.
- Attach the legs to the shield, which serves as the basis for the future cabinet. Place it in the wall opening for the cabinet to be assembled and attach the back wall to the base. Then place the sidewalls. Connect all the parts together. Place the cover on top - and also attach it to the existing parts. All connections are made using an L-shaped metal profile or corners. They are fixed using bolted connections or self-tapping screws.
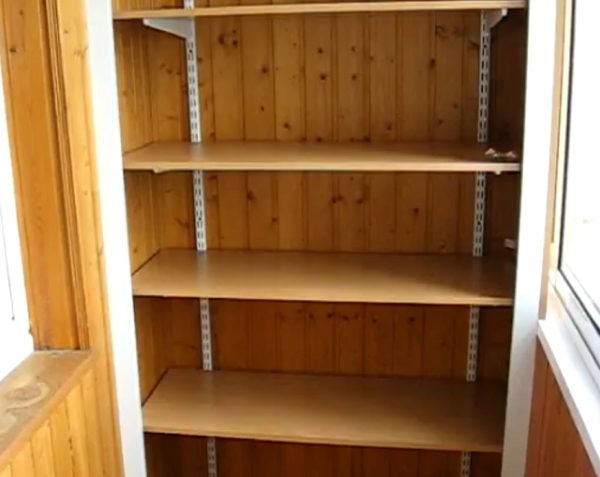
- Install the horizontal strips on the sides of the cabinet - opposite each other, from the inside.Place shelves cut from a regular board or lining on them.
- Assemble the doors according to the previous instructions. Install hinges on them. Hang the doors to the cabinet. If you plan to make the doors roller shutters, install rollers and guides for them.
- Install decorative handles on the doors.
- Level the cabinet doors using the adjusting bolts.
When the cabinet is assembled, test it for strength. Adjust the legs if necessary (if the design allows).
Recommendations
Do not use materials that are porous, dampening or that change their shape from external influences. These include chipboard and fiberboard - they warp from dampness, mold forms on them.
Plastic for the manufacture of any furniture, including cabinets, is undesirable. Many types of plastics, such as polystyrene, polypropylene, are highly flammable materials.
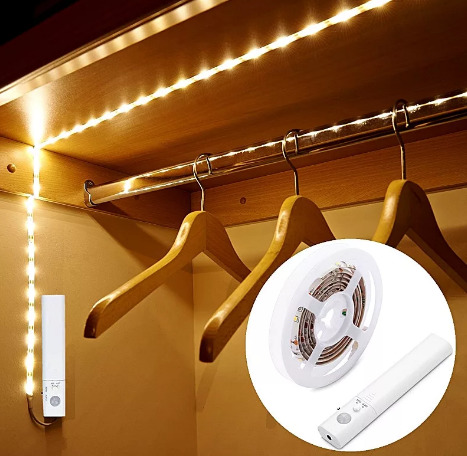
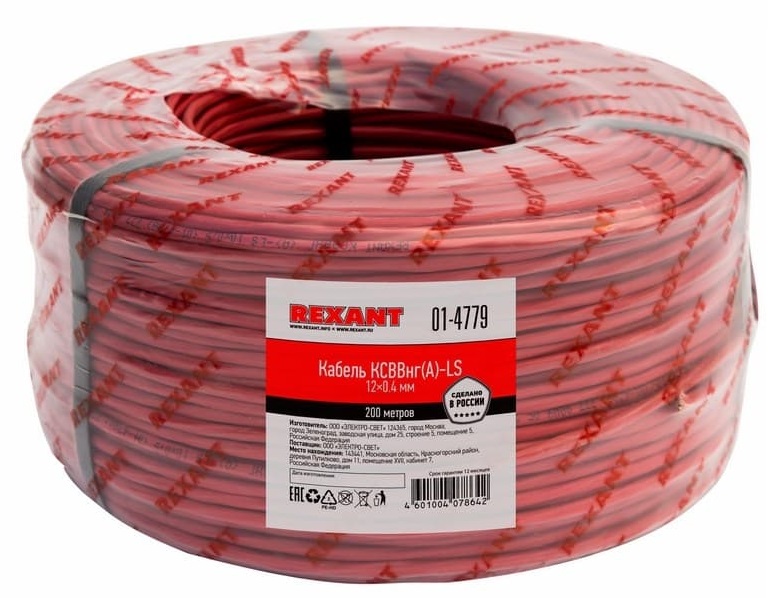
If the cabinet contains LED lighting, make sure you use non-flammable wires - they do not support self-burning. These include, for example, KSVV-NG (non-flammable).
Steel structures used in homemade cabinets are primed and painted. A universal solution is a rust primer.
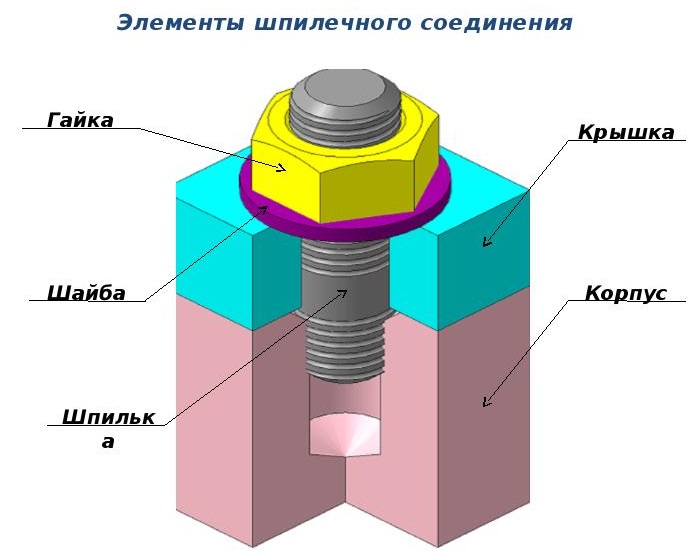
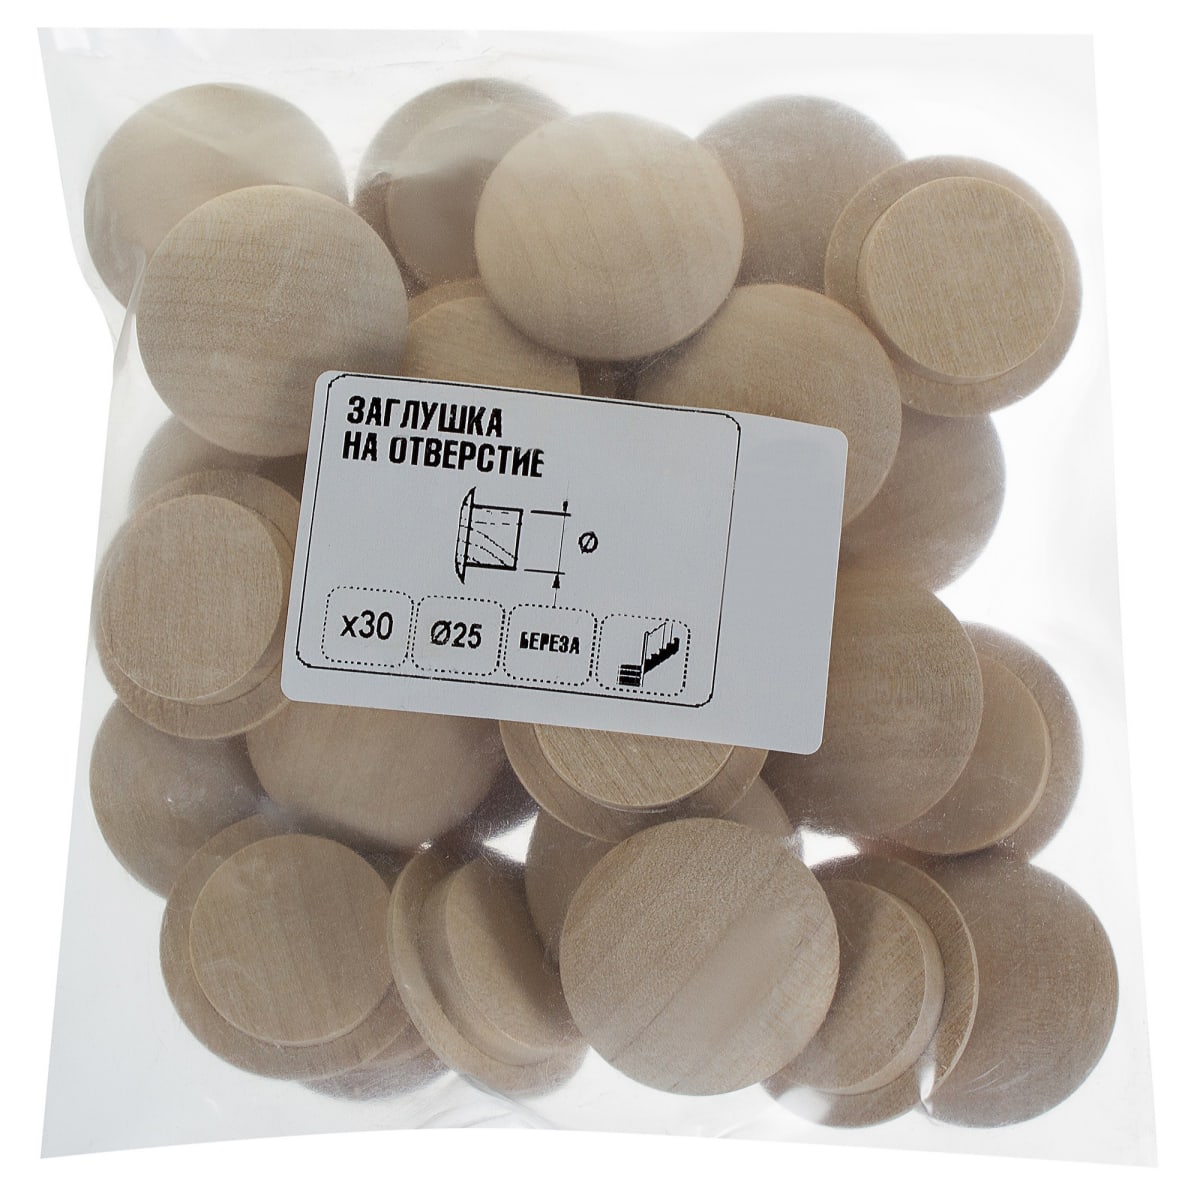
If possible, try to use bolted or studded joints with press washers instead of self-tapping screws. They have the greatest stability - unlike self-tapping joints, wood does not crack when parts are screwed together, since holes of the same diameter are drilled for bolts (or studs). Choose fasteners so that the connections look neat. If necessary, decorative plugs are placed on the bolt heads.
Interesting ideas for inspiration
There are ready-made cabinet models suitable for placing them on the balcony. Any craftsman with the skills of a carpenter can make exactly the same ones - if possible, exact copies of them. The final option depends on the preferences of the owner, in particular, the volume of things fit in the closet. It is worth paying attention to interesting schemes.
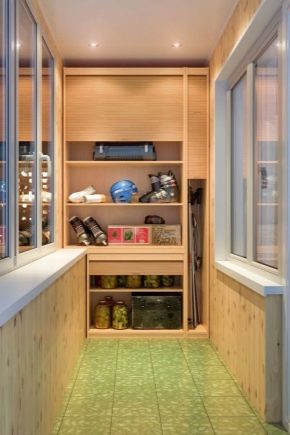
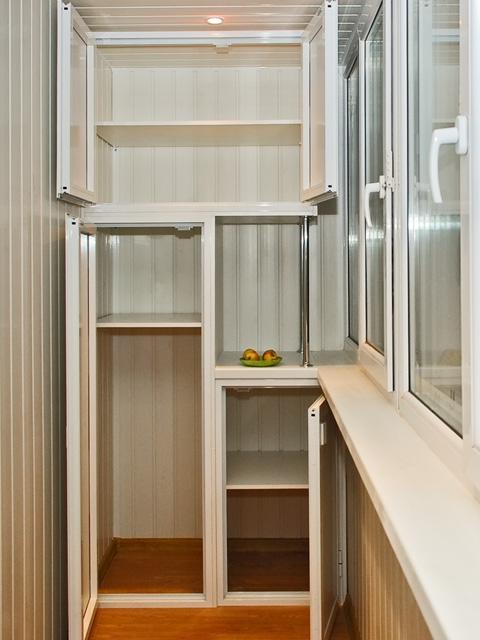
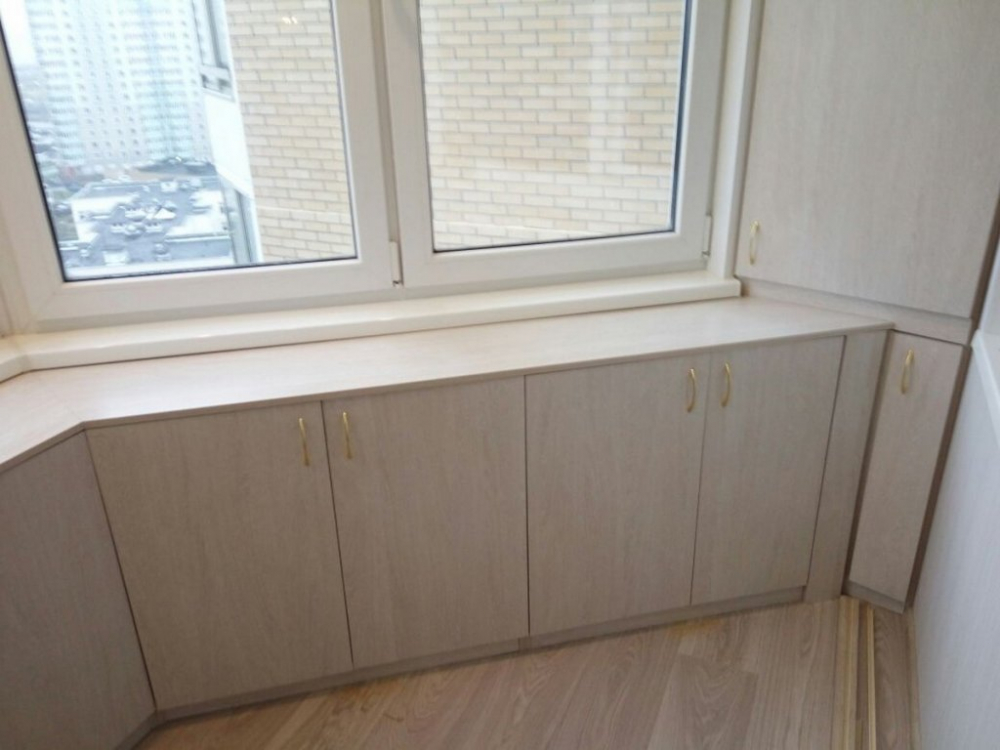
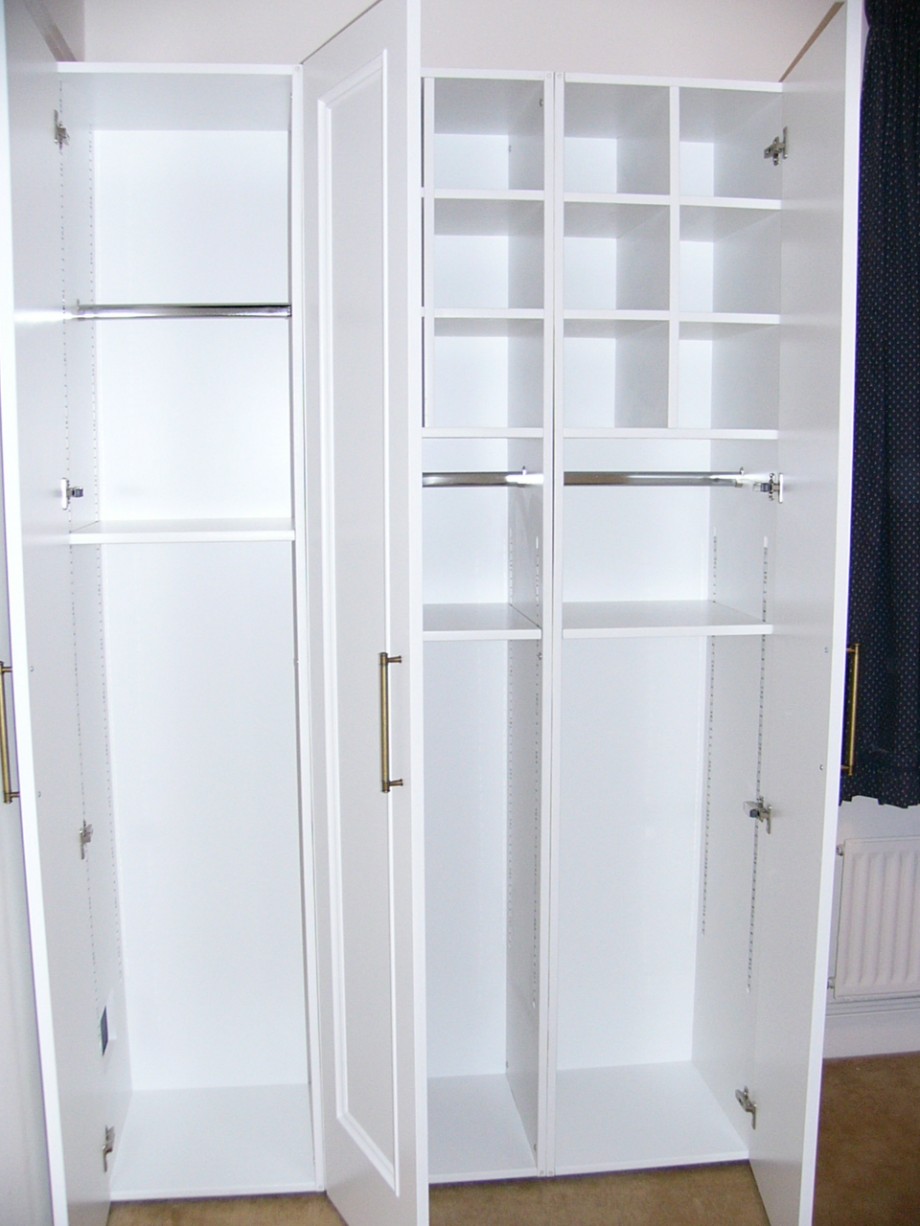
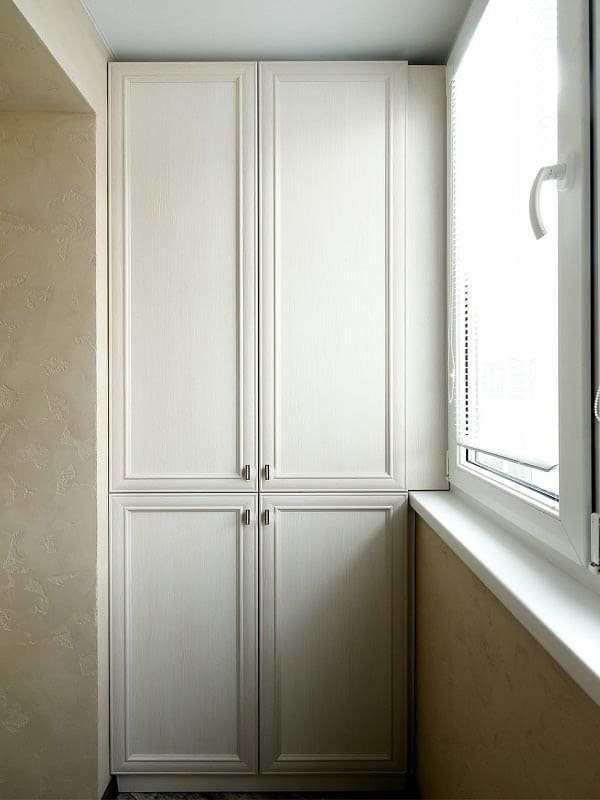
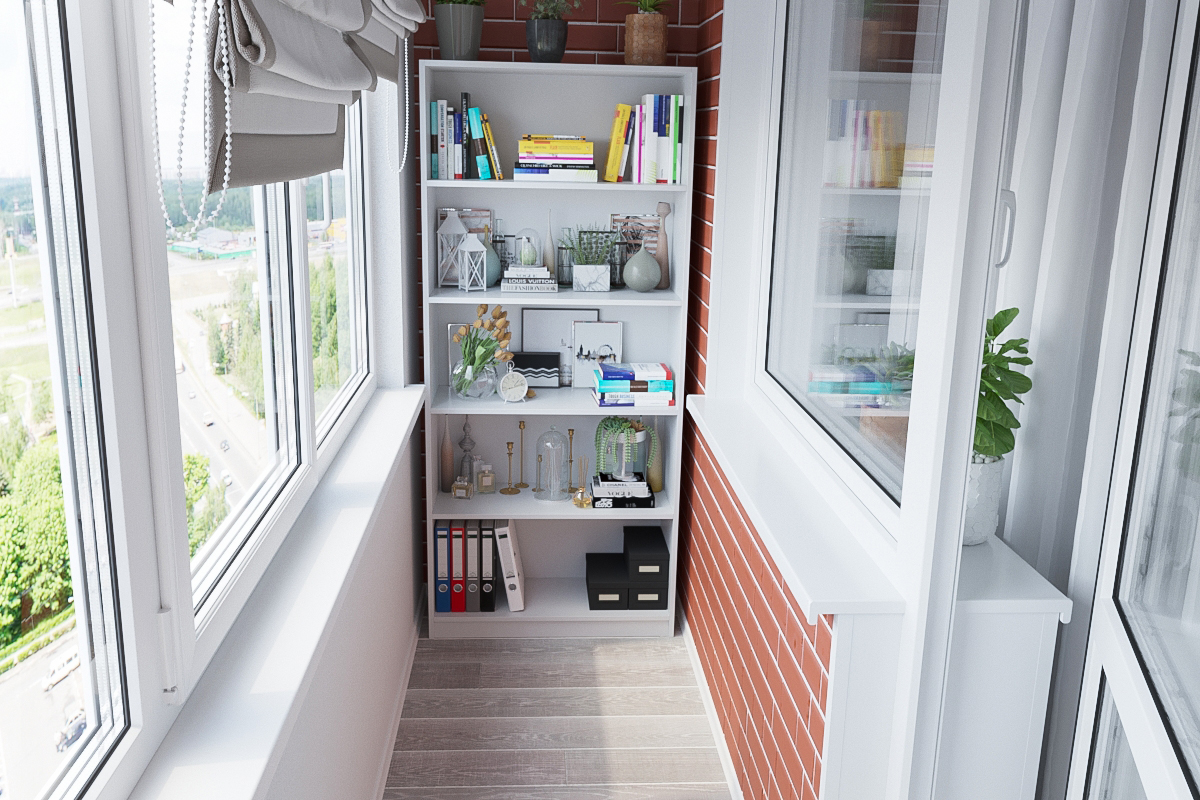
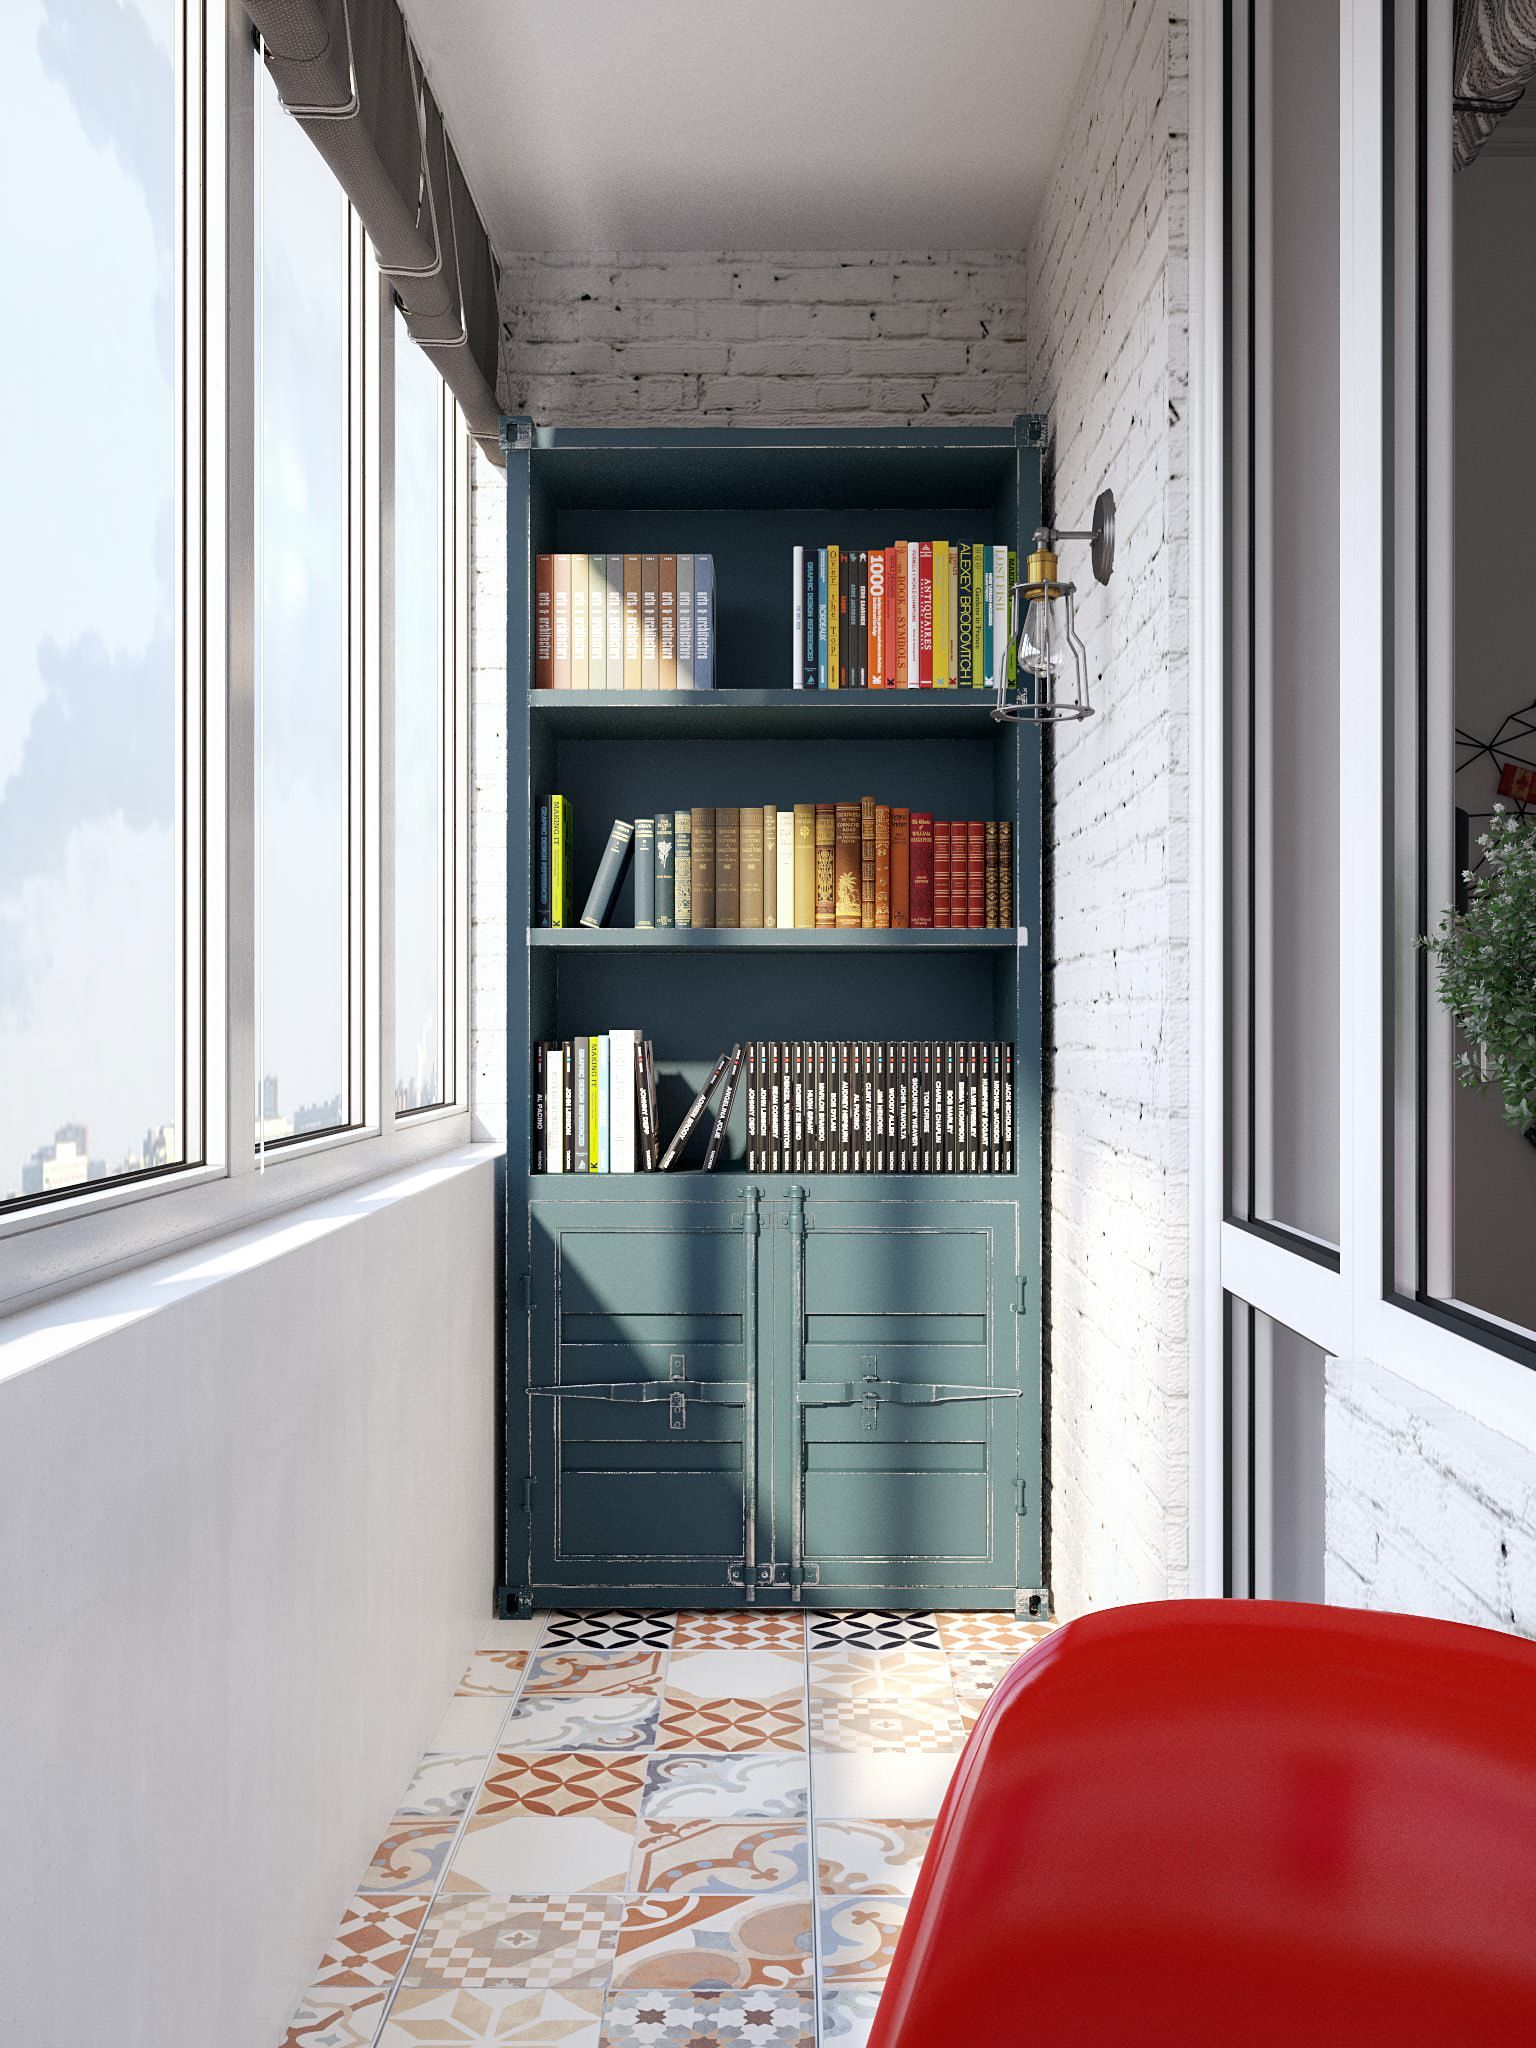
- Three compartments in this wardrobe are designed for a wide space of a balcony or loggia. With a significant narrowness of the useful space of the balcony, the number of departments in the cabinet is cut to two. The advantages of such a performance are aesthetics, the use of an open top for vases with flowers and similar paraphernalia, which serves as an exquisite addition to the interior of the balcony. Inside it is possible to place a compartment with hangers, in the narrowest compartments - simple shelves.

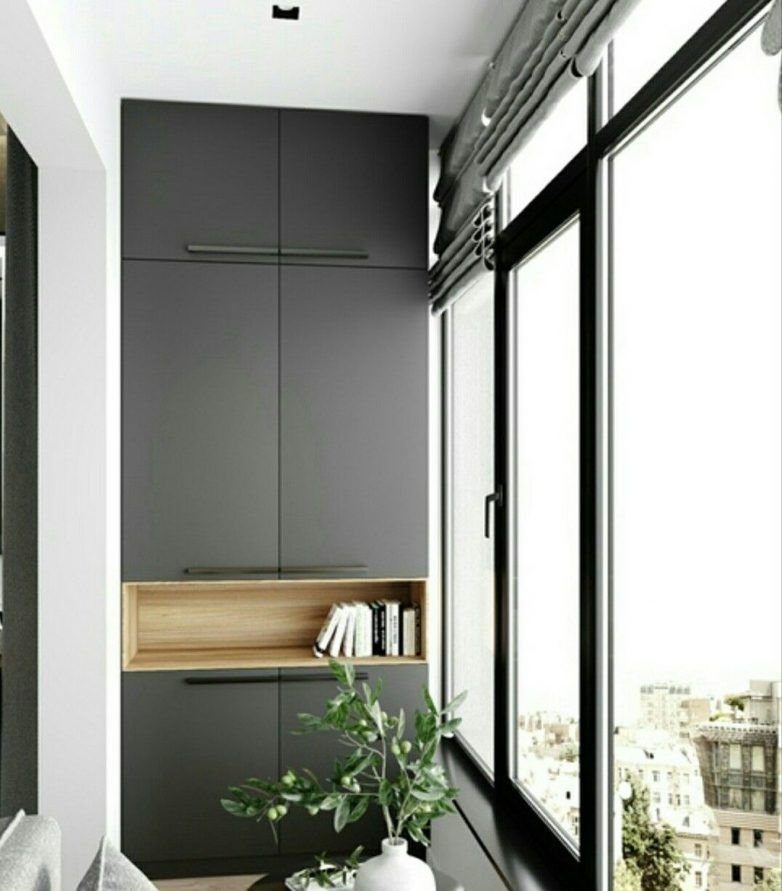
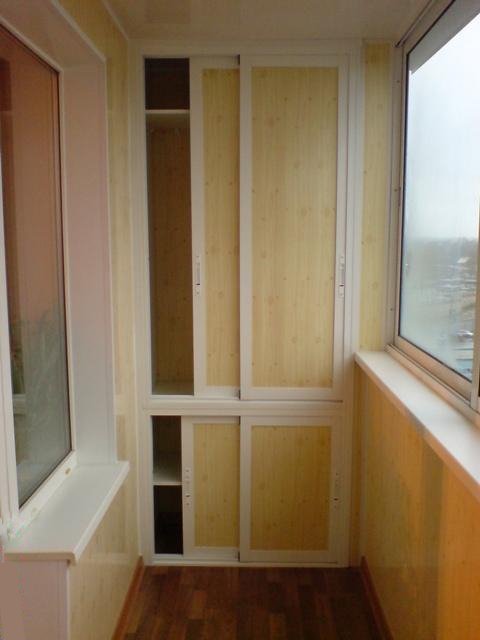
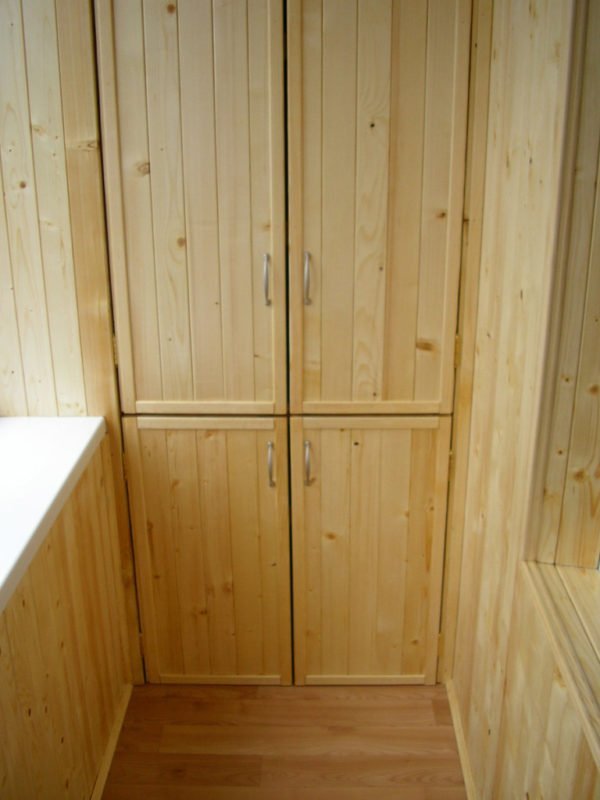
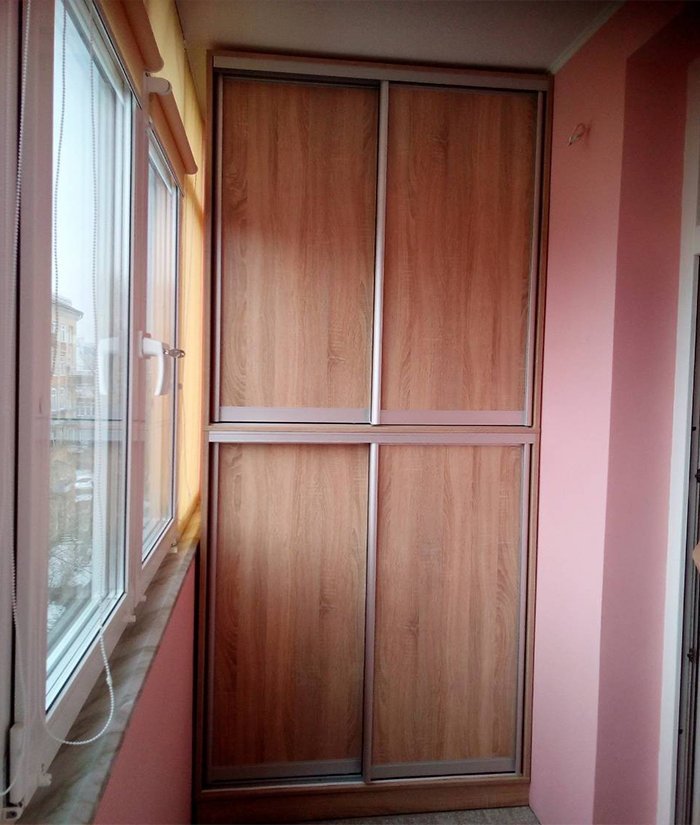
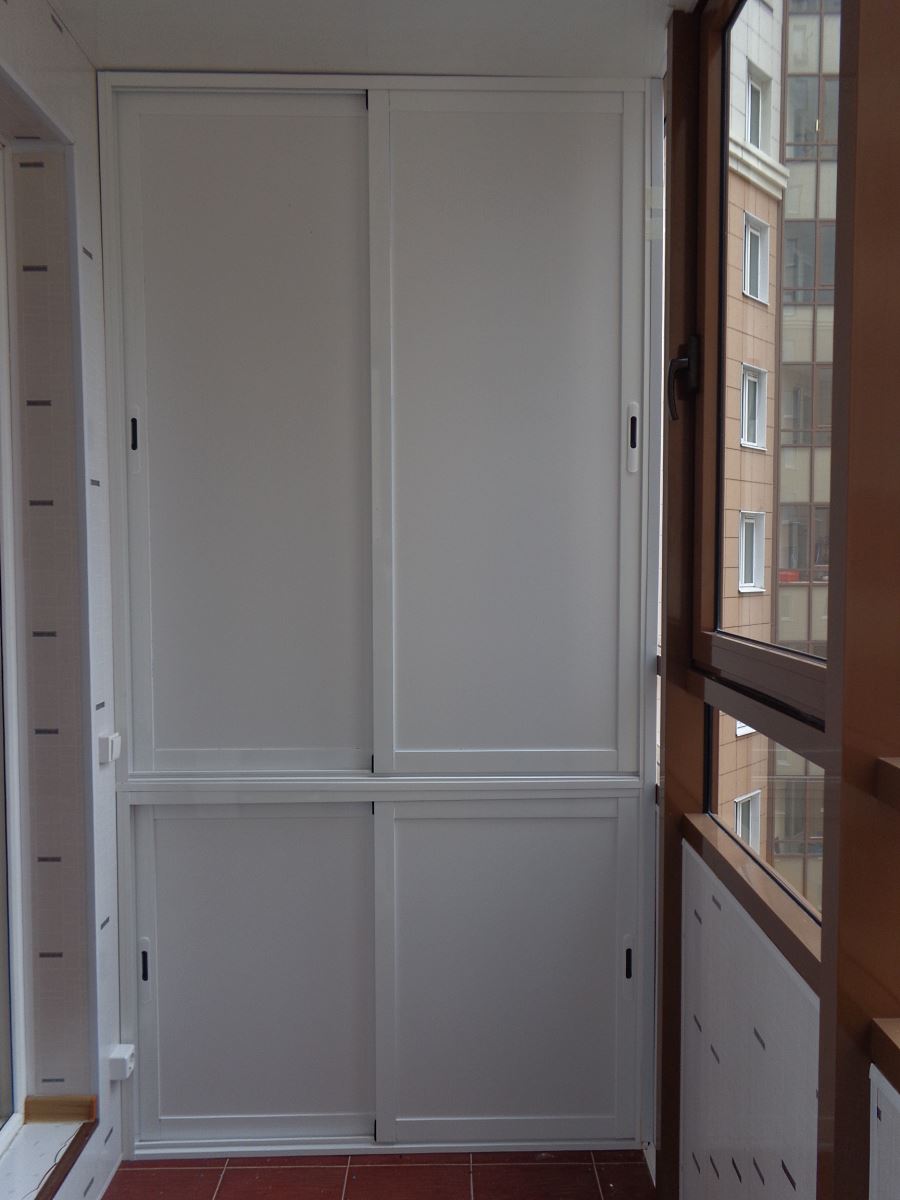
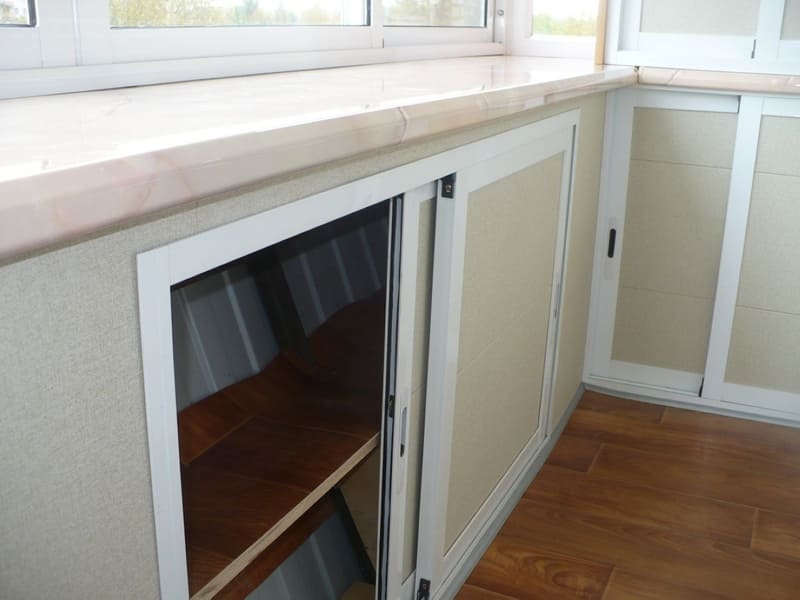
- The four-door option is more difficult to manufacture - all four door panels are matched to each other. The advantage of the design is that only the desired area opens.
In this case, the rest of the content remains out of the field of view of outside observers.
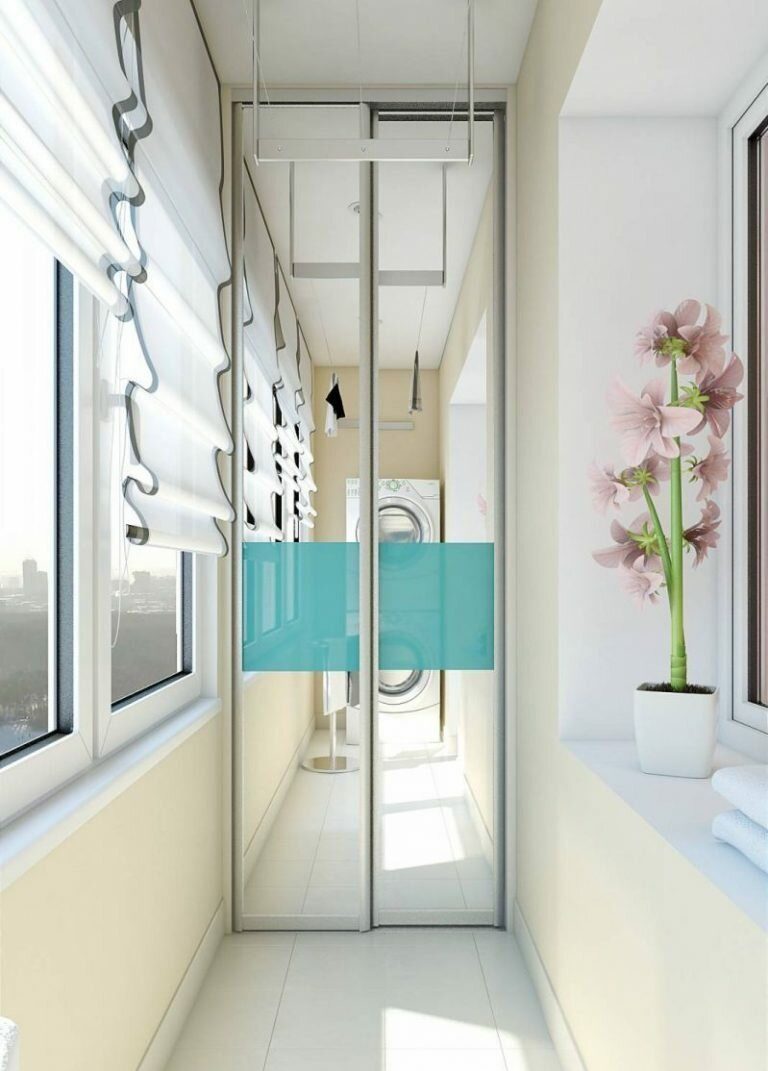
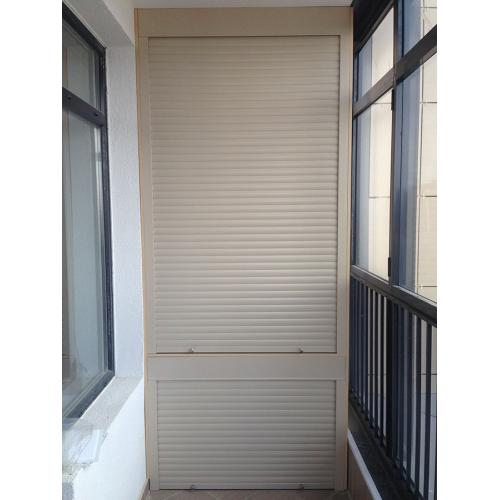
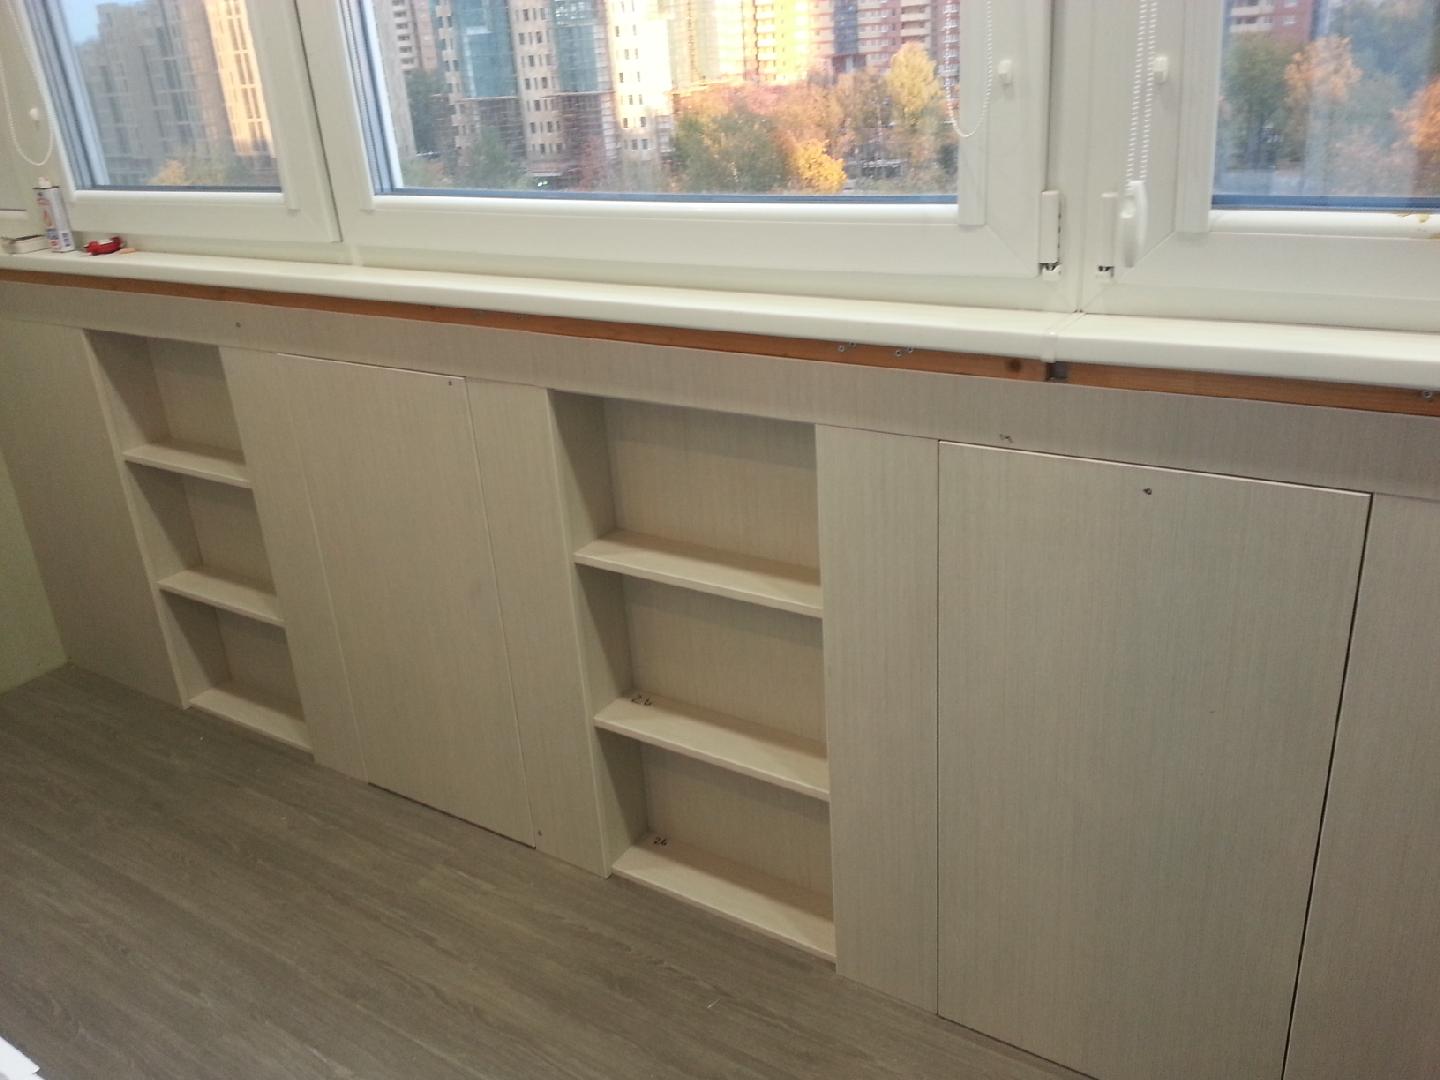
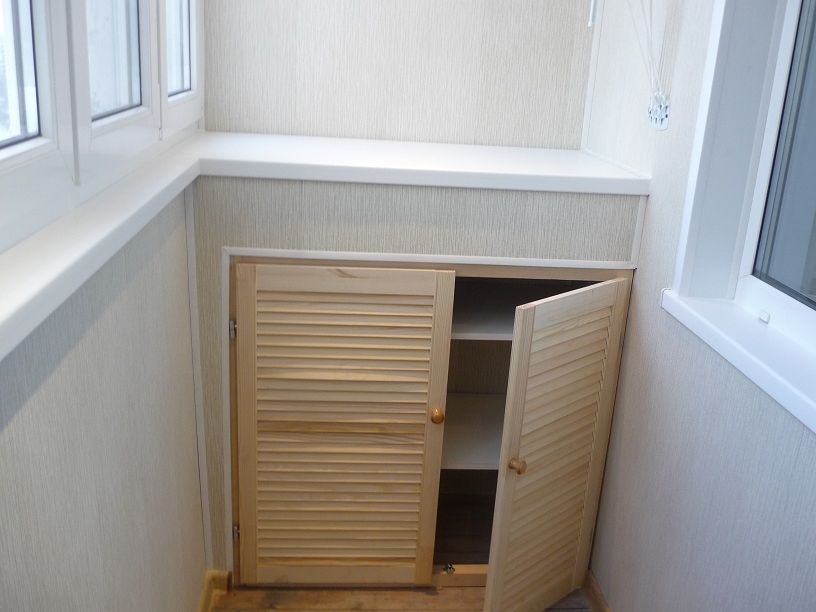
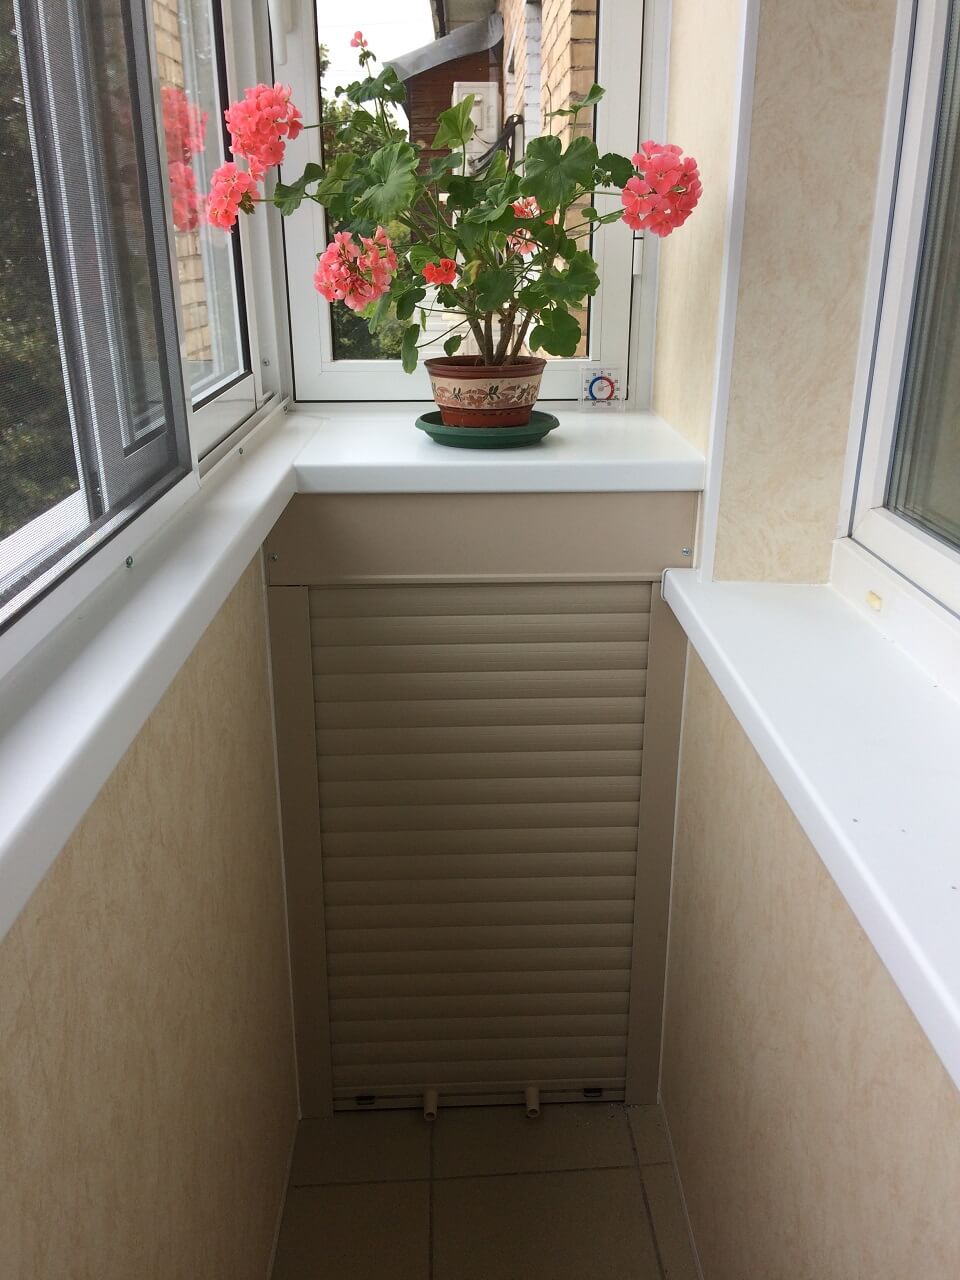
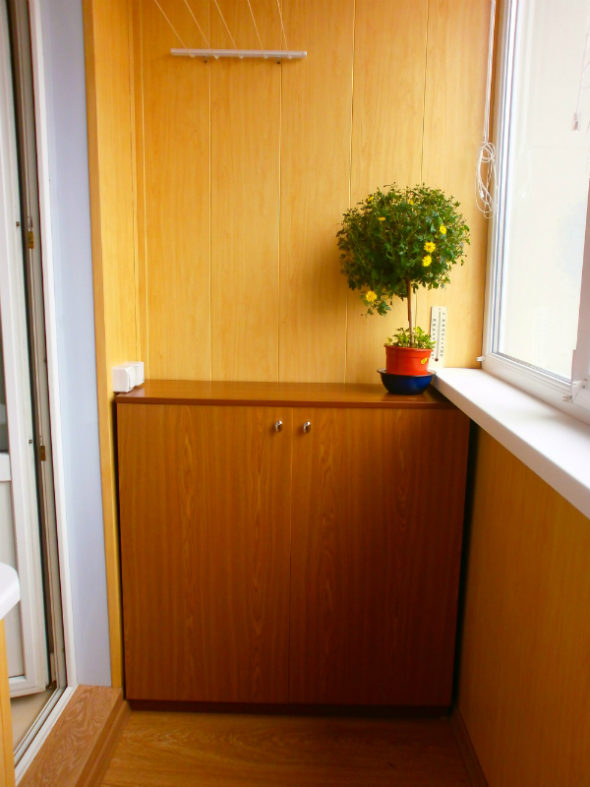
- The cabinet can function as a cabinet and stand. It does not block the view from the windows, it can be under the windowsill. Instead of conventional doors, shutters in the form of blinds can be used - this will allow the things inside to be ventilated. Good for any things and objects, regardless of the scope of both.
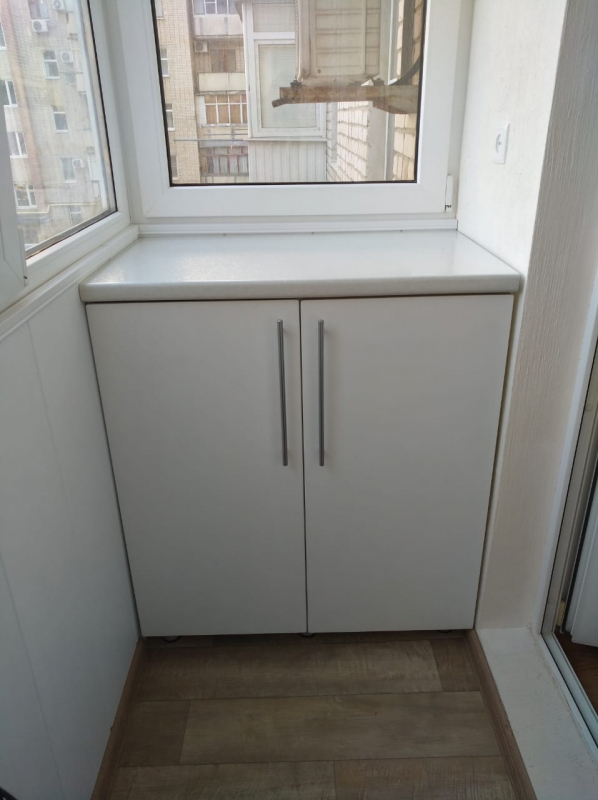
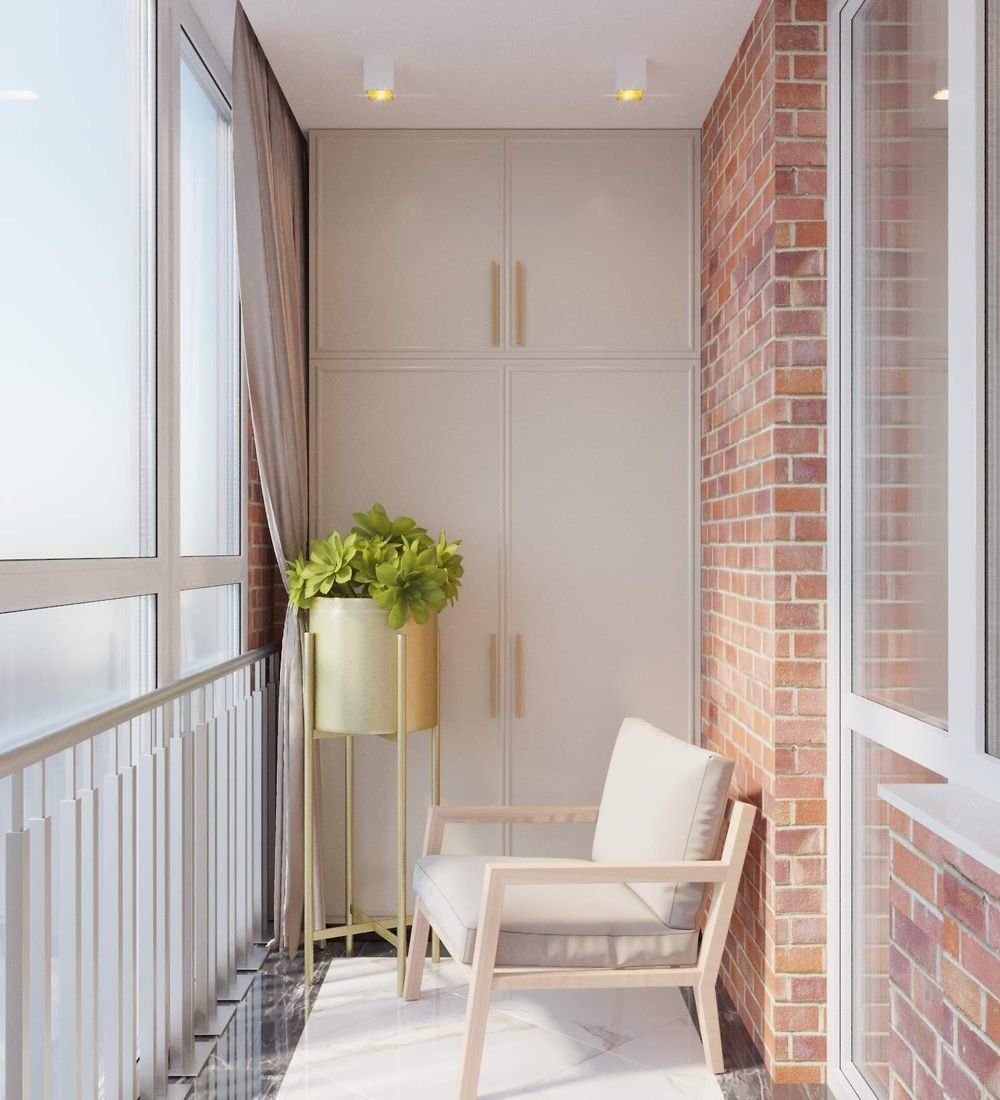
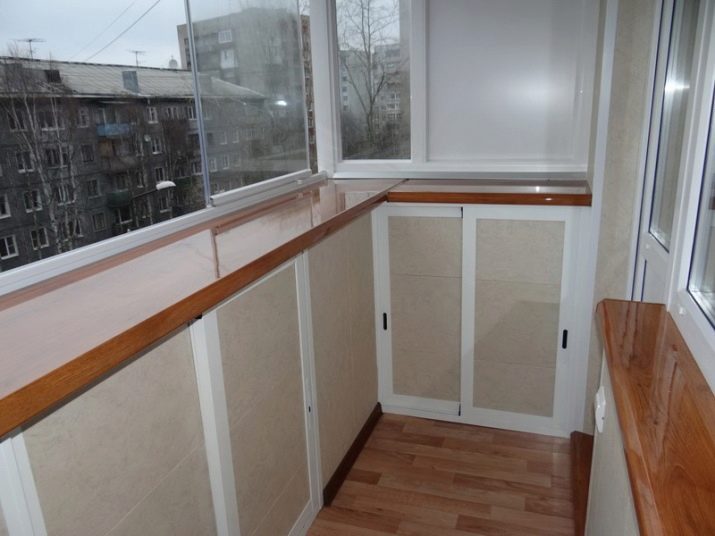
- The balcony cabinet will fit under a wide window sill that is more than 20 cm wide. Its upper part is widened due to the additional width of the window sill. The door is mounted only on one side - the second does not need the same sash. The spaciousness and neatness of the model do not raise unnecessary doubts about the suitability of this option. The narrow space is rationally delimited.
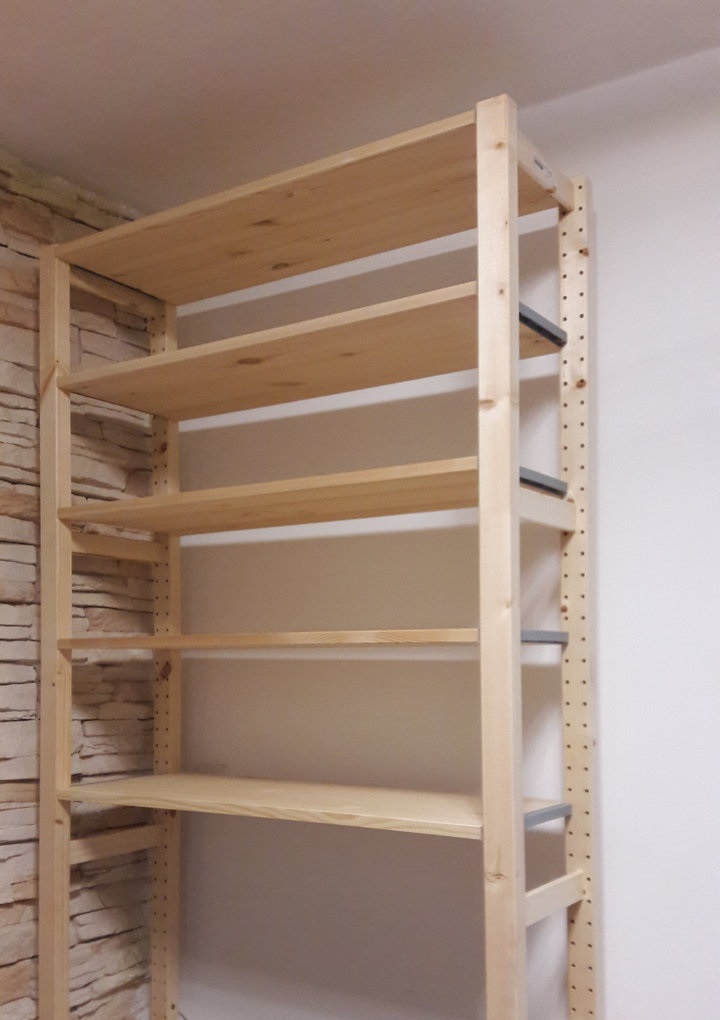
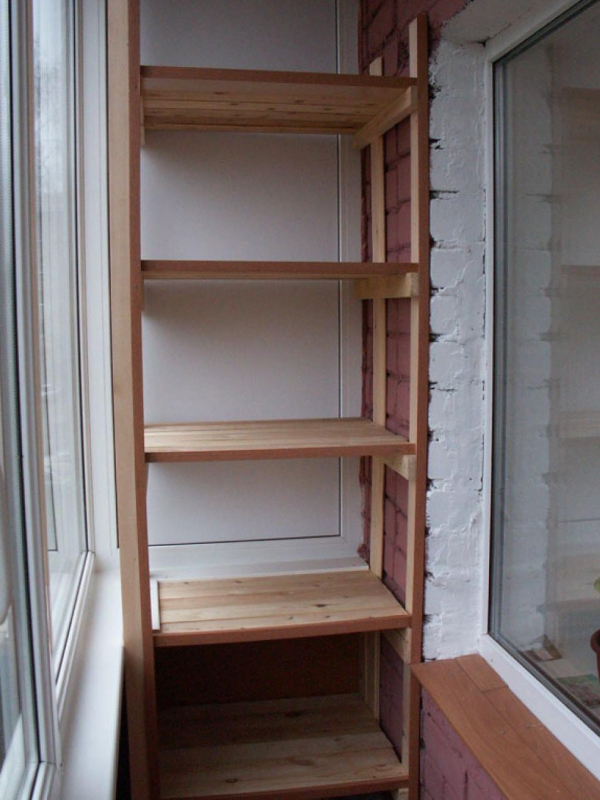
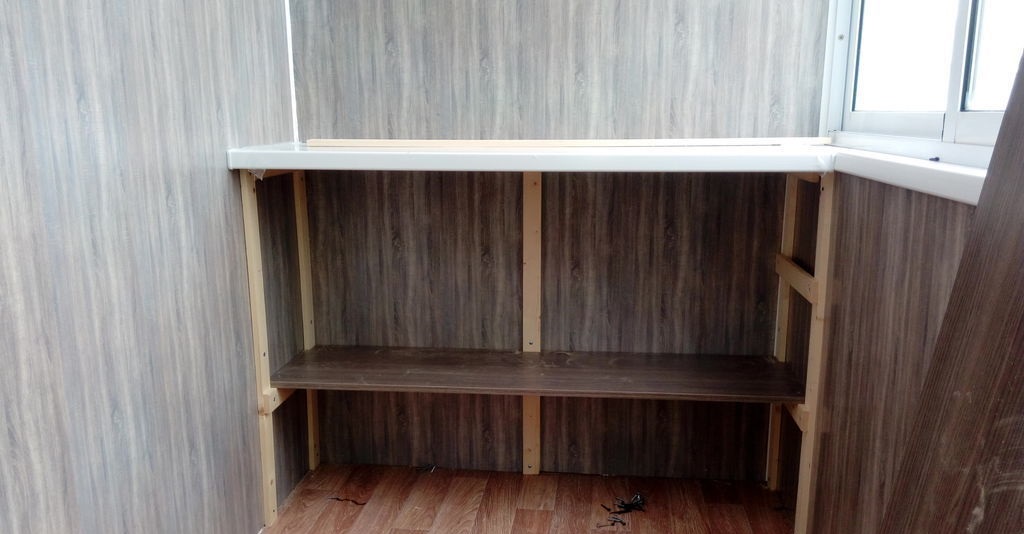
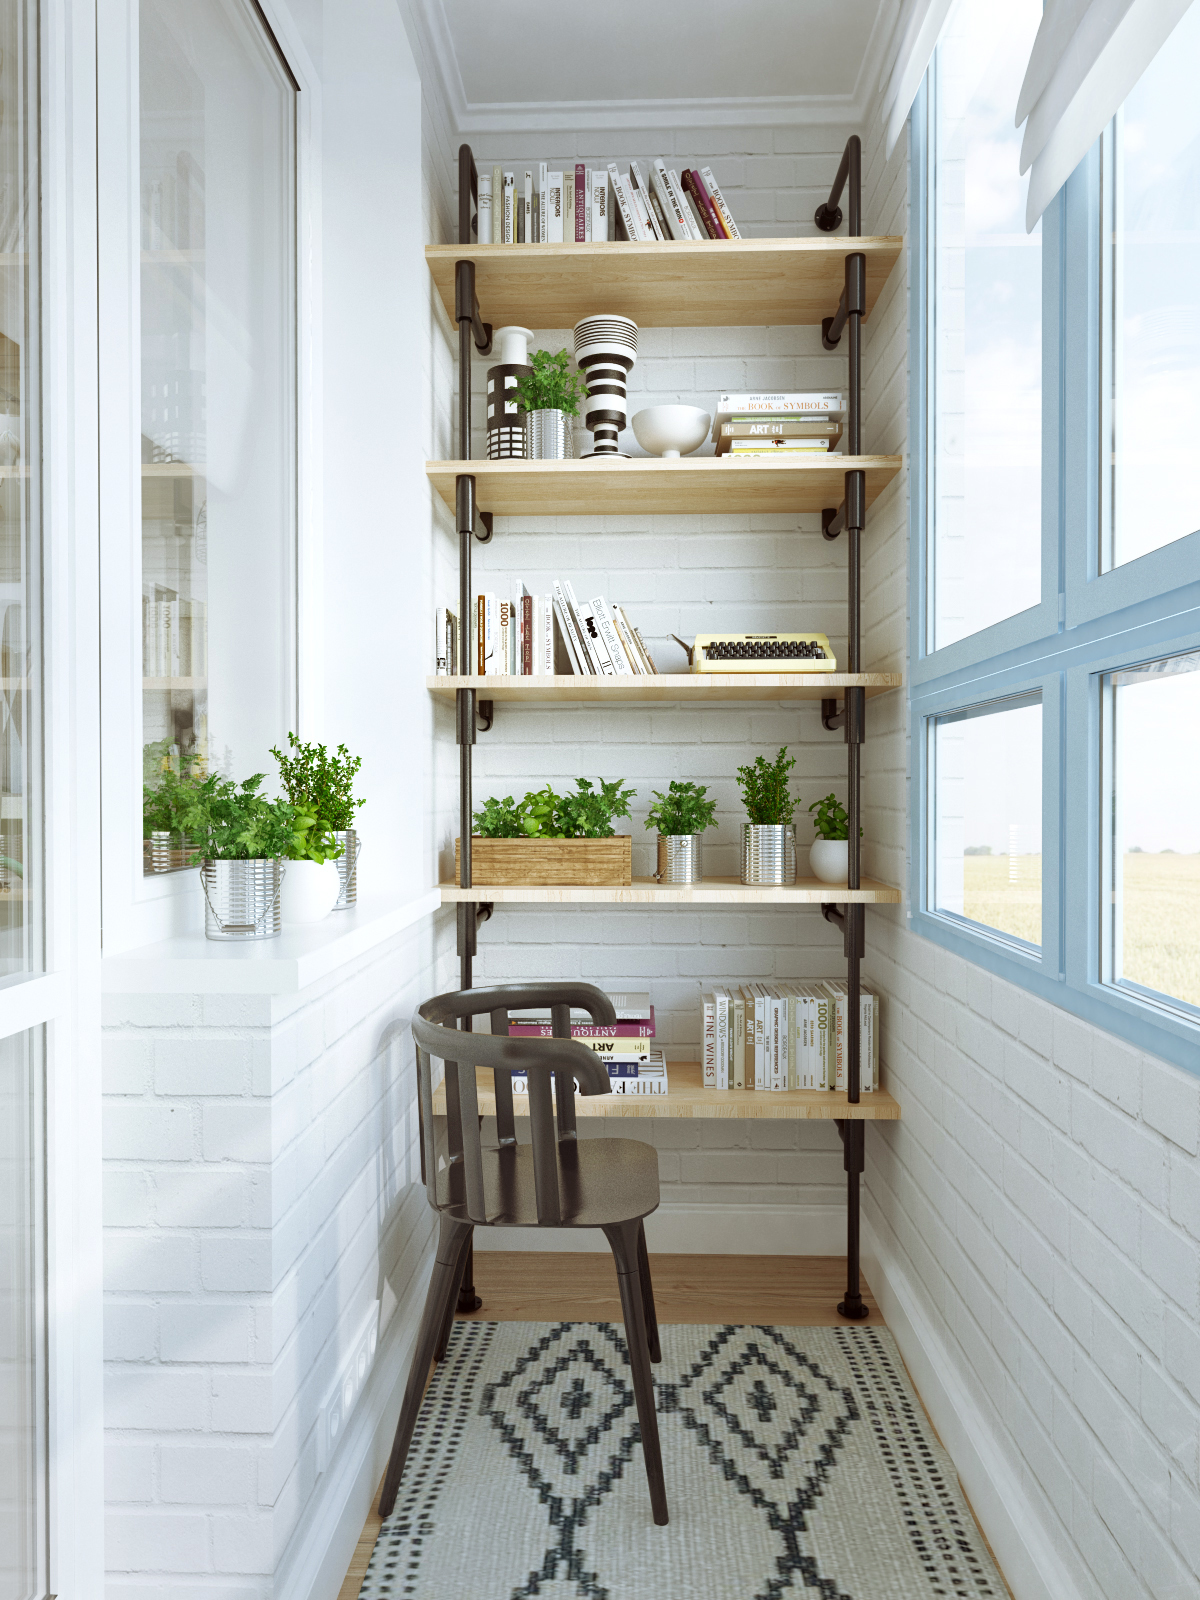
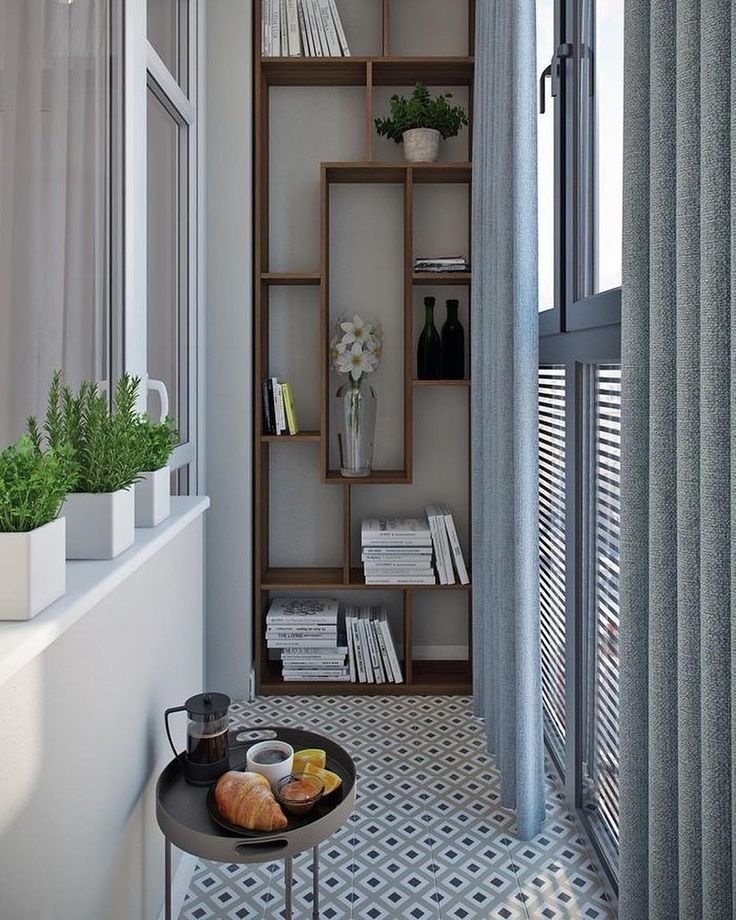
- On the balcony, shelves that are completely open to an outside observer can also be mounted. Due to their width and spaciousness, compartments and shelves harmoniously complement the end side of the balcony. The shelf frame can be easily attached to the wall, ceiling or floor. After final assembly, the cabinet will acquire the declared strength. When assembling, pay attention to setting the ideal horizon and vertical.Once you have finished assembling the frame, fix the shelf deck from the board.
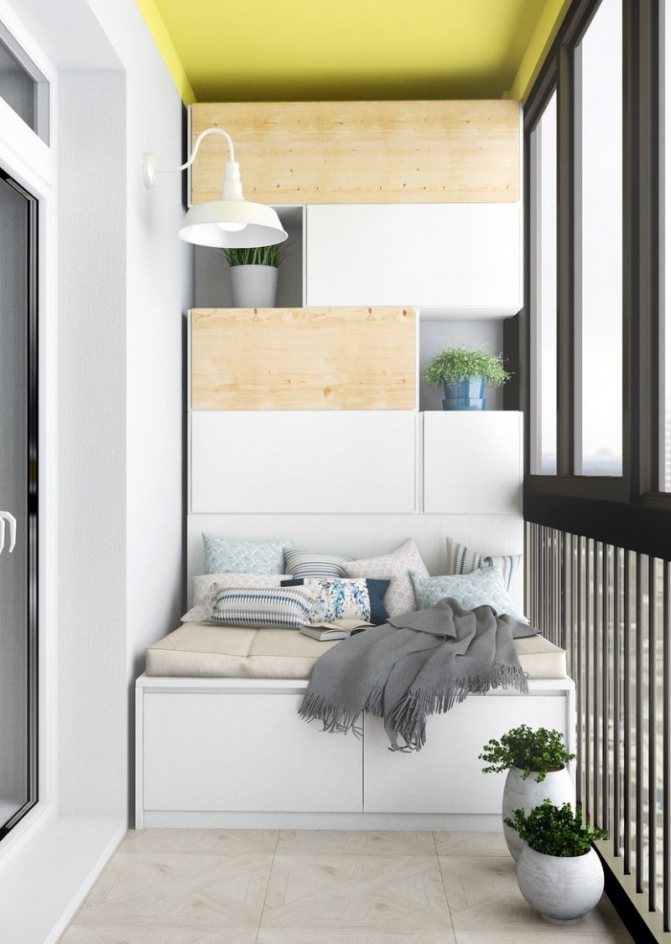
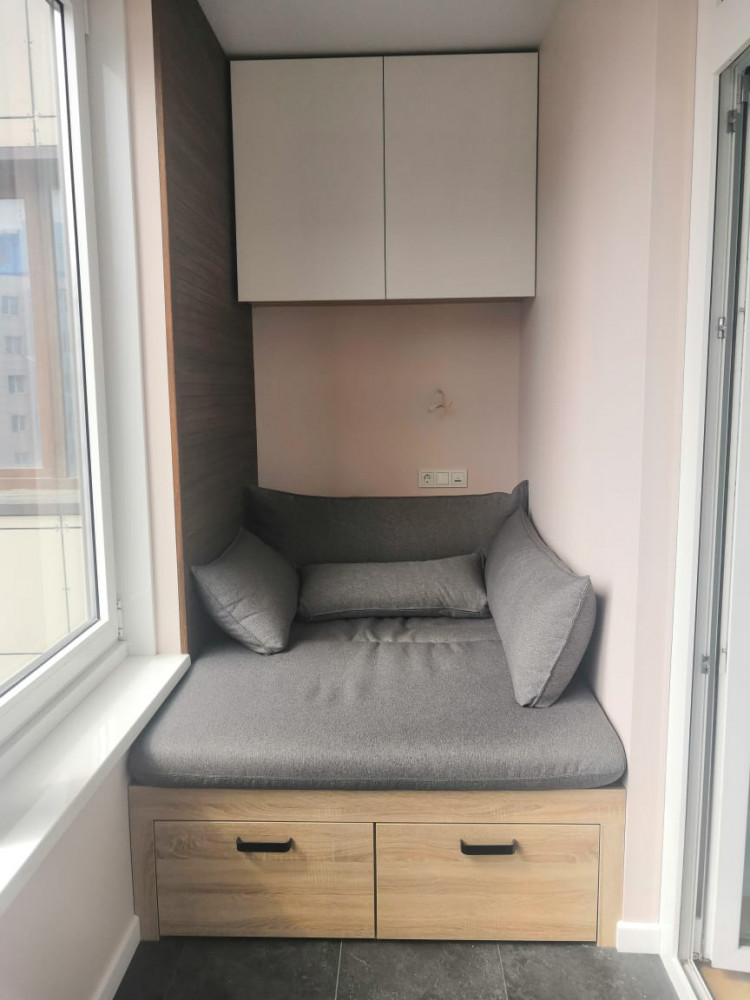
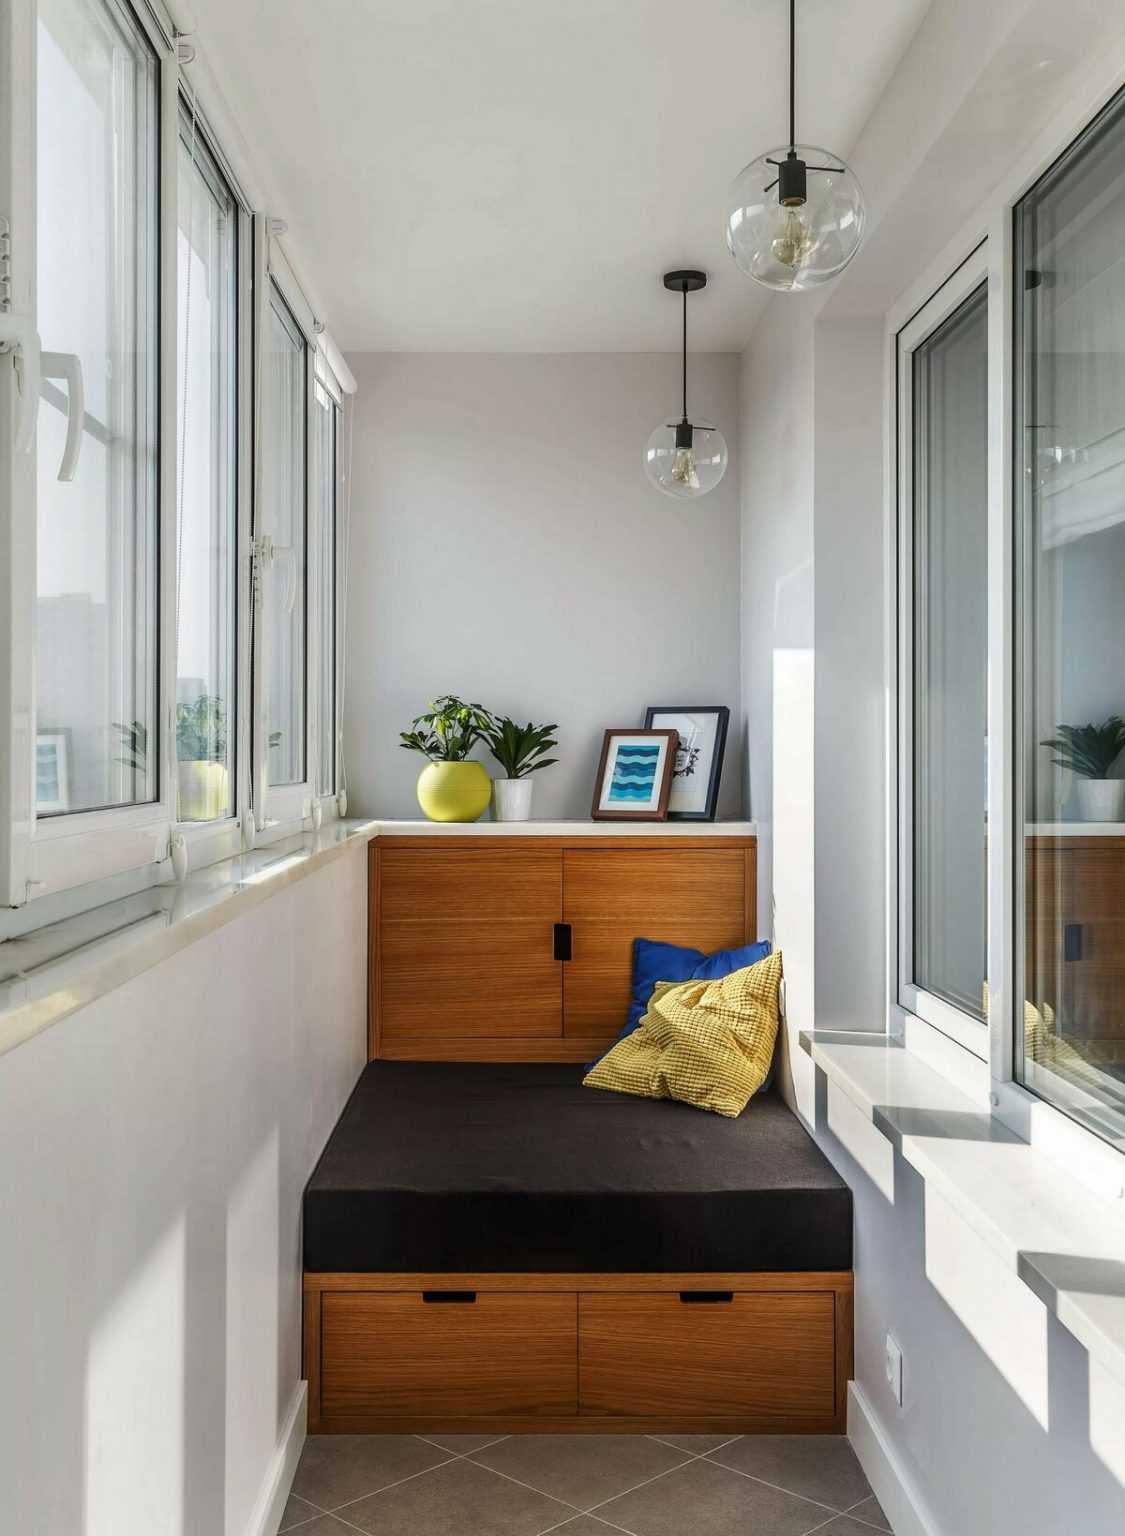
- The wardrobe sofa is used when the owner has set himself a task - equip the bedroom on the balcony or loggia. The space under the sofa is used, for example, for storing blankets, pillows and sofa covers. Moving extra couch and bedding to the balcony can free up, for example, extra space for fresh air in the only living room of a studio apartment. It is much more difficult to build a truly beautiful sofa cabinet than a regular compartment with shelves.
There are dozens of more options that allow you to turn residential or non-residential space on the balcony into a universal storage, designed to significantly relieve living space from little-needed items and all kinds of household paraphernalia that have gone out of fashion, but which the owner does not raise his hand to throw away.

For information on how to make a wardrobe on the balcony with your own hands, see the next video.


