Making a cabinet from lining on the balcony
The balcony has long ceased to be a useless place in the apartment. Today, they not only store unnecessary things here, but also equip full-fledged work or relaxing corners. Often, various pieces of furniture are displayed on the balcony, which turn out to be very useful and functional. In this article, we will learn how you can make a comfortable wardrobe from the lining on the balcony.
Design options
A high-quality homemade cabinet made of lining can have a different device. Many different factors depend on the available space, the goals of the owners, as well as the specific place where it is planned to install such functional furniture.
- If there is an unglazed niche in the end part of the balcony area, then you can safely mount a cabinet here. Based on the size and shape of the balcony, it is possible to build furniture as wall or corner furniture.
- Based on the free square meters, you can choose a different type of door for the future cabinet. The model can be single or double leaf. The doors can be hinged, but they will take up a lot of space when opening and closing.
- Sliding doors will be a more suitable solution for small squaring.
- The cabinet can be cabinet or built-in. The second option will take less materials, it will take up less space. But such modifications are only suitable for those spaces where there is an area without glazing.
- A larger amount of materials will be spent on the manufacture of a case model, but if necessary, it will be easy to move it to a new place.

It is necessary to have a clear idea of what kind of design the cabinet will have on the balcony area. Based on this, it will be possible to proceed to further actions.
Materials and tools
You will need to draw up a detailed drawing of the planned structure, as well as prepare all the required materials and tools. Let's consider a list of them. You will need the following:
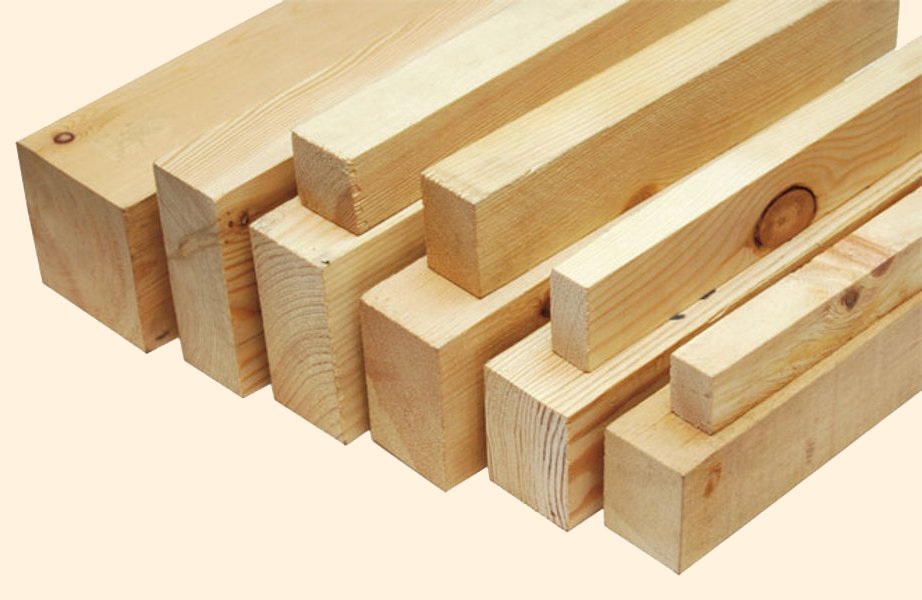
- pine bars 40x40 mm for the "skeleton", and thinner details are suitable for doors;
- metal corner;
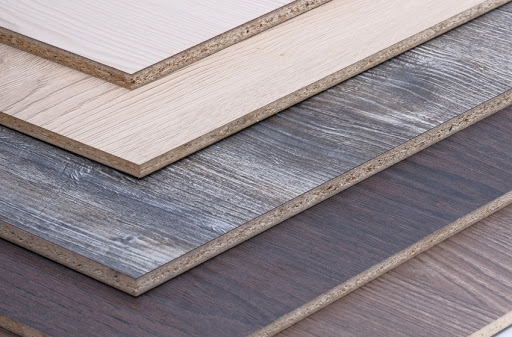
- chipboard sheets;
- all the necessary furniture fittings (hinges, latches, locks, handles, and so on);
- nails;
- several strips of lining or euro lining;
- pencil, tape measure, screwdriver, hammer, hacksaw, puncher.


It is strongly recommended to use only properly working tools and devices. If they do not work correctly, they can fail at the most important moment, which will have a bad effect on the quality of the future self-made construction.
It is better to place both the tools and all materials in one place, where the furniture will be assembled from the lining. Thus, the home craftsman will save himself from wasting time looking for the right item.
It is not recommended to neglect drawing up a detailed drawing of the future cabinet design. On the sketched diagrams and plans, it will be necessary to indicate absolutely all the dimensional parameters of the furniture, as well as the features and any nuances of its design.
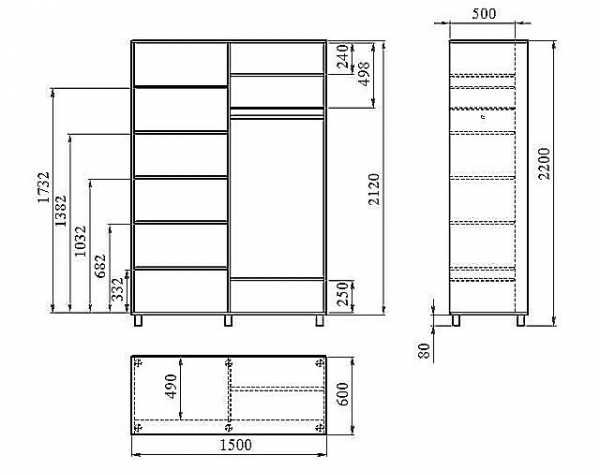
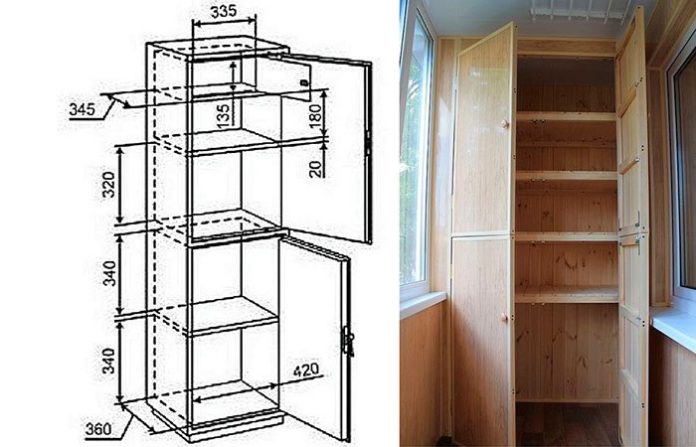
Having a sketchy sketch at hand, it will be much easier to assemble such a product on your own.
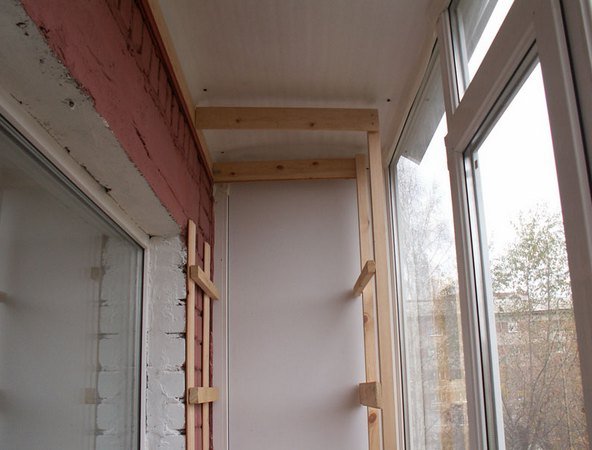
Frame
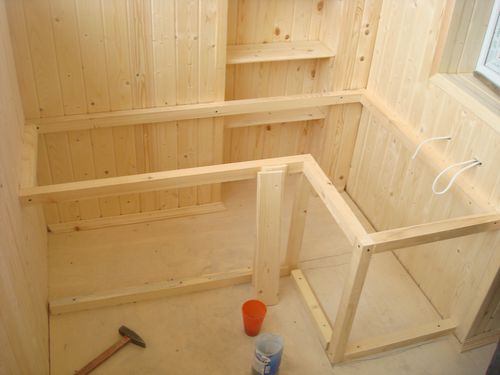
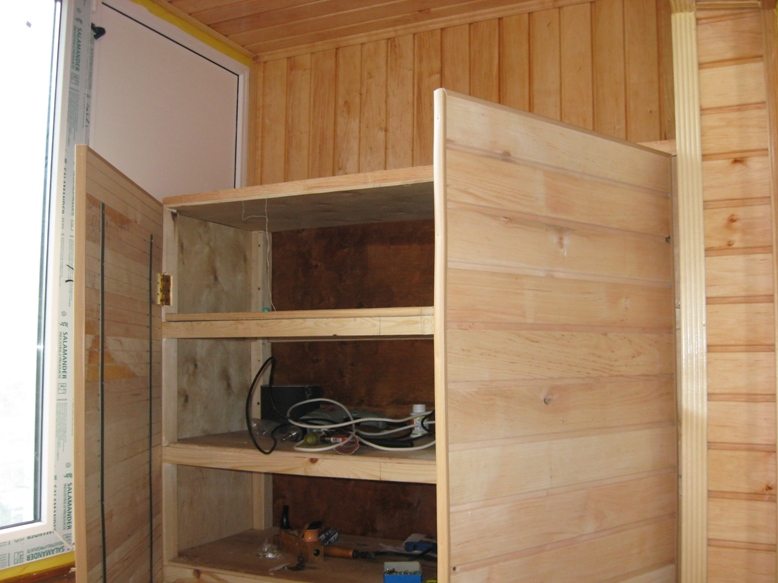
Installation work should begin with the assembly of the frame base for the future homemade cabinet. The back and front frames of the product will act as a frame. To assemble them, you will need to connect suitable pine blocks to each other. For these purposes, metal corners are used. As the bottom of the product in question, it is recommended to lay OSB sheets, chipboard or waterproof plywood on the floor.
Step-by-step instructions for installing the furniture frame.
- To install the rear walls, it is recommended to use a chipboard sheet. First, it should be attached with a construction stapler or self-tapping screws to the backing frame.
- The whole frame base must be fixed with anchors on the end wall of the balcony room, based on the previously applied markings.
- Further, 0.5 mm bars will be needed fix on the frame, and then fix it with anchors.
- The front frame must first be attached to the ends of the bars, and then attach them with anchors to the floor, walls and ceiling.
- Guide parts in the inner part of the cabinet they will simultaneously serve as frame bases for the shelves.

After that, the frame base and the interior will be ready for further clapboard cladding.
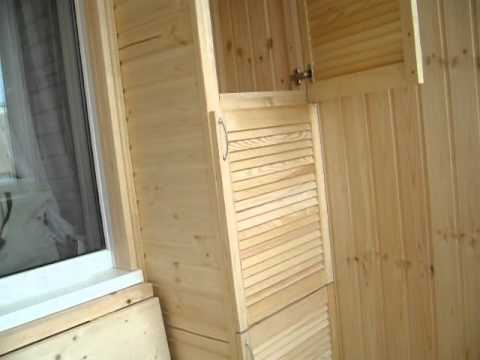
Mounting
Further installation work can be easily done by hand. Sheathing the frame base with lining panels does not cause any particular difficulties.
Let us consider in detail how the correct finishing of the cabinet frame with clapboard should take place.
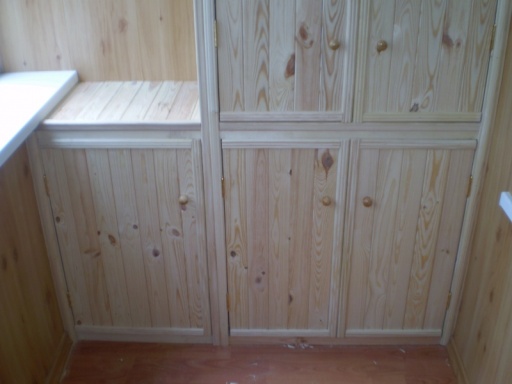
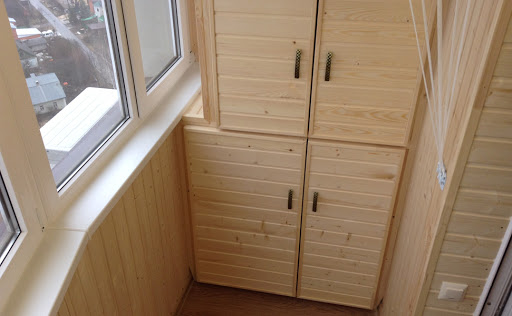
- To assemble the doors of a homemade cabinet, it is necessary to mount frame bases of appropriate sizes for them. Please note that the doors must be both lightweight and reliable. For them, it is best to select lining panels of lesser thickness.
- To add an extra level of rigidity, in the frame blanks of the doors, you will need to install a strong jumper located diagonally.
- Having placed the prepared frame part of the doors on a flat horizontal basis with nails or clamps, it is necessary to install the lining from the lining. Nails must be hammered in clearly.
- It is advisable to complete the prepared door leaf by installing all the necessary hardware elements... We are talking about the corresponding platbands, hinges, handles, locks and so on.
A made door or detached doors will need to be hinged. They should be fixed in advance in the frame base of the future cabinet. As soon as the furniture structure from the lining is fully assembled on the balcony, you will need to thoroughly clean the entire room.
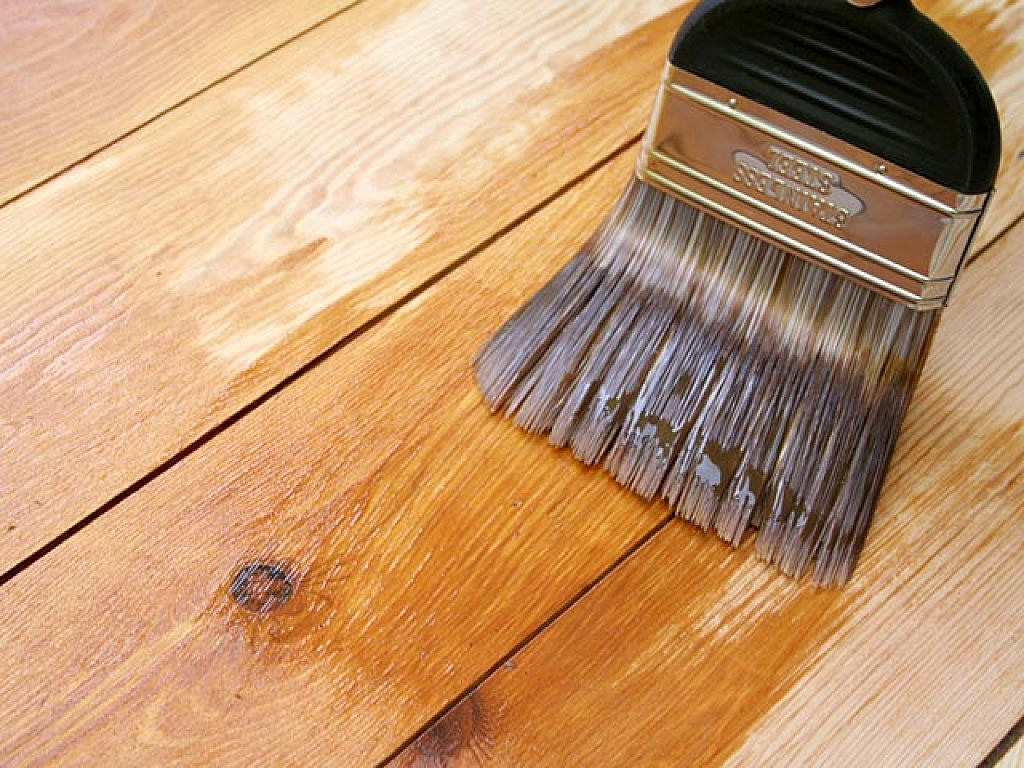
It is recommended to vacuum all the tops of the wooden parts. The final stage is the processing of a homemade structure with high-quality varnish.
When choosing the ideal varnish for processing lining furniture, it is very important to pay attention to certain recommendations, which manufacturers are usually indicated on the branded packaging / can:
- for what conditions it is allowed to use this composition;
- varnish may not have any color, but may contain certain coloring pigments;
- the packages indicate the temperatures at which varnish can be applied to wooden surfaces.
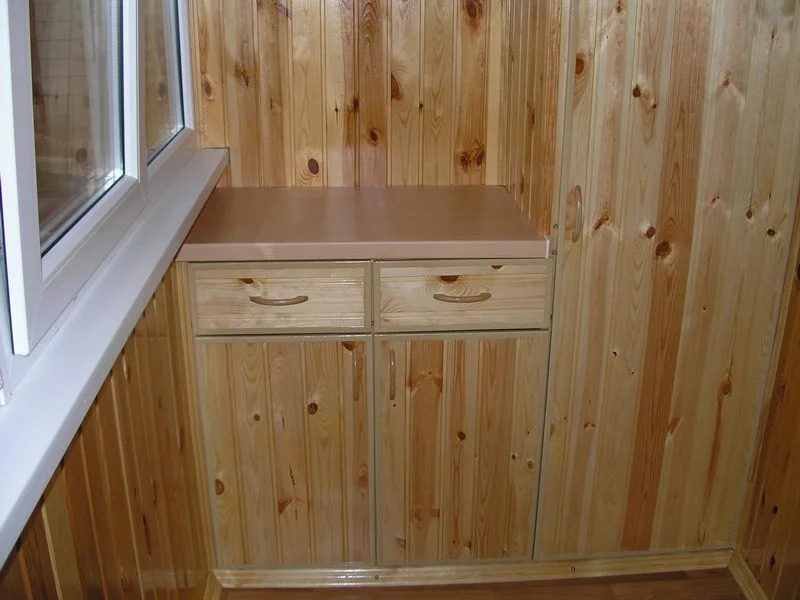
If you clearly follow the step-by-step instructions and take a responsible attitude to each stage of work, you can get a very neat and attractive cabinet as a result, which will not take up a lot of extra space on the balcony or loggia.

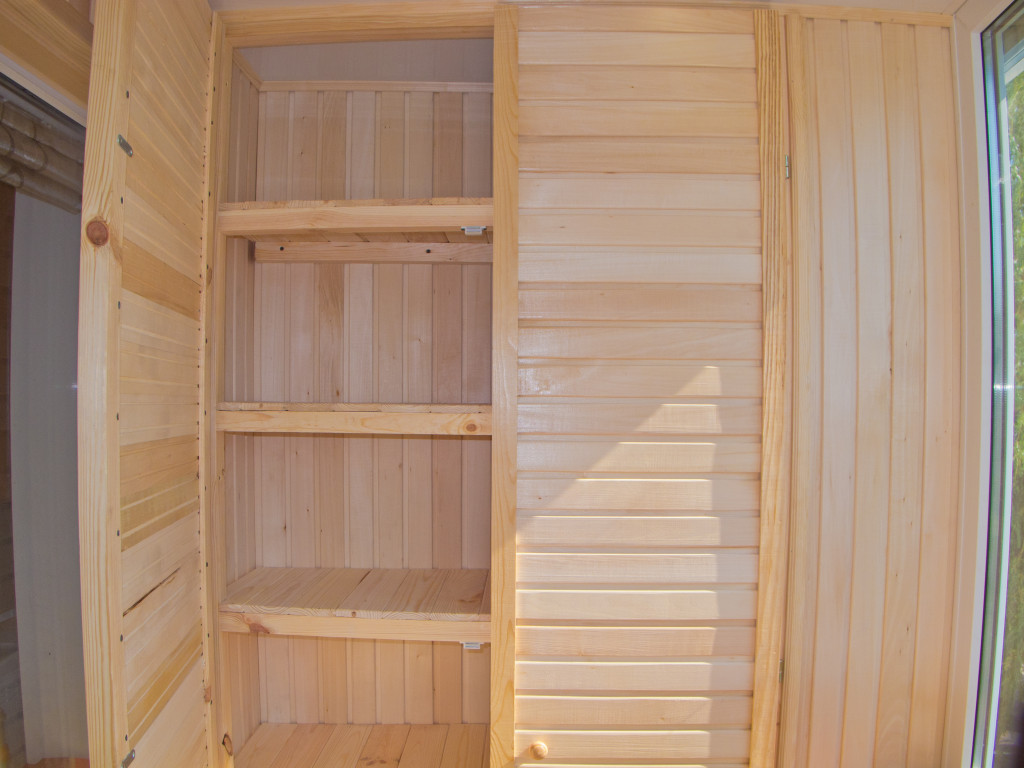
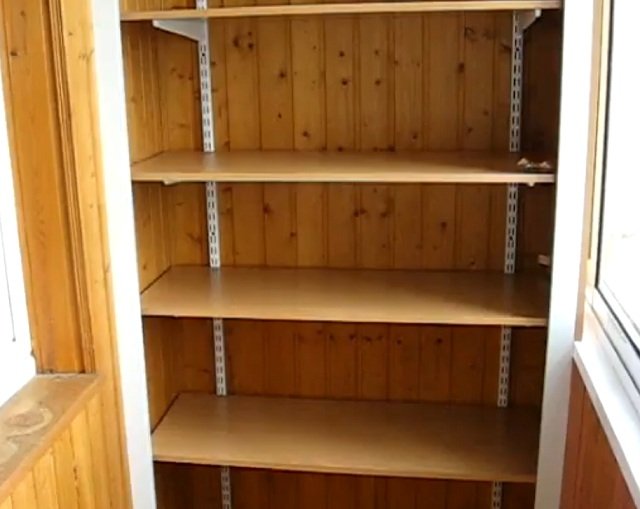
Filling
The interior of a homemade cabinet can be filled with wooden shelves. Some craftsmen additionally mount drawers, but making them will be much more difficult than ordinary shelves.
The number of shelves in the interior of the cabinet may vary. The main thing is that the distance between them allows you to easily place the necessary things. This means that at least 25-30 cm should be retreated from each shelf.
Inside a homemade wardrobe, lined with clapboard, households will be able to arrange many different things and objects. Here you can put seasonal clothes, shoes, as well as books, magazines, tools.

Many people single out such homemade furniture in order to store preservation in it.
Useful Tips
Consider a few recommendations for assembling a cabinet from a lining on a balcony.
- Must buy only high quality materials. The lining should not have traces of mold or rot.
- A fiberboard sheet can be installed as the back wall of the cabinet. It is dense and water-resistant, so the structure with it will turn out to be durable and wear-resistant.
- After assembly, such furniture can be additionally decorate in accordance with the style of the interior on the balcony.
- Evenness it is advisable to check the installation of all parts during installation by means of a special building level.
- All fasteners must be done as reliable and strong as possibleso that the structure is stable and of high quality. There should be no loose or creaking parts.
See the video below for making a cabinet from a lining on the balcony.


