How to equip a sauna on the balcony?
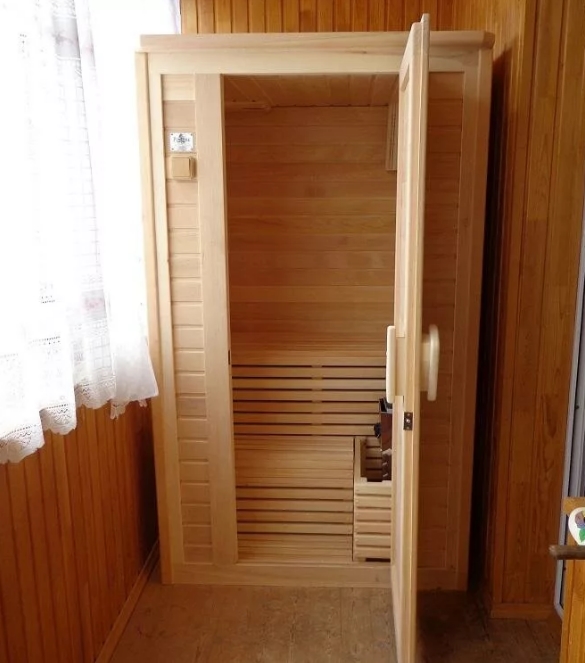
Knowing how to equip a sauna on the balcony, you can easily improve the atmosphere in your own home. Creating a bathhouse on a loggia in an apartment with your own hands step by step is not too difficult - you just need to prepare and study the nuances. It is very useful to pay attention to the dimensions of the infrared mini-sauna and its other relevant characteristics.
Advantages and disadvantages
First of all, of course, it is necessary to answer the question - is a sauna on the balcony necessary in principle or not. This is important even for those who have not previously thought about whether something else is needed besides a bath or shower. The fact is that washing "in the air", in contrast to taking a bath, is much more traditional and "soulful". This is no longer just a hygienic procedure, but something more - and such a moment is noted by everyone who compares them on experience.
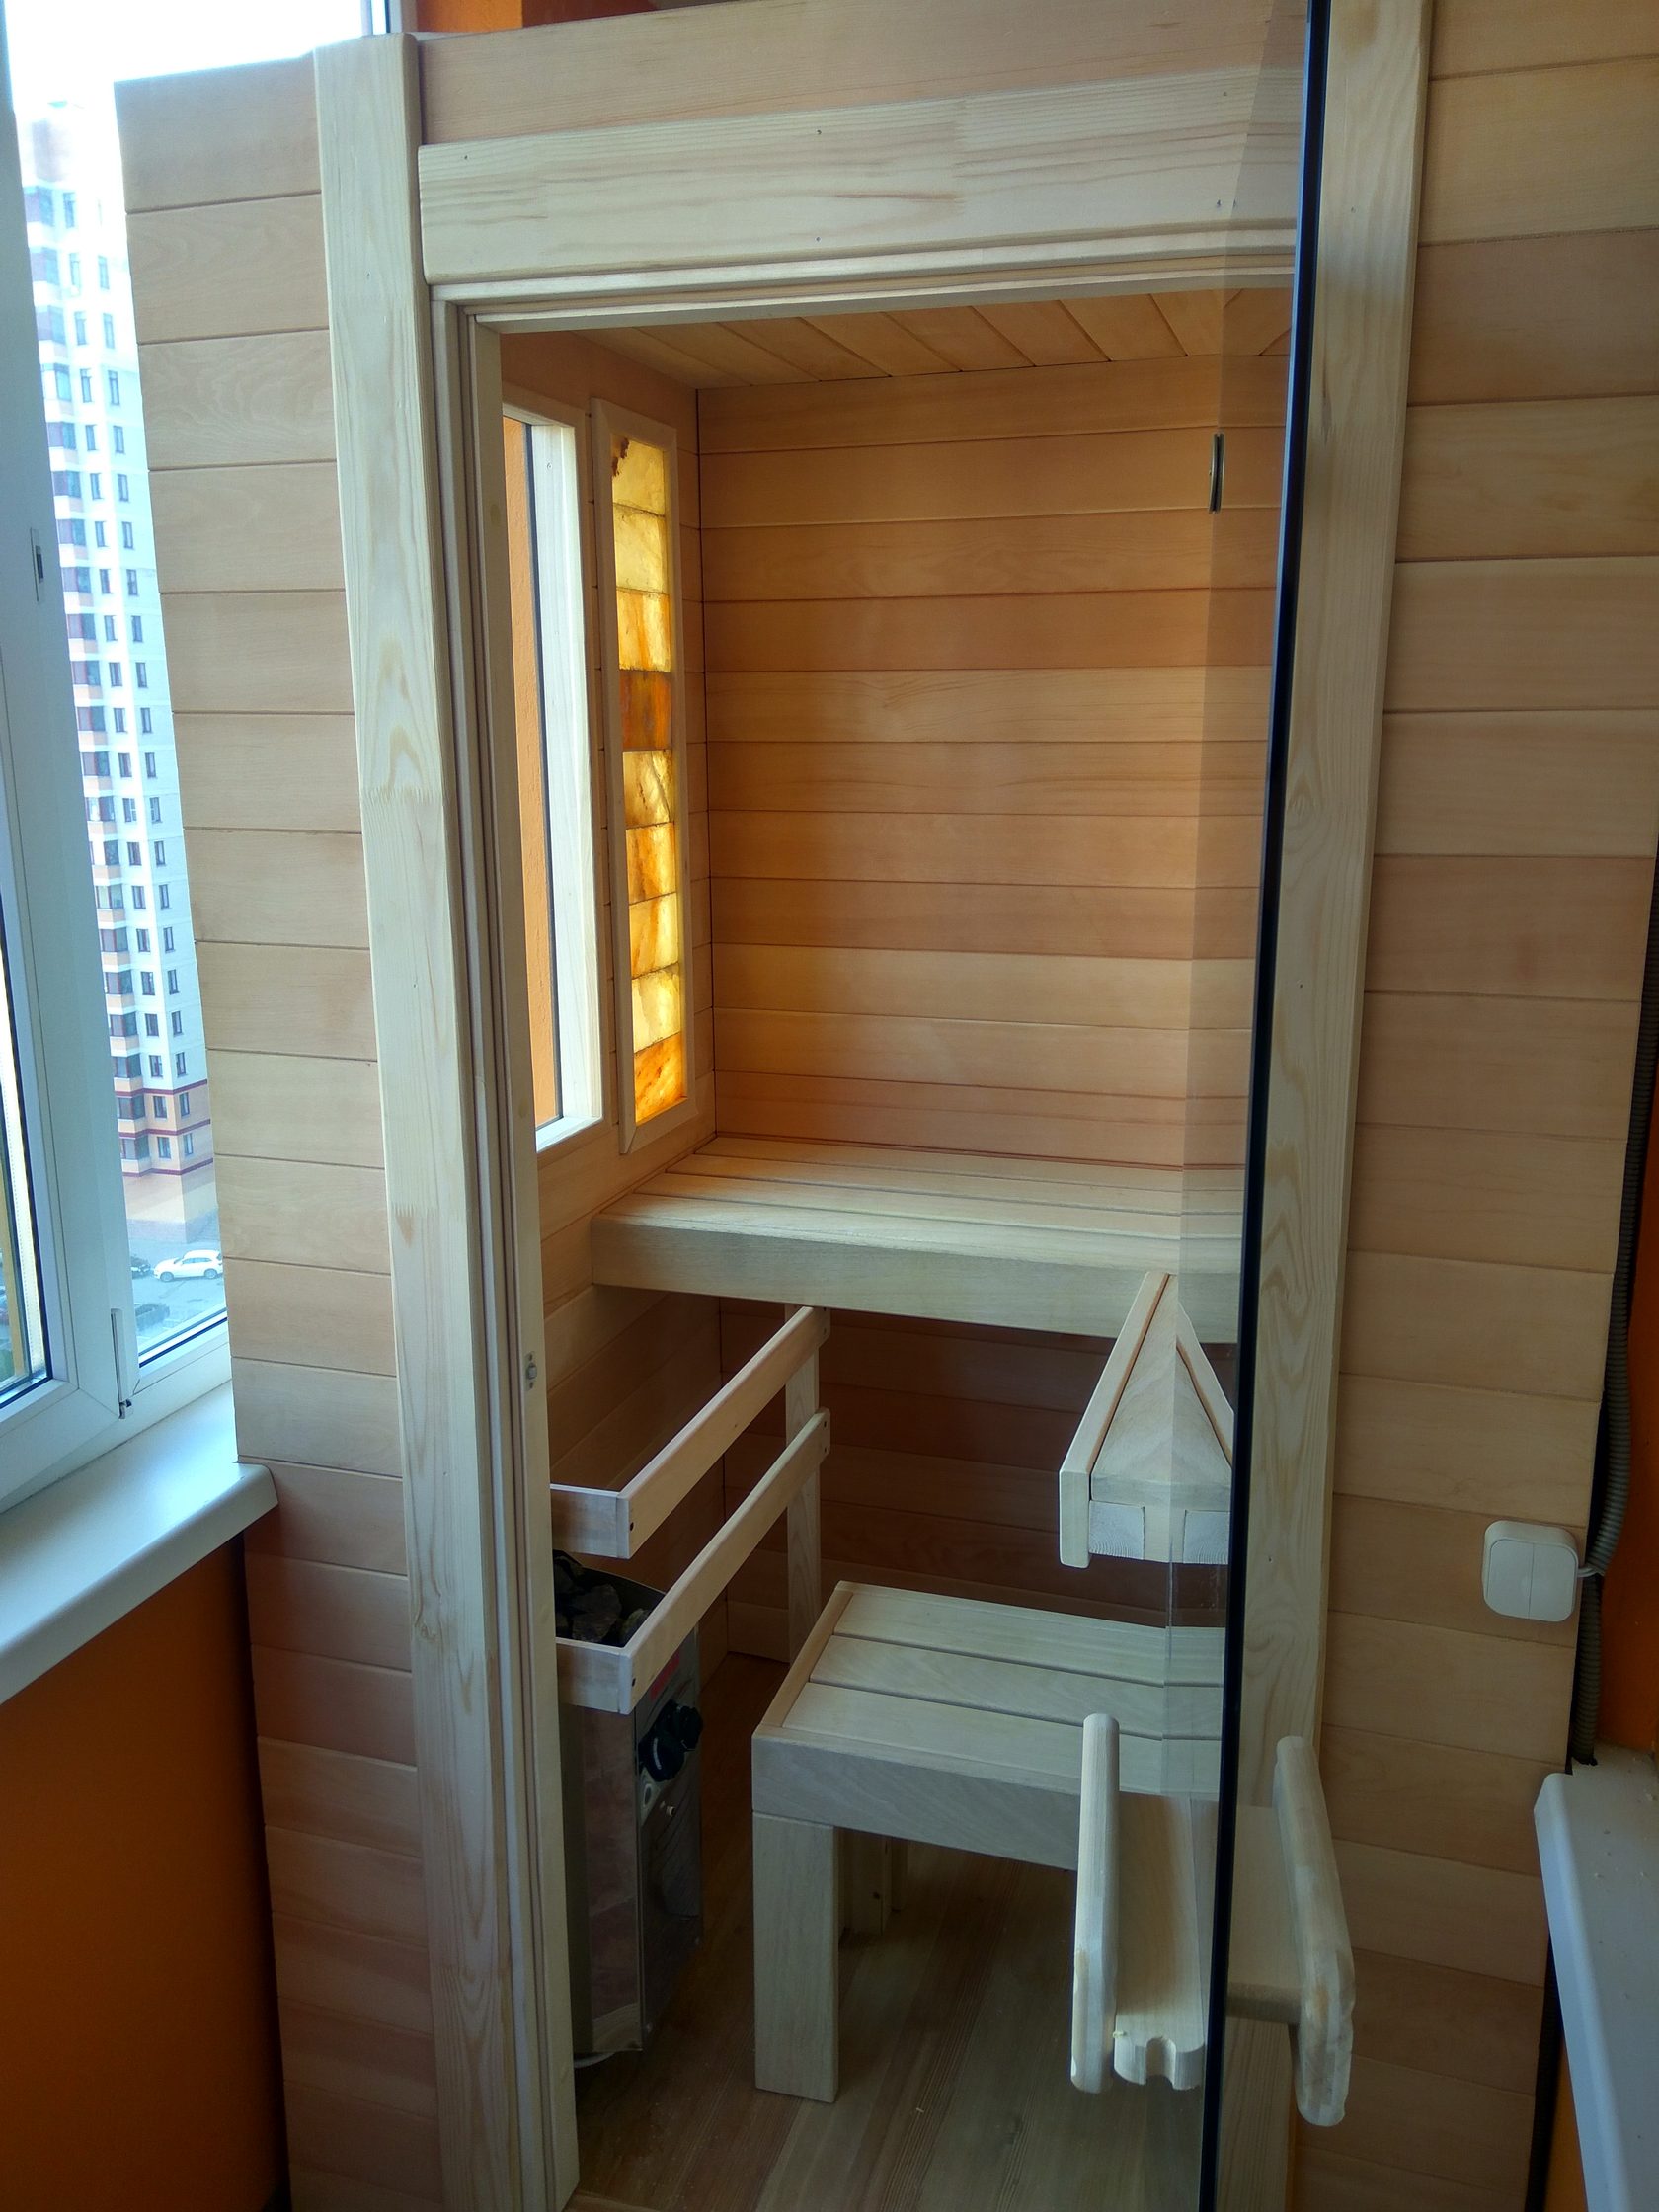
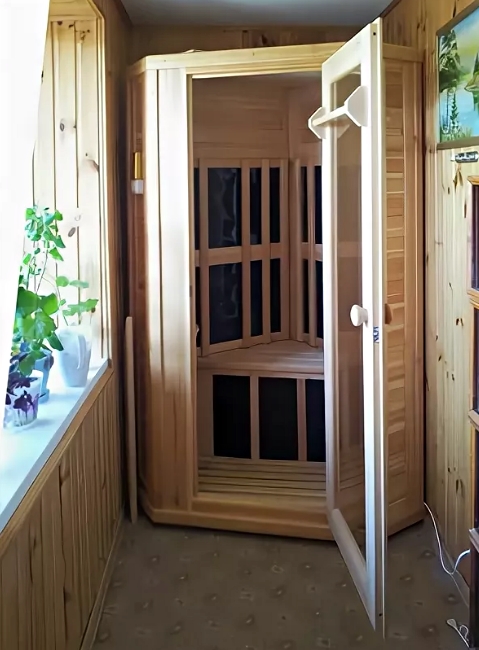
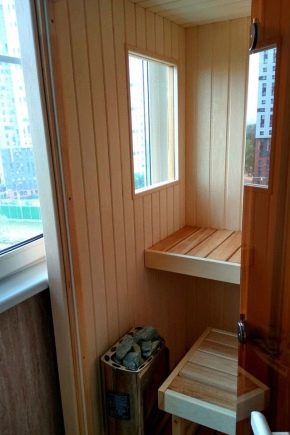
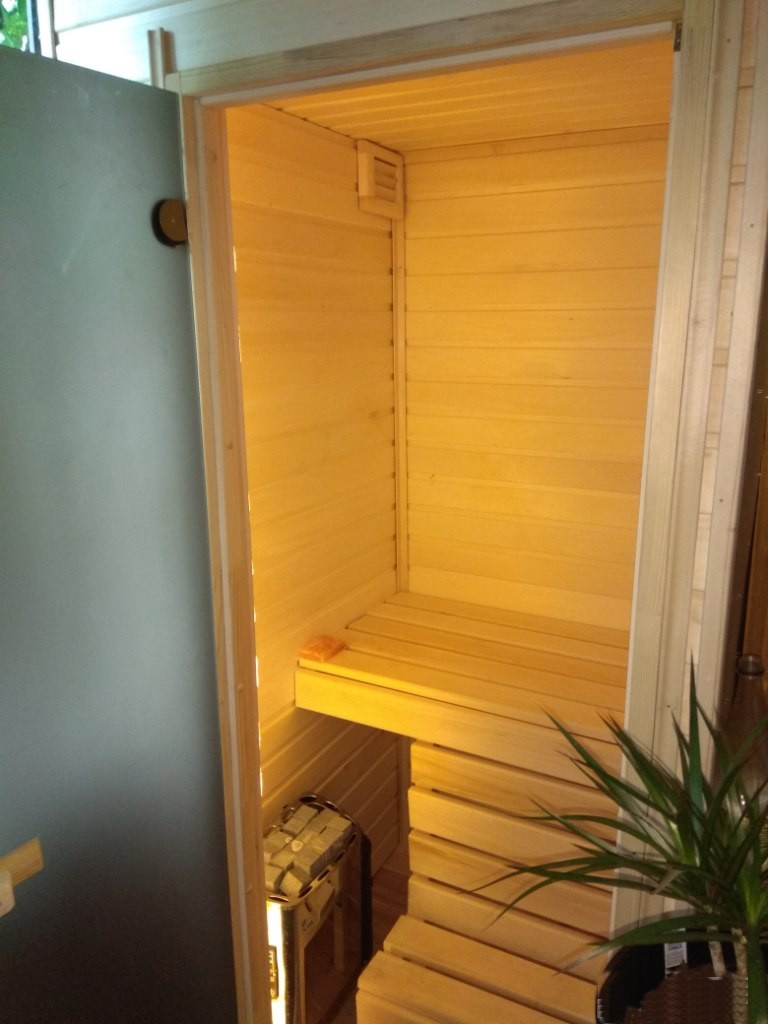
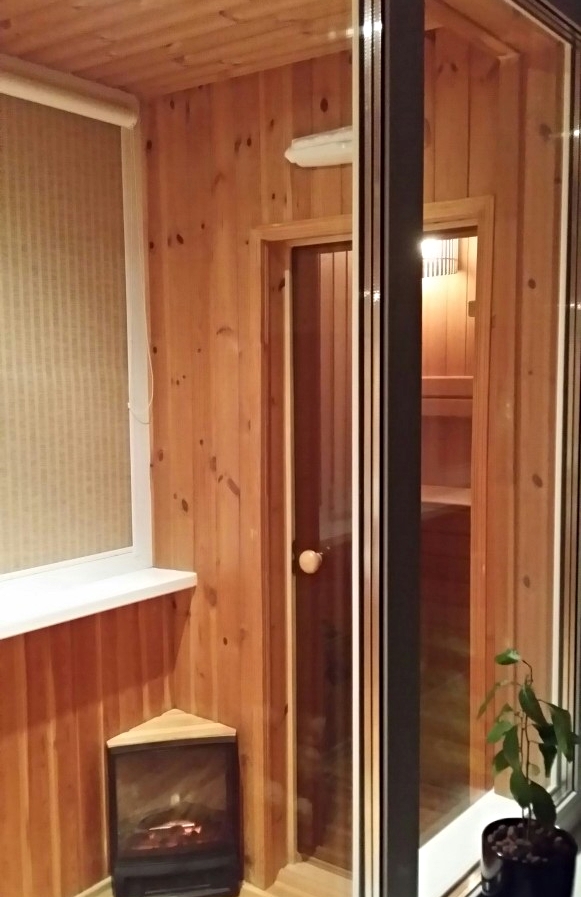
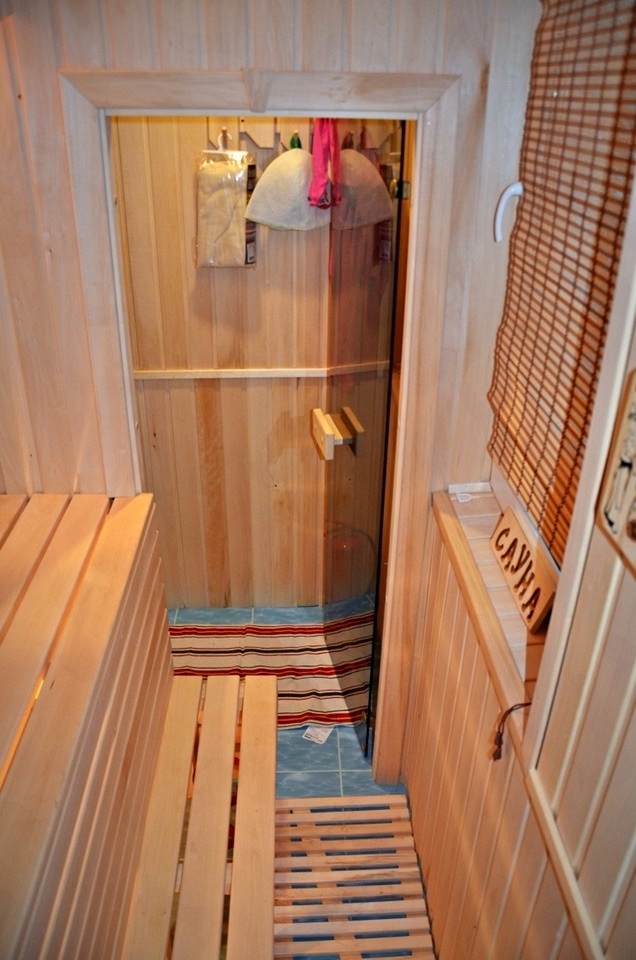
Arranging a bath on the loggia is the most practical and simple compared to other options for placing it in an apartment.
Both conventional and infrared versions of compact saunas:
-
warms up very quickly;
-
does not require significant financial costs;
-
available at any time (and without having to go or go to a public bath).
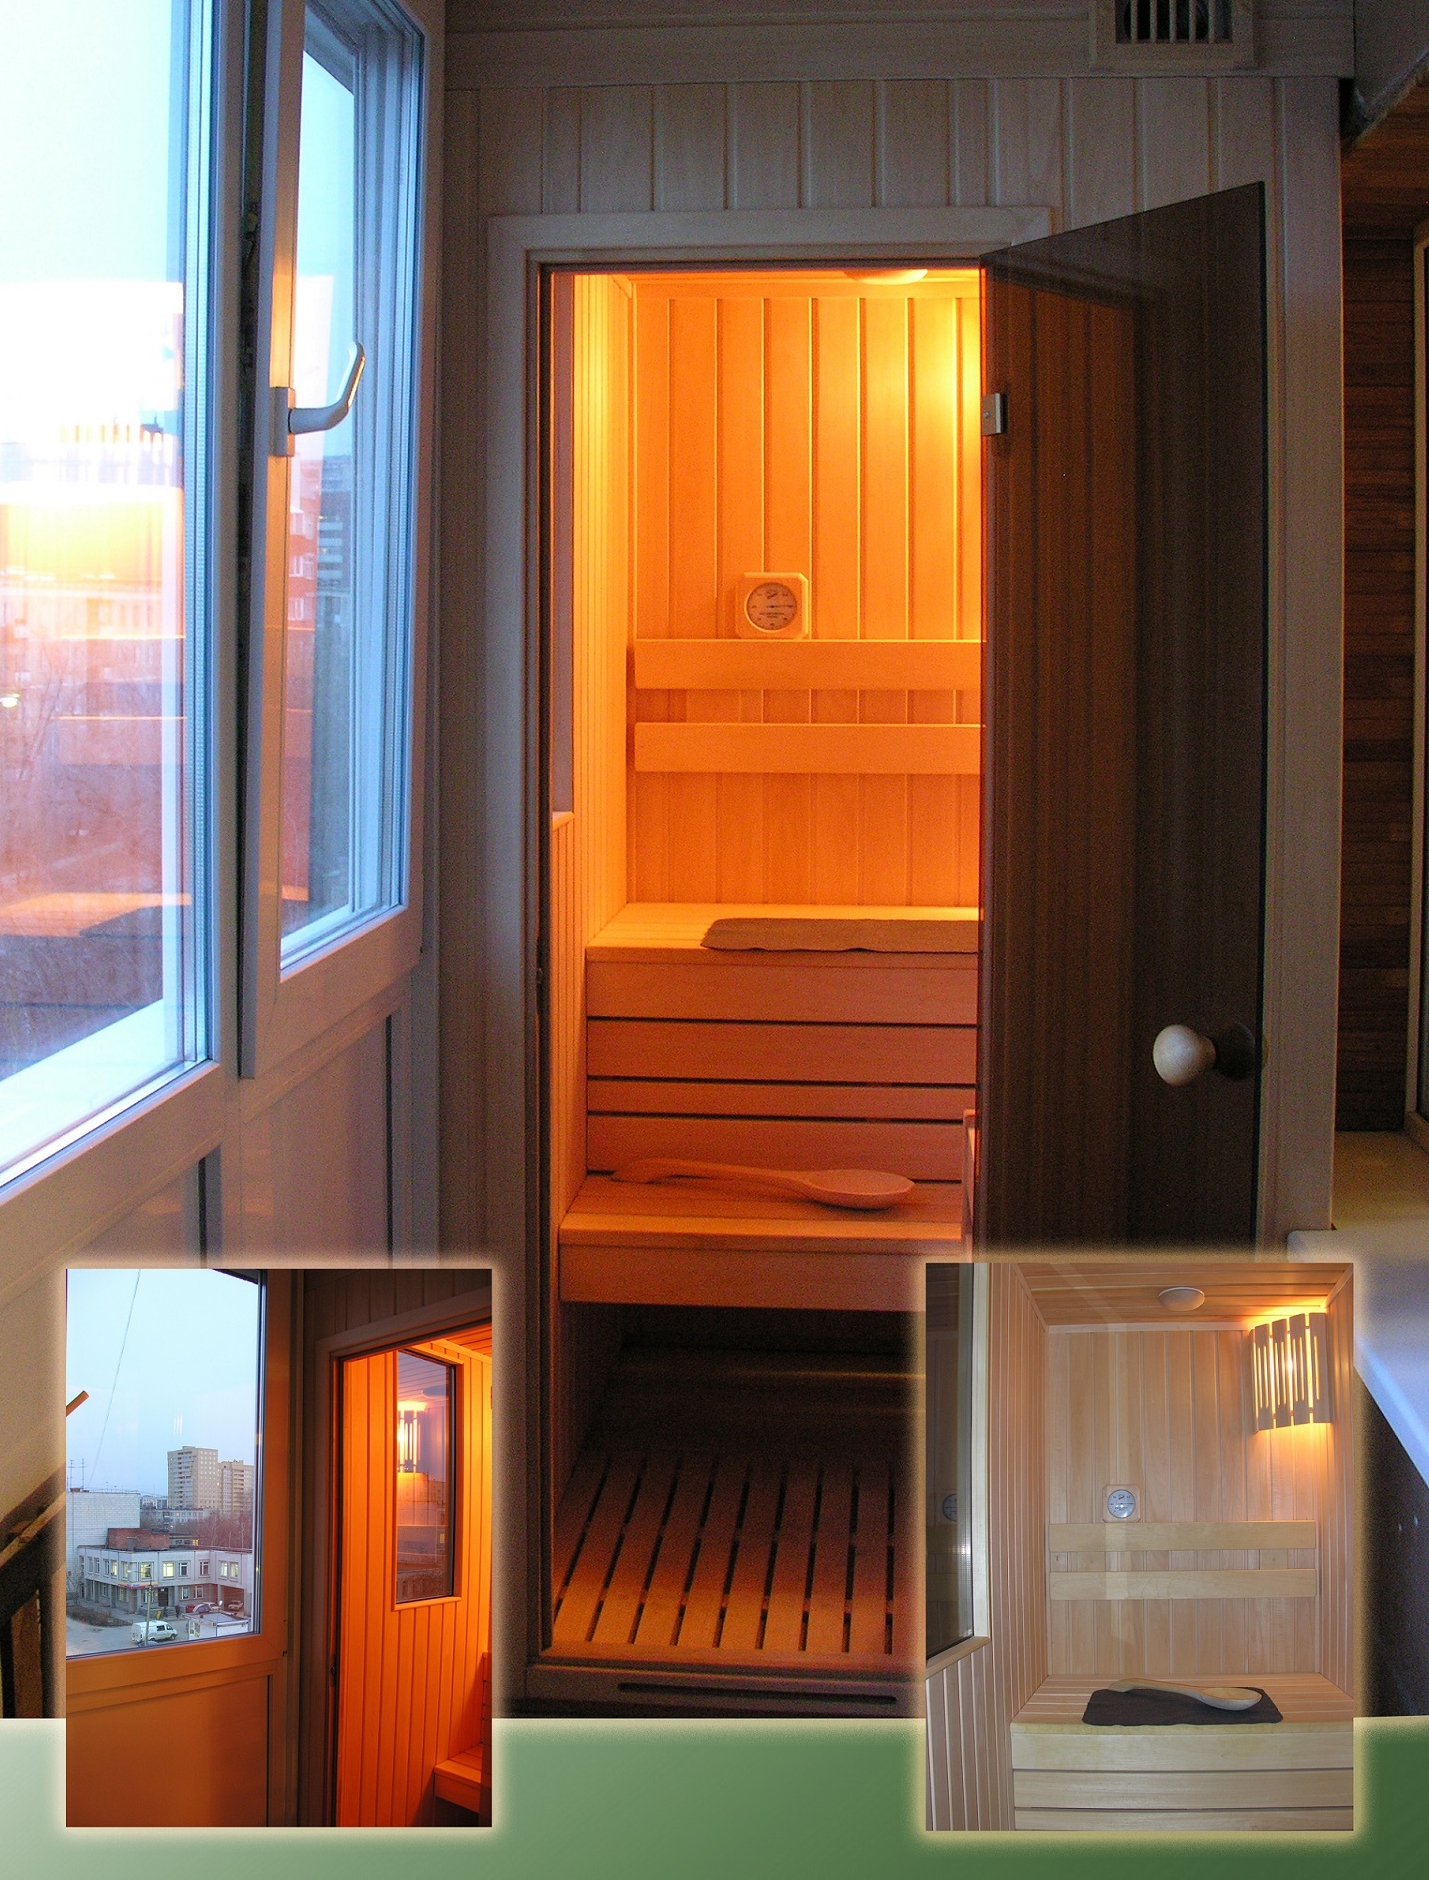
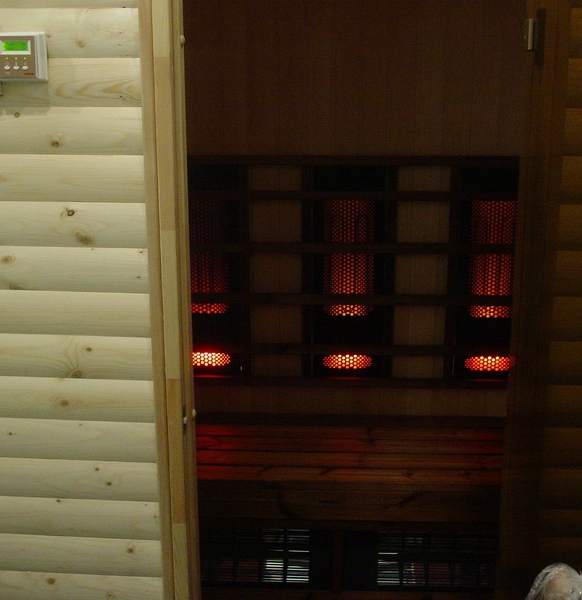
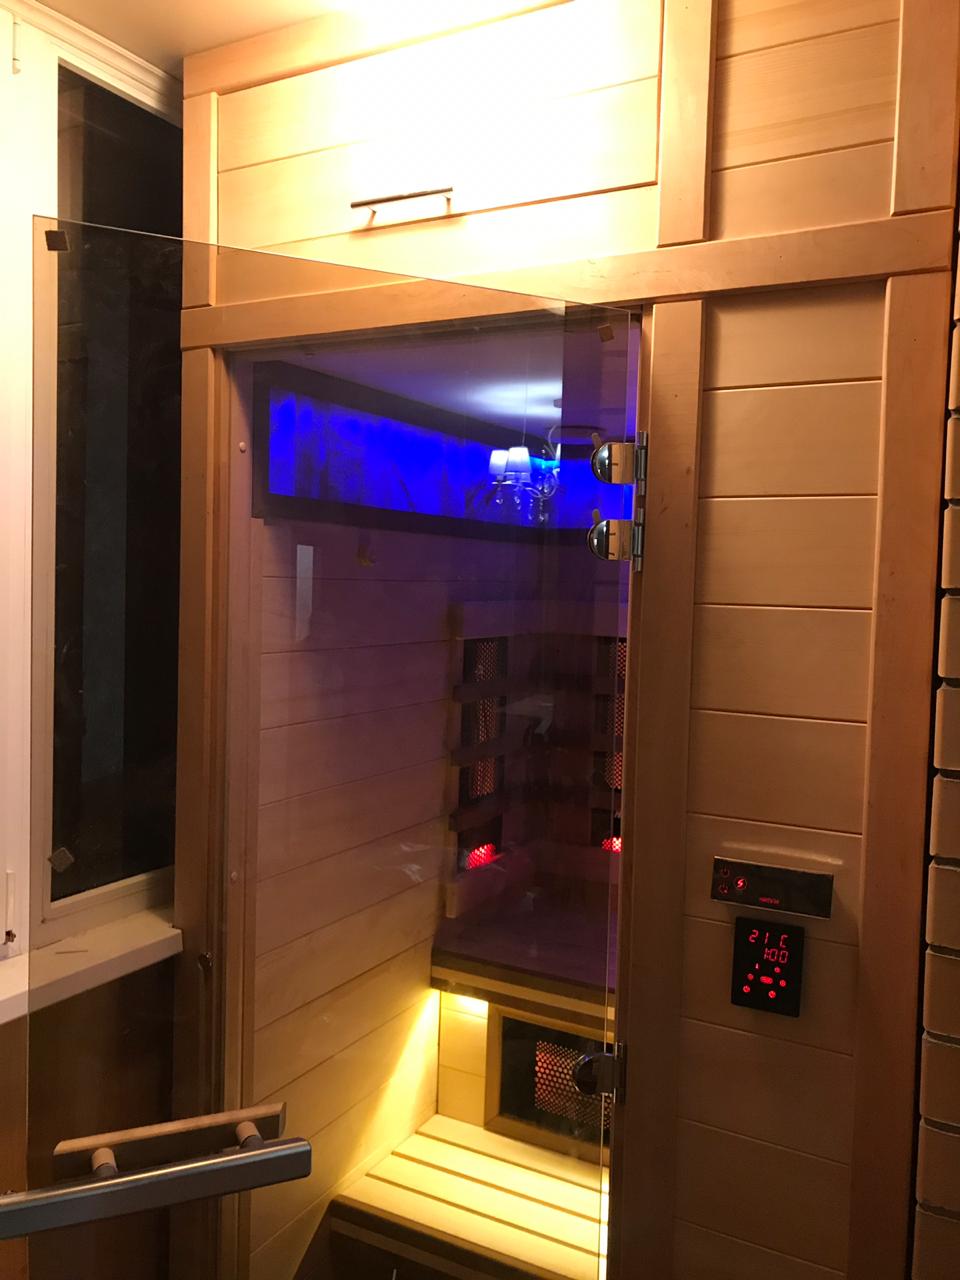
The infrared option is much more common than the conventional oven-heated one. No solid fuel needed. Ash does not form. Much less fire hazard. You can protect yourself from infectious diseases with the help of a sauna.
However, a balcony or loggia, by definition, is still quite small. Therefore, it is difficult to organize a full-fledged washing space there. And for those who are used to spacious bath rooms, this is not always pleasant. It is necessary to take into account the risk of water leakage, problems with the drainage of sewage. Thinking over and implementing everything competently is not so cheap.
Primary requirements
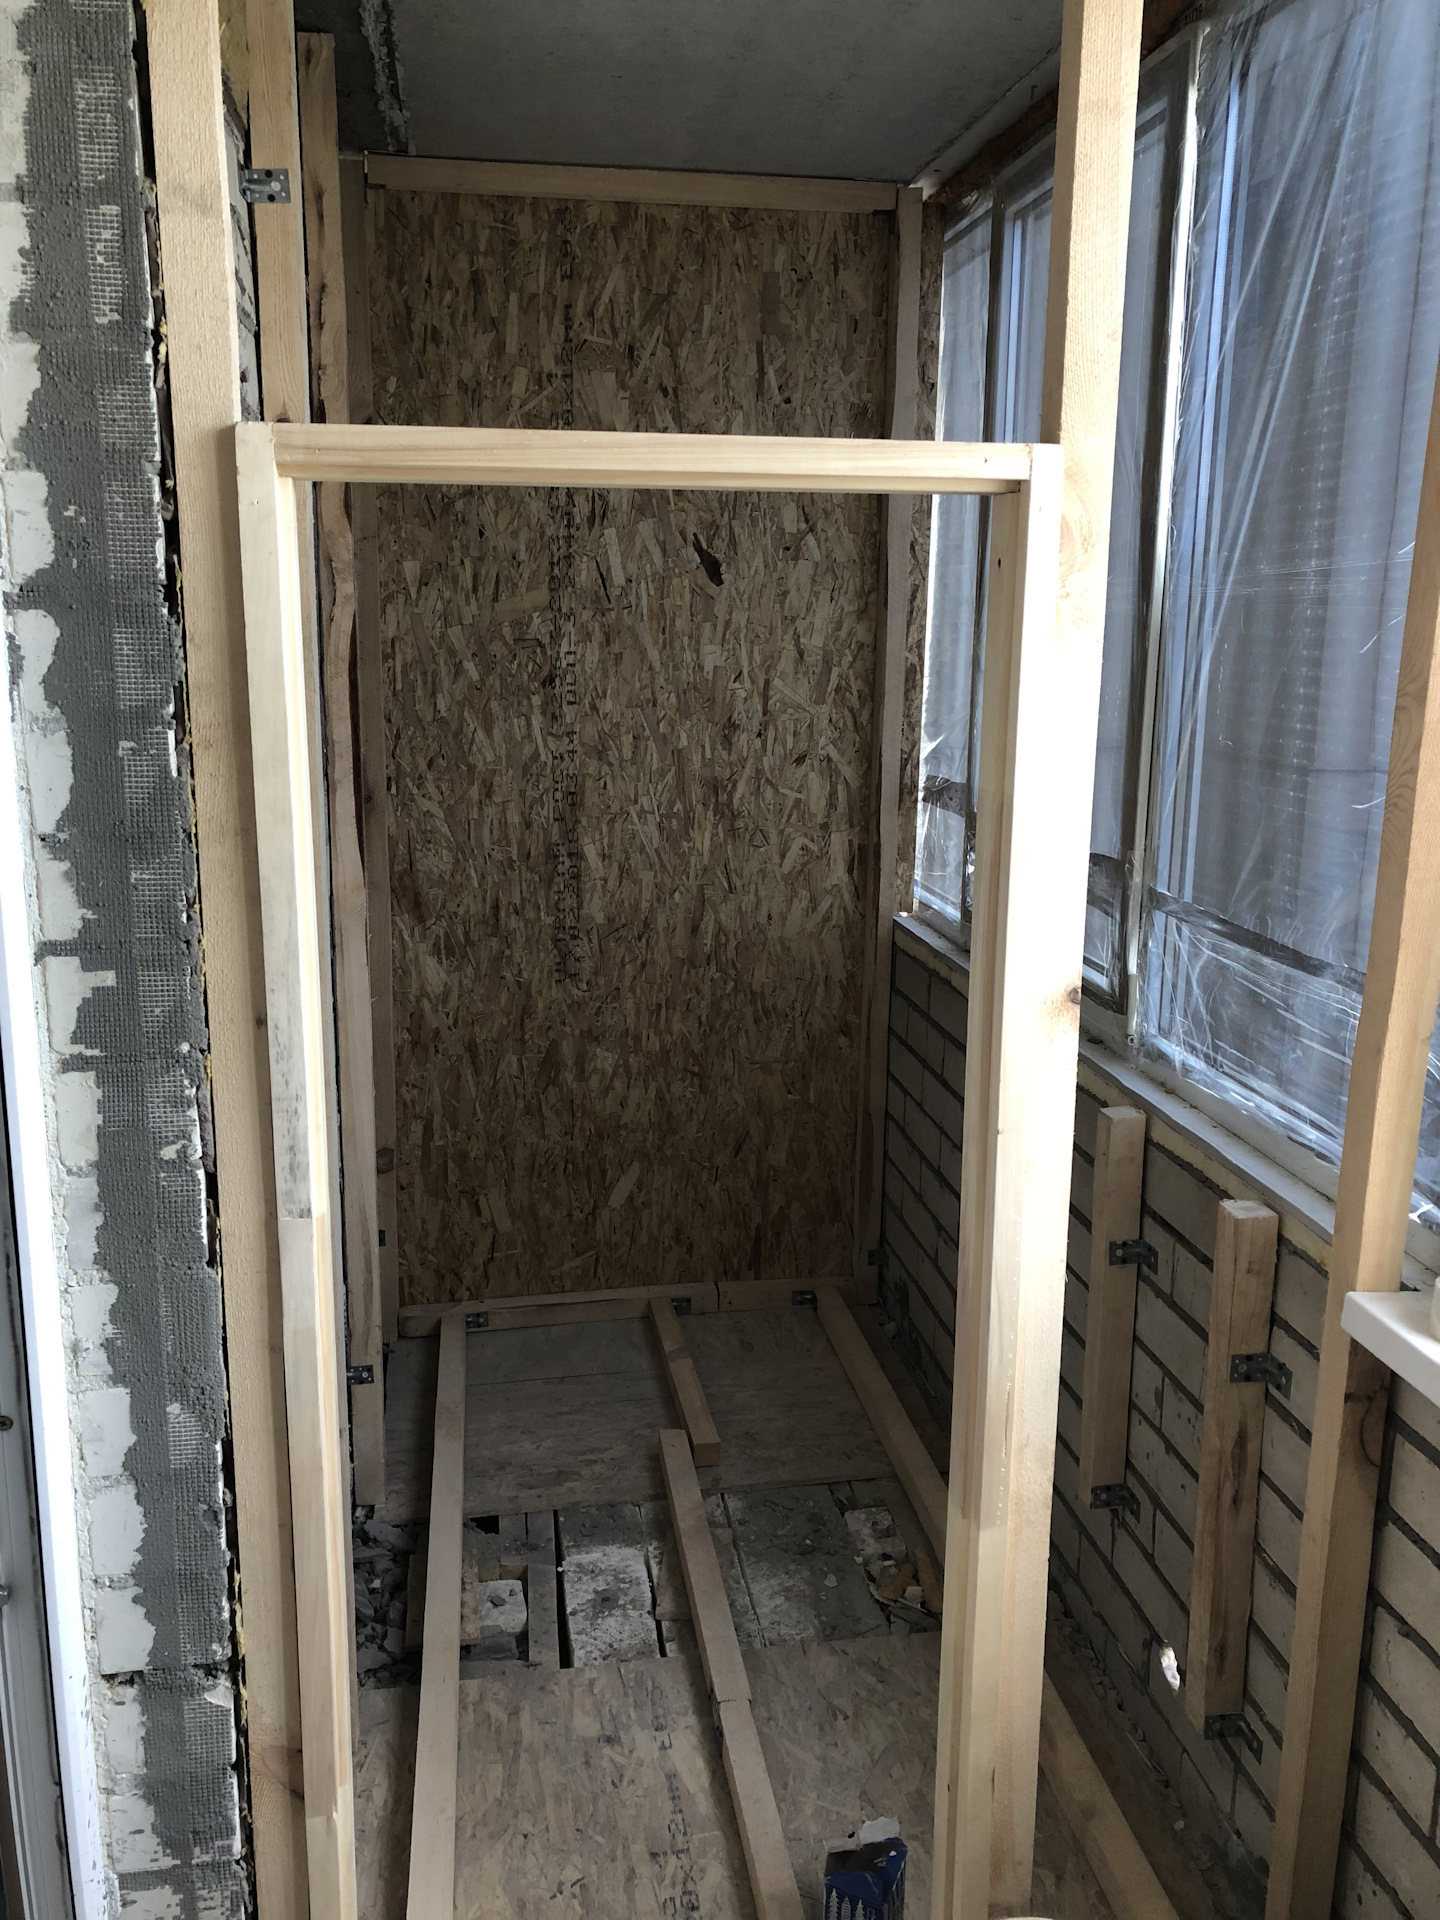
The arrangement of a mini-sauna on the balcony is on the verge of an adventure. Therefore, it is necessary to very carefully understand the features of construction and installation work. The most important nuance is the utmost lightness of the entire structure. Multi-storey buildings are initially designed for a strictly defined level of mechanical stress. Exceeding it creates the danger of complete or partial destruction.
It is unacceptable to use blocks, bricks and any other heavy construction elements. Even the smallest size of the sauna does not mean that it is possible to avoid coordination with the owners and tenants of neighboring apartments. A conflict with them is fraught with appeals to the regulatory authorities. Even if they do not find any violations, the proceedings and inspections are unlikely to please.
A wooden balcony bath creates an increased fire safety risk. It is small, but it is still present in even the best infrared models. Fire inspectors check all such facilities very strictly. They issue an order for dismantling immediately if they find the overlap of escape stairs and manholes.
Important: electrical equipment must also be protected from moisture.
It is impossible to limit ourselves to warming the steam room. It is imperative to provide for thermal protection of the entire balcony or loggia. The use of solid wood is also a serious requirement. Since the volume of work is small, you can safely choose especially high-quality varieties of wood. If all these requirements do not raise questions, you can safely begin the arrangement.
Choice of materials
The balcony sauna is insulated and waterproofed with the same materials as the larger counterparts. Therefore, you can get by with standard solutions. You will definitely need:
-
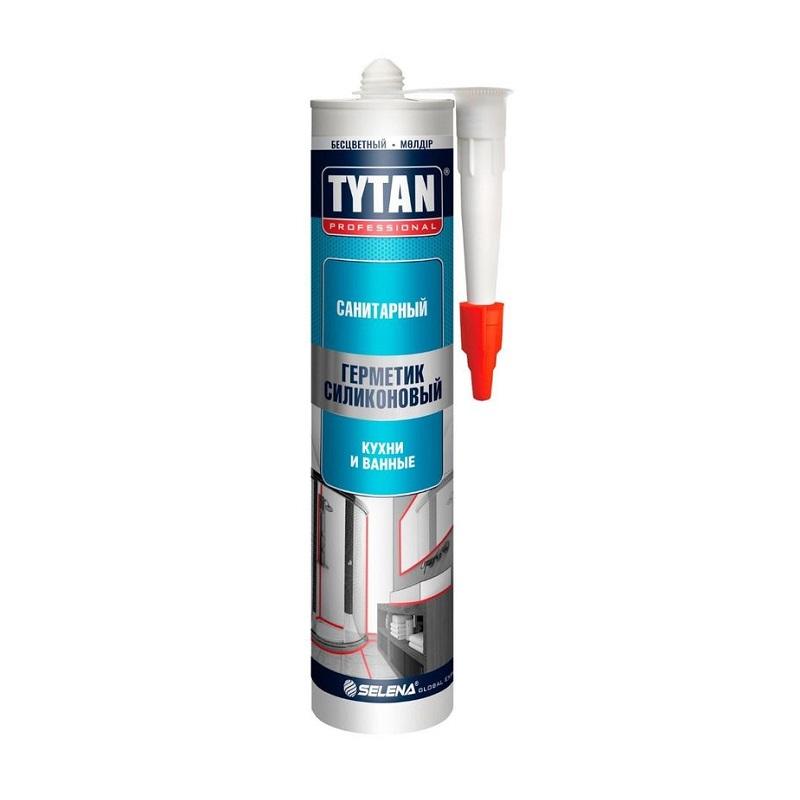
professional sealant;
-
thick film for waterproofing;
-
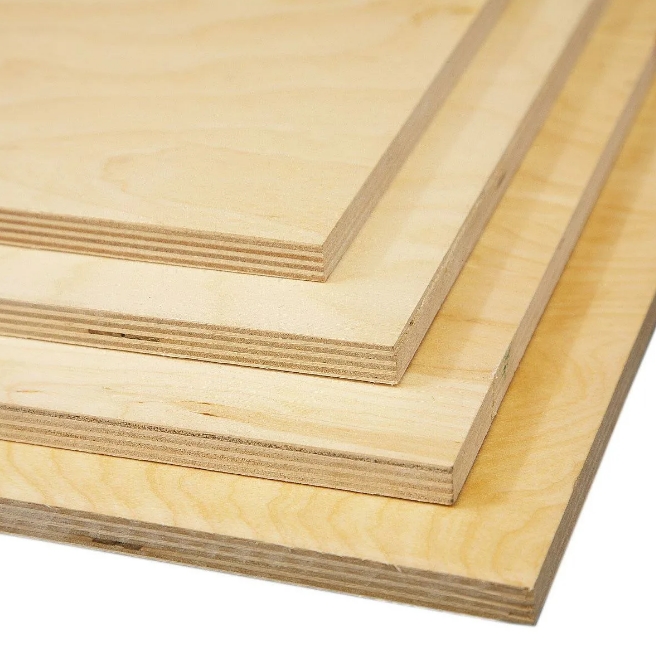
plywood;
-
scotch tape with metallization;
-
polyurethane foam;
-
vapor barrier thin with foil;
-
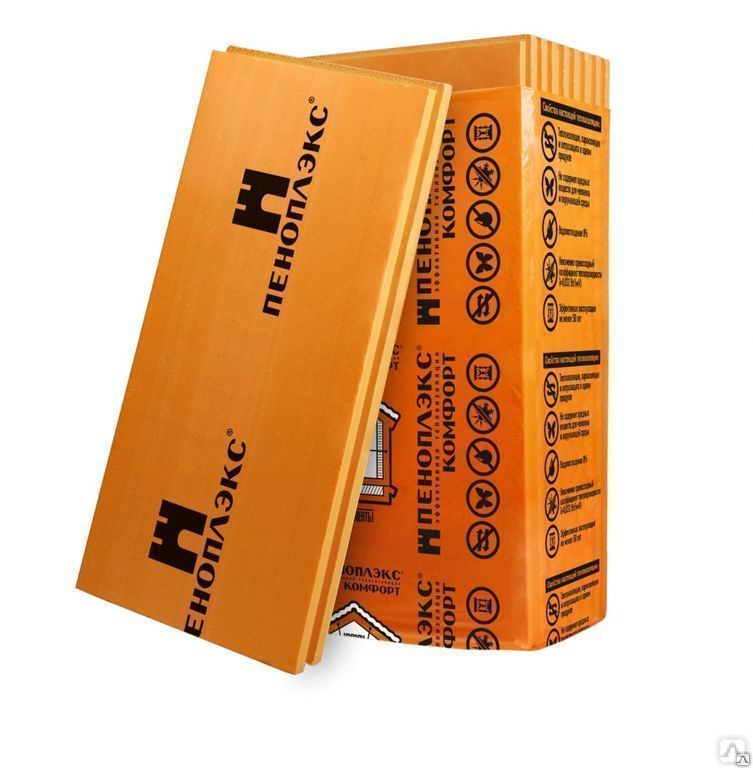
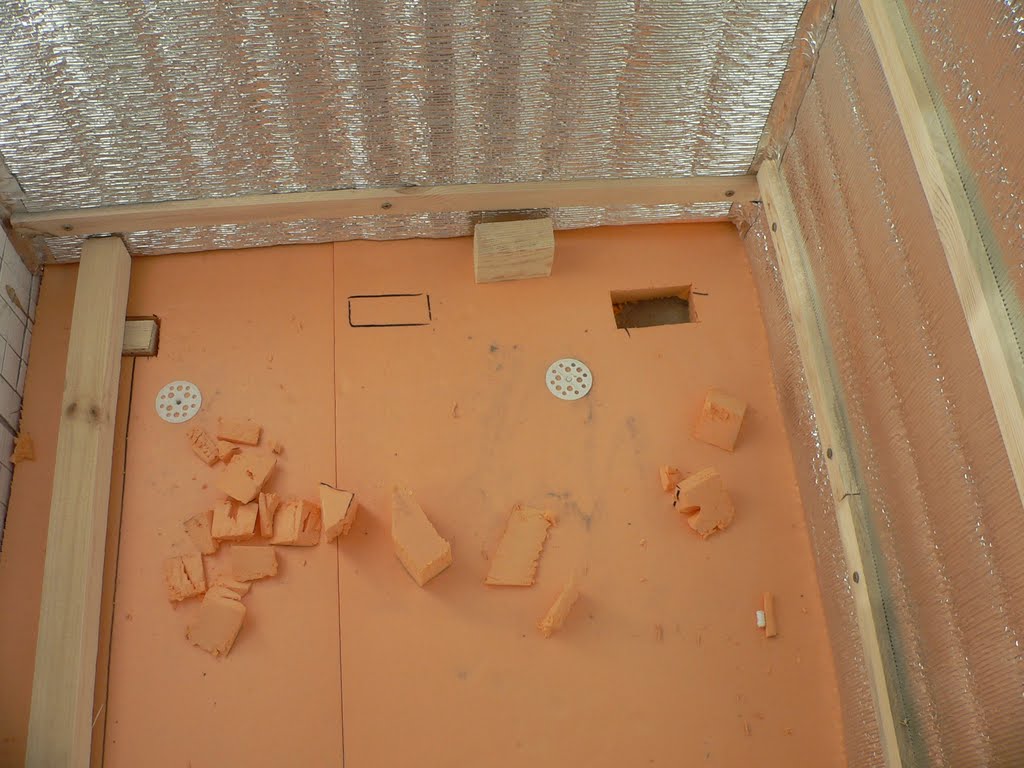
penoplex or simple foam for external thermal protection;
-
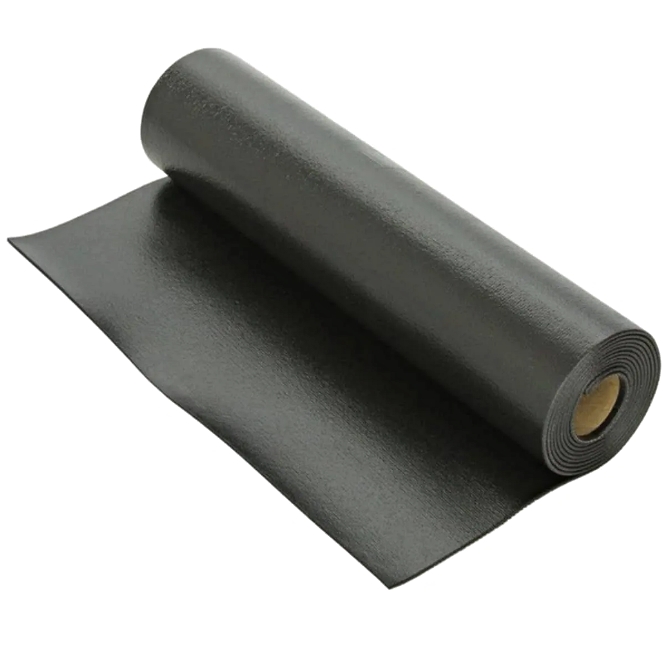
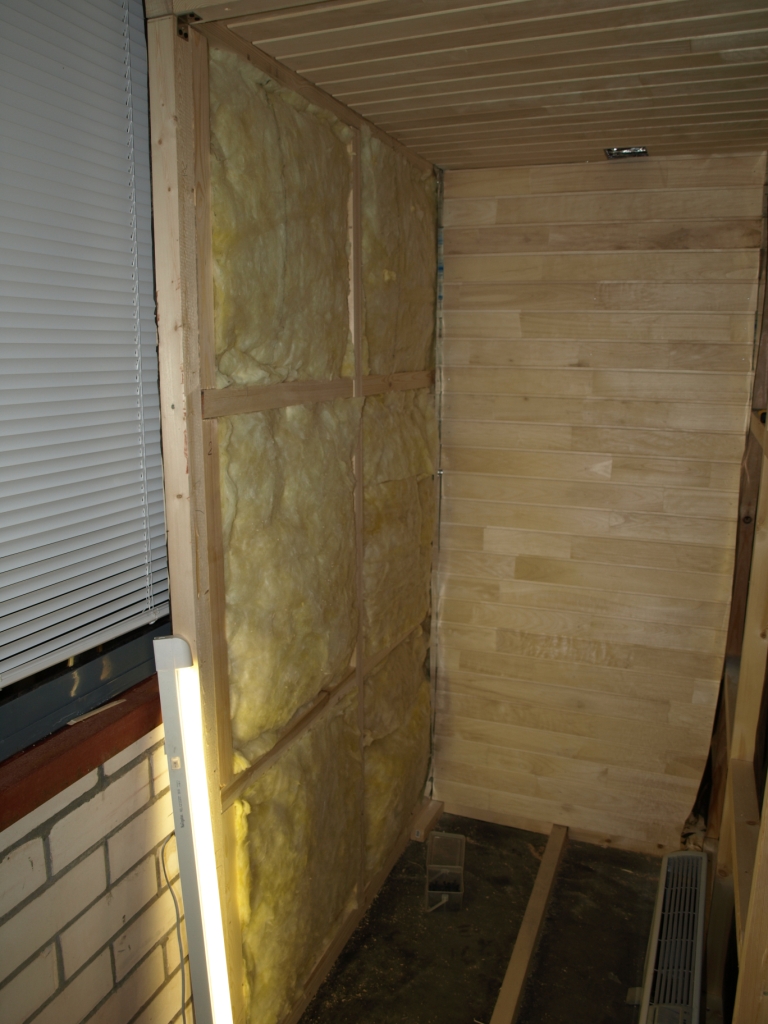
internal insulation (mineral wool, expanded polystyrene, penofol, sometimes foam glass).
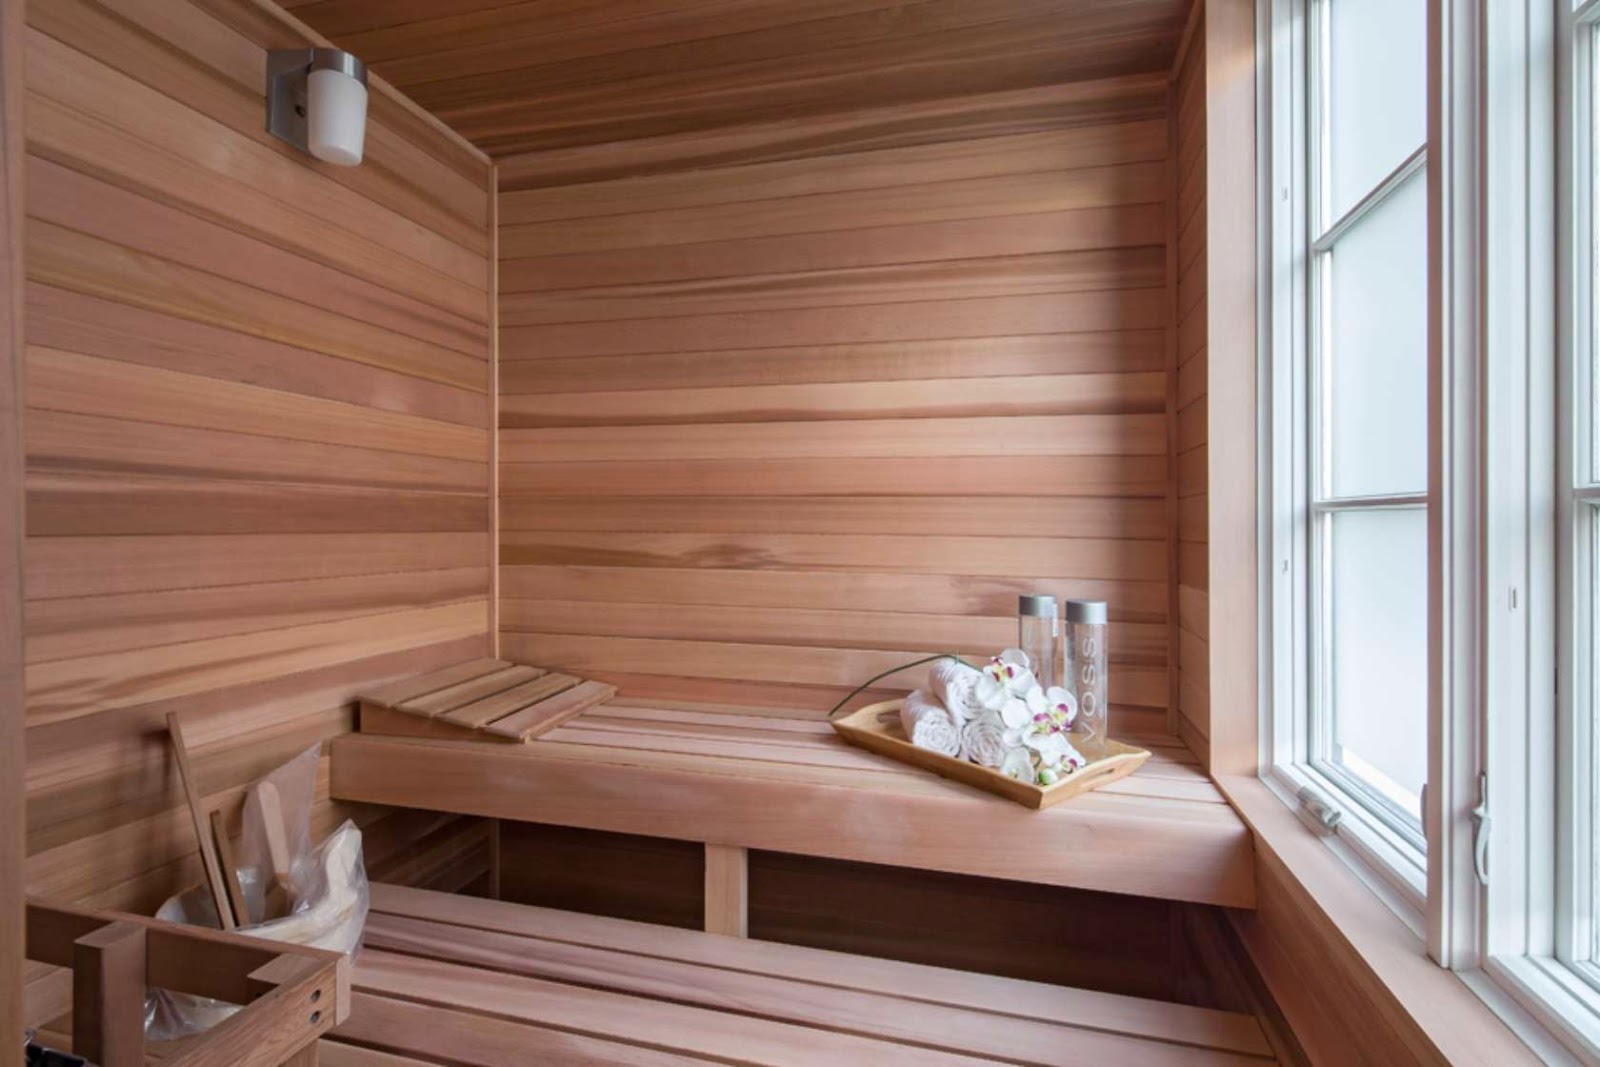
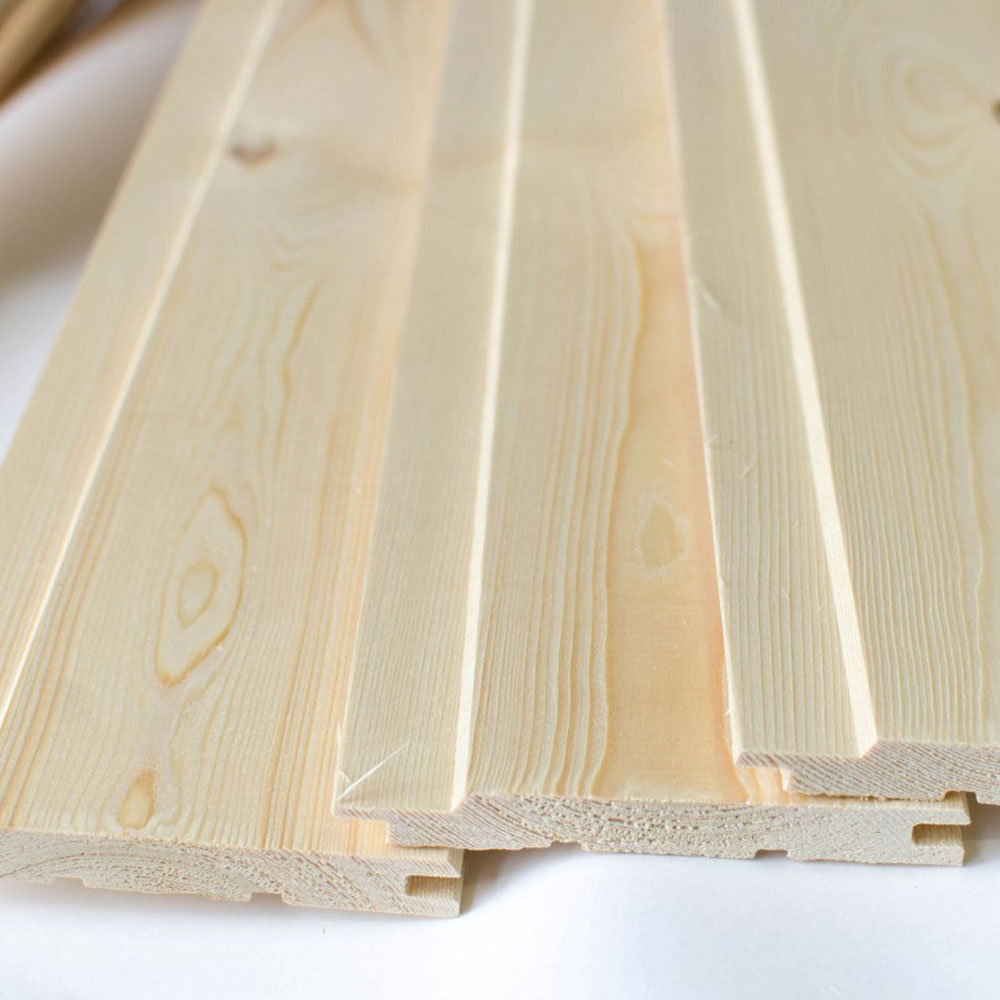
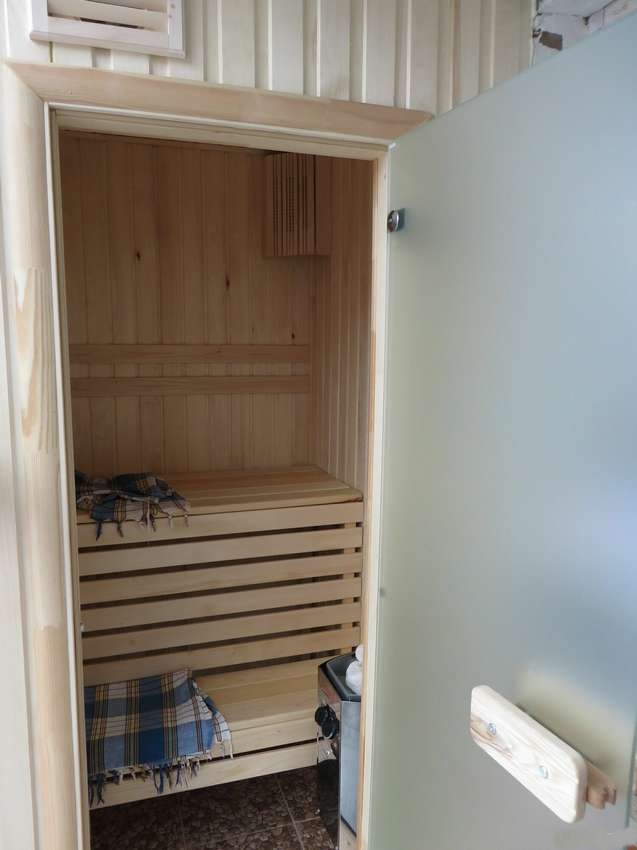
The key criterion in the selection of finishing materials is the quality factor and the level of fire resistance. Most often, the balcony sauna is decorated with deciduous wood. But conifers are impractical. If they get very hot, then the release of resin begins. In addition to the specific odor that is not liked by everyone, resinous substances have a negative effect on the skin.
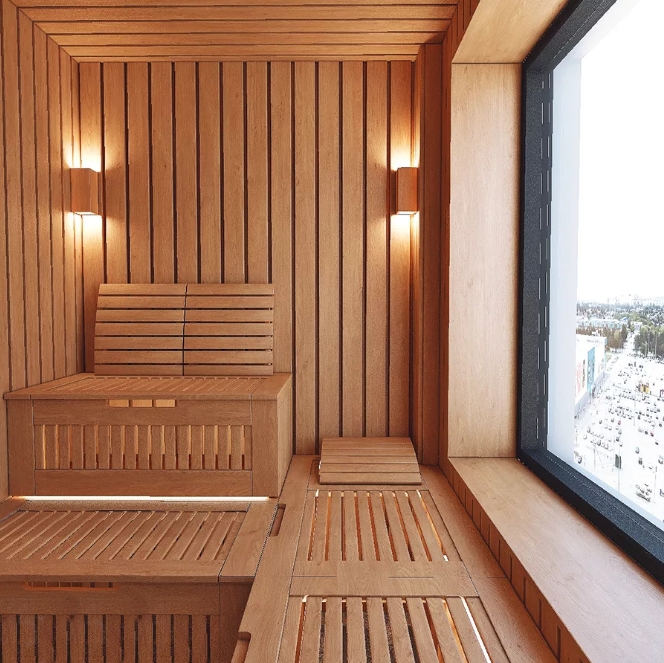
The choice of hardwoods is quite wide. Among domestic plants, oak is considered one of the best options from a decorative point of view. He always looks noble and elegant. But many modern manufacturers prefer Canadian cedar.
Chances are high that it will be he who will be found in a ready-made bath set.
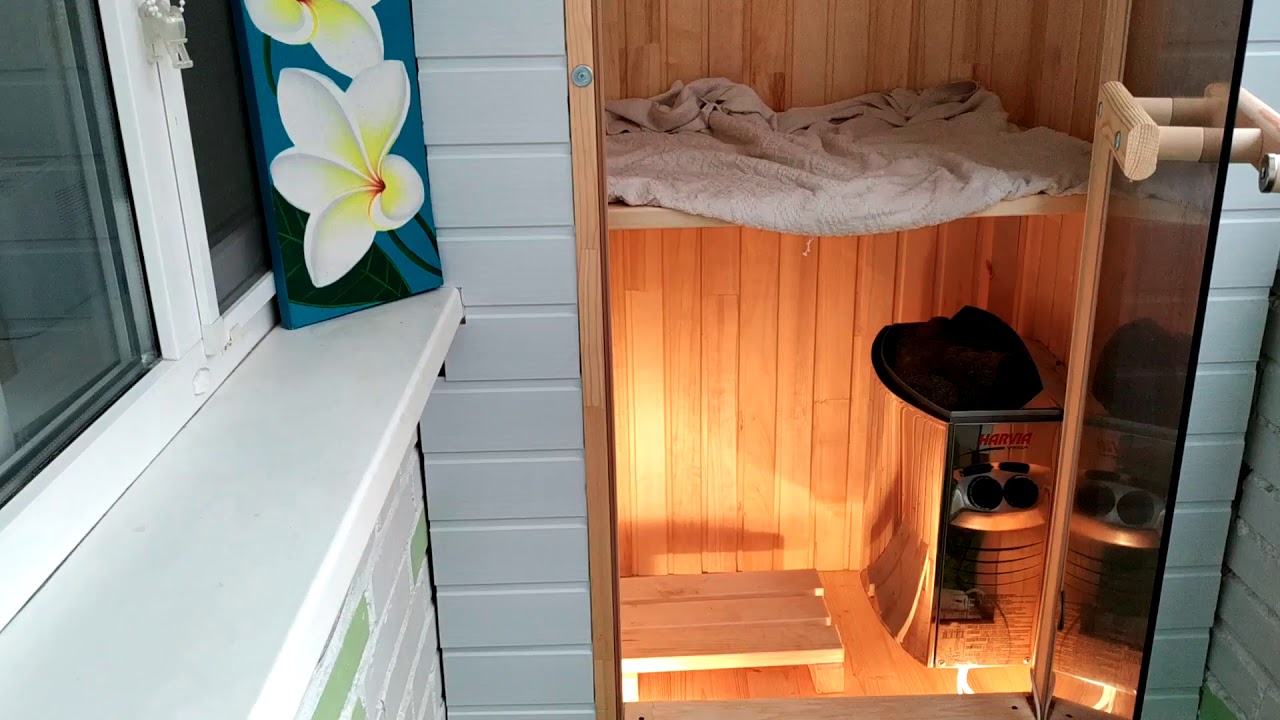
Abashi tree is appreciated for its low heat capacity.... It is mainly used in the arrangement of regiments. Therefore, no significant costs are incurred. Linden has long been recognized as a universal material. It is equally good for interior trim and seat preparation.
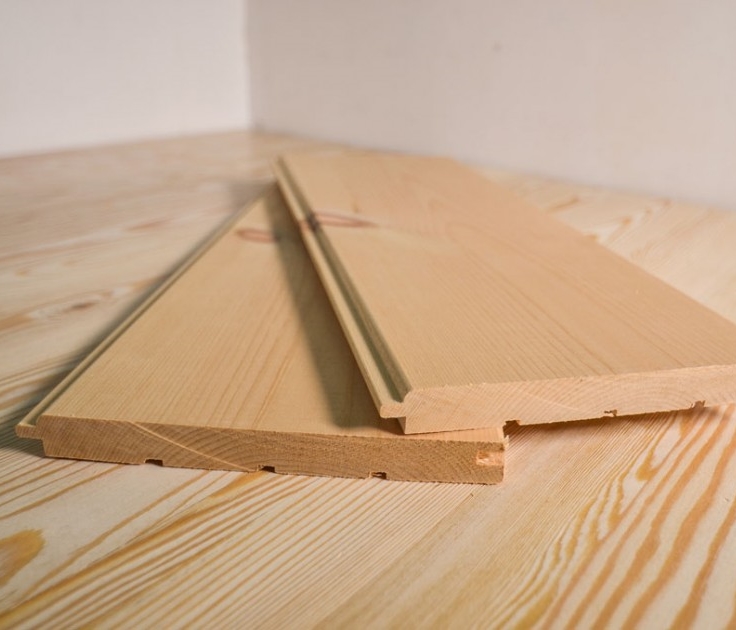
Ash wood is similar in properties to oak. It looks beautiful and has a very impressive texture. In some cases, it is possible to buy ash very cheaply. But usually it is still not very accessible. Spruce and pine boards are used only for external cladding and as mounting rails.
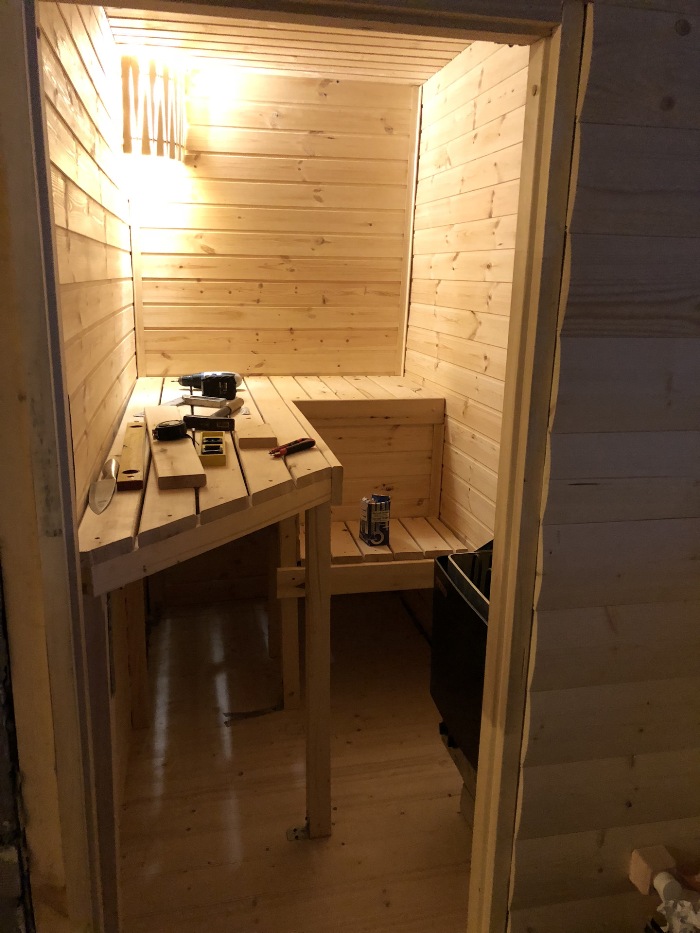
How to do it yourself?
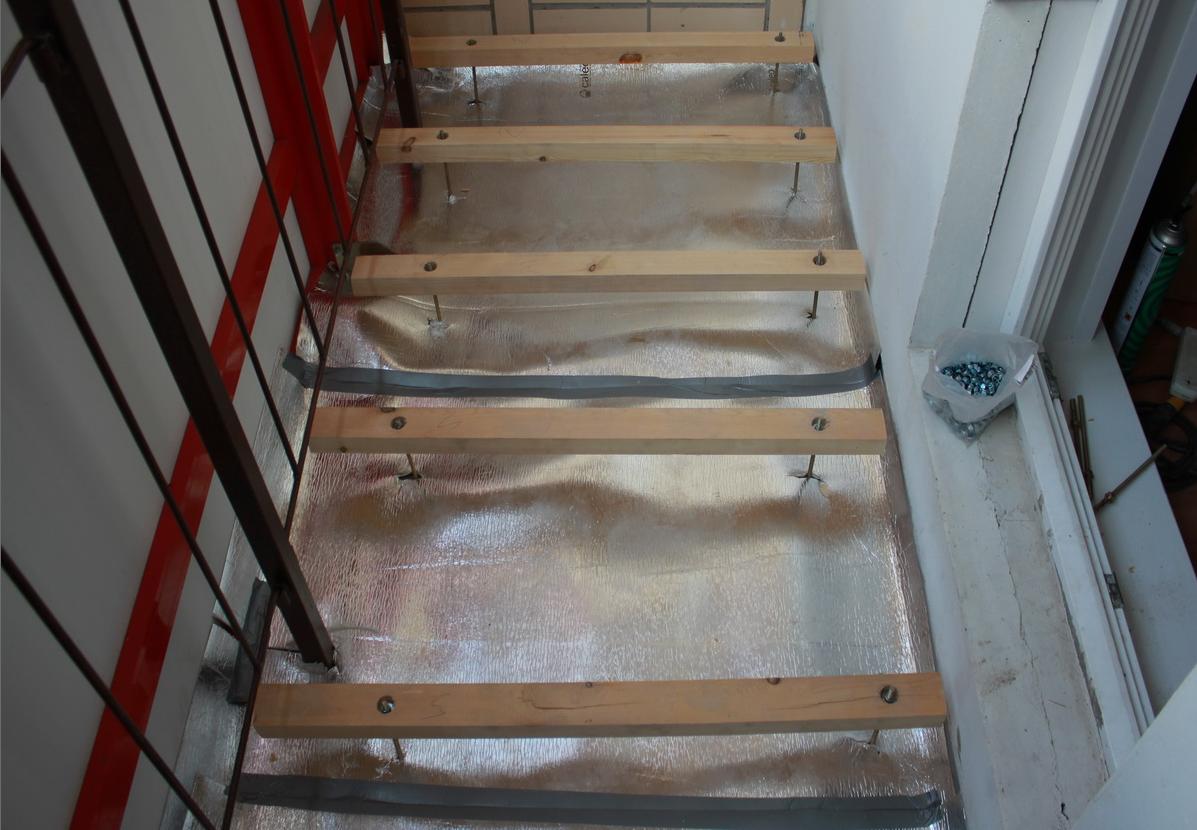
Warming
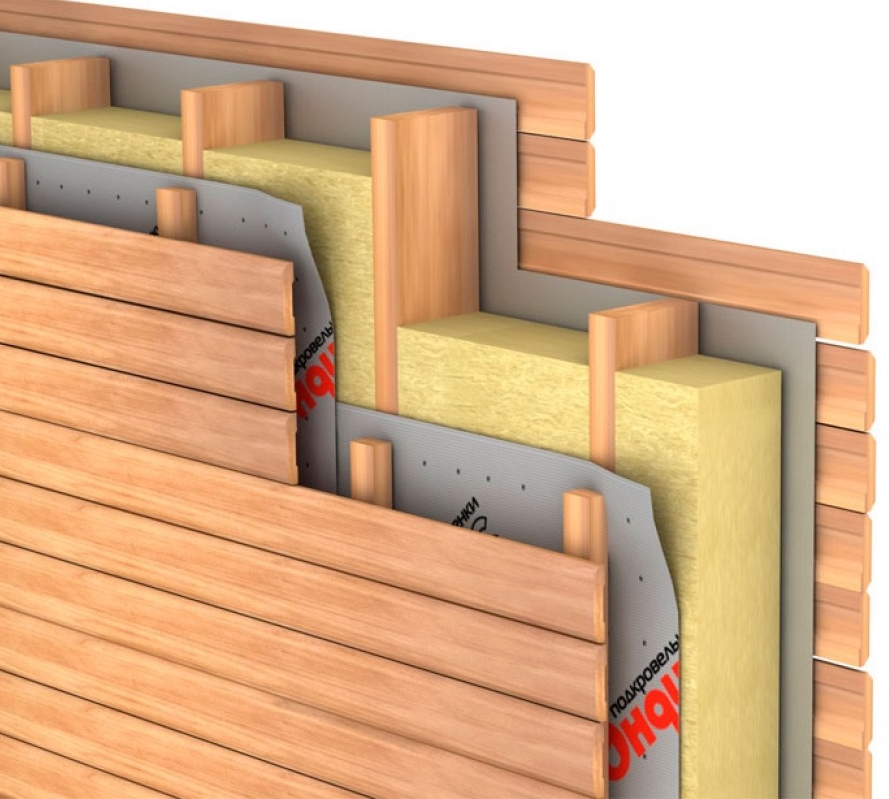
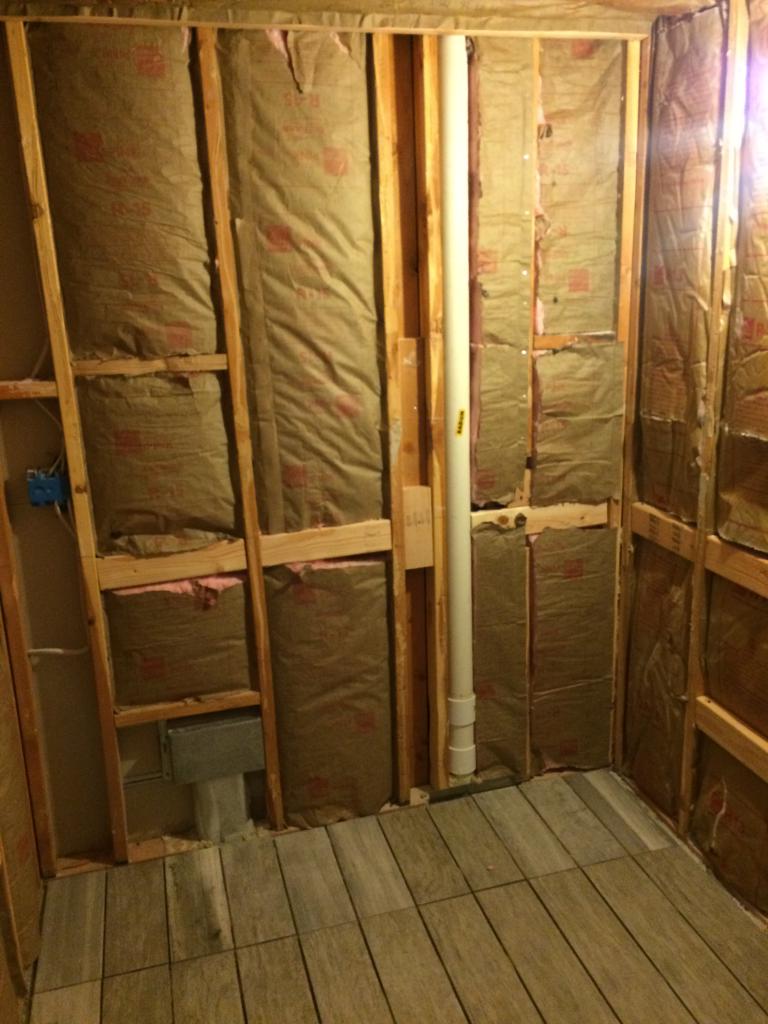
To prevent too much heat from escaping through the floor of the balcony sauna, polystyrene foam plates are recommended. In addition to low thermal conductivity, they are also distinguished by their ability to retain water. The procedure is well worked out and goes something like this:
-
lumber logs 3-4 cm in size are placed on the base (and not less than the height of the insulation layer);
-
attach these logs with dowels;
-
as needed, strengthen the fixation with a liquid sealant;
-
lay out heat-insulating plates in the intervals of the lags (even the actual fastening is not necessary, it is quite enough tight packing or gluing);
-
all remaining seams are carefully coated with sealant;
-
an additional level of waterproofing is installed on top of the slabs;
-
they complete everything with the installation of the lining (which will not only improve the appearance, but also protect the same waterproofing from mechanical stress).
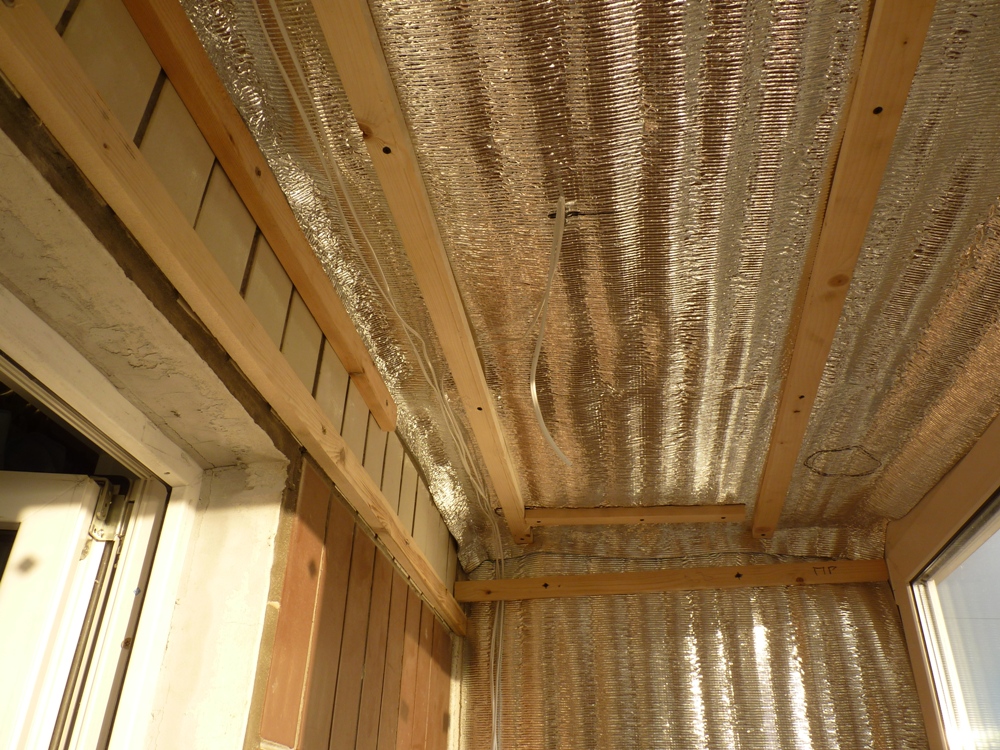
The spacing of the lathing frame should not exceed 50 cm. The insulation should be laid out in each cell. Rolled polyethylene is also suitable as thermal protection, while it is thinner than comparable mineral wool in terms of characteristics.
The foil surface must face inward. Before laying the lining on polyethylene, you need to nail simple slats.
The approach to ceiling insulation is no different in principle. However, the insulation layer should be thinner. Arrangement of the frame is also required. We must not forget about vapor barrier. Such work is carried out easily and in a short time, and should not cause any problems even for inexperienced people.
Wiring and ventilation
But electrical communications are already much more responsible.... It is useful to familiarize yourself in advance with the basic rules of electrical safety, with regulatory documents. In the sauna, only closed lamps and other devices that do not come into contact with water are allowed. The higher the moisture protection according to the international IP standard, the better. Of course, it is necessary to check the level of thermal resistance when purchasing.
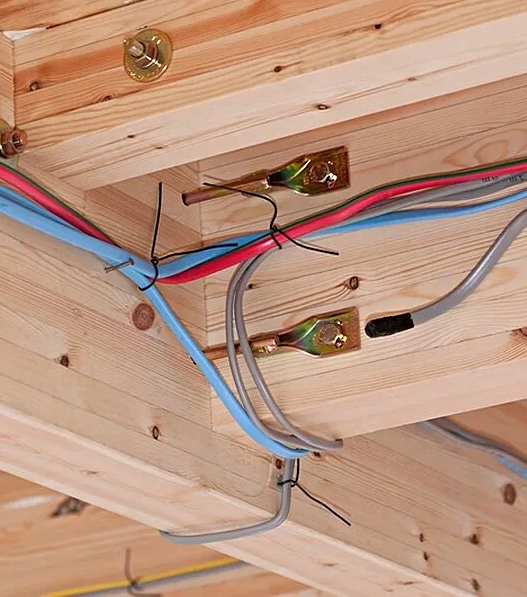
Prevention of short circuits is most reliable with the help of an automatic RCD. The electrical panel is equipped with a 25-amp circuit breaker. All manual switches are located outside the sauna. The wiring is best protected by a corrugated pipe. Its end sections must be strictly sealed.
The importance of ventilation is also clear. Steam and odors are normally removed through the outer wall. The outlet discharge is equipped with a tight plug. You don't need to buy some sophisticated products - a piece of foam of a certain size is enough.
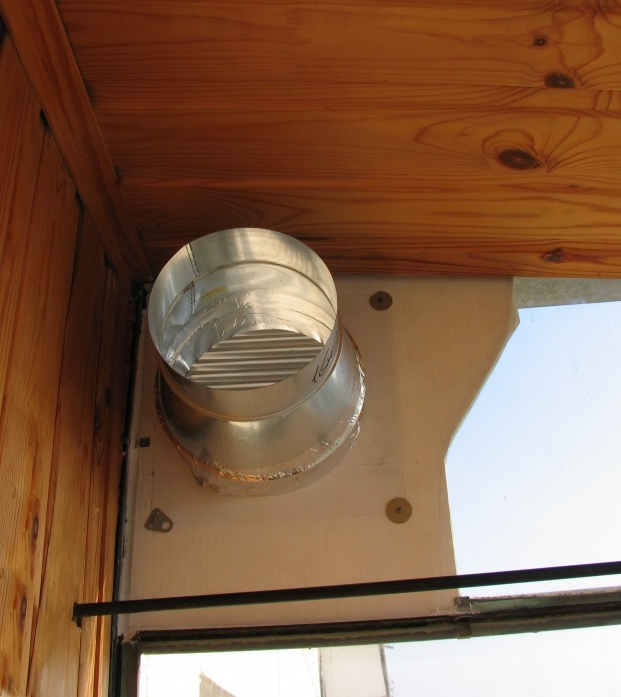
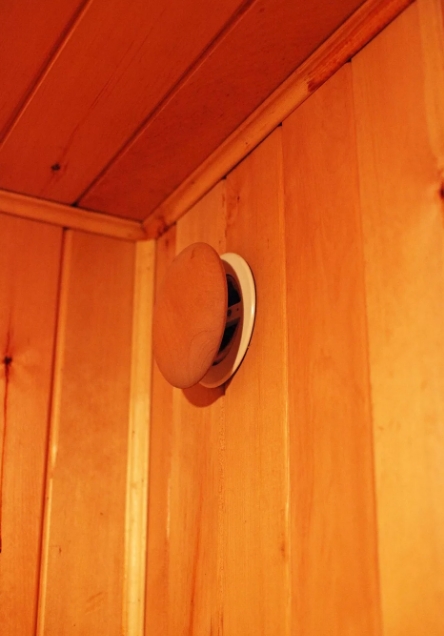
The role of the plug is solely to prevent heat loss.
Design
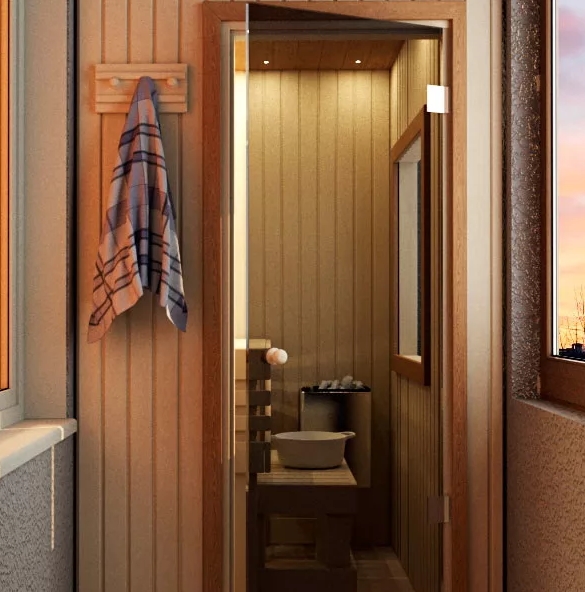
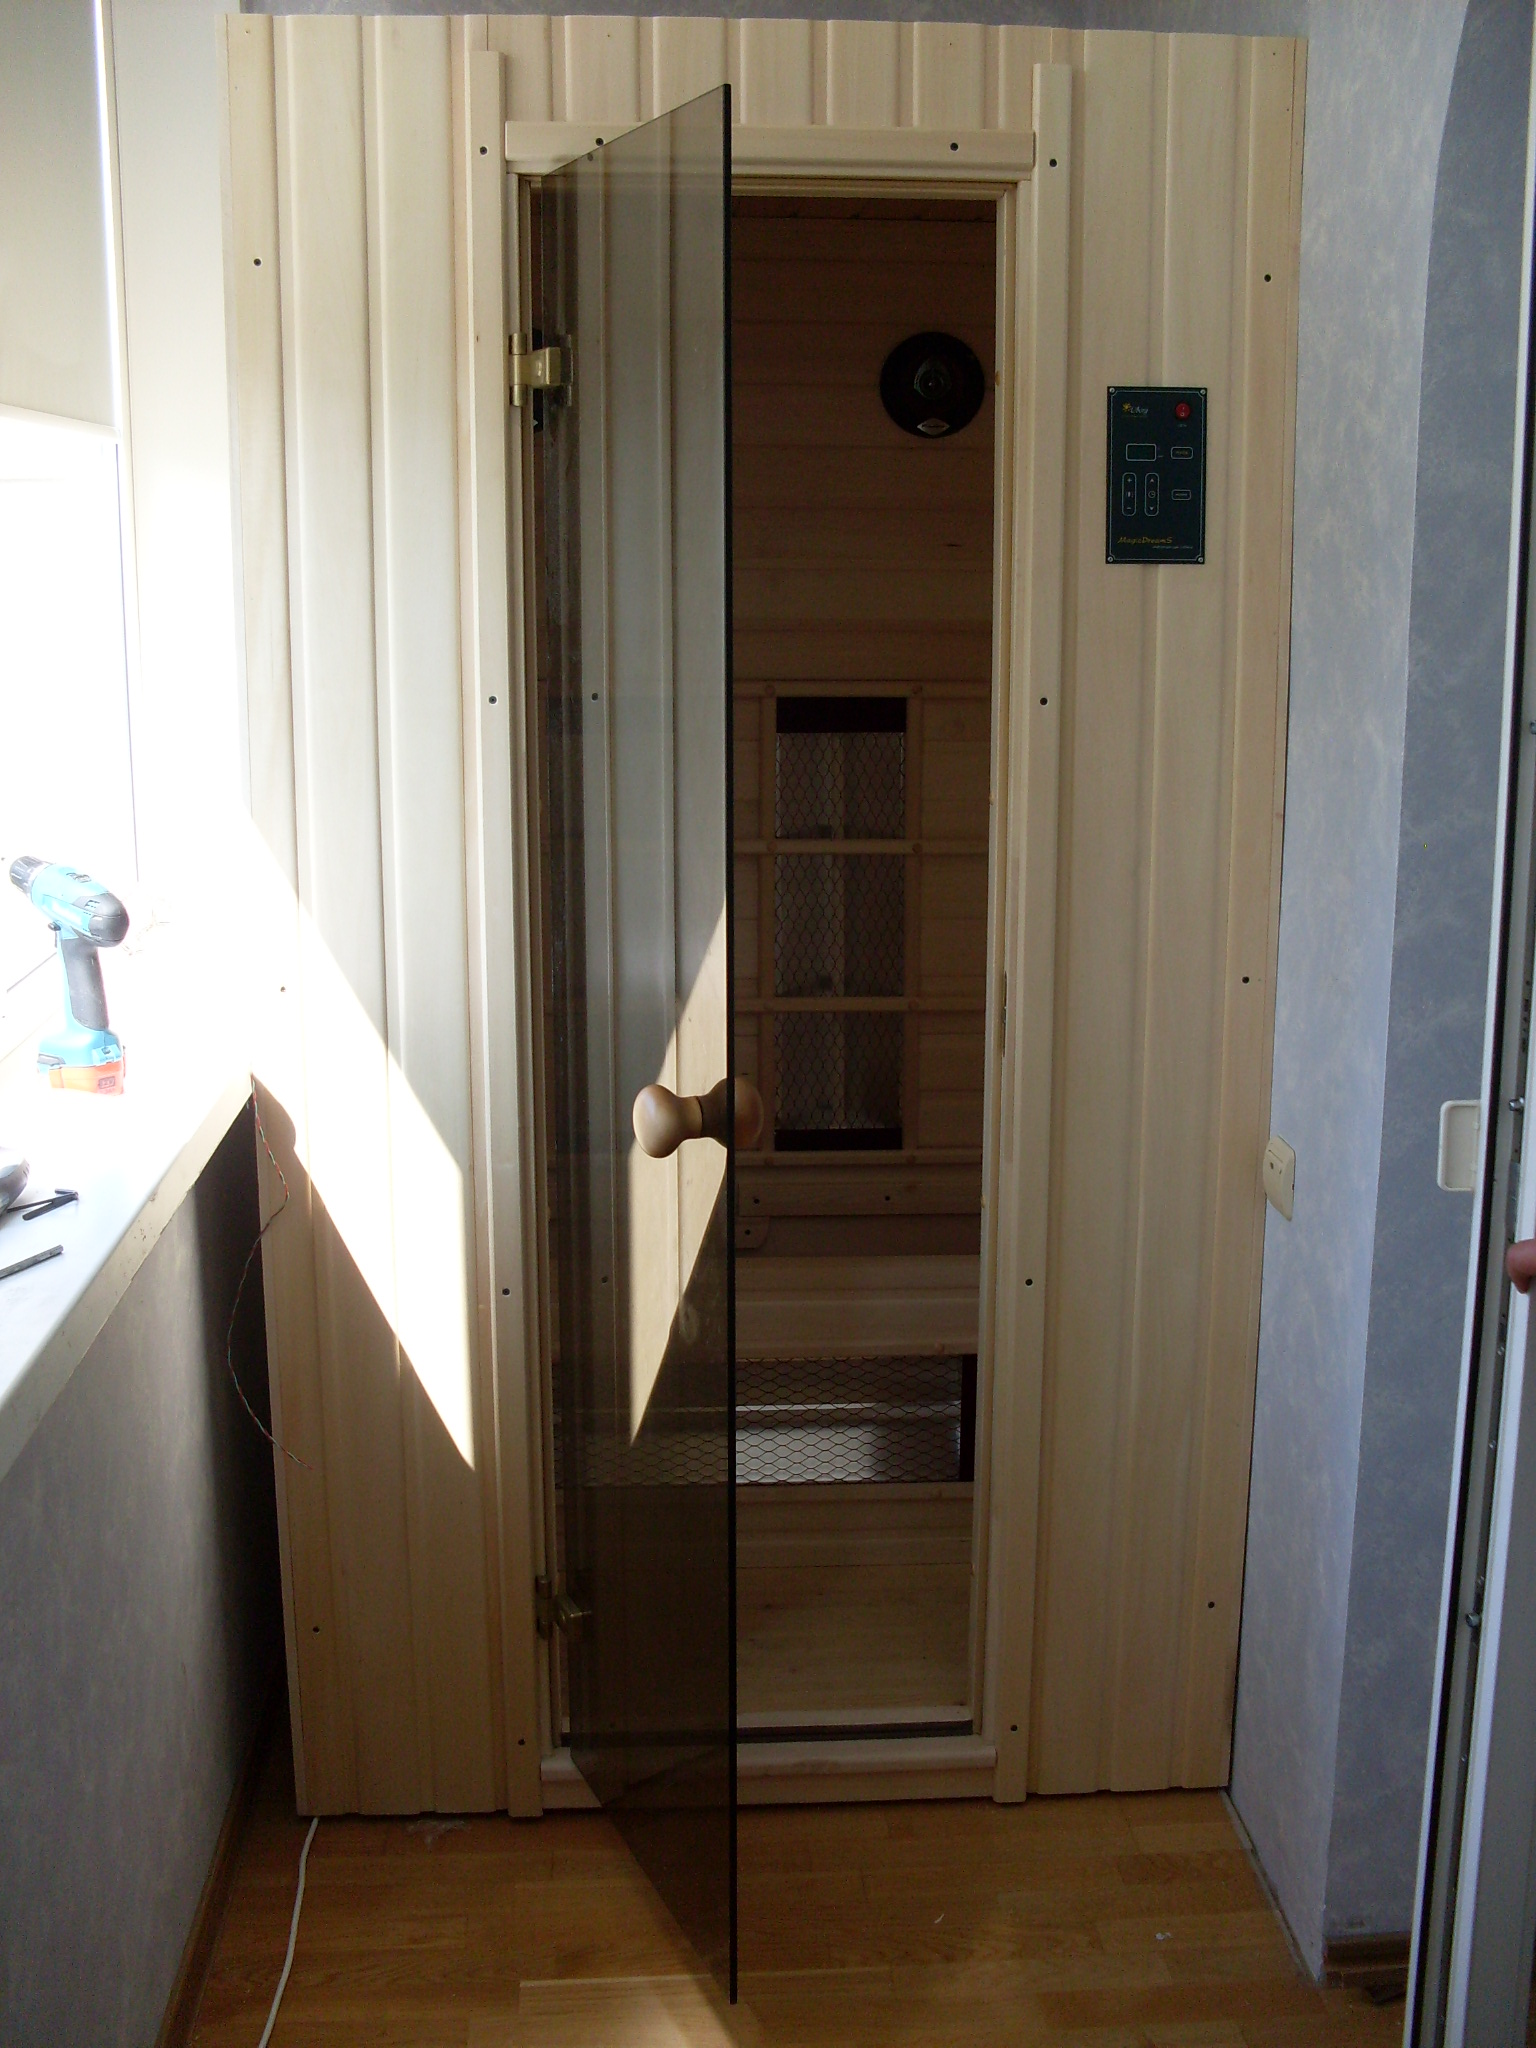
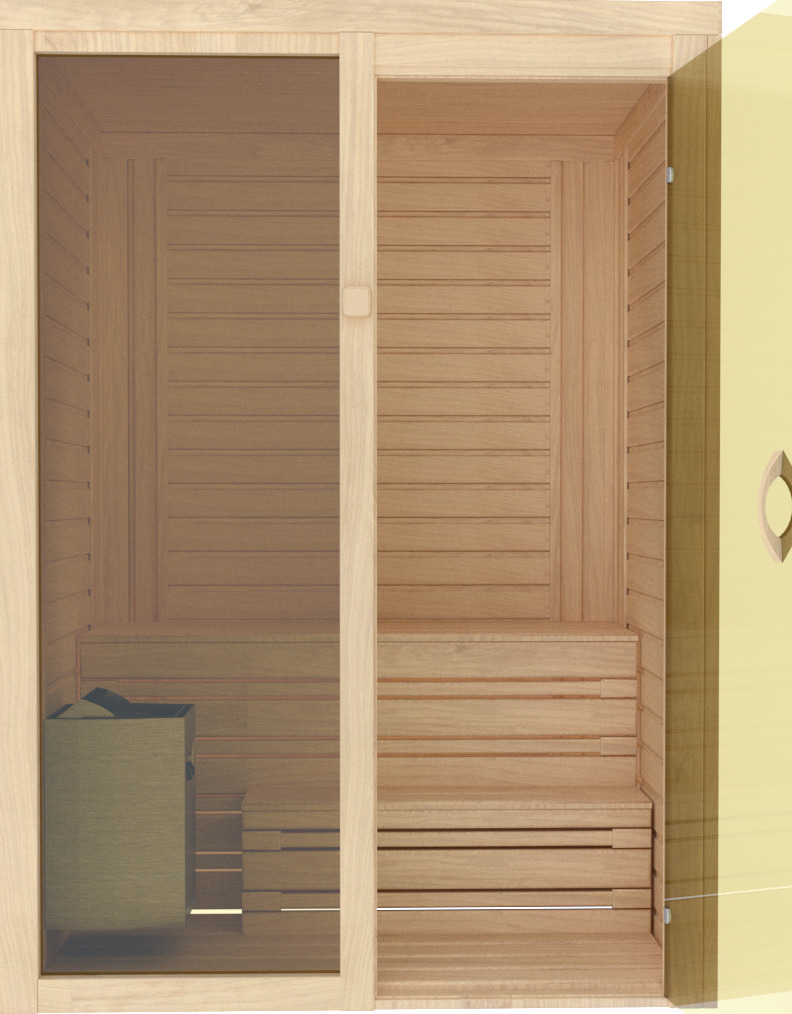
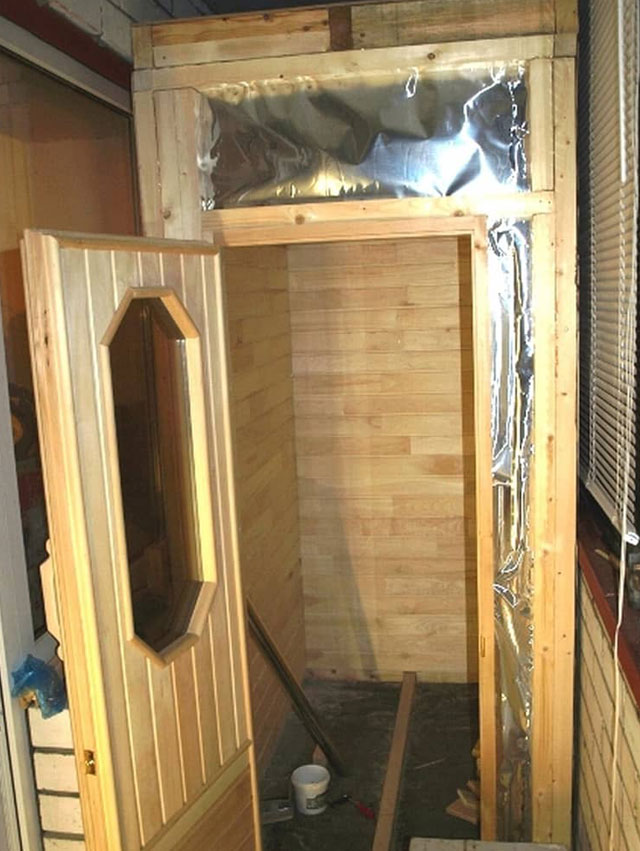
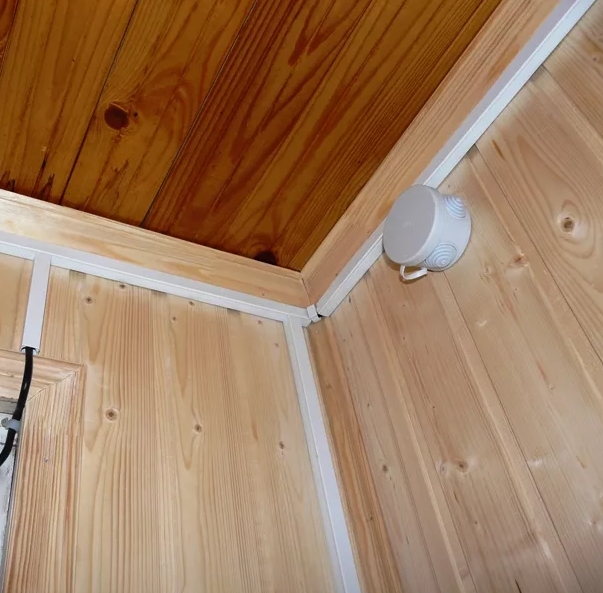
The specific step of the frame of the future sauna is chosen at your discretion. Only foil heat insulators are mounted on it. Even if the non-foil material is resistant to water ingress, it can rob it of its valuable properties and disrupt other structures. Internal insulation should be at least 1 cm thicker than that used outside. The frame and doorway are created using vertical bars, on which sheets of plywood are attached from the inside and outside; we must not forget about the internal insulation of this assembly.
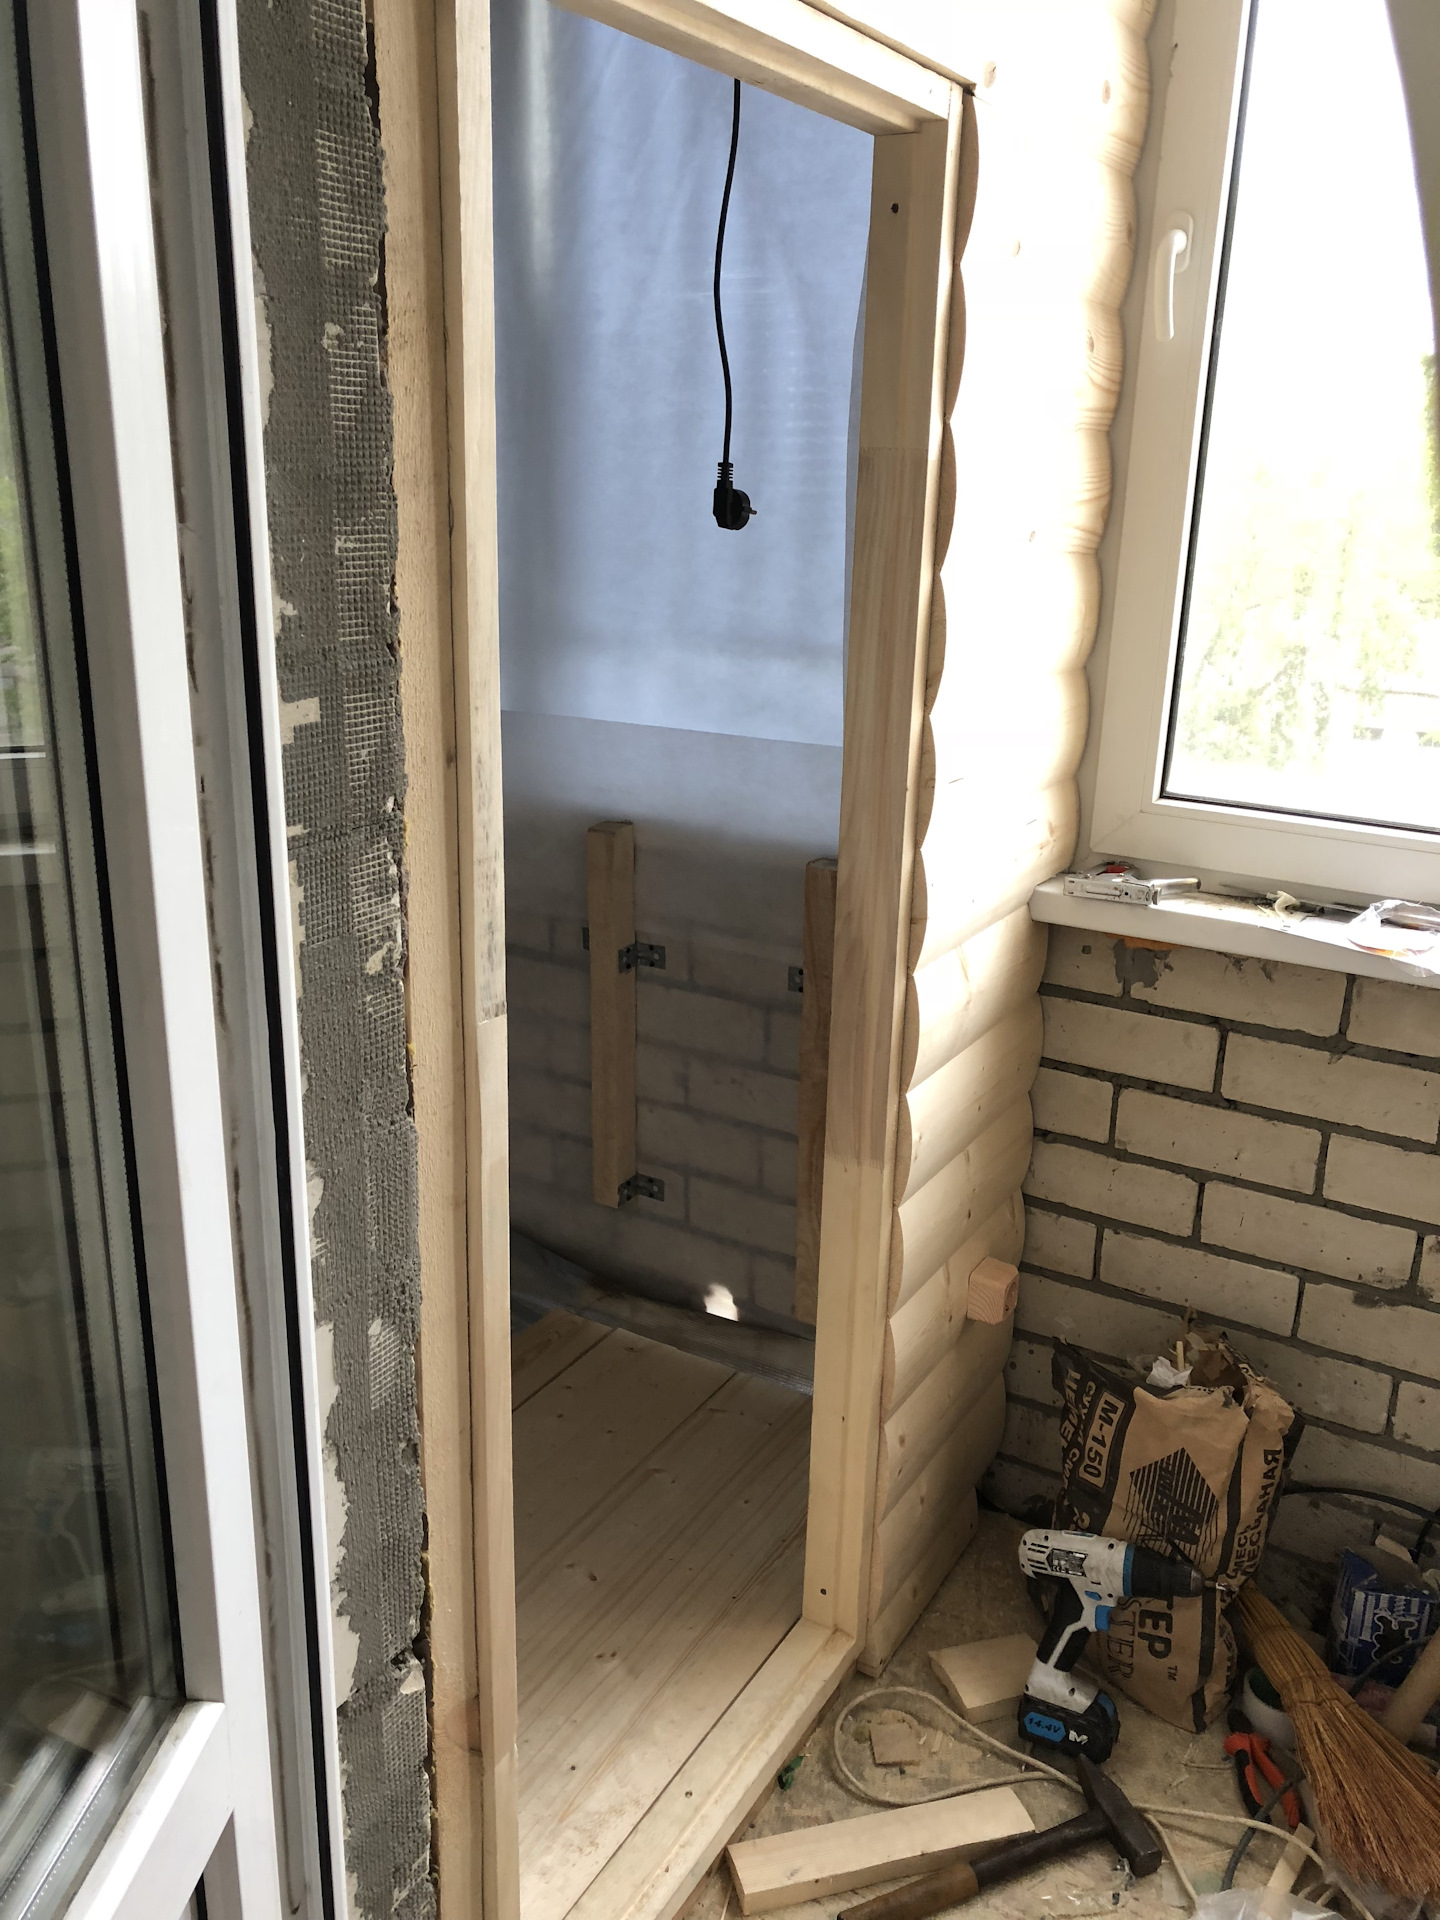
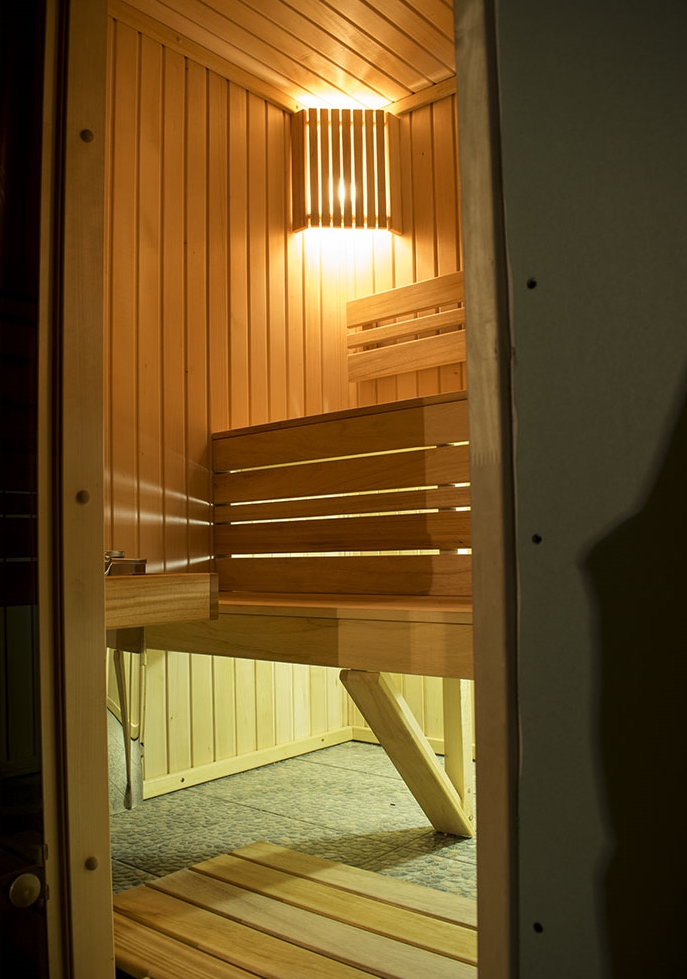
The vapor barrier with the outer foil is fixed on construction tape. The lining is attached to the frame from the inside and outside. The door is mounted at the very last moment. It is allowed to use only wooden doors that open strictly outward. A latch is placed on the outside of the door.
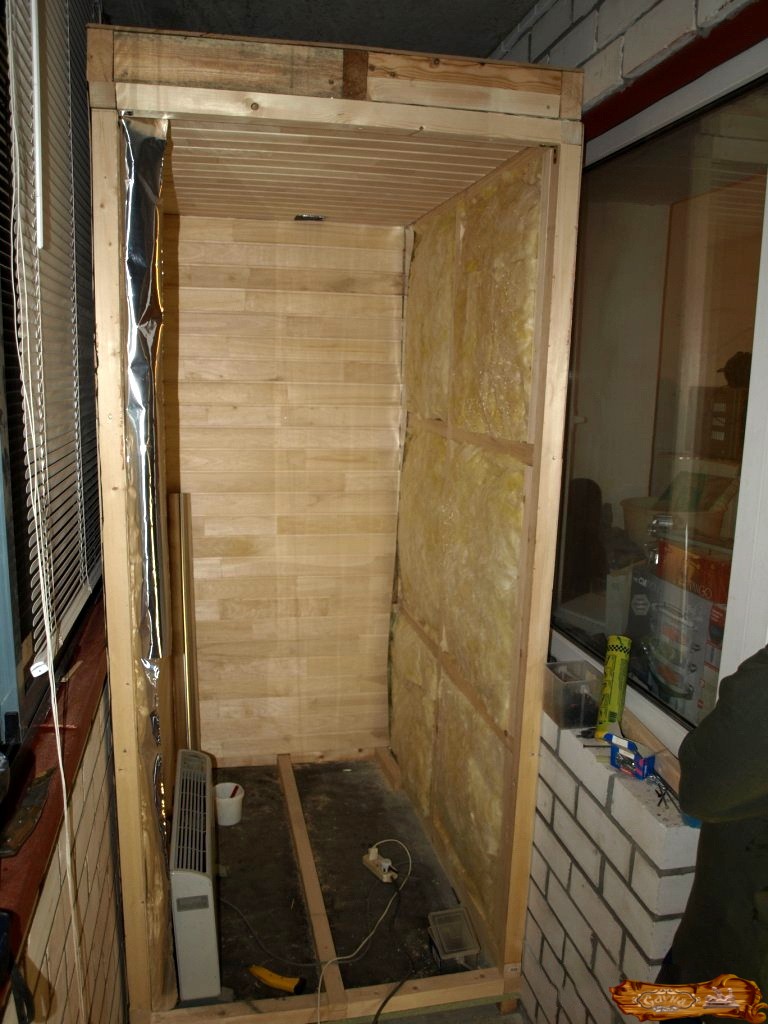
Equipment
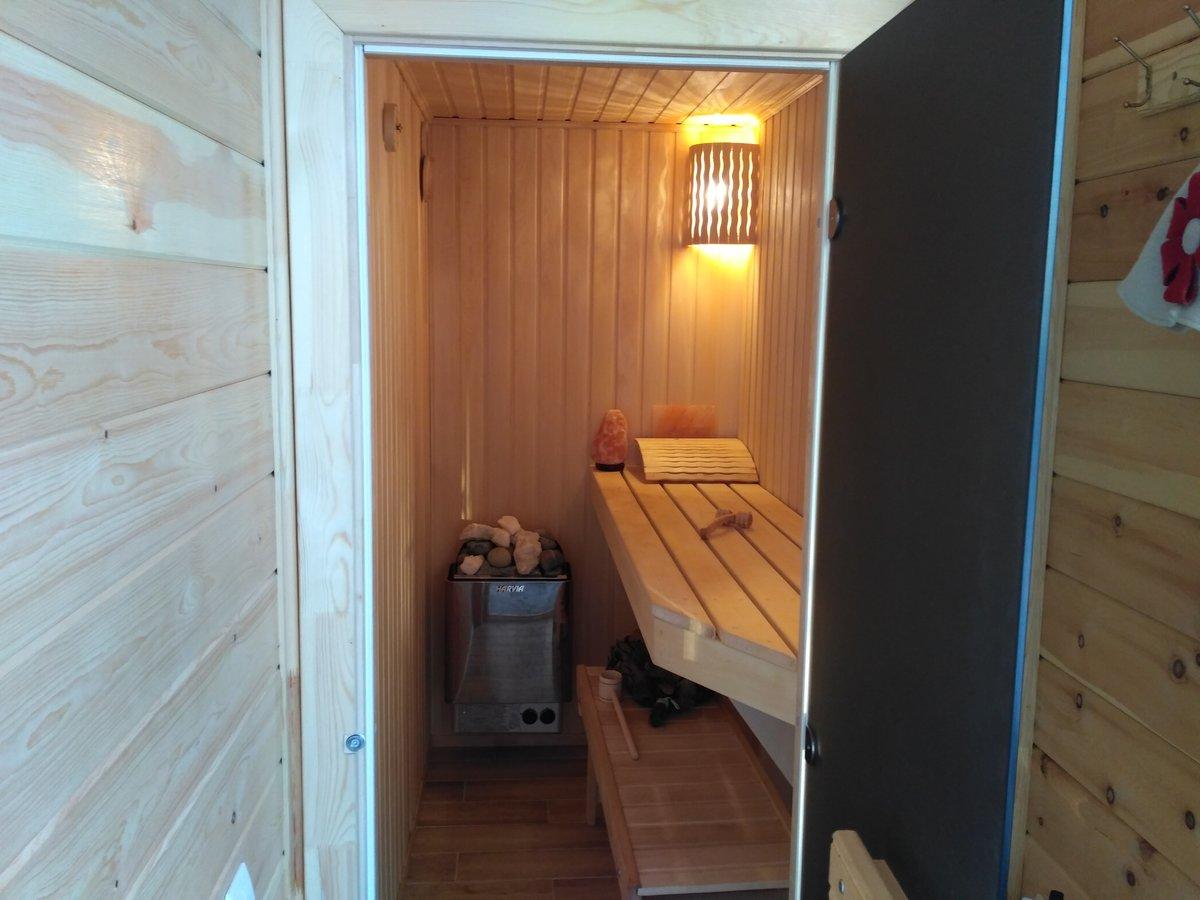
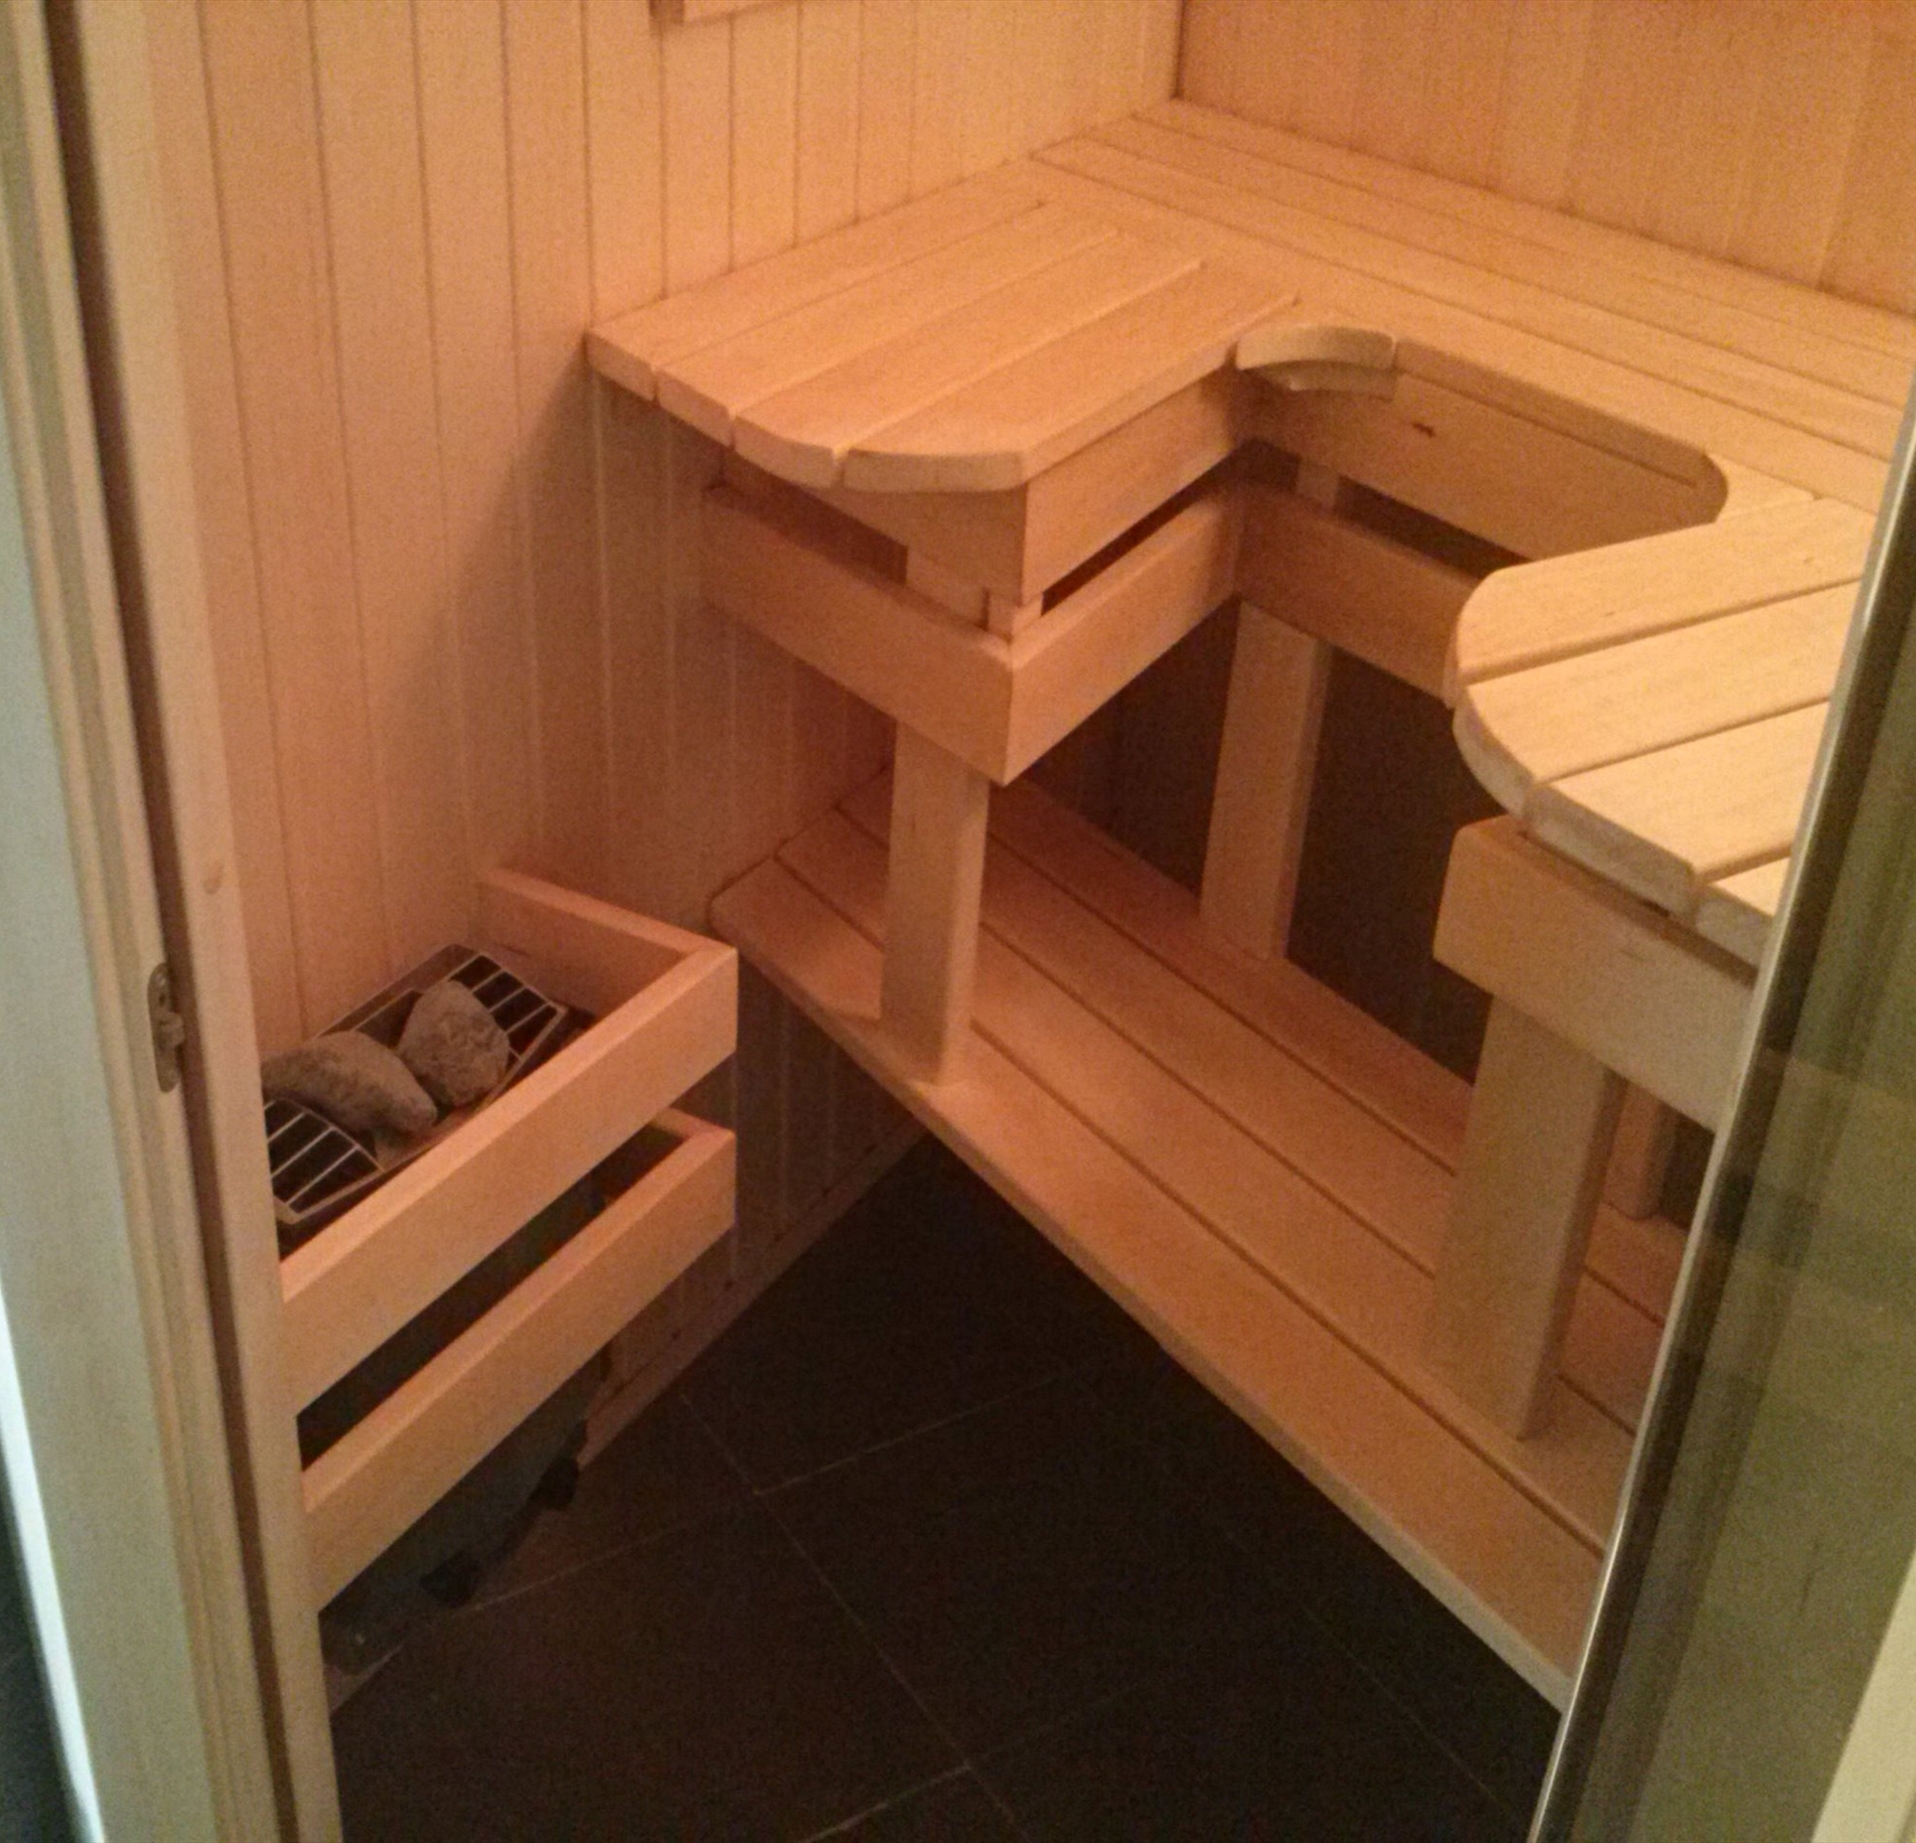
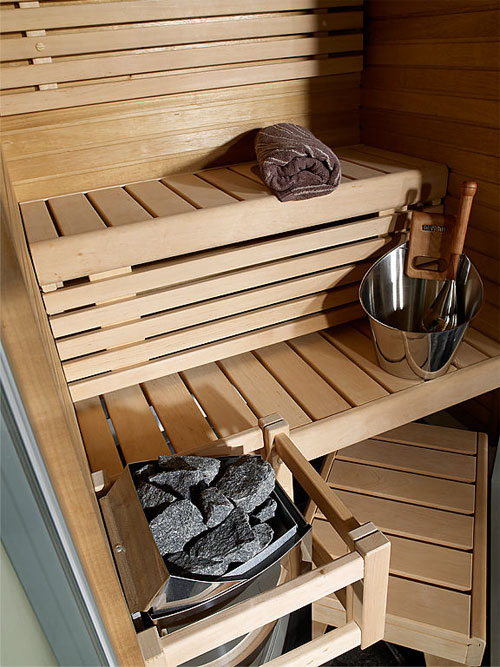
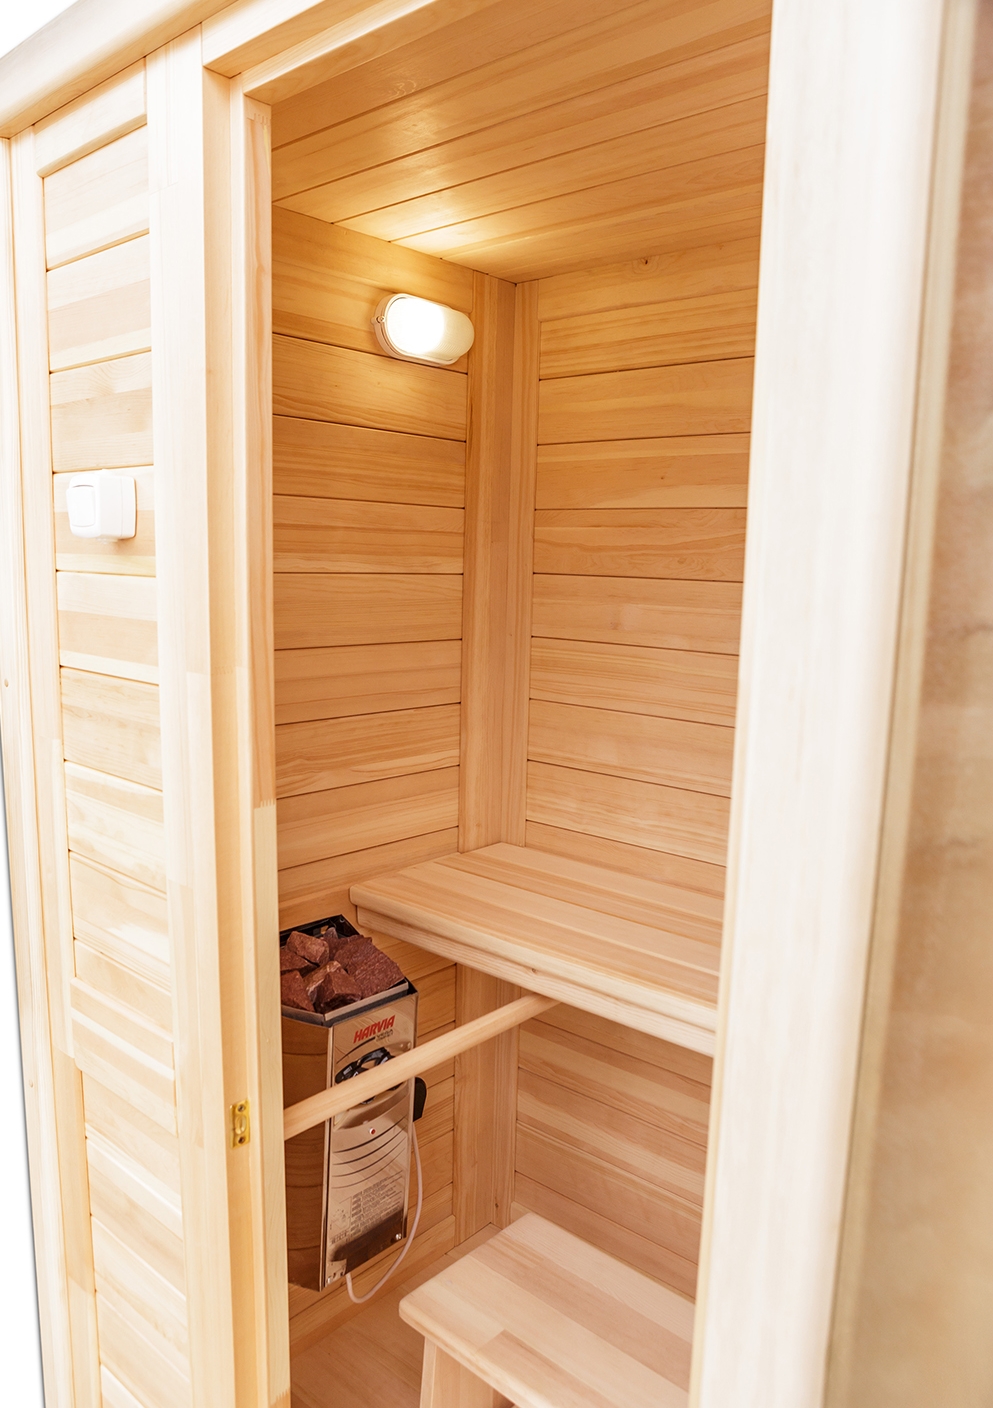
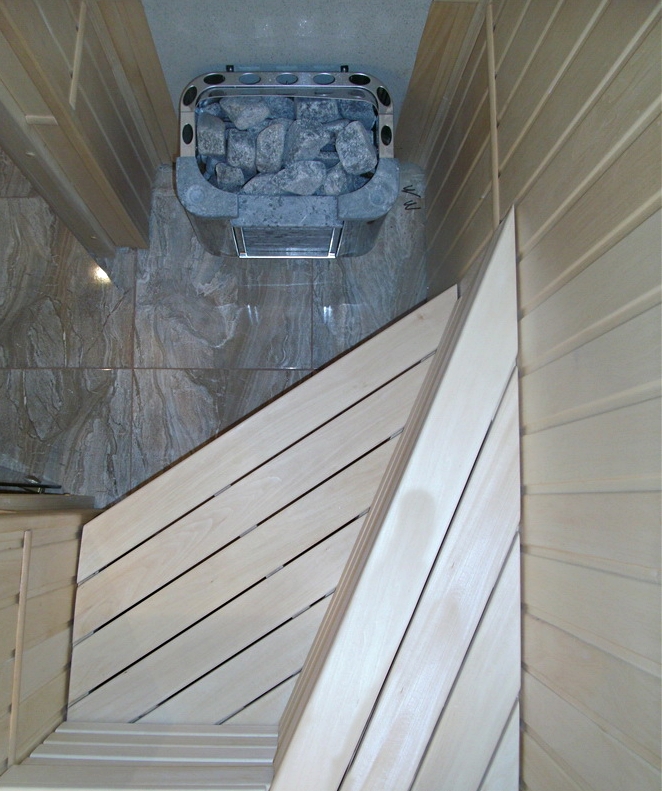
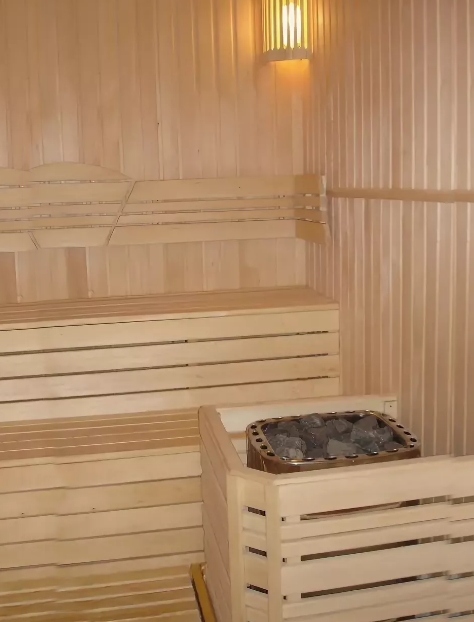
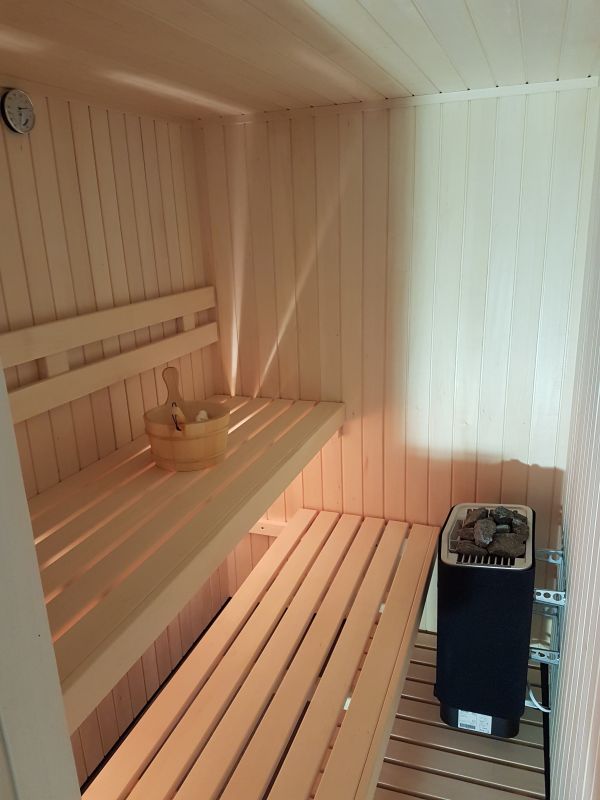
Since the area of the balcony sauna is small, you can limit yourself to a stove with a capacity of no more than 4500 watts. In some cases, even 3000 W is enough. However, it already depends on the calculations. The oven grate must be covered with stones. But their weight is limited to 12-15 kg, so that there is no too powerful load.
The stove is placed near the entrance, as tightly as possible to the partition. The power supply goes through a wire taken out of the sauna. The socket must be connected via a separate branch. Of course, the throughput of the wires is calculated in advance.
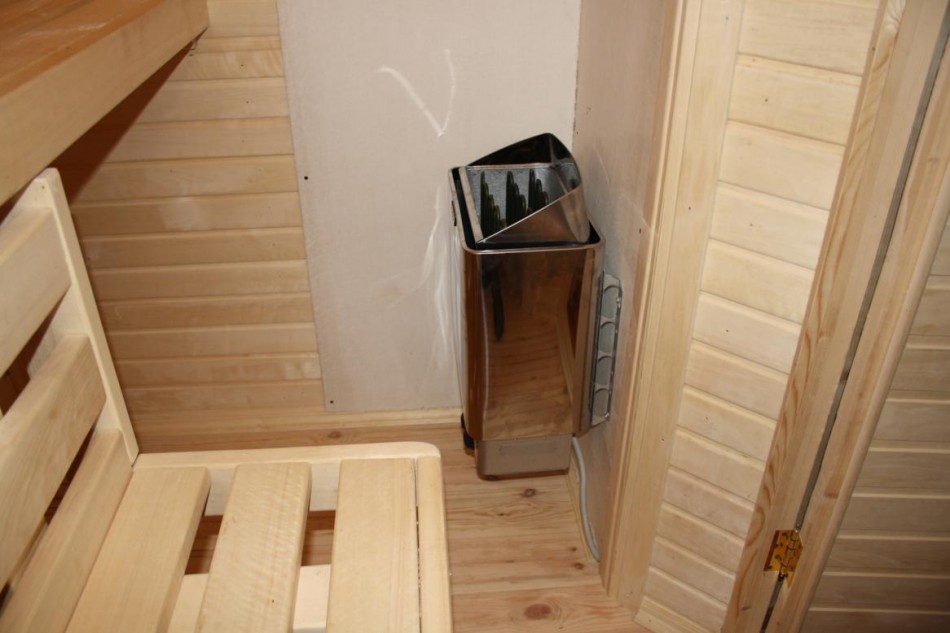
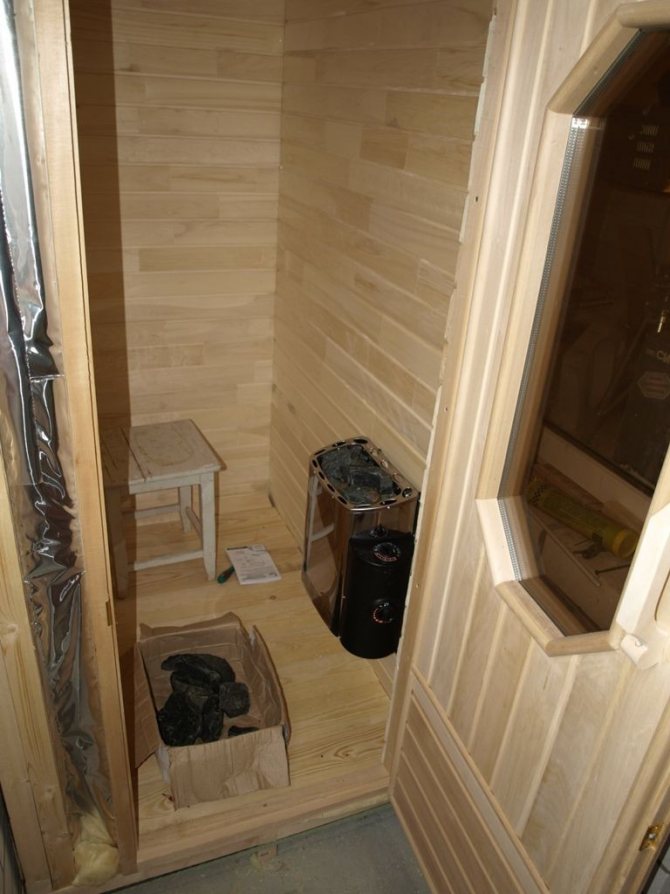
The walls, floor, and ideally the ceiling near the heater are covered with fire-resistant materials.
Sheets of steel are traditionally placed on the floor. They can also be used to decorate walls. Some people put special ceramic tiles on the floor. Wooden railings are placed around the stove. Thanks to them, the risk of injury is reduced; the railing is designed to withstand the load when an adult falls. You can do everything right only on the basis of calculations and a well-designed project.
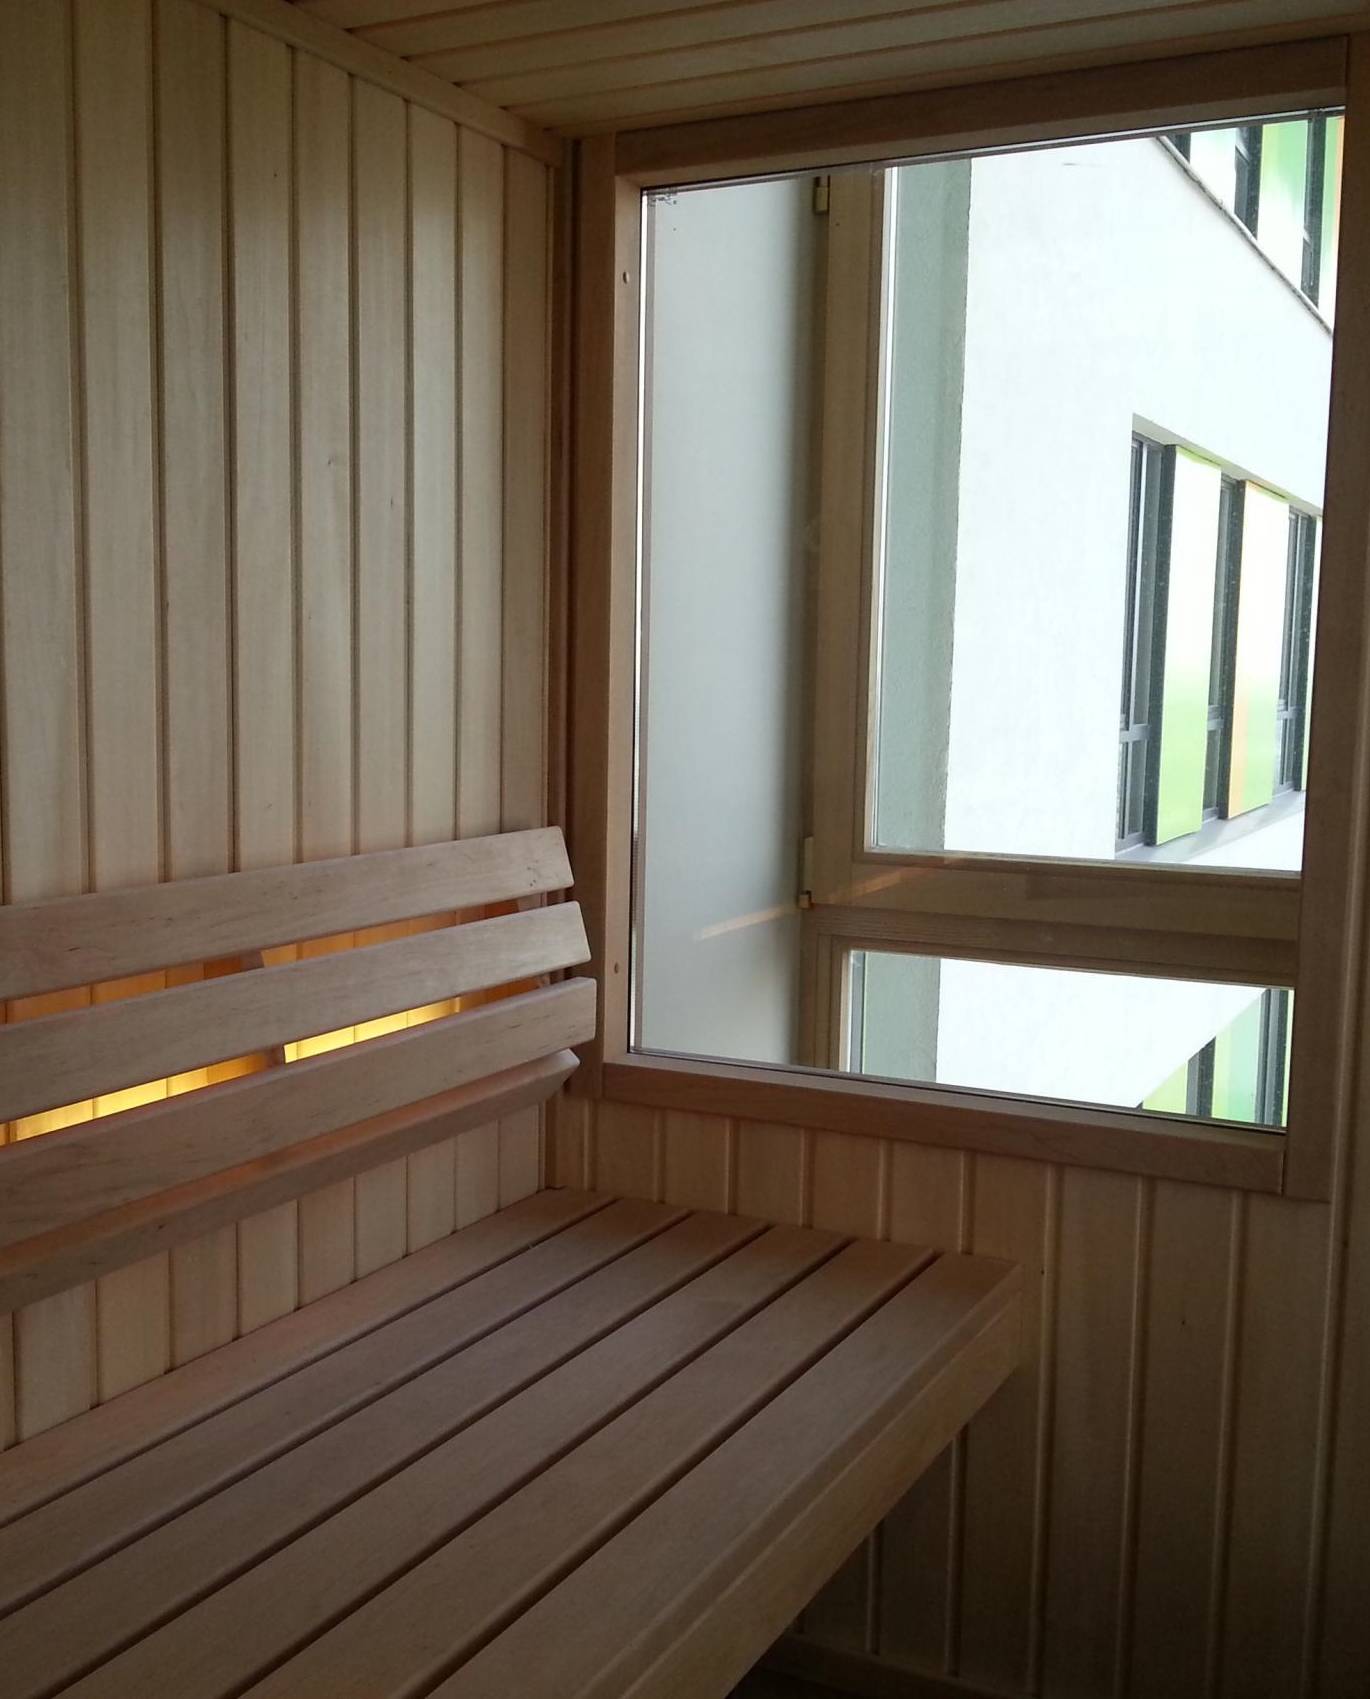
When everything is thought out, you need to make sure that the sauna does not interfere with the normal use of the balcony or loggia. That is why it is placed near a distant wall. Professionals always equip a square bar stand to provide an air gap. We also need to see that the sauna does not block the flow of light. This moment is especially important when windows from adjacent rooms are displayed on the balcony.
In the following video, you can visually familiarize yourself with the features of the process of arranging a sauna on the balcony.


