How to make a table on the balcony and loggia with your own hands?
A do-it-yourself folding table is a universal solution for a balcony or loggia, where the usable space (square and cubic capacity) is sharply limited. There is also room for creativity - you can get a model that is not sold in any store.

Tools and materials
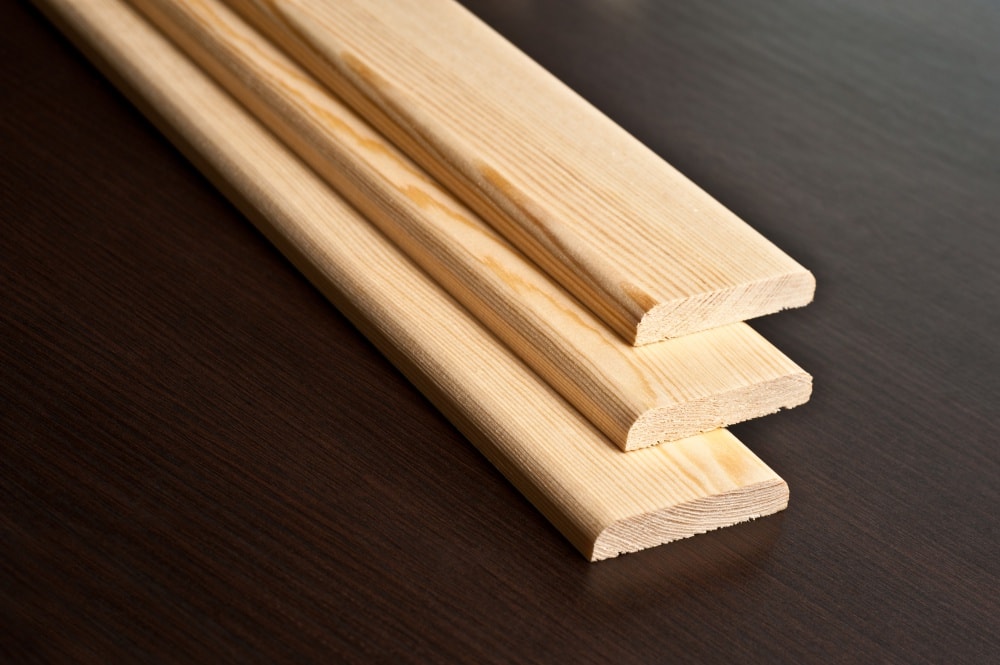
In addition to a board, slats and / or timber, long loops, washers and self-tapping screws, to make a working model of a wooden table you will also need:
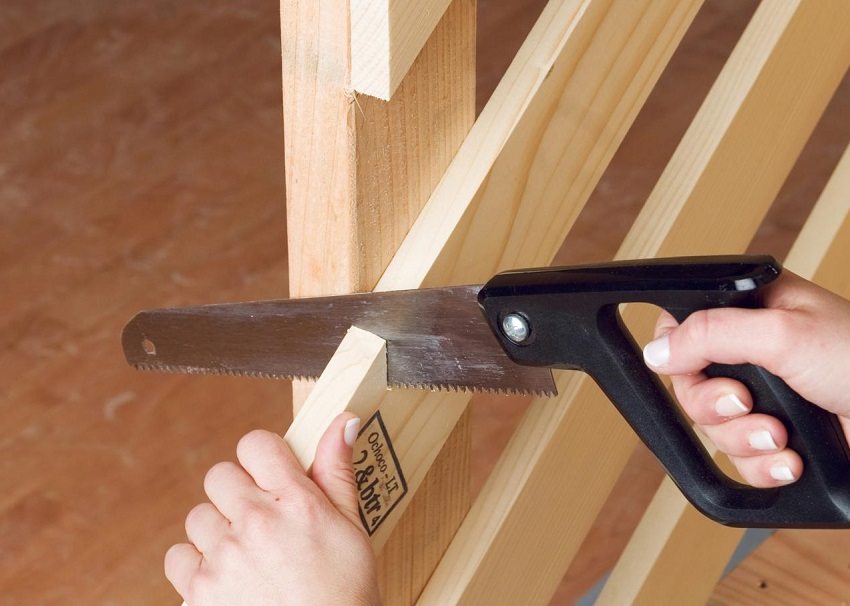
- grinder and cutting discs for wood and metal;
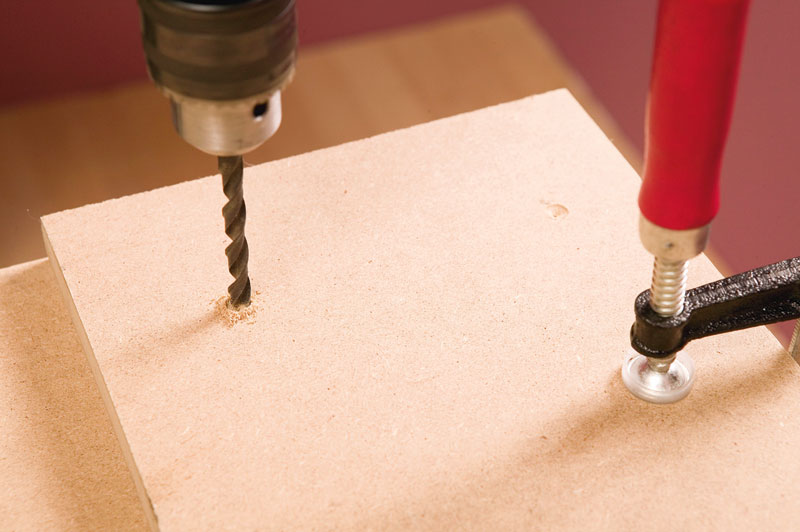
- electric or hand drill with a set of drills for metal;
- screwdriver and cross bits for self-tapping screws;
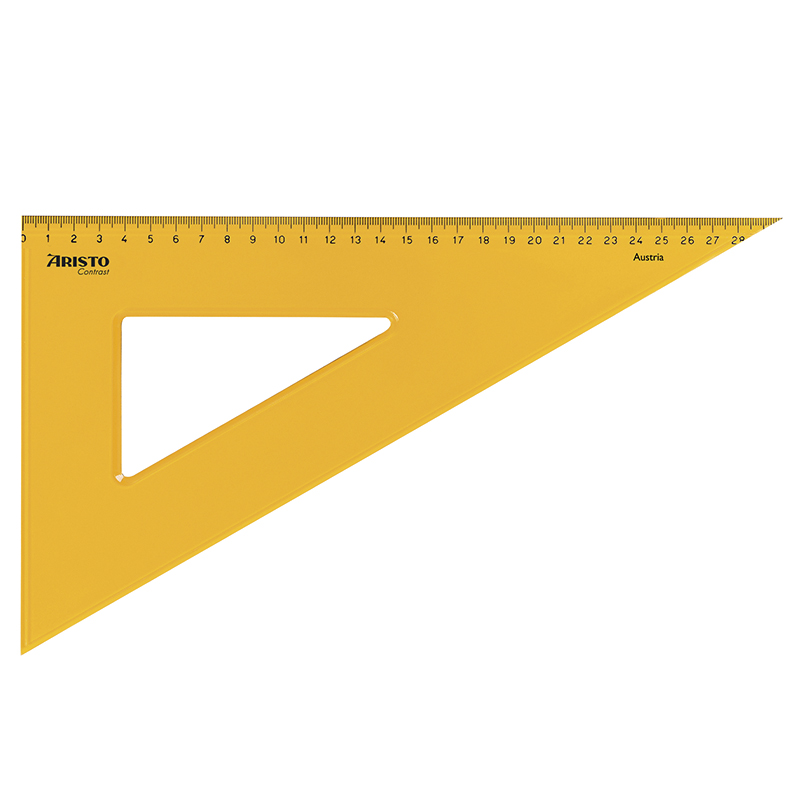
- square ruler (two measuring strips forming a right angle);
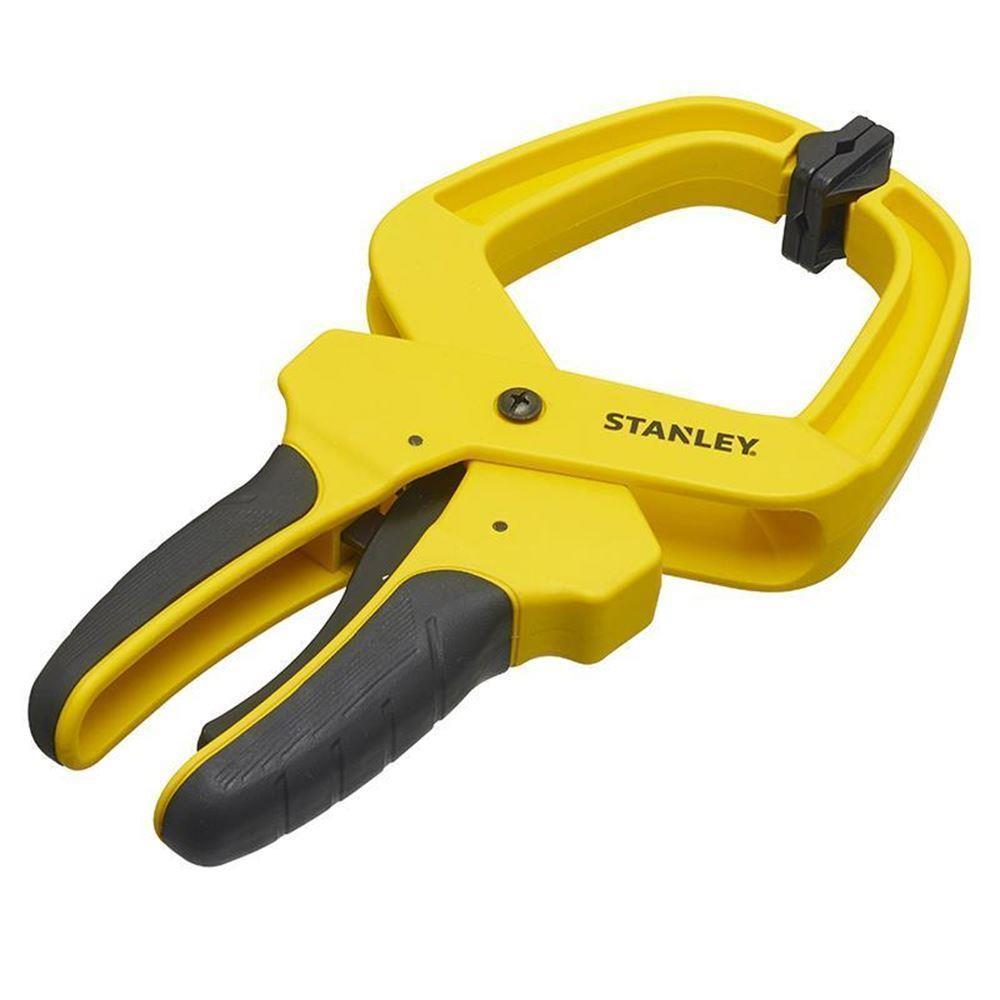
- clamps;
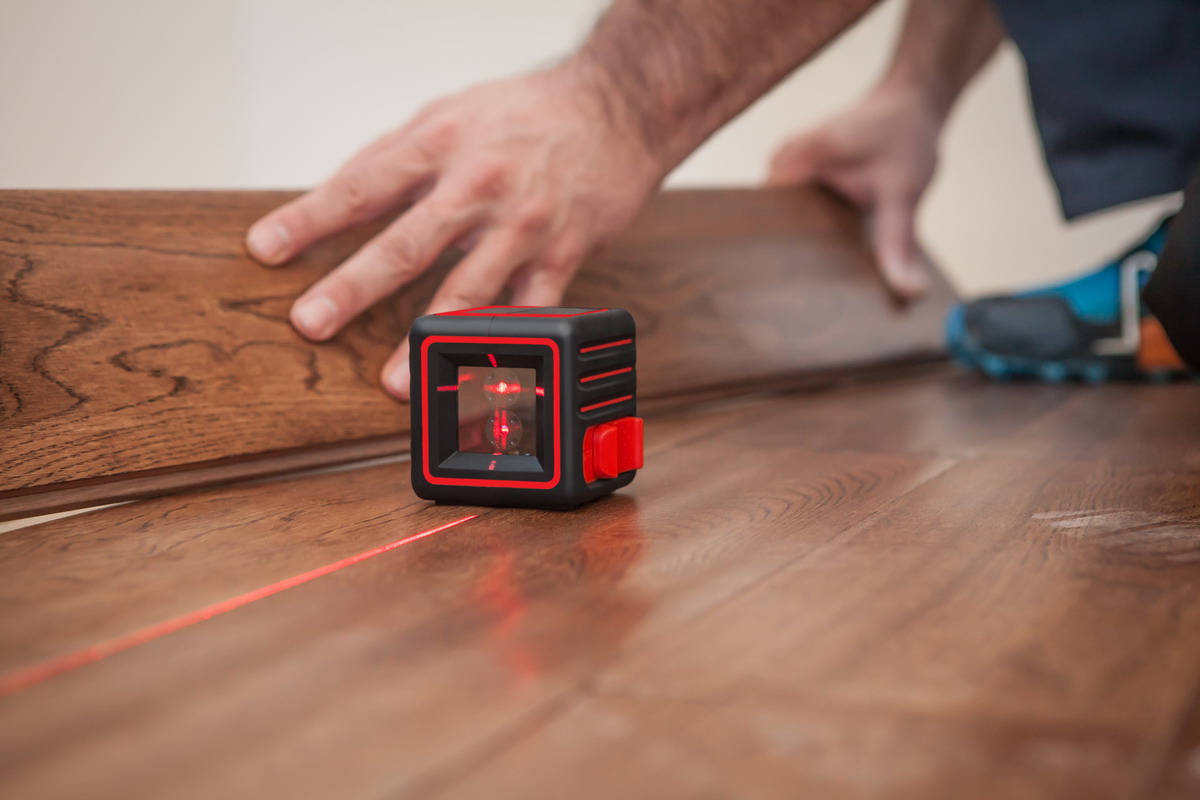
- bubble liquid or laser level gauge;
- construction marker.
Having prepared the basic tools and materials, start making the table.
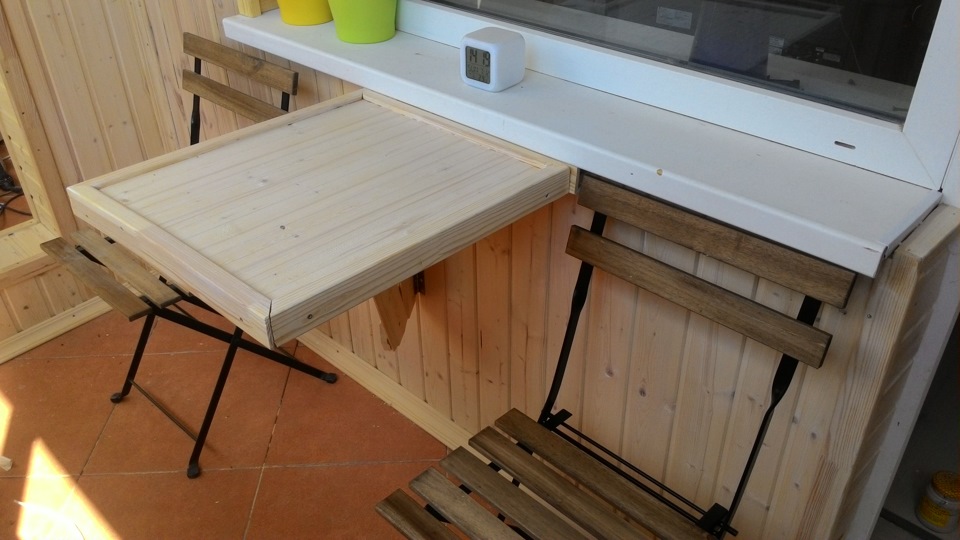
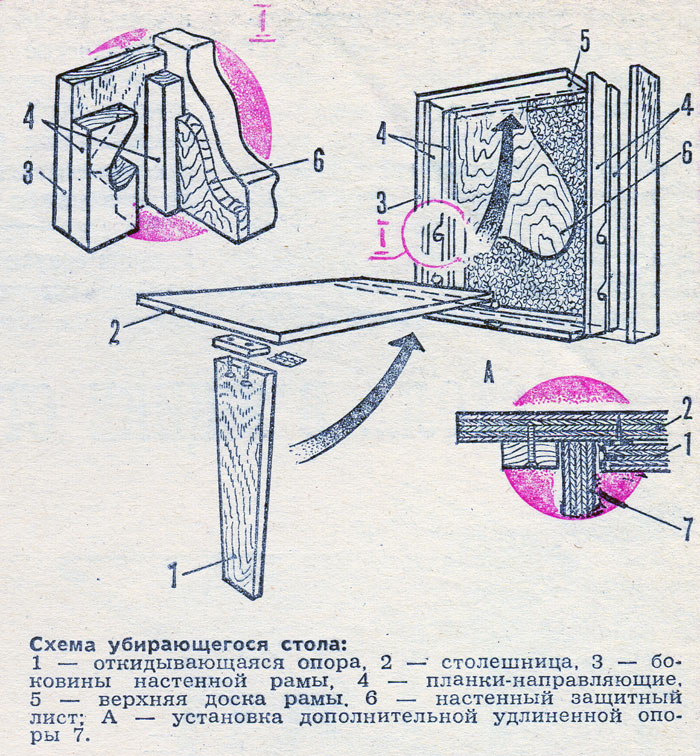
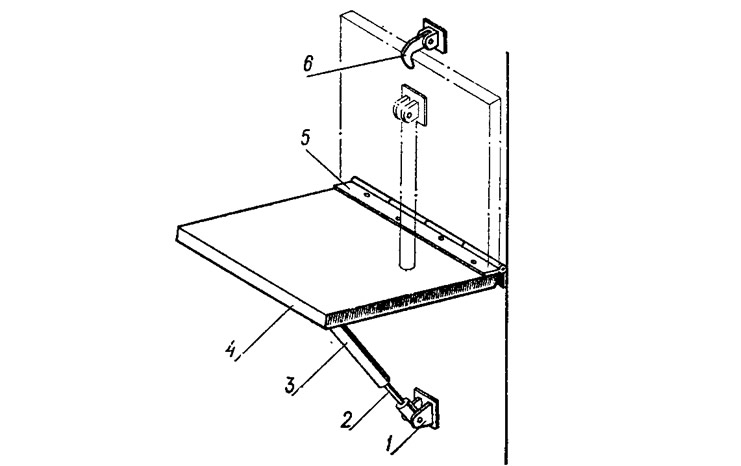
Making a model with a hinged support
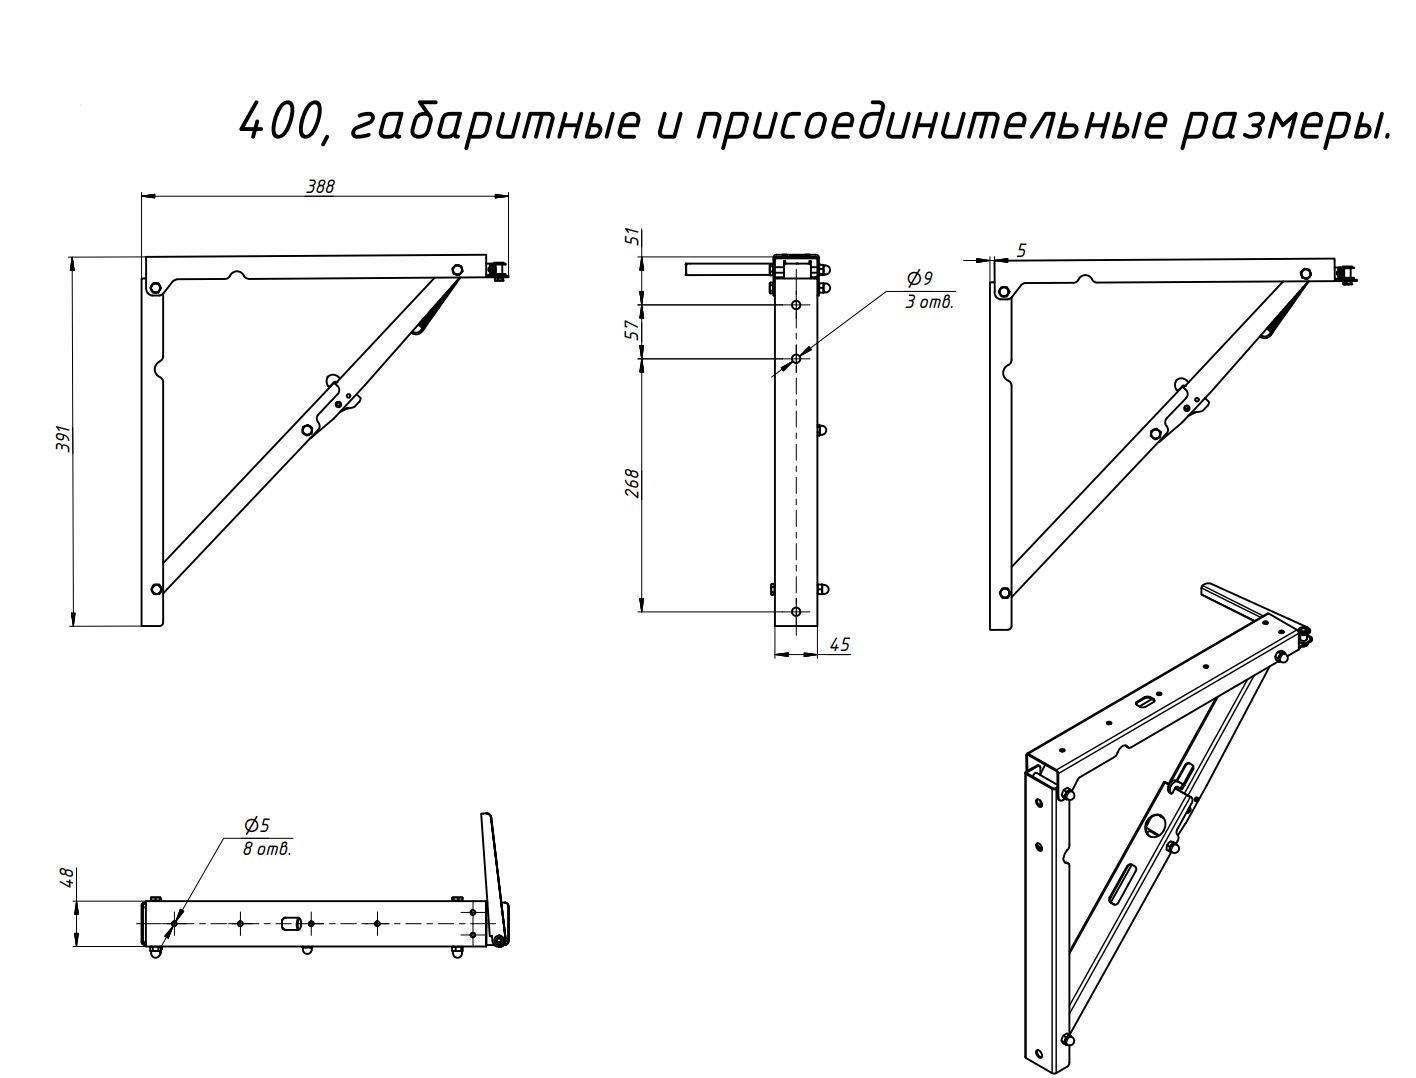
According to the drawing, the tabletop of a small balcony table is made of chipboard or plywood. It has dimensions of 30 * 50 cm, the thickness of the material is 1.5-2 cm. You can use a board with the same thickness.
The panel on the wall (or parapet) has a size of 30 * 20 cm, the plank is 30 * 5 cm. The thickness of the material is still the same - up to 2 cm. Piano hinges 30 * 1.5 * 1.5 cm are steel. Triangular stand or plywood - a piece of 30 * 20 cm. Butterfly loops with strips of 6 and 4 cm - 2 pcs.
The sequence of actions is as follows.
- Mark the mid-length of the largest piece of chipboard or plywood. Draw a line at right angles to the midpoint side of the wooden rectangle.
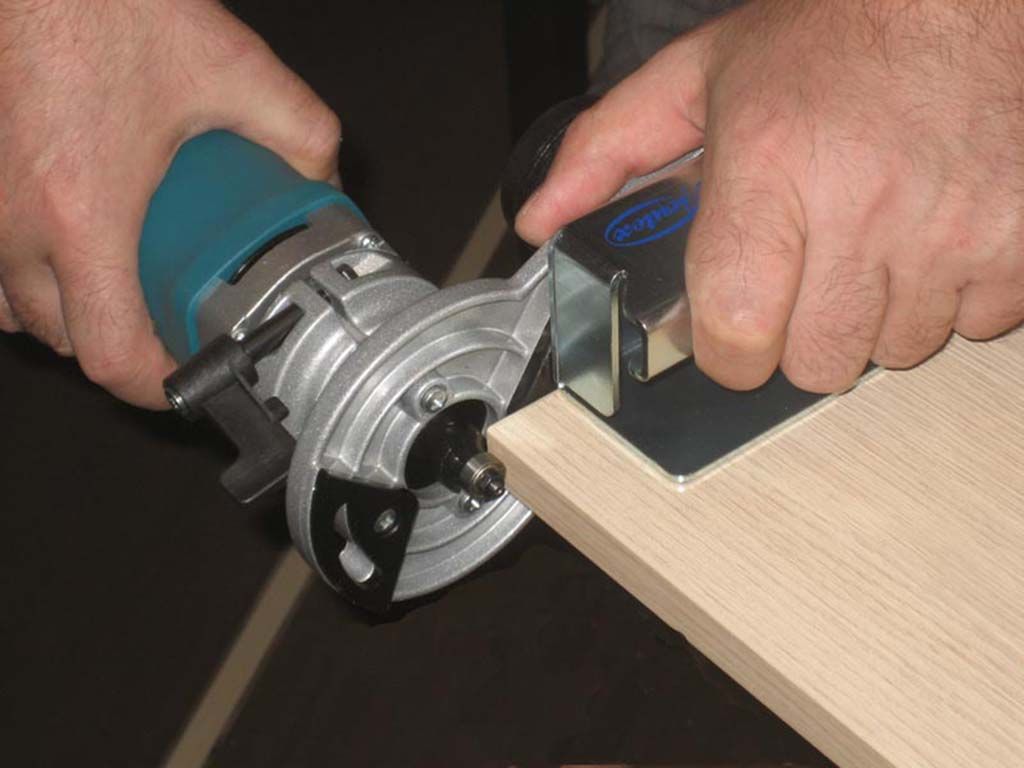
- Work the tabletop around the edges with a grinder, removing sharp corners.
- Saw another rectangular piece diagonally. Two equal right-angled triangles are formed. Round sharp corners.
- Prepare a piece of plywood 20 * 30 cm and grind it around the edges - in the same way.
- Saw off the desired length from the piano hinge.
- Mark the middle on the wall panel and draw a longitudinal line there.
- Fix the piano loop on the long end of the triangular stand using self-tapping screws no more than 1.5 cm long. Before screwing in the self-tapping screws, the holes for them are drilled 1-1.5 mm with a smaller drill.
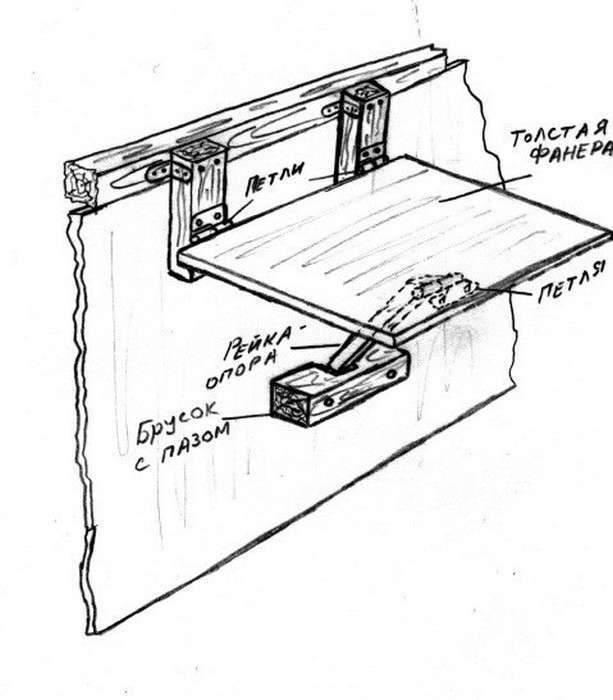
- Fasten the same hinge with the triangular stand along the straight line previously marked on the wall panel.
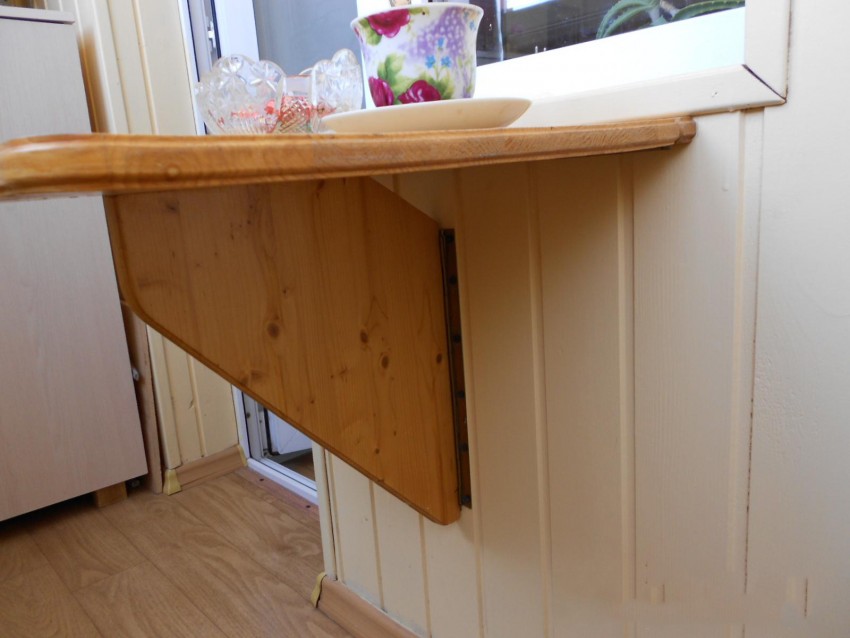
- Attach the table top and mounting bar using the butterfly hinges. Before screwing on the hinges, make sure that the parts fit exactly and evenly, without forming distortions. Butterfly loops should be no more than 3.5 cm from the edge.
- Check if the tabletop is sticking when it is lifted. Mark on it the place where the support is located. Drill holes in the wall panel to fix it.
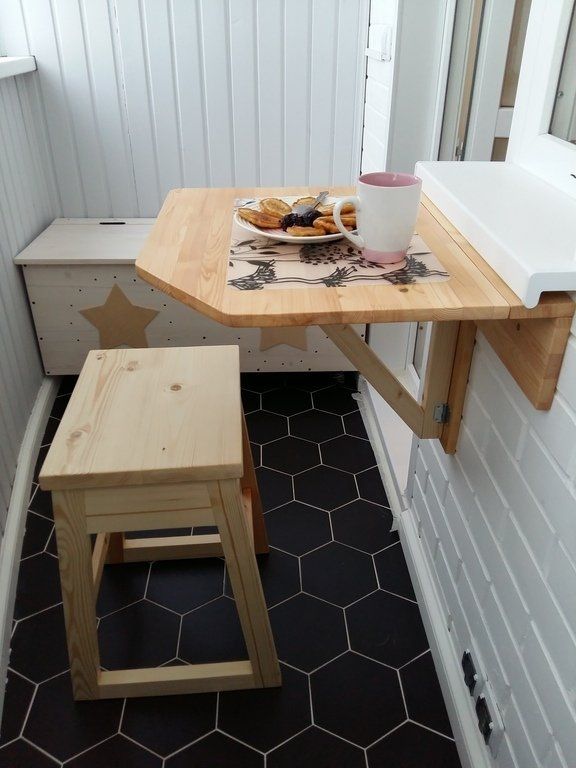
- Place the panel against the wall, align and screw. Place the tabletop over it, screw the fastening strip connected to the tabletop by means of hinges through the front surface to the end of the panel.

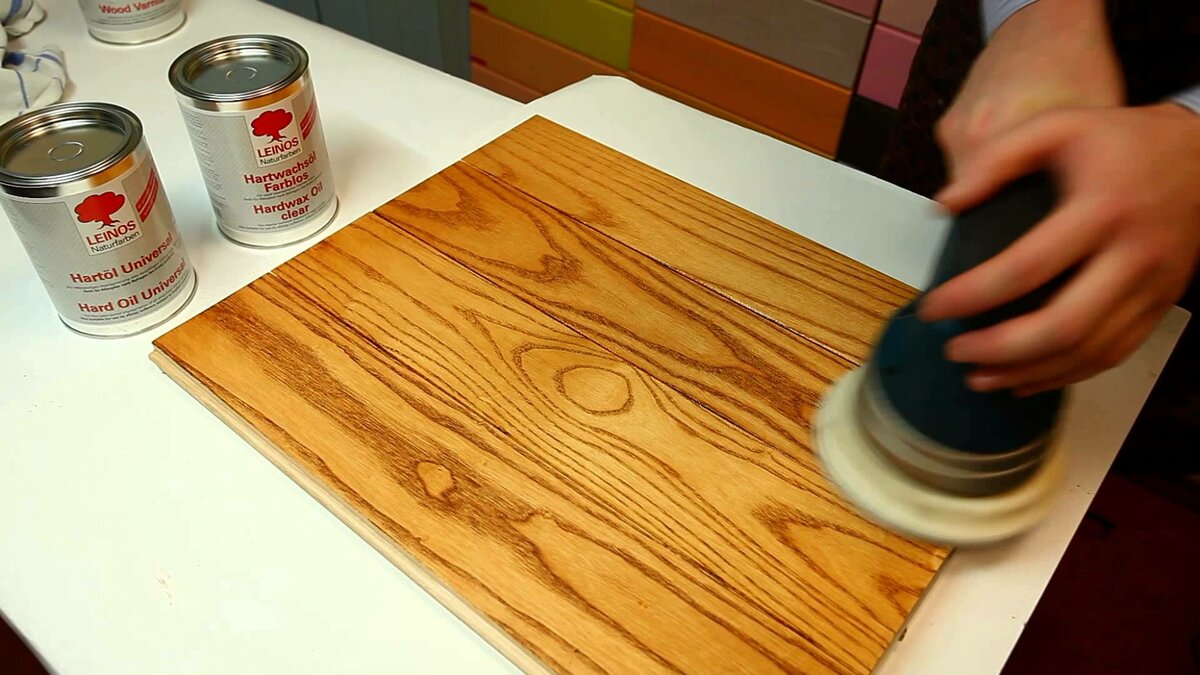
After completing the installation work, check the ease of movement of the assembled mechanism and cover the table with varnish or paint.
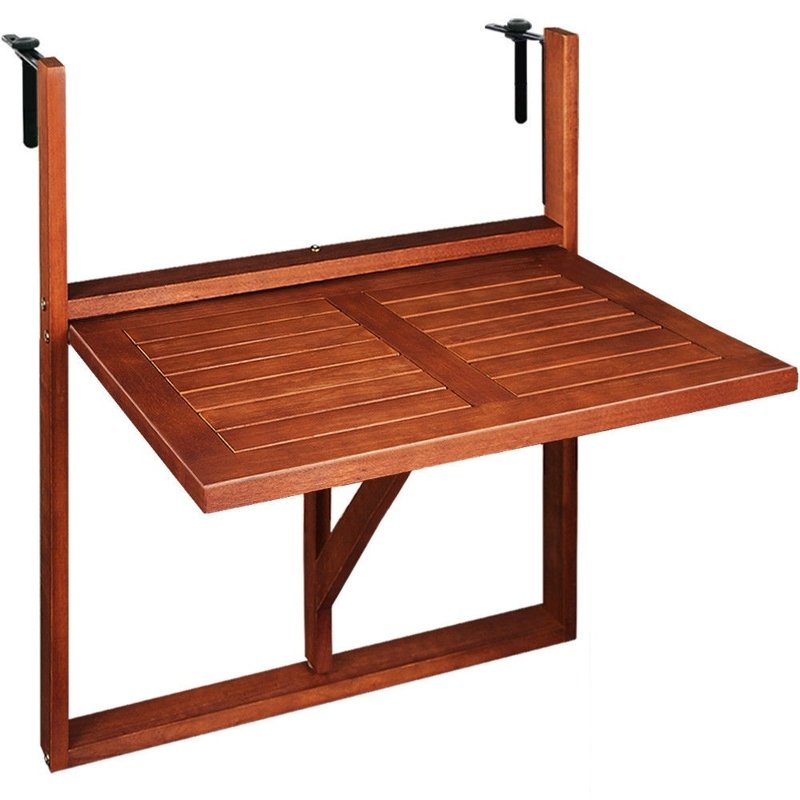
How to make a hanging table?
Unlike a folding table, the hanging table is motionless. It is installed on a balcony, on which the space is more voluminous, there is no hard saving of free space. The master will need the following materials:
- 7 wooden planks with a section of 4.2 * 2.8 cm from a hardwood or coniferous array;
- 2 hooks for attaching the table to the wall;
- corner brackets;
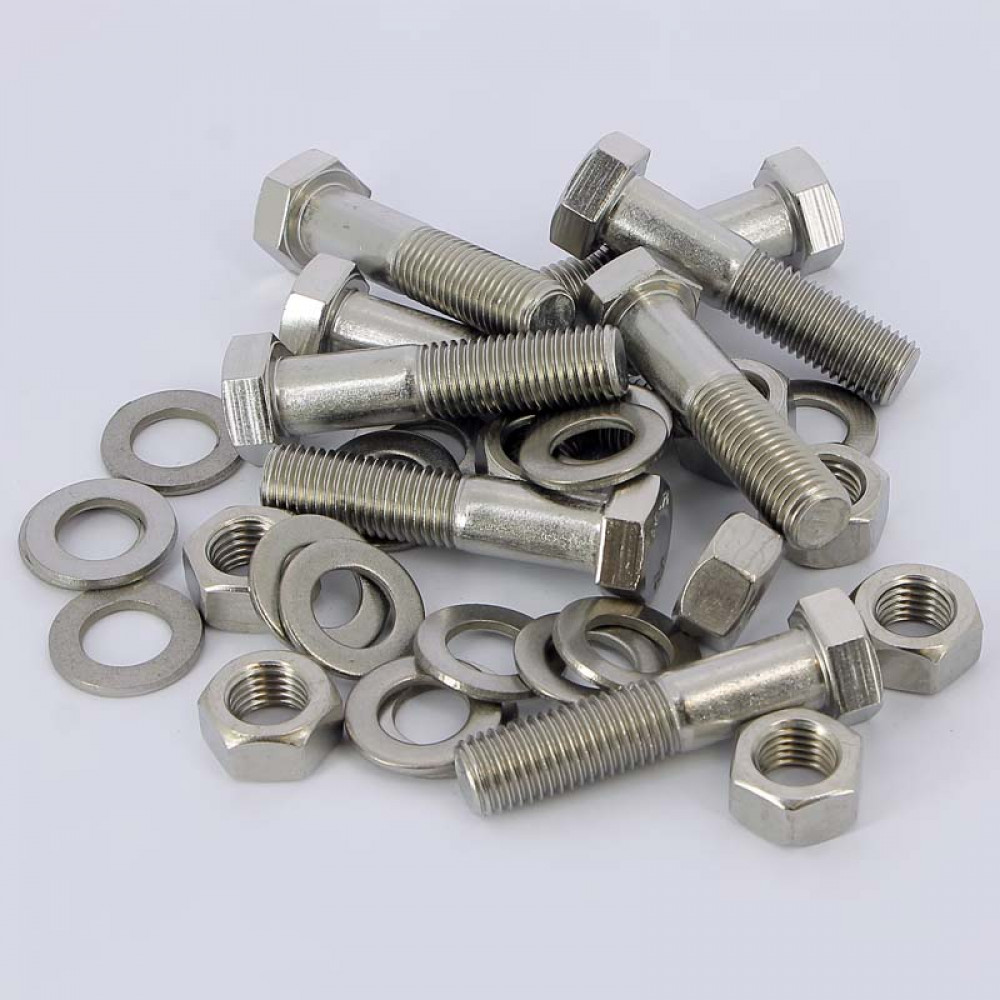
- bolts, nuts and washers, self-tapping screws;
- double sided tape;
- rubber sheet 2 mm thick.

Step-by-step instructions for further actions are as follows.
- Place the planks on a flat surface. The total depth of the assembled component is 294 mm. The calculated depth of the table is 30 cm, taking into account the insignificant gap between the slats.
- Cut off two more planks. These sides will secure the 7 main planks that make up the table deck and also form a stiffener for the brackets. Round off the sharp edges of all the details.
- Install two planks (4.2 * 2.8 cm) 25.5 centimeters from the edges of the table. Drill several holes to connect the planks.
- Drill 2.5 mm holes in the connecting strip at one of the table edges. Fasten the connecting strips to 7 carriers.
- Attach the brackets to the wall and table - both brackets form a single unit. Connect these parts with a bolt and nut. The part to be fixed to the table is longer than the length of the bracket - on the 25 cm side. Place the brackets on the connecting strips by drilling 2.5 mm holes for them.
- Using self-tapping screws and press washers (the outer diameter of the washer is at least 2 cm), fix the brackets to the strips.
Install the table on the wall. If there is a skew, adjust the table top horizontally. Additional spacer pieces may be needed to help the table top take a perfectly level position. The spacers are fixed with double-sided tape. The surface in contact with the wall contains a strip of rubber cut to size.
The same tape is used to protect the inner surface of the brackets.
Homemade coffee round table
To make a small coffee table, do the following.
- Saw, sand and varnish the countertop (up to 1 m in diameter).
- Weld a frame consisting of two rectangles welded into one another from a professional pipe 20 * 40 mm. Bottom and top view - cruciform. The dimensions of the rectangles - for example, 70 * 90 cm (outer diameter).
- Secure the tabletop to this frame using countersunk screws or self-tapping screws. The center of the tabletop should be at the intersection of the structural members (crosshairs).
If necessary, you can install four roller wheels - the table can be rolled from place to place. It is suitable not only for a balcony, but also for any of the rooms of a private house or apartment.
This version of the coffee table does not contain legs - their role is played by a metal frame, no less stable than 3 or 4 separate legs in other versions of similar designs.
How to make a folding table, see the next video.


