We make racks for the balcony and loggia with our own hands
A shelving unit is a multifunctional piece of furniture. It can be used as a storage place for various items, seedlings and flower pots can be placed on shelves. High-quality racks do not have to be installed with the help of specialists, you can make them yourself.

Material selection
The base material affects the quality, appearance and durability of the structure. The racks are made from the following raw materials.
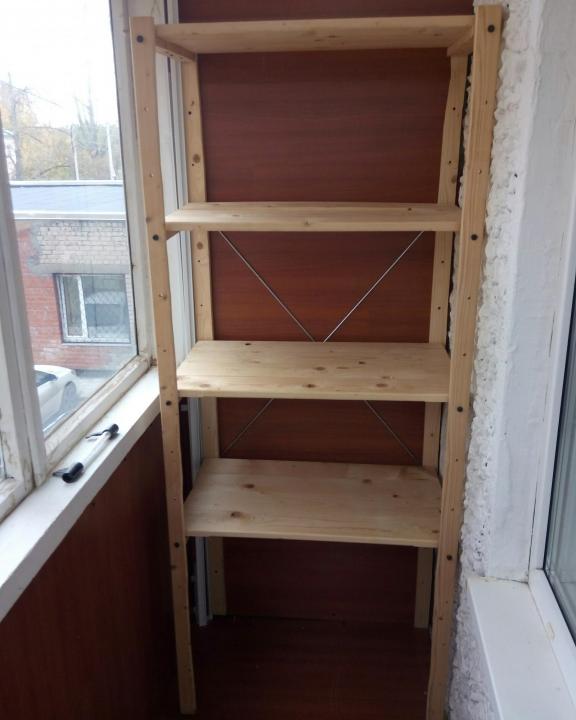
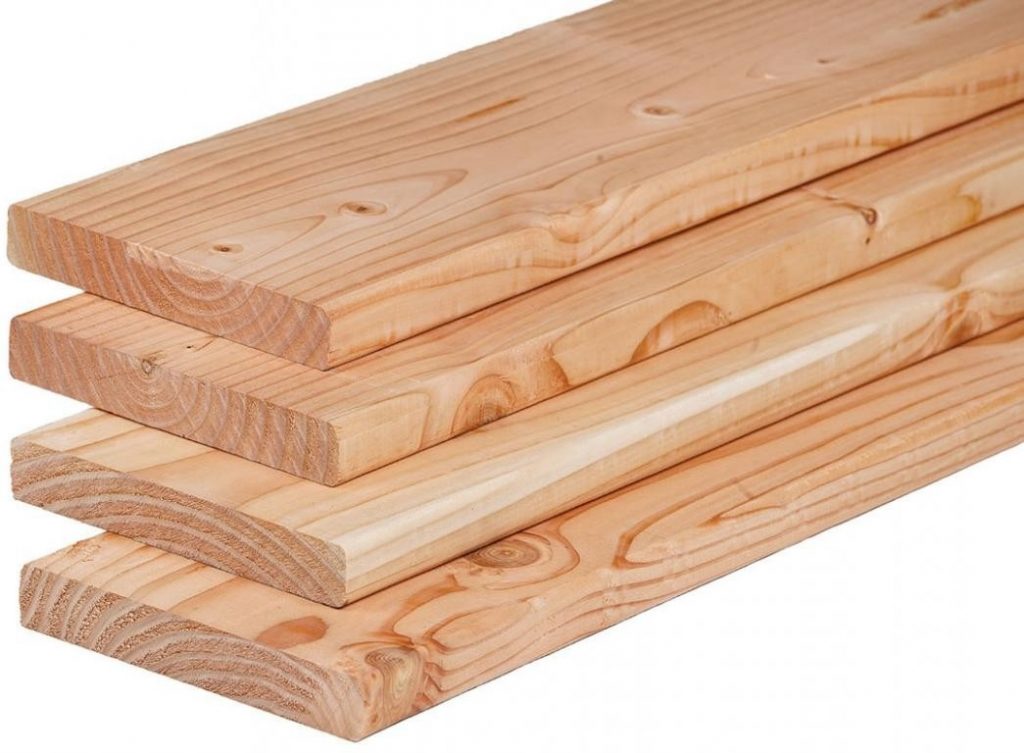
- Made of wood. This environmentally stable material does not emit foreign matter into the atmosphere. Also, due to the external aesthetic properties, wooden shelving will fit into any interior. The processing of raw materials with antibacterial agents will help to increase the wear resistance of a wooden structure. You can also varnish the finished structure.
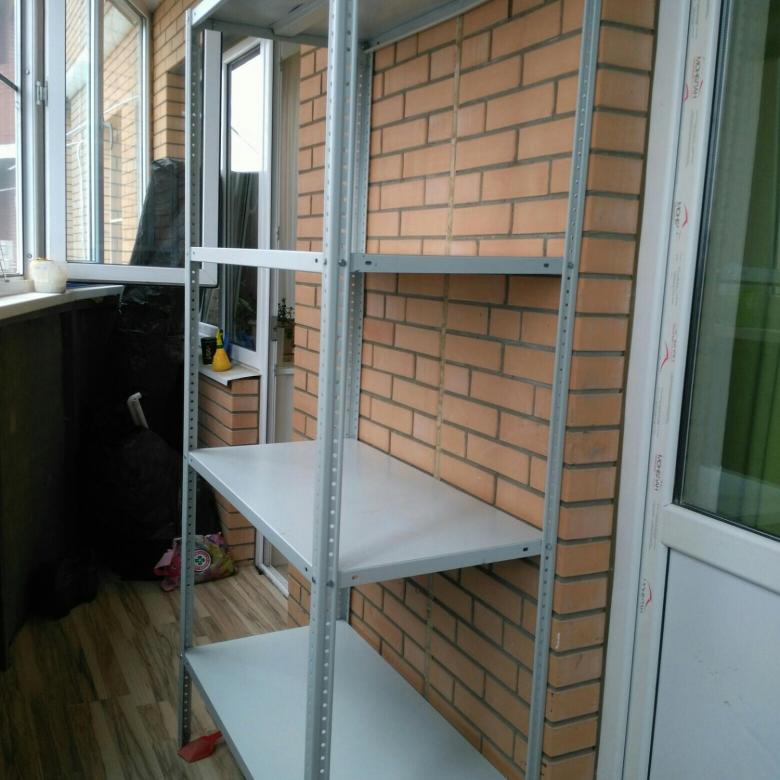
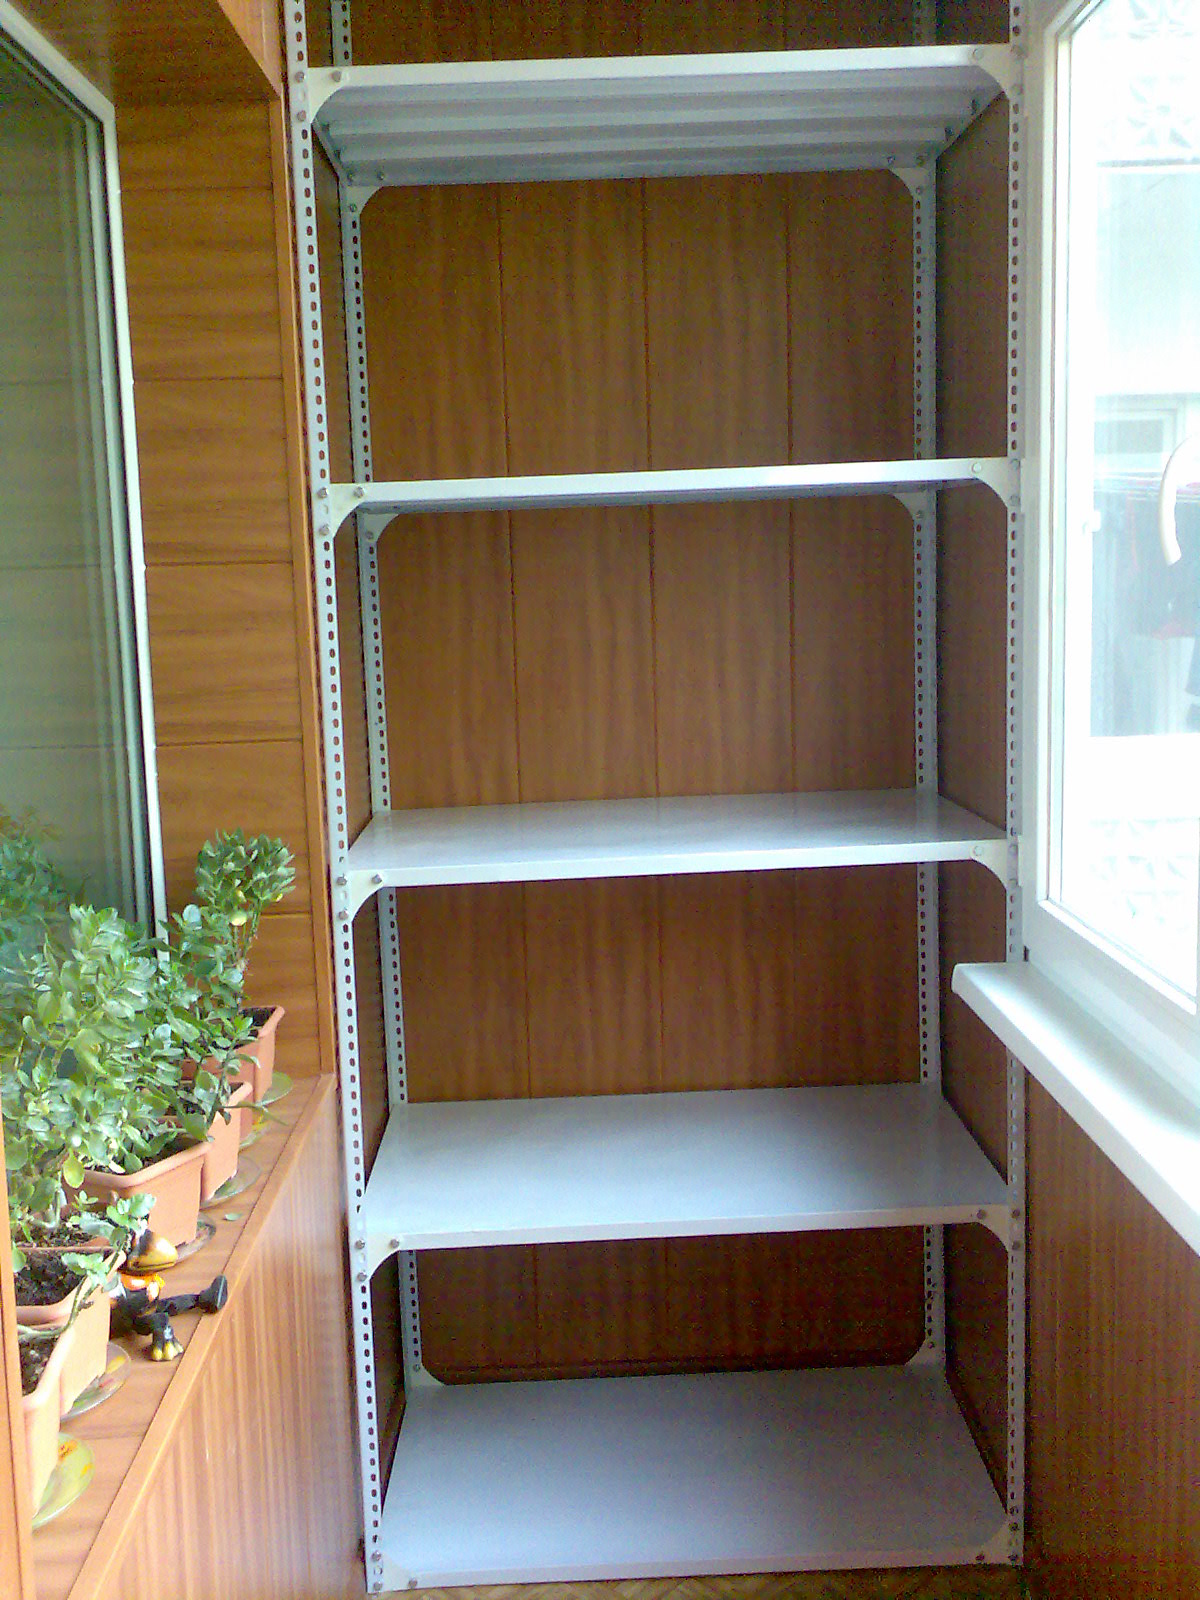
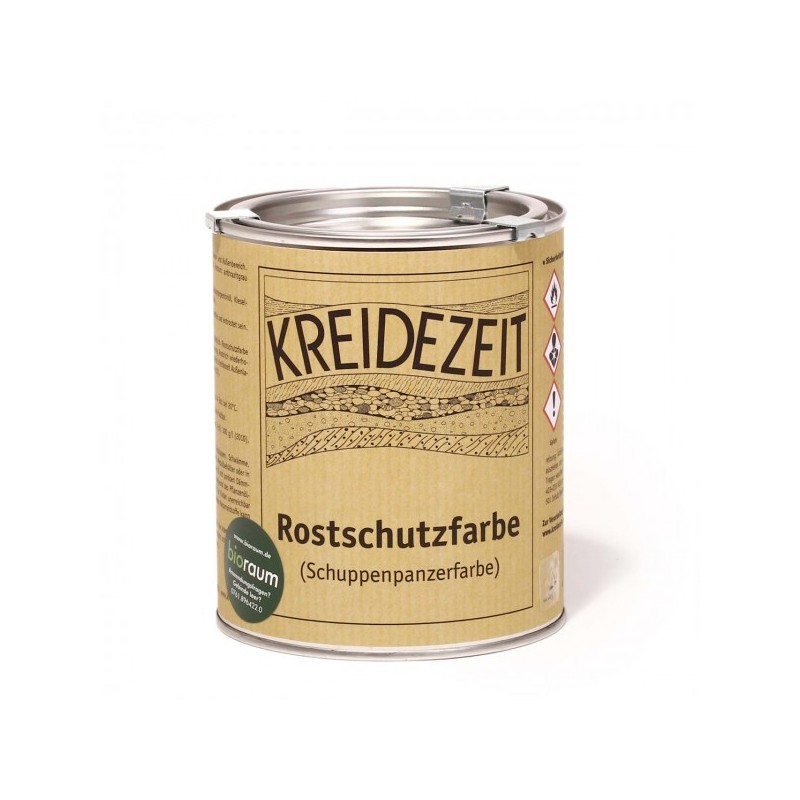
- From a metal profile. Racks made of metal profiles are capable of withstanding a weight of 60 to 120 kg. Also, this design will last a very long time. To prevent the metal from rusting, it is treated with an anti-corrosion coating or galvanized. In addition, the price of the material is significantly lower than other options.
- Pressed wood. This material is used for the manufacture of shelving shelves. Such raw materials are cheap and easy to work with. Chipboard is suitable only for glazed balconies and loggias due to instability to humidity and temperature extremes.
- Made of plastic. This material is highly resistant to environmental influences. However, plastic shelving will not withstand heavy loads.
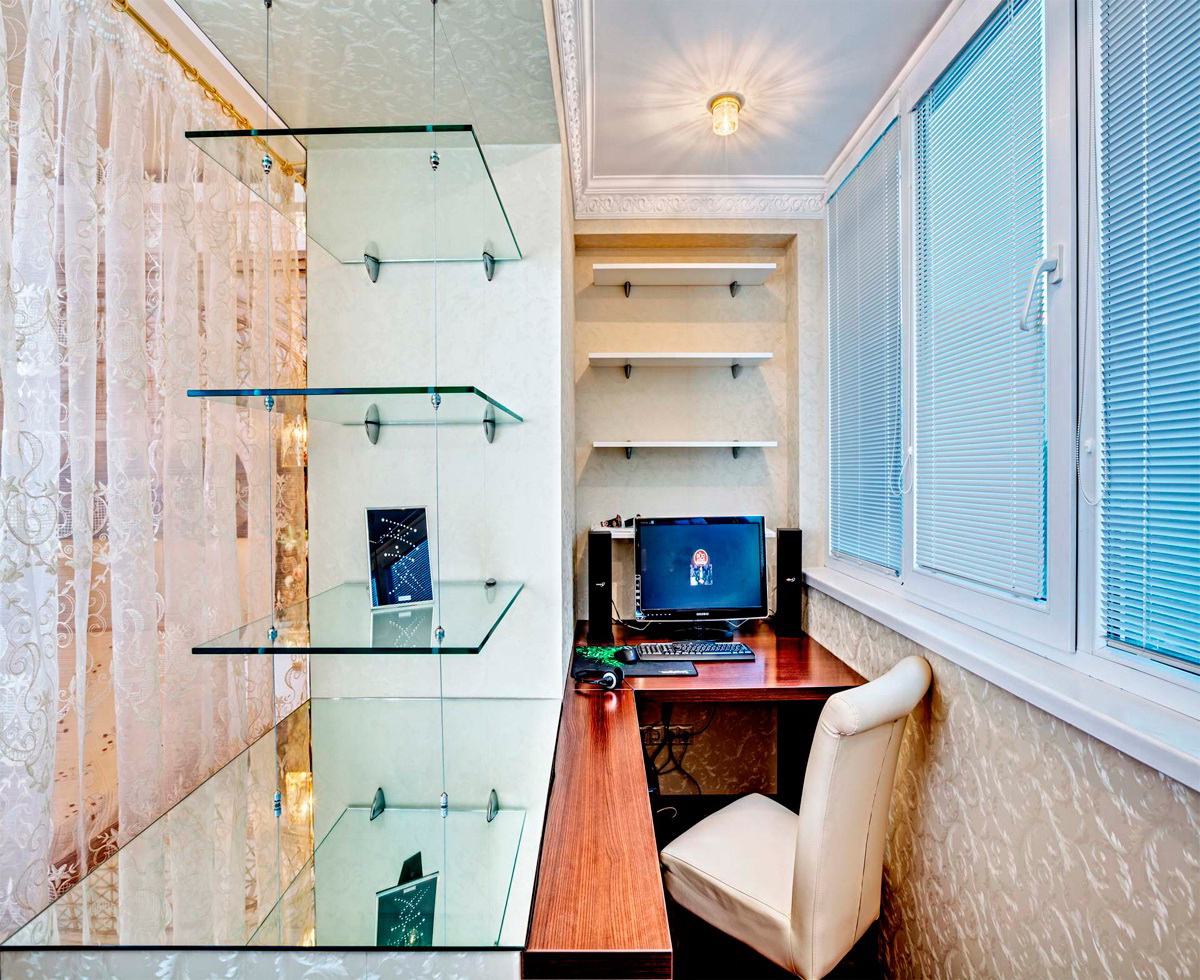
- From glass. Glass shelving is quite expensive to manufacture. But this solution gives the furniture a modern look. Impact-resistant glass is used as a material.
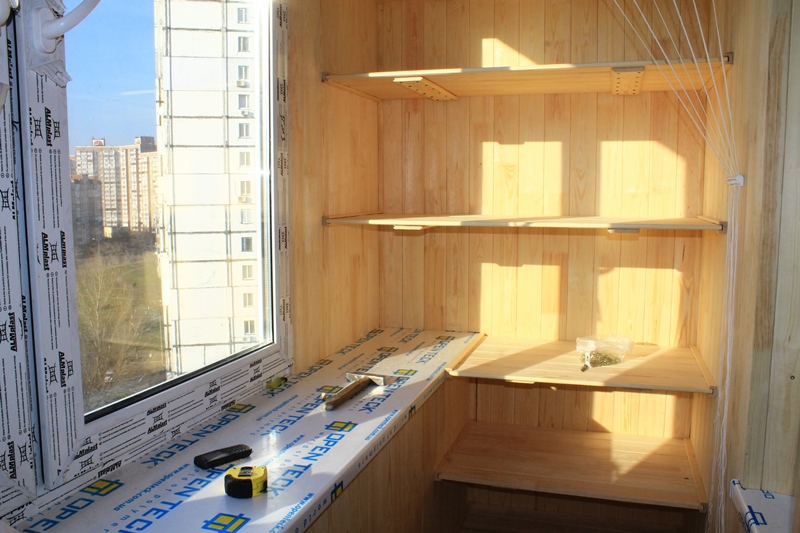
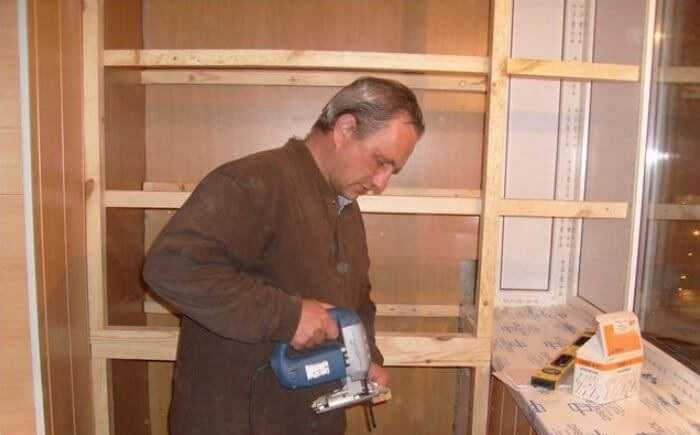
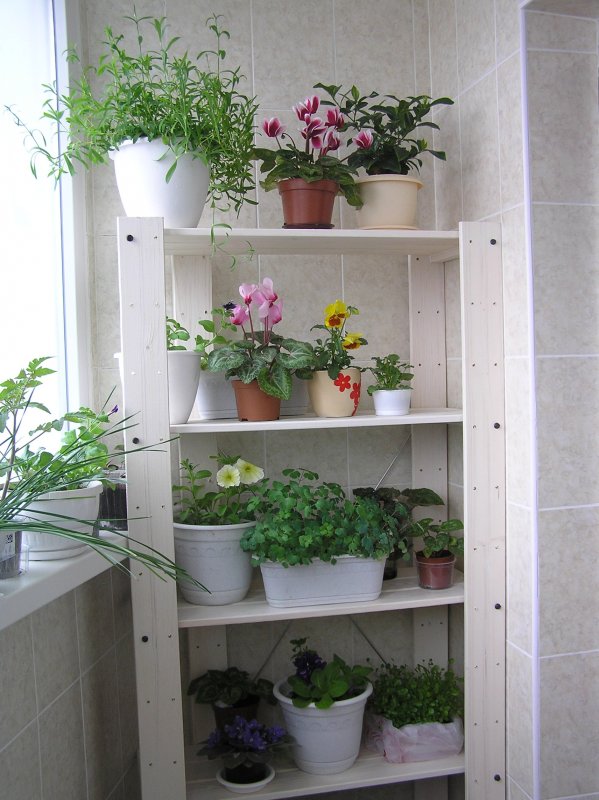
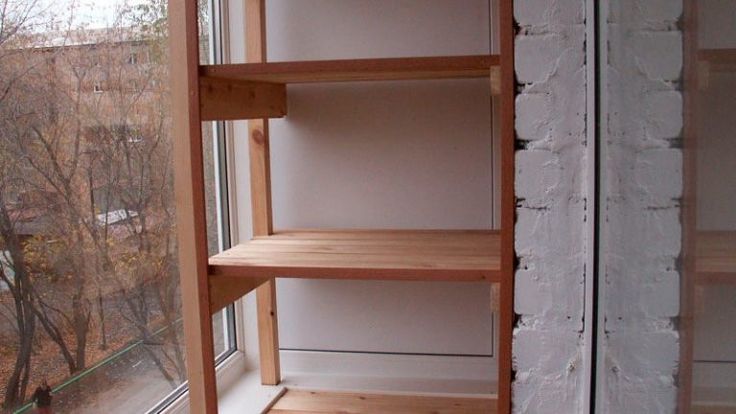
Manufacturing of wooden shelving
Wood is the more common and versatile option. There are many different schemes that will allow you to make a beautiful and easy-to-use shelving unit. Wooden shelving will be cheap compared to glass, but it will look just as stylish.
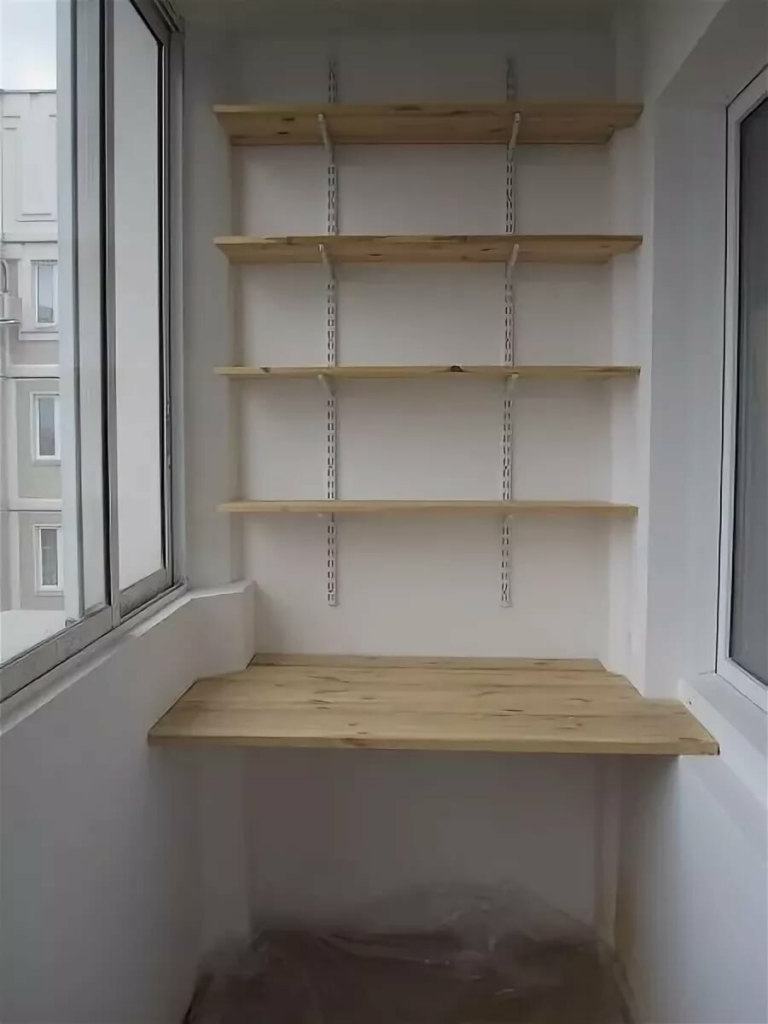
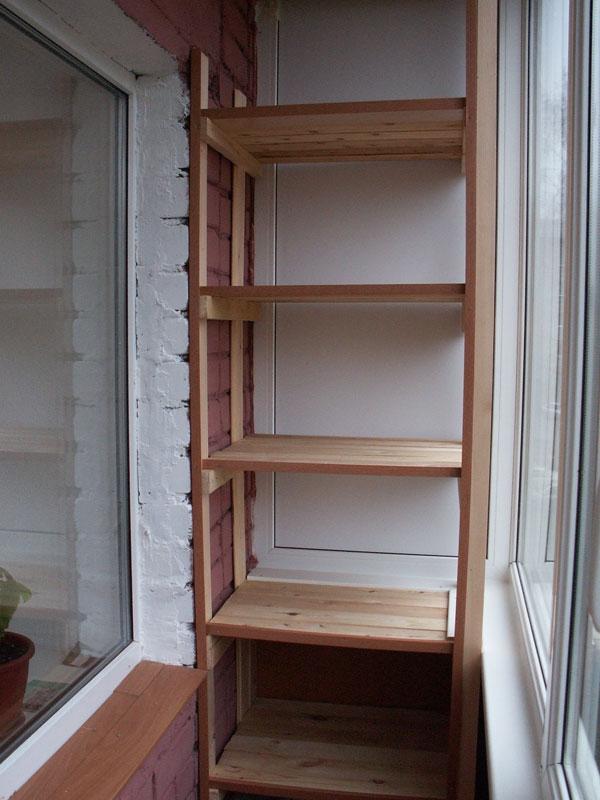
For stability when installed on a loggia, the structure is attached to the wall. To install a rack on a balcony with your own hands, you do not need to be an expert. Enough basic knowledge and skills in handling building materials and tools.
Required tools
The list of tools can be expanded or reduced depending on the design of the rack. To make a standard straight rack, you will need:
- wooden supports 1-2 m;
- connecting bars;
- wooden boards;
- metal corners;
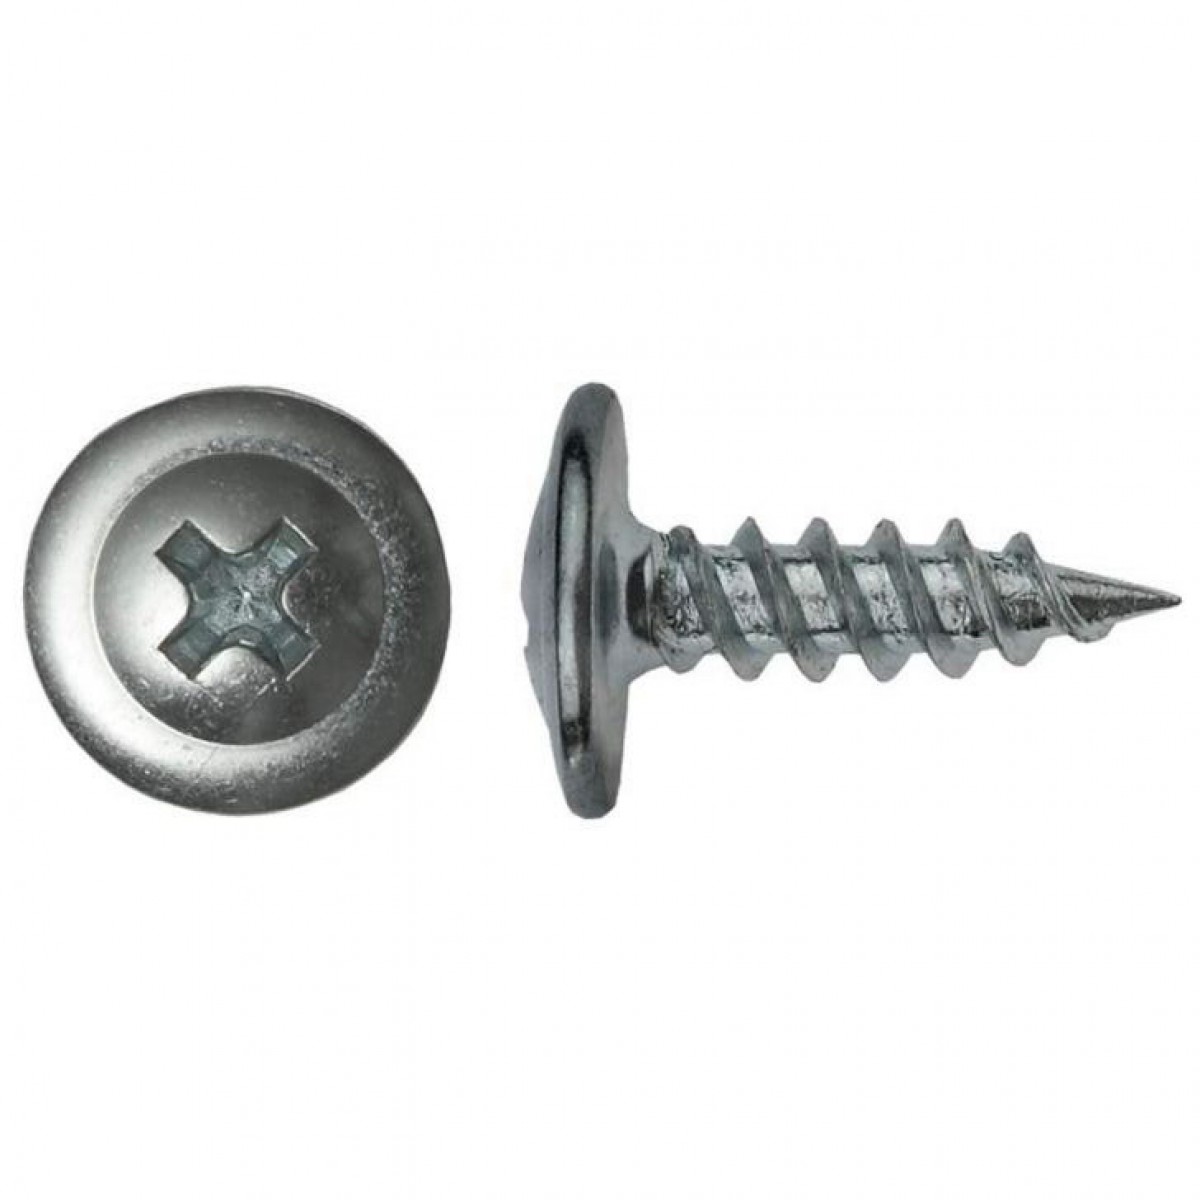
- nails and screws;
- drying oil or other wood impregnation;
- varnish;
- paint brushes;
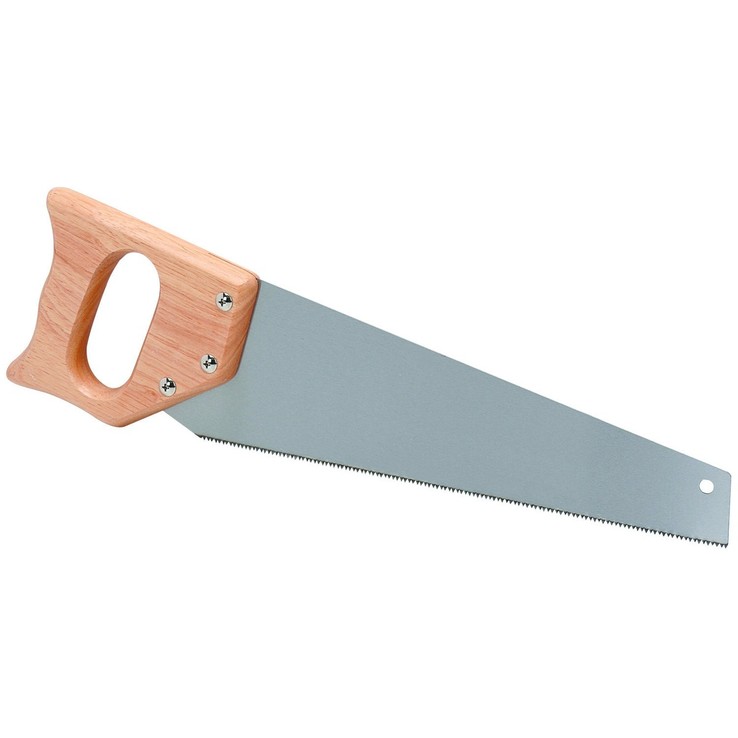
- saw;
- screwdriver or screwdriver;
- sandpaper;
- hammer.
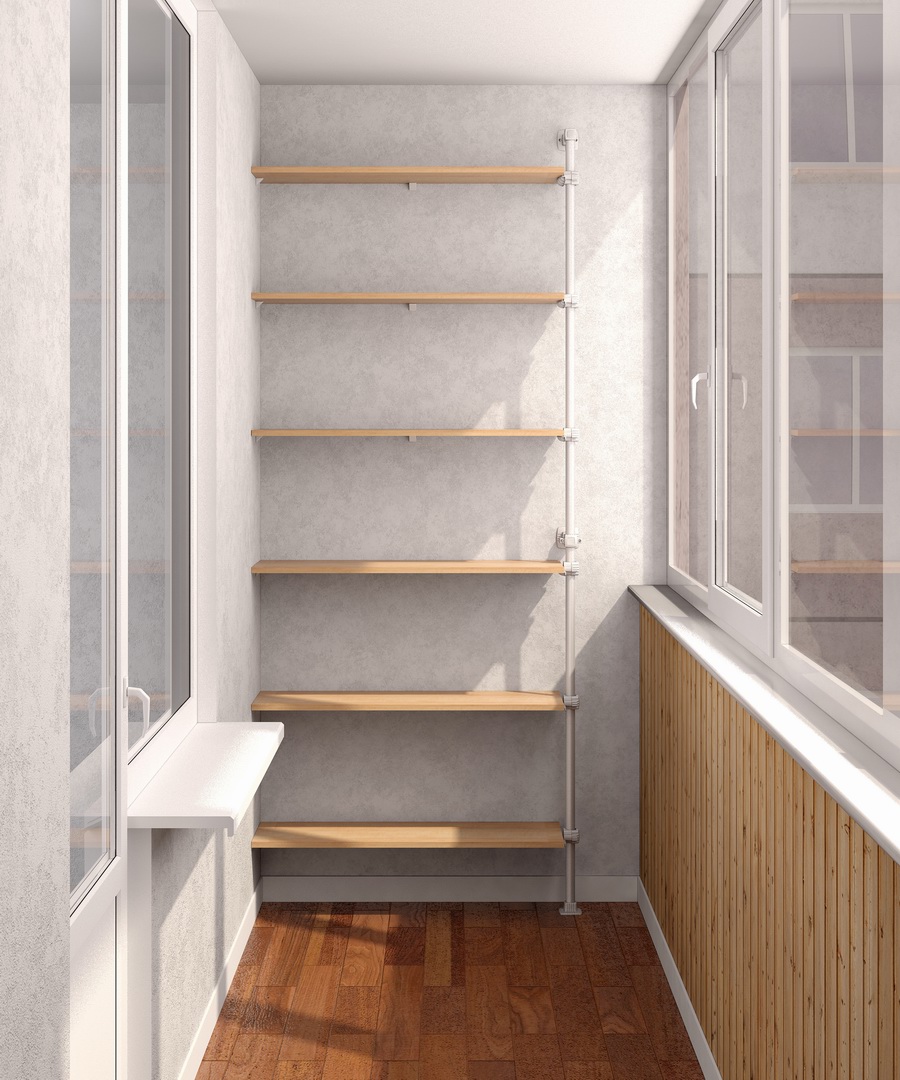
Drawings and dimensions
Before starting work, you need to make a drawing of the future structure. Rack dimensions depend on the place of installation and on the objects that will be placed on the shelves. It is best not to make the rack more than two meters, so that you can get an item from any shelf without a ladder. It is necessary to decide in advance what will be stored on the shelves. This will help you calculate the depth of the structure. Most often, books, flowers or seedlings are stored on the shelves. Thus, the width of the shelf should be 25-30 cm, the length should be no more than 1 m.
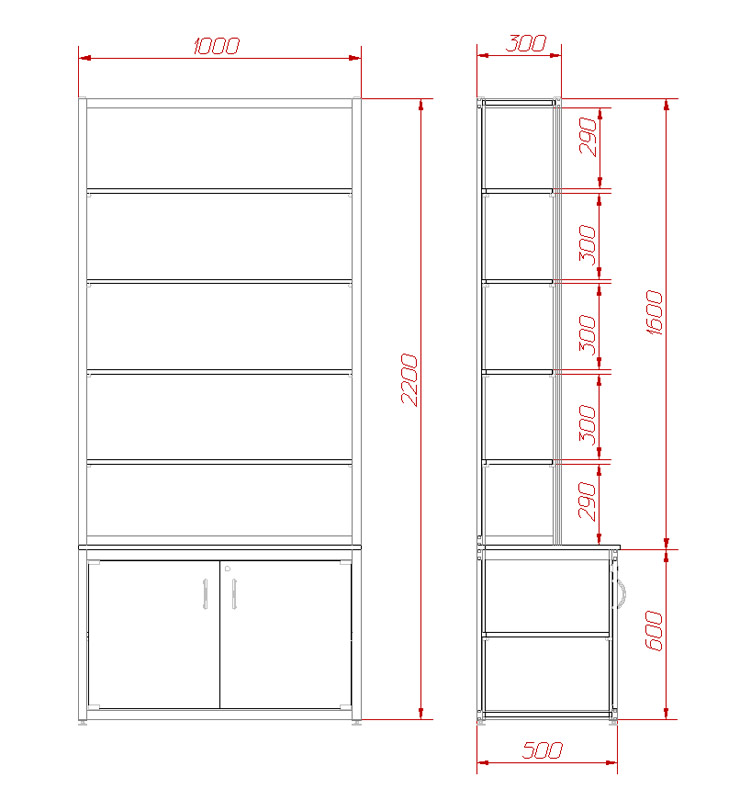

If you increase the length, the shelves deform under the weight of the items. If you intend to store something heavy, it is better to increase the width to 45-50 cm.
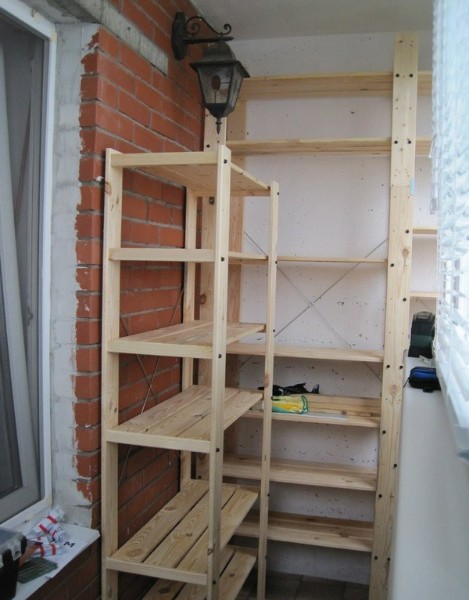
Technology
Having decided on the size of the rack, you can get to work.
- To begin with, wooden supports and boards are cut with a hacksaw in accordance with the specified dimensions.
- Then, using brushes, apply drying oil. It is necessary to carefully coat the workpieces with impregnation - this will protect the structure from external influences. It is better to carry out the treatment with drying oil or other means on the street. The painted boards are left for a day.
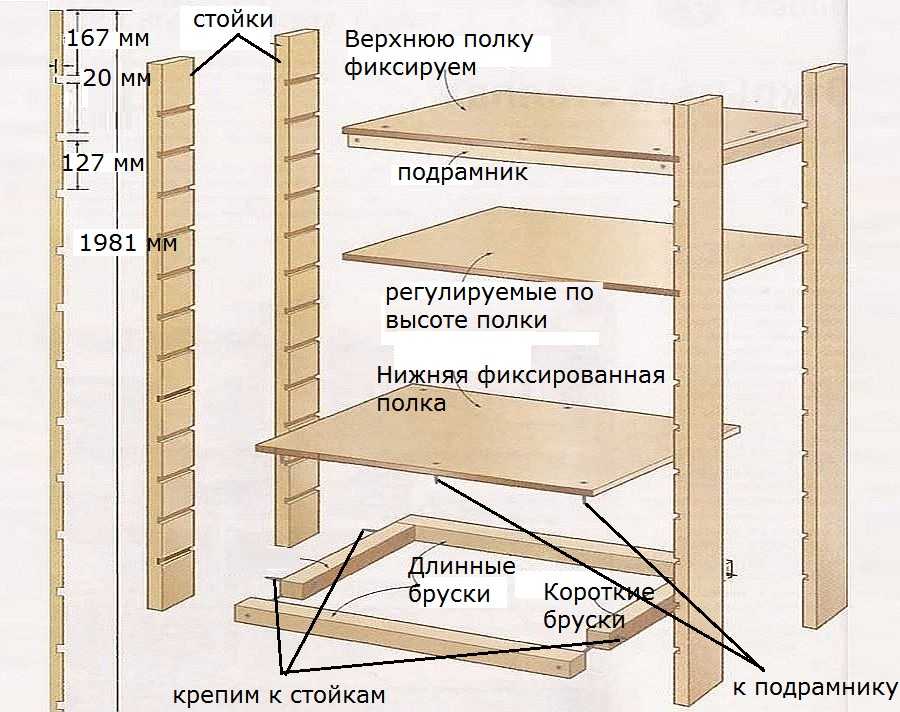
- After drying, marks are made on the vertical supports where the shelves will be located. Then metal corners are attached to the marked places.
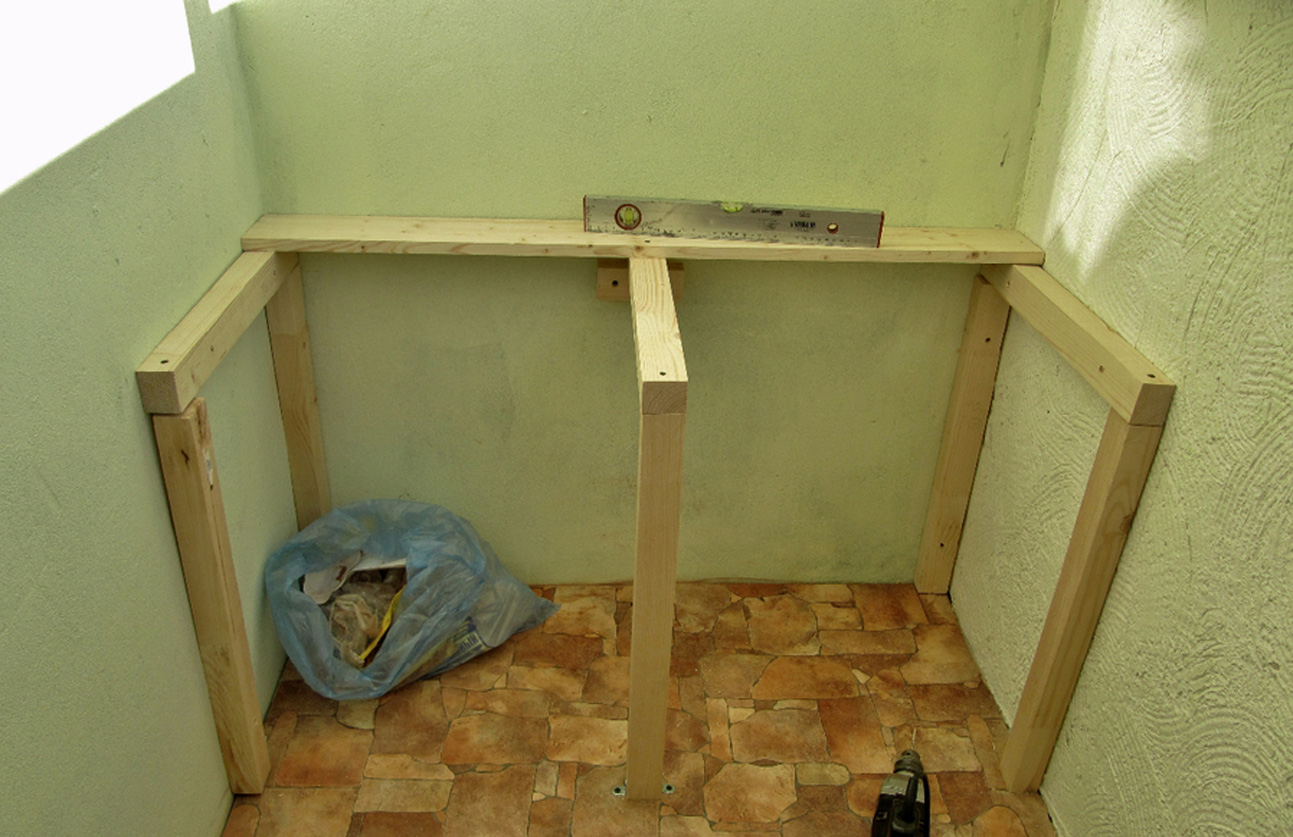
- First, only the lower horizontal bars are fixed. This makes the design look like the letter H.
- Next, the first shelf is installed. This can be done using nails or screws.
- Then the second shelf of the rack is mounted in the same way.
- The metal corners are slightly gripped at first. This will make it possible to align the structure at the end of the work.
- The uppermost shelf is usually made wider than the previous ones. This increases the stability of the rack. After installing the shelves, check that the boards lie on all horizontals.
- When the check is completed, the corners are screwed to the maximum.
- Then you can cover the rack with varnish or paint, if the interior requires it.
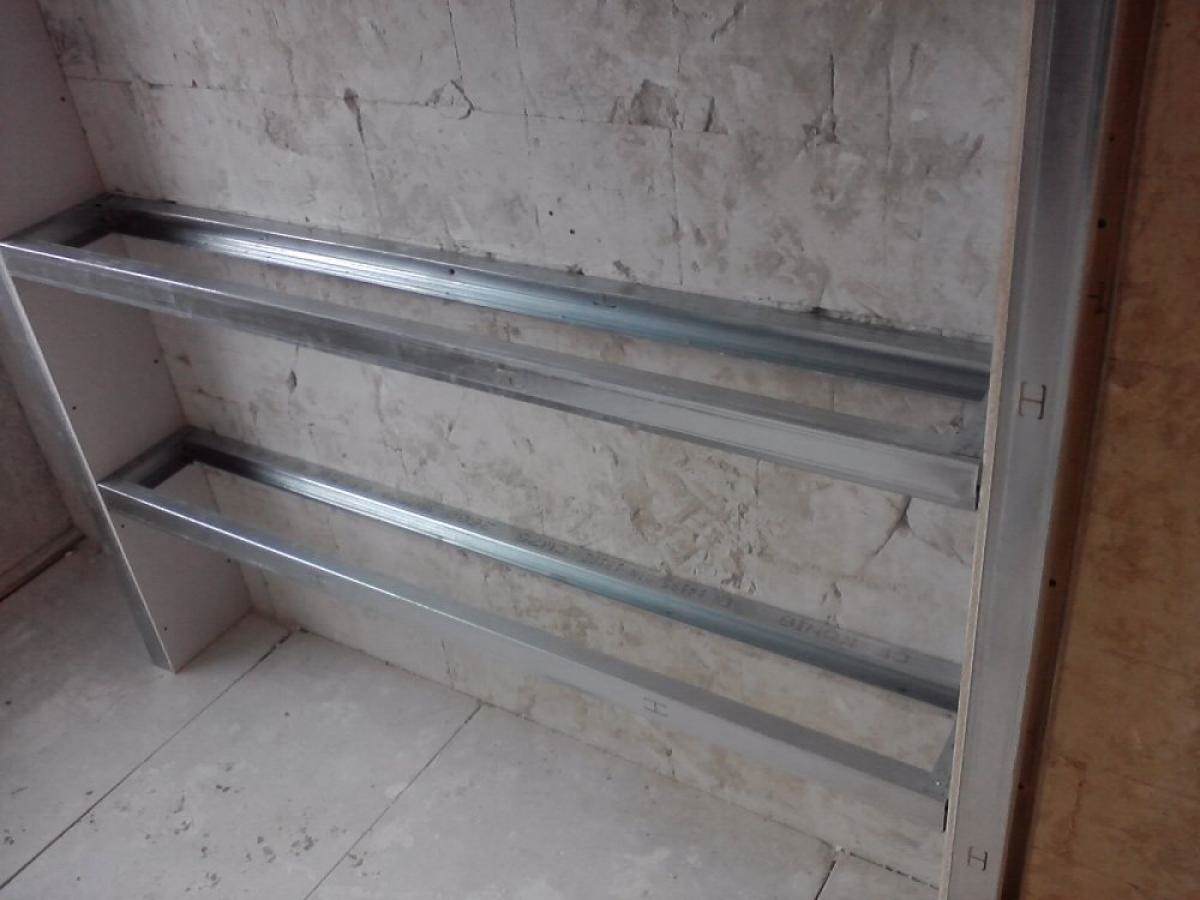
How to make a metal model?
A metal rack is capable of supporting significant weight. Therefore, for example, it is better to install an iron structure for seedlings. Before starting work, it is also necessary to make drawings. The dimensions of the rack depend on the area of the place where the object will be installed.
Materials required:
- profile for suspended structures;
- frame C-shaped profile;
- screws with keys;
- press washers;
- professional sheets for shelves;
- self-tapping screws for metal;
- double-sided tape on a polypropylene base;
- roulette;
- pencil, chalk;
- square, building level;
- jigsaw;
- scissors for metal;
- puncher;
- screwdriver;
- anti-corrosion paint.

Before starting work, you need to take care of protection. Better to use special glasses and gloves. To design a rack, you need to follow these steps.
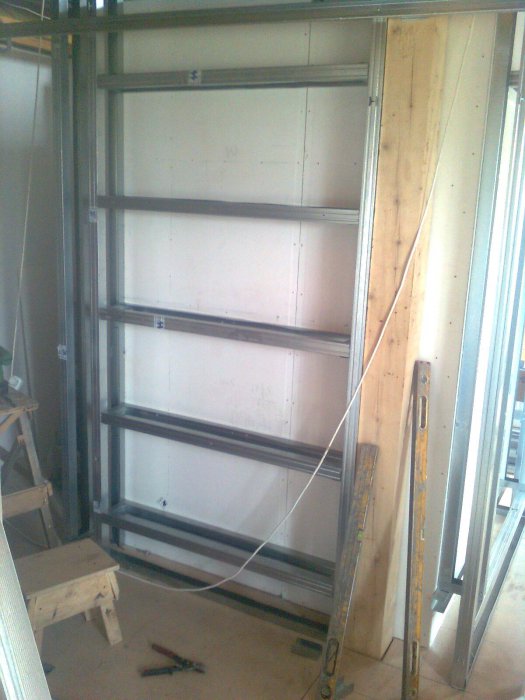
- First, the height of the shelves is marked on the wall using a tape measure. Then, using the building level, draw horizontal lines.
- In order to fix the profiles on the wall, holes are drilled at the marked points, screws with dowels are inserted. You can use super glue for better fixing. Guide profiles are installed on the dowels.
- First, the frame of the first row shelves is assembled. The structure is assembled starting from the front details.
- Further, for strengthening, short props are placed. The frame of the lower shelves should be installed on temporary legs. They will hold the structure until the end of the workflow.
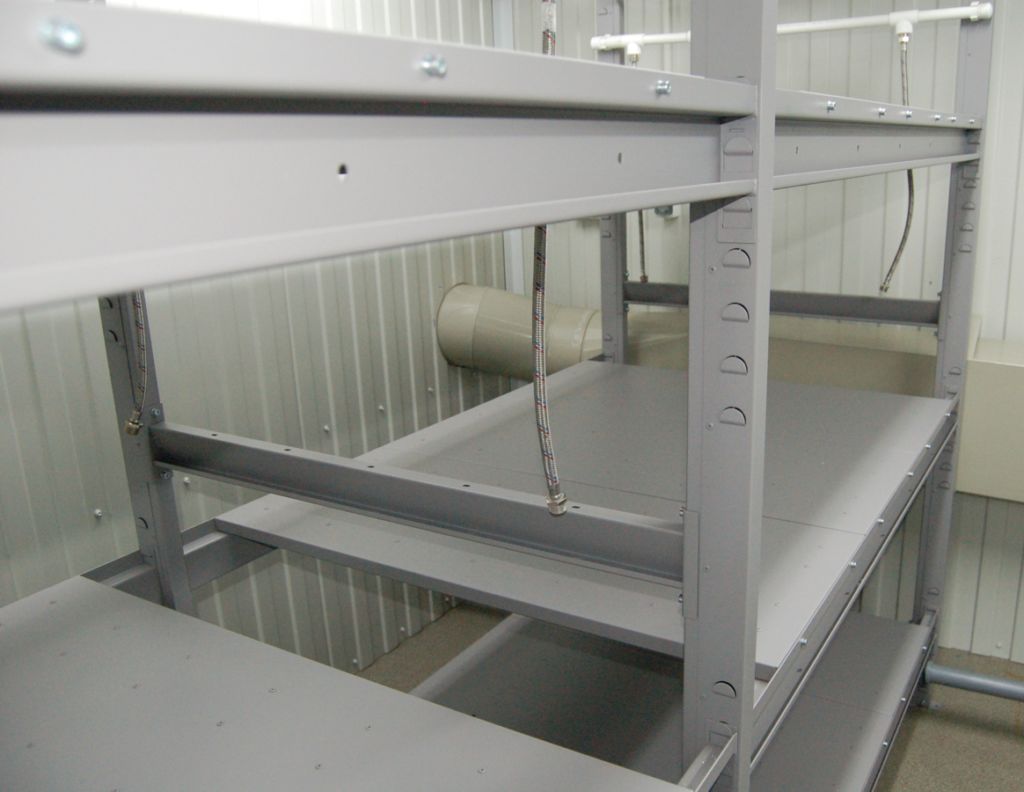
- Then, future shelves are cut out of the profiled sheet using metal tools.
- Using self-tapping screws, the shelves are attached to the rack frame.
- Subsequent shelves are assembled in the same way as the shelves of the lower row.
- After that, the temporary support legs can be removed.
- It remains to paint the structure with anti-corrosion paint. If galvanized metal was used, paint can be dispensed with.
Recommendations
To take full advantage of the benefits of shelving designs, there are a few things to keep in mind.
- The shelf life of the rack depends on the materials chosen. That is why it is recommended to take into account all the pros and cons of various raw materials in advance. Do not use chipboard if the balcony or loggia is open. It is better not to skimp on wood and metal processing. It is easier to choose materials when the balcony or loggia is glazed.
- Racks made of fragile materials should not be overloaded with unnecessary things. It is also better to refrain from installing glass structures if children are playing in the apartment.
- In addition to materials, it is important to decide on the design of the rack. This approach will help avoid unnecessary costs. In addition, a properly selected modification has a greater capacity.
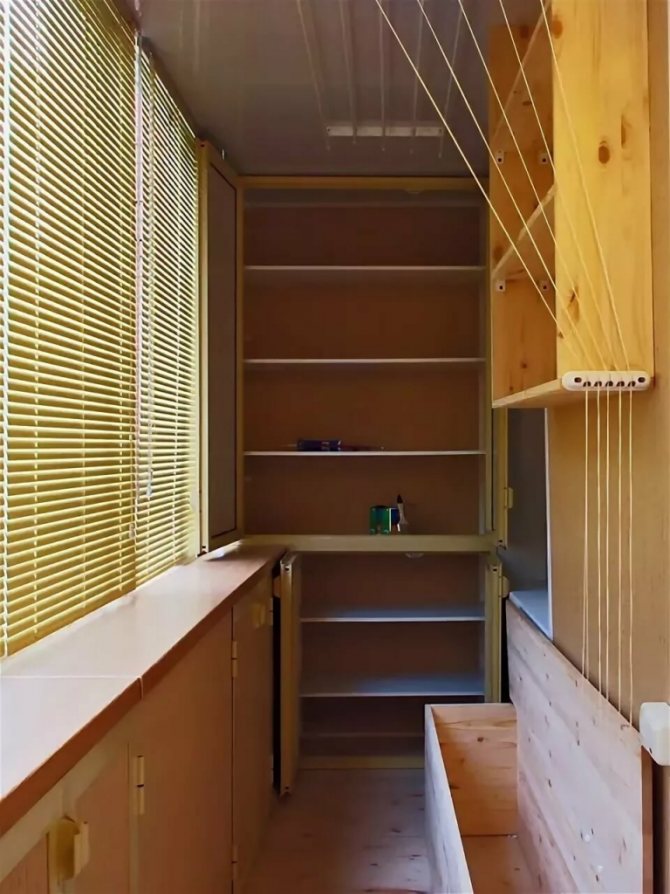
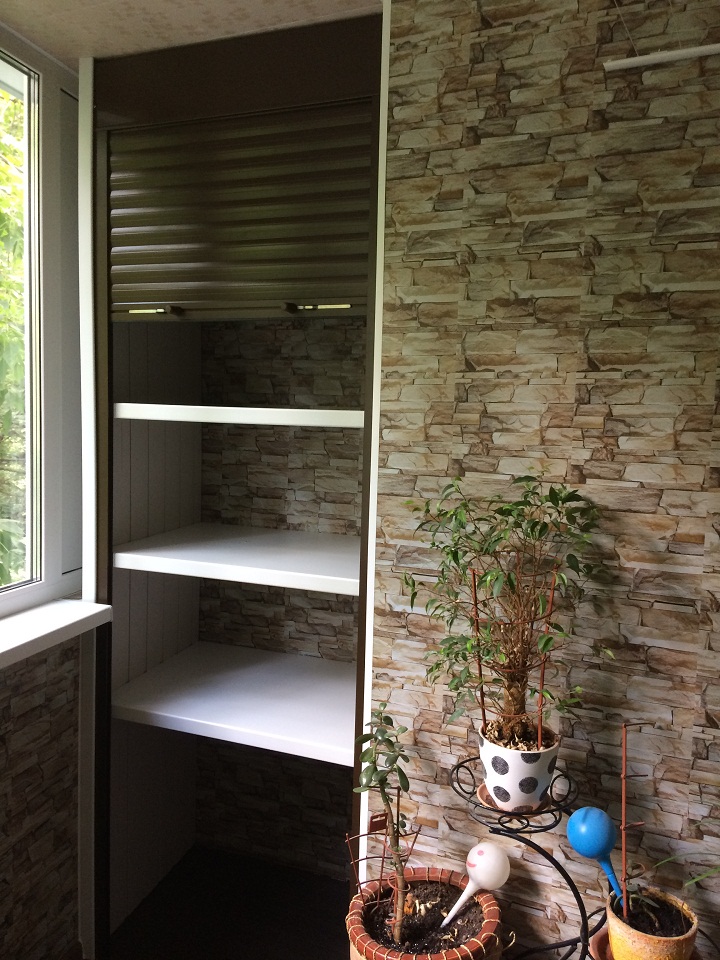
- When installing shelving structures, the free space must be taken into account. If it is small, corner options and designs without doors will do. A narrow, wall-mounted rack will also be relevant. When there is a lot of space, you can install a closed rack like a cabinet.
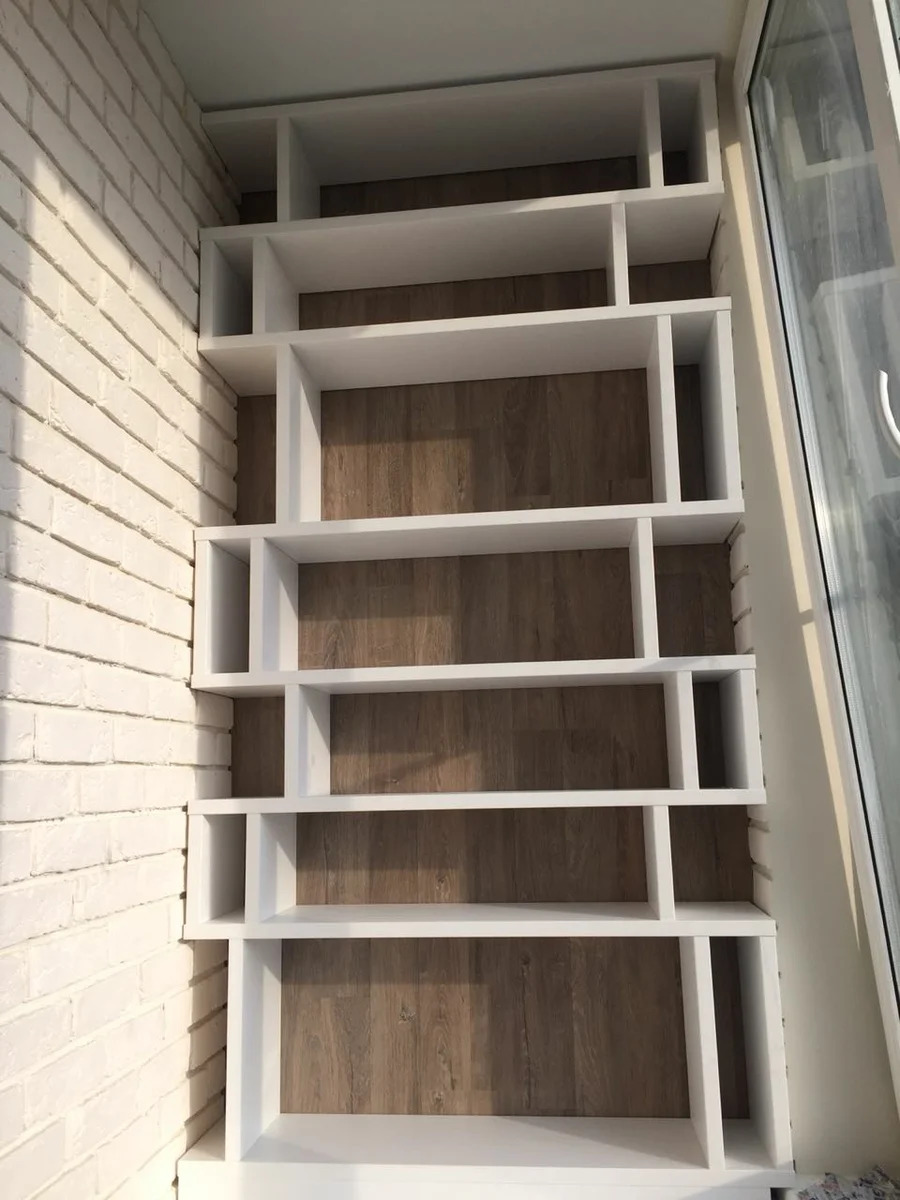
- Non-standard racks can attract attention. For example, designs with ready-made cutouts for flower pots are perfect for flower growers. In the case of complex wallpaper décor, it is difficult to find a fitting piece of furniture. In this case, you can install a rack with asymmetric shelves. This option will allow you to turn on your imagination to the fullest, for example, paint the shelves in different colors. If you want to create a unique interior, you can install a chess rack. It is made of alternating open and closed boxes attached to the wall to create a checkerboard effect.
There are a lot of furniture options. The choice depends on free space, location, as well as material capabilities. However, you can create a masterpiece from an ordinary rack, you just have to connect your imagination.
Self-made furniture allows you to trace the entire process from start to finish. Assembling such a structure by hand, you can be sure of its stability and quality. Whatever the choice, the main thing is that the rack contains everything you need and fits into the interior of the room.

How to make a rack with your own hands, see the video below.


